Rummaging through the fridge with one eye on the clock and the other on a very impatient dog, I realized we had no dessert for the Labor Day cookout. Half a carton of fresh peaches sitting there and a box of vanilla wafers staring back at me—something had to happen fast. Honestly, the kitchen looked like a whirlwind had passed through, with utensils scattered and a spoon stuck to the counter. No time for ovens or elaborate baking sessions, and yet, that sweet tooth was demanding satisfaction. That’s when this Easy No-Bake Labor Day Peach Icebox Cake came to life, born out of necessity and a little kitchen chaos.
The fridge’s hum and the sweet scent of ripe peaches filled the air as I layered the simple ingredients in a glass dish. Each creamy, fruity layer was like a little victory against the ticking clock and the mounting hunger around me. It’s funny how such a straightforward dessert can feel like a small miracle when everything else is a mess. The peaches softened just right, the wafers soaked up the luscious cream, and somehow, it all came together perfectly without turning on the oven.
What’s stuck with me since that hectic afternoon is how this peach icebox cake manages to be both effortless and crowd-pleasing. There’s a quiet satisfaction in serving something that tastes like summer sunshine but took barely any time at all to prepare. It’s the kind of recipe you come back to again and again—not because it’s fancy, but because it feels like a little secret weapon when dessert is needed, fast and fuss-free.
Why You’ll Love This Easy No-Bake Labor Day Peach Icebox Cake
Honestly, this recipe has saved many a rushed day in my kitchen. It’s one of those desserts that feels like a treat but is shockingly simple to pull off. Here’s why it’s become a staple:
- Quick & Easy: Ready in under 30 minutes, making it perfect for those last-minute Labor Day plans or spontaneous summer gatherings.
- Simple Ingredients: You probably have vanilla wafers, fresh peaches, and cream in your pantry and fridge already. No fancy ingredients needed.
- Perfect for Summer: The fresh peaches bring a juicy, seasonal flavor that screams summer, making it ideal for holiday cookouts or relaxing afternoons.
- Crowd-Pleaser: Kids and adults alike can’t get enough of the creamy layers combined with the subtle crunch of the wafers.
- Unbelievably Delicious: The magic is in the texture contrast—the soft peaches meld with the soaked wafers and whipped cream for a dreamy bite every time.
What sets this peach icebox cake apart is how the peaches are sliced thick and layered generously, so their natural sweetness shines through without needing extra sugar. I’ve also found that using a mix of whipped cream and cream cheese adds a subtle tang that balances the dessert beautifully. This isn’t your grandma’s icebox cake—it’s fresher and lighter but still indulgent enough to satisfy that dessert craving.
If you’ve ever tried recipes like my Quick Zesty Lemon Chicken or the Easy 15-Minute Spaghetti Aglio Olio, you know I’m all about fuss-free, flavor-packed meals. This icebox cake fits right into that philosophy—perfect for making your summer dessert routine effortless and crowd-friendly.
What Ingredients You Will Need
This Easy No-Bake Labor Day Peach Icebox Cake uses a handful of straightforward, fresh, and pantry-friendly ingredients that come together for a delightful summer dessert. The peaches provide juicy sweetness; the cream mixture adds richness and lightness, and the vanilla wafers bring just the right crunch.
- Fresh peaches, about 4 medium, peeled and sliced thick (look for ripe, fragrant peaches for best flavor)
- Vanilla wafers, 2 to 3 cups (I prefer the classic Keebler brand for consistent texture)
- Heavy whipping cream, 2 cups (cold, for whipping to stiff peaks)
- Cream cheese, 8 ounces, softened (adds a slight tang and stabilizes the cream)
- Powdered sugar, 3/4 cup (for gentle sweetness and smooth texture)
- Vanilla extract, 1 1/2 teaspoons (pure vanilla makes a noticeable difference here)
- Fresh lemon juice, 1 tablespoon (optional, brightens the peach flavor)
- Optional garnish: fresh mint leaves or extra peach slices for topping
If you want to keep things dairy-free, swapping the heavy cream for coconut cream and the cream cheese for a plant-based alternative works well, though it changes the flavor profile slightly. For a gluten-free version, almond flour crackers or gluten-free vanilla wafers can replace the traditional wafers without losing that signature crunch.
Equipment Needed
- Mixing bowls: At least two—one for whipping cream, one for mixing the cream cheese and sugar.
- Electric mixer or stand mixer: Helpful for whipping cream to stiff peaks and making the cream cheese mixture smooth and fluffy.
- Spatula: For folding the whipped cream into the cream cheese mixture gently, preserving airiness.
- 9×13-inch baking dish or a similarly sized glass container: Perfect for layering the cake; clear glass helps show off the layers beautifully.
- Knife and cutting board: For slicing peaches evenly.
- Measuring cups and spoons: To keep ingredient portions accurate.
If you don’t have an electric mixer, a handheld whisk works, but be prepared for a bit of an arm workout whipping cream to stiff peaks. A silicone spatula is my go-to for folding since it’s flexible and gentle. For budget-friendly options, any medium-sized mixing bowl and a flat-bottomed dish will do just fine—no need for specialty gear.
Preparation Method
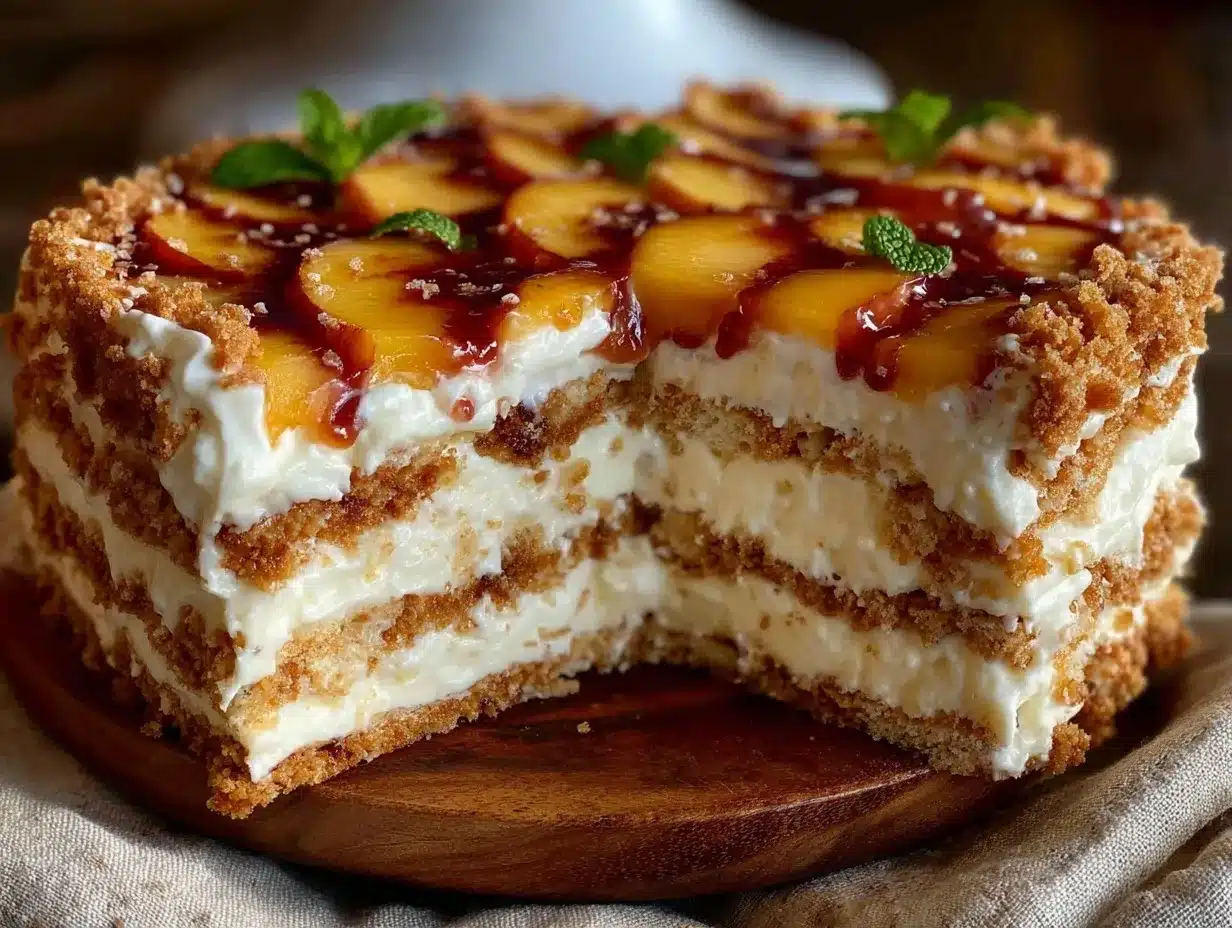
- Prepare the peaches: Wash, peel, and slice 4 medium peaches into thick, even slices—about 1/4 inch thick. Set aside. You want slices that hold their shape but are tender enough to meld into the layers.
- Make the cream cheese mixture: In a large bowl, beat 8 ounces of softened cream cheese with 3/4 cup powdered sugar and 1 1/2 teaspoons pure vanilla extract until smooth and creamy, about 2-3 minutes using an electric mixer.
- Whip the cream: Pour 2 cups cold heavy whipping cream into a chilled bowl. Whip on medium-high speed until stiff peaks form. This usually takes 4-5 minutes. Be careful not to overwhip, or it will turn grainy.
- Fold the mixtures: Gently fold the whipped cream into the cream cheese mixture using a spatula. Use slow, sweeping motions to keep the mixture light and airy.
- Layer the cake: In a 9×13-inch dish, spread a thin layer of the cream mixture on the bottom. Add a layer of vanilla wafers (about 1 cup), then a layer of peach slices, followed by more cream mixture. Repeat layering—wafers, peaches, cream—until you run out, finishing with a cream layer on top. The wafers will soften but hold some texture after chilling.
- Chill: Cover the dish with plastic wrap and refrigerate for at least 4 hours, preferably overnight. This lets the wafers soften and absorb the peach juices and cream, creating that signature cake-like texture.
- Serve: Just before serving, garnish with extra peach slices or fresh mint if you like. Slice and serve chilled.
Pro tip: If your peaches are super juicy, gently pat them dry before layering to avoid a soggy cake. And if you want to speed things up a bit, slicing the peaches thinner helps them soften faster in the fridge.
Cooking Tips & Techniques
Mastering this icebox cake is more about patience and attention to detail than any complex cooking skills. Here’s what I’ve learned after several batches:
- Whip the cream properly: Cold cream whips better, so chill your bowl and beaters ahead. Stop whipping as soon as stiff peaks form; otherwise, you’ll end up with butter.
- Softening the wafers: The magic happens while chilling. Don’t worry if the wafers feel hard when you layer them—they’ll soak up moisture and soften overnight.
- Peach selection: Ripe but firm peaches hold shape best. Overripe peaches can make the layers too watery, so adjust the cream thickness if needed.
- Layer evenly: Try to keep layers uniform thickness so every bite has the right balance of cream, fruit, and wafers.
- Timing: While four hours is the minimum chill time, I prefer overnight to get that ideal texture. If you’re short on time, slicing peaches thinner helps.
- Don’t rush folding: Folding the whipped cream into the cream cheese gently keeps the texture light and fluffy—no one likes a dense icebox cake!
Over the years, I learned the hard way that rushing the chilling step leads to a disappointing crunch instead of a delicate softness. Also, I once tried using store-bought canned peaches in syrup—big mistake. Fresh peaches make all the difference in flavor and texture.
Variations & Adaptations
This peach icebox cake is a fantastic base for customization, so feel free to tweak it to your taste or dietary needs.
- Berry Medley Twist: Swap half of the peaches with fresh blueberries or sliced strawberries for a colorful, tangy variation.
- Gluten-Free Option: Use gluten-free vanilla wafers or substitute with gluten-free ladyfingers to keep it safe for sensitive diets.
- Dairy-Free Delight: Replace heavy cream with chilled coconut cream and cream cheese with a dairy-free alternative like cashew cream cheese.
- Spiced Peach: Add a pinch of cinnamon or nutmeg to the cream cheese mixture for a subtle warm spice note that pairs beautifully with peaches.
- Crunch Factor: Toss in a handful of toasted pecans or sliced almonds between some layers for a nice crunch contrast.
Personally, I once tried adding a drizzle of honey over the peach slices before layering—such a simple touch that brought a whole new level of sweetness and depth to the cake. It’s fun to experiment, but the core recipe works beautifully on its own.
Serving & Storage Suggestions
This peach icebox cake is best served chilled straight from the fridge. The cool cream and tender peaches are so refreshing on a warm day. For presentation, slicing into neat squares and topping with a sprig of fresh mint or an extra peach slice makes it look effortlessly elegant.
Pair it with light beverages like iced tea, lemonade, or even a chilled glass of rosé for a relaxing summer vibe. It also works as a sweet finale after a savory meal like crispy BBQ chicken pizza or flavorful fried rice.
Store leftovers covered in the refrigerator for up to 3 days. The flavors meld even more over time, which means the second day is often better than the first. If you want to prep ahead, make the cake a day in advance—just be sure to keep it tightly covered to prevent the cream from absorbing other fridge smells.
Reheating is not recommended; this dessert shines cold. Let it sit at room temperature for 10 minutes before serving if the chill is too intense.
Nutritional Information & Benefits
Per serving (approximate): 280 calories, 18g fat, 26g carbohydrates, 3g protein.
The fresh peaches provide a good dose of vitamin C and fiber, while the cream cheese adds calcium and a bit of protein. This dessert is moderately rich but balanced by the natural sweetness and moisture of the peaches, making it a lighter option compared to heavy, butter-laden cakes.
This recipe can easily be adapted for lower-carb diets by swapping wafers with almond flour crackers and using a sugar substitute in the cream mixture. Just keep in mind that the texture will shift slightly.
Conclusion
This Easy No-Bake Labor Day Peach Icebox Cake stands out as a no-fuss, delicious way to celebrate summer’s best fruit without heating up the kitchen. It’s a recipe that came from a moment of chaos but turned into a reliable favorite that’s as simple as it is satisfying.
Whether you stick to the classic version or try one of the variations, it’s a dessert that invites you to slow down and enjoy the sweet, creamy layers alongside friends and family. I love this recipe for how it captures summer in every bite and how forgiving it is to make, even on the busiest days.
Give it a go and let me know how you like to customize your icebox cake. Sharing your spin on it helps keep the recipe fresh and fun for everyone!
Frequently Asked Questions
Can I make this peach icebox cake ahead of time?
Absolutely! In fact, chilling it overnight improves the texture and flavor as the wafers soften and the layers meld beautifully.
What can I use if I don’t have vanilla wafers?
Ladyfingers, graham crackers, or gluten-free vanilla cookies work well as alternatives. Just keep in mind they may change the texture slightly.
Can I use canned peaches instead of fresh?
Fresh peaches are best for flavor and texture, but if you must use canned, drain them well and pat dry to avoid a soggy cake.
Is there a way to make this dessert vegan?
Yes! Use coconut cream instead of heavy cream, a vegan cream cheese substitute, and vegan-friendly cookies to keep it plant-based.
How long does this icebox cake last in the fridge?
It keeps well for about 3 days when covered tightly. After that, the texture may start to break down.
Pin This Recipe!
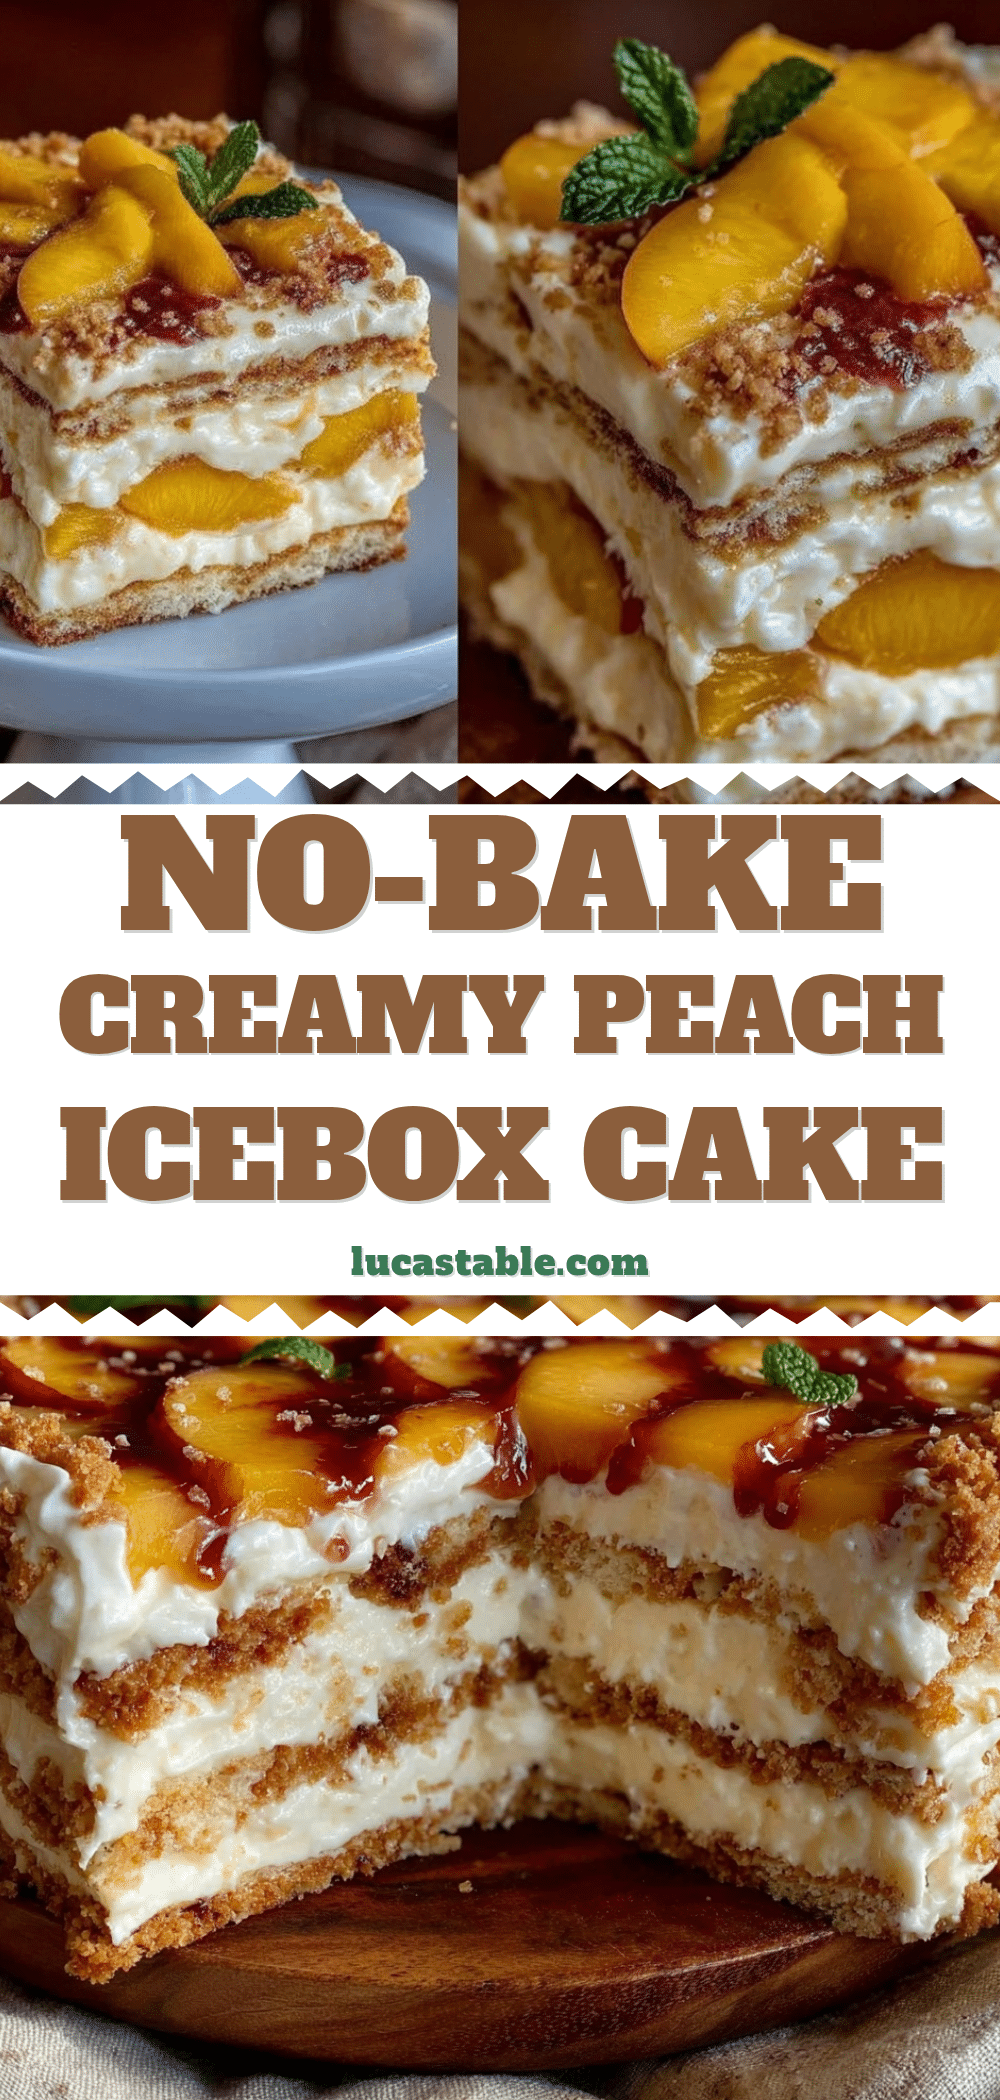
Easy No-Bake Labor Day Peach Icebox Cake

A quick and effortless no-bake dessert featuring layers of fresh peaches, vanilla wafers, and a creamy whipped cream and cream cheese mixture. Perfect for summer gatherings and Labor Day cookouts.
- Prep Time: 15 minutes
- Cook Time: 0 minutes
- Total Time: 4 hours 15 minutes
- Yield: 8 servings 1x
- Category: Dessert
- Cuisine: American
Ingredients
- 4 medium fresh peaches, peeled and sliced thick
- 2 to 3 cups vanilla wafers
- 2 cups heavy whipping cream, cold
- 8 ounces cream cheese, softened
- 3/4 cup powdered sugar
- 1 1/2 teaspoons vanilla extract
- 1 tablespoon fresh lemon juice (optional)
- Optional garnish: fresh mint leaves or extra peach slices
Instructions
- Wash, peel, and slice 4 medium peaches into thick, even slices about 1/4 inch thick. Set aside.
- In a large bowl, beat 8 ounces of softened cream cheese with 3/4 cup powdered sugar and 1 1/2 teaspoons pure vanilla extract until smooth and creamy, about 2-3 minutes using an electric mixer.
- Pour 2 cups cold heavy whipping cream into a chilled bowl. Whip on medium-high speed until stiff peaks form, about 4-5 minutes. Be careful not to overwhip.
- Gently fold the whipped cream into the cream cheese mixture using a spatula with slow, sweeping motions to keep the mixture light and airy.
- In a 9×13-inch dish, spread a thin layer of the cream mixture on the bottom. Add a layer of vanilla wafers (about 1 cup), then a layer of peach slices, followed by more cream mixture. Repeat layering—wafers, peaches, cream—until ingredients are used, finishing with a cream layer on top.
- Cover the dish with plastic wrap and refrigerate for at least 4 hours, preferably overnight, to allow wafers to soften and flavors to meld.
- Just before serving, garnish with extra peach slices or fresh mint if desired. Slice and serve chilled.
Notes
If peaches are very juicy, gently pat dry before layering to avoid sogginess. For faster softening, slice peaches thinner. Chill cream and bowl before whipping for best results. Folding whipped cream gently keeps the mixture light and airy. Refrigerate at least 4 hours or overnight for best texture. Store leftovers covered in the fridge up to 3 days. Not recommended to reheat; serve chilled or at room temperature for 10 minutes.
Nutrition
- Serving Size: 1 slice (approximate
- Calories: 280
- Fat: 18
- Carbohydrates: 26
- Protein: 3
Keywords: no-bake, peach icebox cake, summer dessert, Labor Day dessert, easy dessert, vanilla wafers, fresh peaches, whipped cream, cream cheese


