I figured a one-pan chicken and rice bake would be a trade-off—you know, convenience for crispiness. It took about thirty minutes in the oven for that assumption to fall apart completely. The rice was supposed to be the star, soaking up all those juices while I worked on something else, but the chicken skin? It crackled like it had been fried. I actually pulled the pan out and stared at it, fork in hand, half-convinced I’d messed something up.
Honestly, I’d spent years chasing that perfect golden-brown skin on baked chicken. Brining, air-drying in the fridge overnight, patting it dry with paper towels like I was performing surgery. And here it was, happening by accident on a Tuesday night when I just wanted dinner done without a million dishes. The rice underneath wasn’t mushy or dry either—it was fluffy, fragrant, and had this crusty edge where it met the pan that I couldn’t stop picking at.
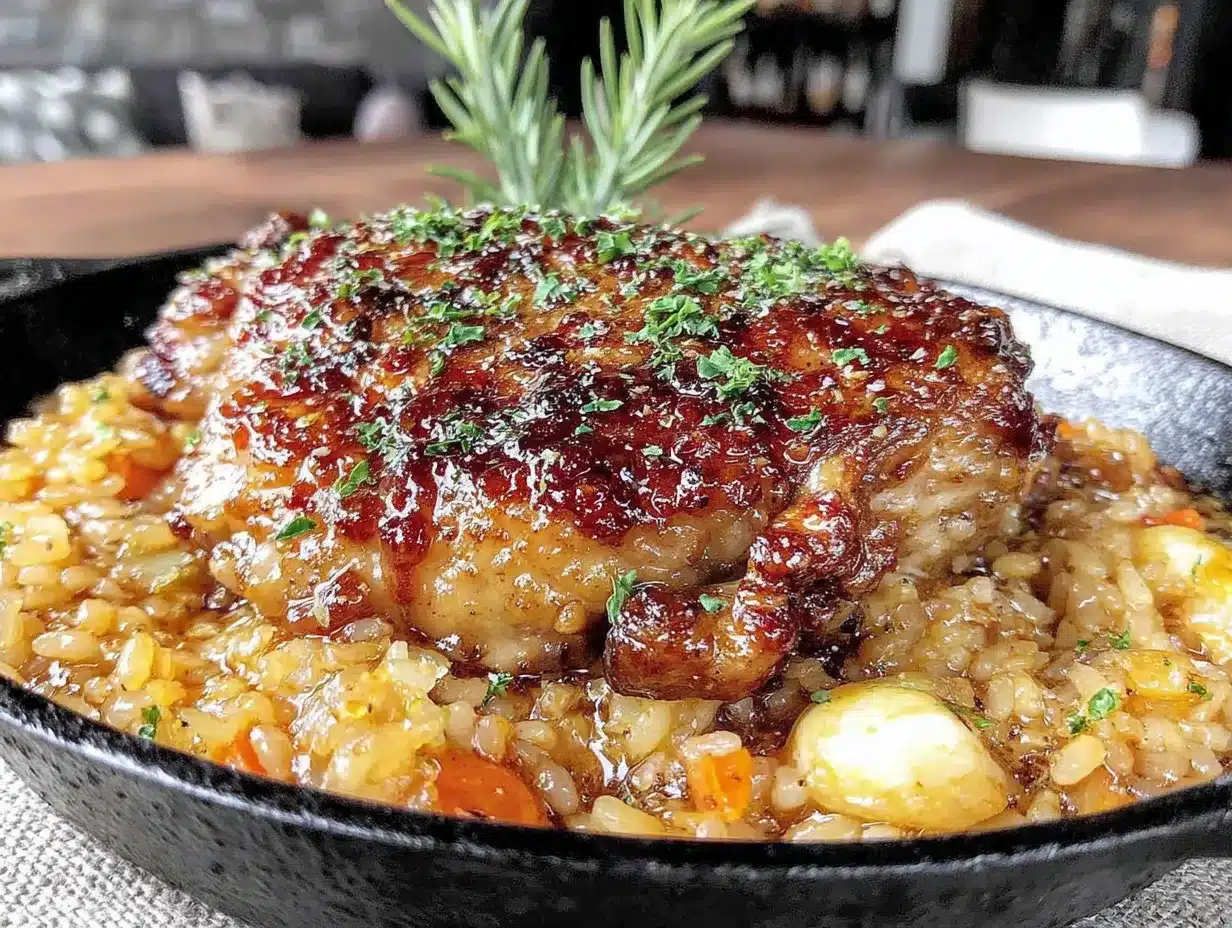
That’s the thing about this one pan crispy baked chicken thigh and rice bake. It doesn’t ask you to choose between convenience and quality. The high heat does the heavy lifting, the chicken fat renders into the rice, and you end up with a meal that tastes like you fussed when you really just threw it together. I’ve made it maybe a dozen times since that first accidental success, and it keeps surprising me. Not because it’s complicated—but because it’s so simple that it almost feels like cheating.
Why You’ll Love This Recipe
This isn’t just another chicken and rice dish. It’s the one that makes you wonder why you ever bothered with separate pans and extra steps. Here’s why it works:
- One Pan, Minimal Mess: Everything cooks together in a single oven-safe skillet or baking dish. That means fewer dishes, less cleanup, and more time actually eating dinner instead of scrubbing pots.
- Seriously Crispy Skin: The high oven temperature and the way the chicken sits above the rice creates steam underneath while the top gets beautifully golden and crackling-crisp. No flipping, no basting, no fuss.
- Flavorful, Never Soggy Rice: The rice cooks in the chicken drippings and seasoned broth, absorbing all that savory goodness without turning into a gluey mess. It comes out fluffy with those irresistible crispy bits along the edges.
- Simple Ingredients: You probably have most of these in your pantry already. No specialty items, no long ingredient lists—just real food that works together.
- Perfect for Busy Weeknights: About 10 minutes of active prep, then the oven does the rest. You can set a timer and walk away.
- Crowd-Pleaser: I’ve served this to picky kids, hungry teenagers, and dinner guests who asked for the recipe before they finished their first serving. It’s one of those dishes that just works for everyone.
What makes this version different from all the other chicken and rice bakes out there? It’s the technique. Most recipes tell you to cover the dish, which steams the chicken and ruins the skin. Others leave the rice dry or undercooked. This method—starting on the stovetop, then finishing uncovered in a hot oven—gives you the best of both worlds: tender, juicy meat and rice that’s cooked through with a lovely texture. It’s the kind of meal that makes you close your eyes after the first bite, not because it’s fancy, but because it’s exactly right.
What Ingredients You Will Need
This recipe uses simple, wholesome ingredients that come together to create something surprisingly complex. Most of these are pantry staples, and the few fresh items are easy to find at any grocery store.
For the Chicken
- 4 bone-in, skin-on chicken thighs (about 1.5 pounds total) – The bone keeps the meat moist during the long bake, and the skin is what gets that gorgeous crispy finish. If you can only find skinless thighs, this recipe won’t work the same way—you need that fat to render into the rice.
- 1 tablespoon olive oil – Helps the seasoning stick and encourages browning.
- 1 teaspoon salt – I use kosher salt here. If you’re using table salt, reduce to ¾ teaspoon.
- ½ teaspoon black pepper – Freshly ground is always better.
- 1 teaspoon garlic powder – Not the same as fresh garlic here; the powder coats the skin evenly and doesn’t burn.
- ½ teaspoon paprika – Adds color and a subtle smokiness. Smoked paprika works beautifully too.
For the Rice
- 1 cup long-grain white rice – Basmati or jasmine are my go-to choices. They stay separate and fluffy. Avoid short-grain or sushi rice here—they get too sticky.
- 1 ½ cups chicken broth – Low-sodium is best so you can control the salt. I’ve used Better Than Bouillon mixed with water in a pinch, and it works great.
- 1 small yellow onion, diced – About ¾ cup. Adds sweetness and depth as it cooks.
- 2 cloves garlic, minced – Fresh, not jarred. It makes a difference.
- 1 tablespoon butter – For sautéing the aromatics. You could use oil, but butter adds richness.
- ½ teaspoon dried thyme – Earthy and subtle. You can substitute with oregano or rosemary if that’s what you have.
- ¼ teaspoon salt – Adjust based on your broth.
Optional Garnishes
- Fresh parsley, chopped – For color and freshness.
- Lemon wedges – A squeeze of lemon right before serving brightens everything up.
- Flaky sea salt – A pinch on the chicken skin right out of the oven is magical.
I recommend using a good-quality chicken broth here—it’s the main liquid the rice absorbs, so it matters. Swanson or Kitchen Basics are reliable brands. If you’re feeling ambitious, homemade broth takes this to another level, but store-bought works perfectly fine.
Equipment Needed
You don’t need much for this recipe, which is part of the appeal. Here’s what you’ll need:
- 12-inch oven-safe skillet – Cast iron is ideal because it holds heat evenly and gives you that nice crust on the rice. A stainless steel skillet with an oven-safe handle works too. Avoid nonstick pans with plastic handles—they can’t handle the high oven temperature.
- Small bowl – For mixing the chicken seasoning.
- Cutting board and knife – For dicing the onion and mincing garlic.
- Measuring cups and spoons – Accuracy matters for the rice-to-liquid ratio.
- Tongs – For flipping the chicken and handling it safely.
- Foil – Optional, for tenting if the chicken browns too quickly.
If you don’t have an oven-safe skillet, you can use a 9×13-inch baking dish. Just sear the chicken in a regular skillet first, then transfer everything to the baking dish before adding the rice and broth. It’s one extra step, but the results are still excellent. I’ve done it that way when my cast iron was busy with another dish, and it worked just fine.
Preparation Method
This comes together faster than you’d think. Here’s how to do it, step by step.
- Preheat your oven to 400°F (200°C). Position the rack in the center. While it heats, pat the chicken thighs dry with paper towels. This is non-negotiable—wet skin won’t crisp up.
- Season the chicken. In a small bowl, mix 1 teaspoon salt, ½ teaspoon black pepper, 1 teaspoon garlic powder, and ½ teaspoon paprika. Rub the mixture all over the chicken thighs, including under the skin if you can. Let them sit at room temperature while you prep the rice.
- Heat the skillet over medium-high heat. Add 1 tablespoon olive oil. Once it shimmers, place the chicken thighs skin-side down. Don’t crowd them—they should have a little space between each piece. Cook for 5-6 minutes without moving them, until the skin is deep golden brown and releases easily from the pan. Flip and cook for 2 more minutes on the other side. Transfer the chicken to a plate; it won’t be cooked through yet.
- Reduce heat to medium. Add 1 tablespoon butter to the same skillet. Once it melts, add the diced onion. Cook for 3-4 minutes, stirring occasionally, until softened and translucent. Add the minced garlic and cook for 30 seconds until fragrant—don’t let it burn.
- Add the rice and broth. Pour in 1 cup of rice and stir to coat it in the butter and onion mixture. Cook for 1 minute, stirring constantly. This toasts the rice slightly and helps keep it separate. Pour in 1 ½ cups chicken broth, add ½ teaspoon dried thyme and ¼ teaspoon salt. Stir once, then spread the rice in an even layer.
- Arrange the chicken on top. Place the seared chicken thighs skin-side up on top of the rice. Don’t push them down—let them sit on the surface. Any juices from the plate can go into the pan too.
- Bake uncovered for 35-40 minutes. The rice should be tender and most of the liquid absorbed. The chicken skin will be deeply golden and crispy. If the skin isn’t as brown as you’d like, you can broil for 1-2 minutes at the end, but watch it closely—it burns fast.
- Rest for 5 minutes before serving. This lets the rice finish absorbing any remaining liquid and makes it easier to serve without it turning into a mush. Fluff the rice gently with a fork, being careful not to break up the crispy edges.
One thing I learned the hard way: don’t stir the rice while it’s baking. I know it’s tempting to check on it, but opening the oven releases heat and stirring breaks up the starches, making the rice gluey. Trust the process and let it do its thing.
Cooking Tips & Techniques
I’ve made this recipe enough times to know where things can go wrong. Here are the lessons I learned so you don’t have to.
Pat the chicken dry. This is the single most important step for crispy skin. Moisture is the enemy of browning. I use three or four paper towels and really press them into the skin. If you have time, leave the seasoned chicken uncovered in the fridge for an hour—that dries the skin out even more and gives you an incredible crust.
Don’t skip the sear. I tried skipping this step once, thinking the oven would do all the work. It didn’t. The skin came out pale and rubbery, and the rice didn’t have that deep flavor from the browned bits in the pan. That initial sear builds the foundation for the whole dish.
Use the right pan size. A 12-inch skillet is perfect. If your pan is too big, the rice layer will be too thin and can dry out. Too small, and the chicken will be crowded, steaming instead of crisping. If you’re unsure, measure the diameter across the top of your pan.
Watch your liquid ratio. Different rice brands absorb liquid differently. If your rice looks dry after 30 minutes but isn’t tender yet, add 2-3 tablespoons of hot broth or water and continue baking. If it’s still soupy at the 40-minute mark, leave it in the oven for another 5-10 minutes with the heat off—the residual heat will absorb the excess.
Let it rest. I know you’re hungry, but those 5 minutes off the heat are crucial. The rice firms up, the chicken relaxes, and everything becomes easier to serve. I use that time to chop parsley and set the table.
Variations & Adaptations
This recipe is forgiving and adaptable. Here are some ways to change it up based on what you have or what you’re craving.
- Spicy version: Add ½ teaspoon cayenne pepper or red pepper flakes to the chicken seasoning. You can also stir a chopped jalapeño into the rice before baking for extra heat.
- Herb and lemon: Add the zest of one lemon and 2 tablespoons of fresh chopped rosemary or thyme to the rice before baking. Serve with extra lemon wedges.
- Vegetable addition: Stir in 1 cup of frozen peas and carrots (no need to thaw) during the last 10 minutes of baking. You can also add sliced mushrooms with the onions for an earthy twist.
- Dairy-free adaptation: Substitute the butter with olive oil or avocado oil. The recipe works perfectly without dairy.
- Different protein: Bone-in, skin-on chicken drumsticks work beautifully here too. The cooking time stays roughly the same, but check the internal temperature—it should reach 165°F (74°C).
- Brown rice option: Use 1 cup of brown rice and increase the broth to 2 cups. Bake for 50-55 minutes instead of 35-40. The texture is nuttier and chewier, which I actually prefer sometimes.
I once made this with a sprinkle of za’atar on the chicken and stirred some chopped olives into the rice. It was a happy accident from a pantry-cleaning night, and now it’s one of my favorite variations. Don’t be afraid to experiment—that’s how the best recipes happen.
Serving & Storage Suggestions
This dish is a meal in itself, but a few simple sides can round it out beautifully.
Serving: Serve the chicken and rice hot, straight from the skillet. Garnish with fresh parsley and a squeeze of lemon juice. A simple green salad with a lemony vinaigrette or some steamed green beans are perfect accompaniments. If you’re feeling indulgent, warm some crusty bread to soak up any remaining juices from the pan.
Storage: Let leftovers cool completely before transferring to an airtight container. Store in the refrigerator for up to 4 days. The chicken skin will lose its crispiness, but the flavor only gets better as it sits.
Reheating: For best results, reheat in a 350°F (175°C) oven for 10-15 minutes, or until warmed through. The microwave works in a pinch, but it will soften the skin further. If you’re reheating just the rice, add a splash of broth or water to restore moisture.
Freezing: This freezes well for up to 3 months. Cool completely, then portion into freezer-safe containers. Thaw overnight in the refrigerator before reheating. I’ve frozen individual portions for busy nights, and they’ve saved me more than once.
The flavors actually deepen overnight—the rice absorbs more of the chicken seasoning, and everything melds together. I sometimes make this a day ahead on purpose, just for that reason.
Nutritional Information & Benefits
Here’s an approximate nutritional breakdown per serving (one chicken thigh with about ¾ cup of rice):
- Calories: 520
- Protein: 32g
- Fat: 24g
- Saturated Fat: 7g
- Carbohydrates: 40g
- Fiber: 1g
- Sugar: 2g
- Sodium: 780mg
Chicken thighs are a great source of iron and B vitamins, especially B6 and B12, which support energy metabolism. The skin does add fat, but it also provides the satisfaction that keeps you from reaching for snacks an hour later. The rice offers quick energy, and if you use brown rice, you’ll get extra fiber and magnesium.
This recipe is naturally gluten-free and can be made dairy-free with a simple swap. It’s a balanced meal on its own—protein, carbs, and fat in proportions that actually keep you full. I’m not one to count calories obsessively, but it’s nice to know this dish is as nourishing as it is delicious.
Conclusion
This one pan crispy baked chicken thigh and rice bake is the kind of recipe that earns a permanent spot in your rotation. It’s simple enough for a Tuesday night but impressive enough to serve to company. The crispy skin, the flavorful rice with those crunchy edges, the fact that it all happens in one pan—it checks every box.
I love that this recipe doesn’t require any special skills or equipment. It’s forgiving, adaptable, and always delivers. Whether you’re a seasoned cook or someone just getting comfortable in the kitchen, this dish will make you feel like you know what you’re doing.
Give it a try, and don’t be afraid to make it your own. Swap the herbs, add some veggies, or experiment with different spices. And when you do, I’d love to hear about it—drop a comment below or tag me in your photos. Happy cooking!
Frequently Asked Questions
Can I use boneless, skinless chicken thighs?
You can, but the results won’t be the same. Boneless thighs cook faster and won’t give you that crispy skin. If you use them, reduce the baking time to 25-30 minutes and check the internal temperature. The rice might need a few extra minutes uncovered after the chicken is done.
Why is my rice still crunchy after 40 minutes?
This usually happens if the oven temperature is too low or if you used a different type of rice. Long-grain white rice should be tender at 40 minutes. If it’s still crunchy, add ¼ cup of hot broth, cover the pan with foil, and bake for another 10 minutes. Check your oven temperature with an oven thermometer to be sure.
Can I make this in a slow cooker or Instant Pot?
I don’t recommend it for this recipe. The magic is in the crispy skin and the texture of the baked rice, which you just can’t replicate in a slow cooker or pressure cooker. If you’re short on time, the oven method is still faster than a slow cooker anyway.
How do I get the rice crispy on the bottom like the photos?
That crispy layer, called tahdig in Persian cooking, comes from not stirring the rice and using a cast iron skillet. The high heat and even distribution create those golden-brown bits. Don’t scrape them off when serving—they’re the best part!
Can I double this recipe?
Absolutely. Use a larger oven-safe pan, like a 14-inch skillet or a 9×13-inch baking dish. You may need to increase the baking time by 5-10 minutes since there’s more mass. Just check the rice tenderness and chicken temperature before pulling it out.
Pin This Recipe!
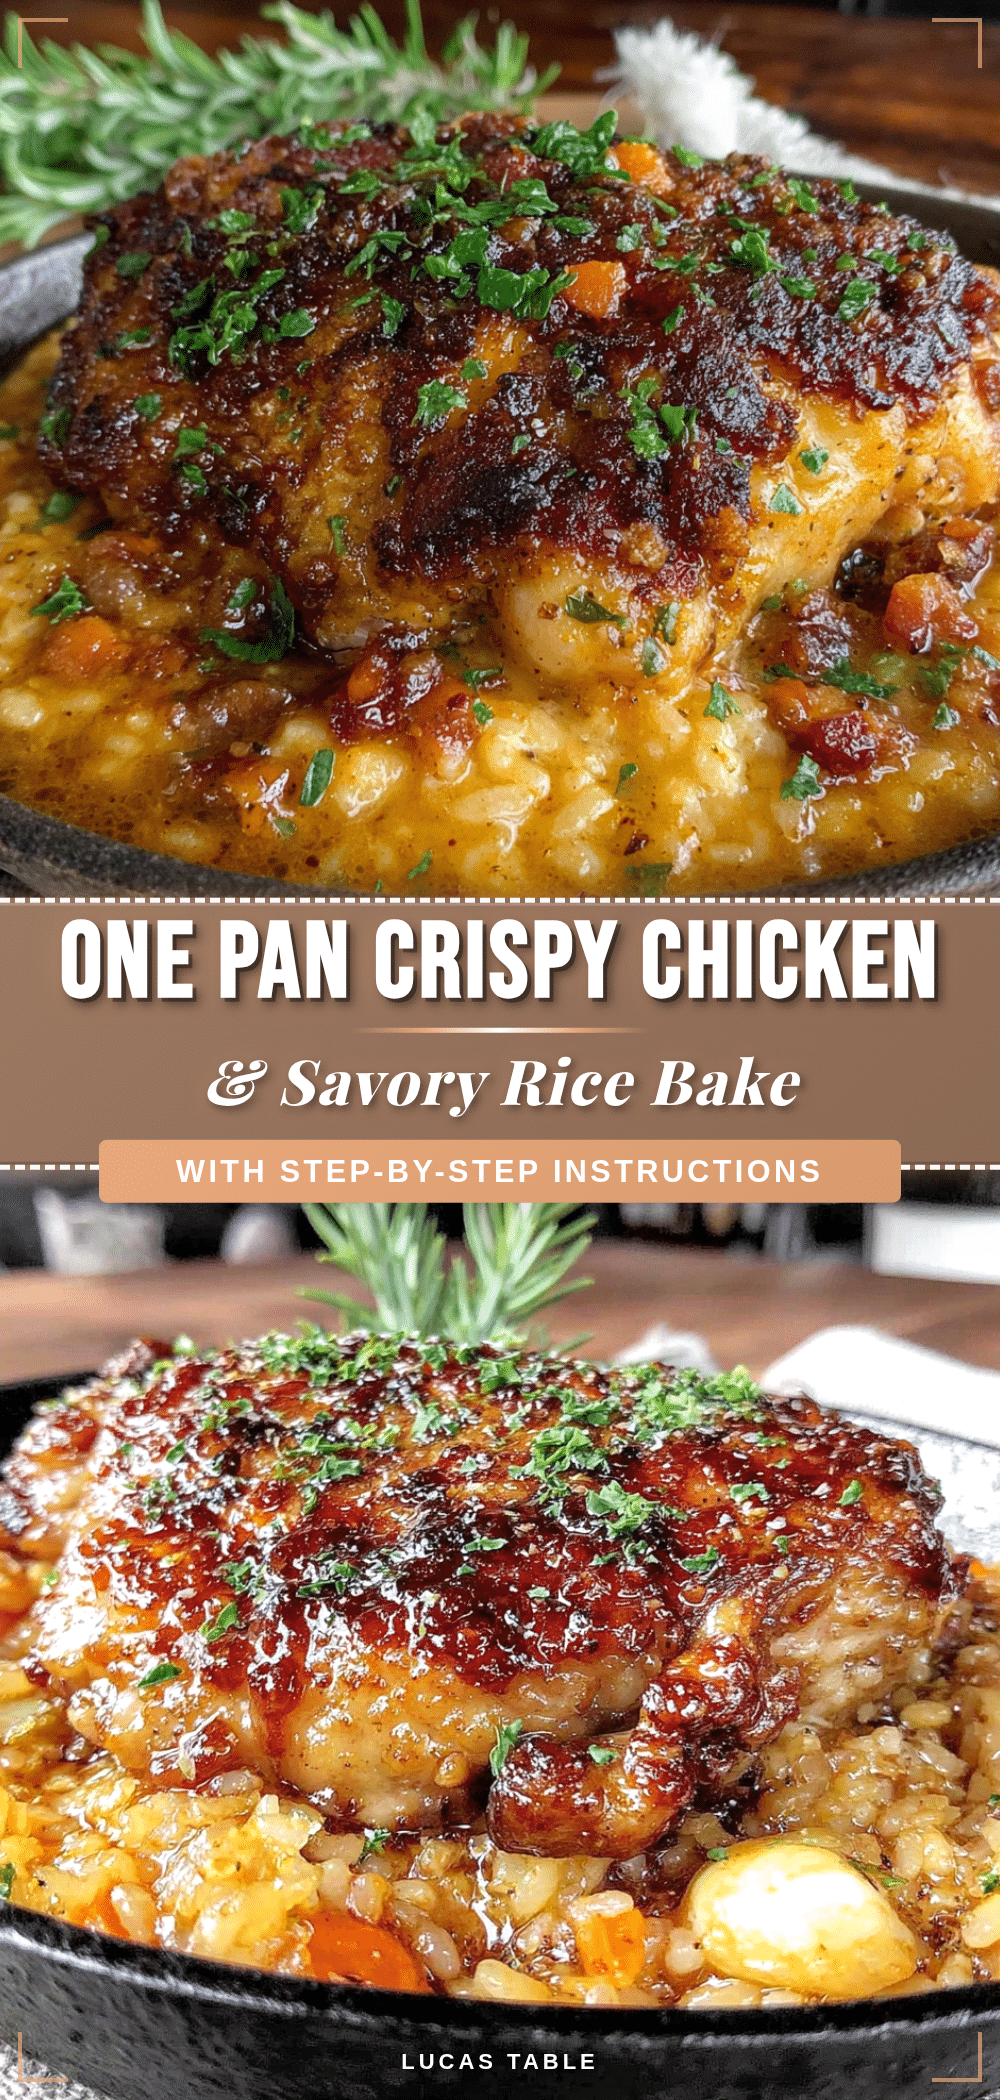
Best One Pan Crispy Baked Chicken Thigh and Rice

This one-pan chicken and rice bake delivers crispy skin and fluffy, flavorful rice with minimal effort. Perfect for busy weeknights, it uses simple ingredients and a clever technique to achieve restaurant-quality results.
- Prep Time: 10 minutes
- Cook Time: 40 minutes
- Total Time: 50 minutes
- Yield: 4 servings 1x
- Category: Main Course
- Cuisine: American
Ingredients
- 4 bone-in, skin-on chicken thighs (about 1.5 pounds total)
- 1 tablespoon olive oil
- 1 teaspoon kosher salt
- ½ teaspoon black pepper, freshly ground
- 1 teaspoon garlic powder
- ½ teaspoon paprika (smoked paprika works well)
- 1 cup long-grain white rice (basmati or jasmine)
- 1 ½ cups low-sodium chicken broth
- 1 small yellow onion, diced (about ¾ cup)
- 2 cloves garlic, minced
- 1 tablespoon butter
- ½ teaspoon dried thyme
- ¼ teaspoon salt
- Fresh parsley, chopped (optional, for garnish)
- Lemon wedges (optional, for serving)
- Flaky sea salt (optional, for finishing)
Instructions
- Preheat your oven to 400°F (200°C). Position the rack in the center. Pat the chicken thighs dry with paper towels.
- In a small bowl, mix 1 teaspoon salt, ½ teaspoon black pepper, 1 teaspoon garlic powder, and ½ teaspoon paprika. Rub the mixture all over the chicken thighs, including under the skin if possible. Let them sit at room temperature while you prep the rice.
- Heat a 12-inch oven-safe skillet over medium-high heat. Add 1 tablespoon olive oil. Once it shimmers, place the chicken thighs skin-side down. Cook for 5-6 minutes without moving them, until the skin is deep golden brown and releases easily from the pan. Flip and cook for 2 more minutes on the other side. Transfer the chicken to a plate; it won’t be cooked through yet.
- Reduce heat to medium. Add 1 tablespoon butter to the same skillet. Once it melts, add the diced onion. Cook for 3-4 minutes, stirring occasionally, until softened and translucent. Add the minced garlic and cook for 30 seconds until fragrant.
- Pour in 1 cup of rice and stir to coat it in the butter and onion mixture. Cook for 1 minute, stirring constantly. Pour in 1 ½ cups chicken broth, add ½ teaspoon dried thyme and ¼ teaspoon salt. Stir once, then spread the rice in an even layer.
- Place the seared chicken thighs skin-side up on top of the rice. Pour any juices from the plate into the pan.
- Bake uncovered for 35-40 minutes, until the rice is tender and most of the liquid is absorbed. The chicken skin should be deeply golden and crispy. If desired, broil for 1-2 minutes at the end for extra browning.
- Let the dish rest for 5 minutes before serving. Fluff the rice gently with a fork, being careful not to break up the crispy edges. Garnish with fresh parsley and lemon wedges if desired.
Notes
Pat the chicken dry thoroughly for crispy skin. Don’t skip the sear—it builds flavor. Use the right pan size (12-inch) to avoid dry or soggy rice. Let the dish rest for 5 minutes before serving. For extra crispy skin, leave seasoned chicken uncovered in the fridge for an hour before cooking.
Nutrition
- Serving Size: 1 chicken thigh with
- Calories: 520
- Sugar: 2
- Sodium: 780
- Fat: 24
- Saturated Fat: 7
- Carbohydrates: 40
- Fiber: 1
- Protein: 32
Keywords: one pan chicken and rice, crispy baked chicken thighs, easy weeknight dinner, one skillet meal, chicken thigh recipe


