I really want a pumpkin scone right now. Not just any pumpkin scone—one that’s soft, not dry, with a crumb that’s almost biscuit-like but still tender. And I want it with a maple glaze that’s set just enough to crackle when you bite into it. The problem is, most coffee shop versions are either too cakey or they’re those sad, dry triangles that crumble into a thousand pieces the moment you look at them. So here I am, standing in my kitchen at 8 AM on a Saturday, staring at a can of pumpkin puree that’s been sitting in my pantry since October. (It’s January now, but let’s not talk about that.)
The thing about fall flavors is they don’t really have an expiration date in my book. Sure, pumpkin spice everything gets a little overdone by November, but a good pumpkin scone? That’s a year-round comfort food if you ask me. I’ve been tweaking this recipe for a while now, trying to get that perfect balance of pumpkin flavor without it being too heavy or wet. And the maple glaze—oh, the maple glaze. It’s not just a drizzle. It’s the whole point. The way it soaks into the warm scone just slightly, creating this sweet, buttery, maple-kissed crust. That’s the kind of morning I’m after.
These scones aren’t fussy. They come together in one bowl (mostly), and they don’t require any fancy techniques. Just a little patience with cold butter and a light hand when mixing. I’ve made them so many times now that I could probably do it in my sleep, but every batch still feels like a small victory. Especially when that glaze hits the warm scone and you see it start to melt just a little. That’s the moment. That’s why I keep coming back to this recipe.
Why You’ll Love This Recipe
Let me tell you why these scones are different. I’ve tested this recipe about six times (maybe seven, I lost count) to get the texture just right. The first batch was too dense. The second was too dry. The third? Well, the third batch taught me that you really can’t overwork the dough if you want tender scones. So trust me when I say this version is the one.
- Quick & Easy : From start to finish, these scones are ready in about 30 minutes. That’s faster than a trip to the coffee shop.
- Simple Ingredients : You probably already have most of these in your pantry. No weird specialty flours or hard-to-find extracts.
- Perfect for Fall Mornings : Or rainy afternoons. Or really any time you want something cozy and sweet without spending hours in the kitchen.
- Crowd-Pleaser : I brought these to a brunch once and they disappeared before the eggs were even done. Kids love them, adults love them, everyone loves them.
- Unbelievably Delicious : The combination of warm pumpkin spice and sweet maple glaze is honestly next-level. It’s comfort food in scone form.
What makes this recipe different from all the others? It’s the texture. I use a trick where I freeze the butter and grate it into the flour, which gives you those flaky layers without any complicated folding. Plus, the maple glaze isn’t just a thin drizzle—it’s a thick, luscious coating that sets up perfectly. This isn’t just another pumpkin scone recipe. It’s the one you’ll come back to again and again.
These scones are the kind that make you close your eyes after the first bite. They’re cozy. They’re comforting. And honestly? They make your kitchen smell like heaven.
What Ingredients You Will Need
This recipe uses simple, wholesome ingredients to create scones that are tender, flavorful, and perfectly spiced. Most of these are pantry staples, which makes this recipe super accessible any time the craving hits.
- All-purpose flour : 2 cups (240g). This gives the scones structure without being too heavy. I prefer unbleached flour for better texture.
- Granulated sugar : 1/3 cup (65g). Just enough sweetness to balance the pumpkin and spices.
- Baking powder : 1 tablespoon. Make sure it’s fresh—this is what gives the scones their rise.
- Pumpkin pie spice : 1 1/2 teaspoons. You can use store-bought or make your own with cinnamon, nutmeg, ginger, and cloves.
- Ground cinnamon : 1/2 teaspoon. For extra warmth.
- Salt : 1/2 teaspoon. Don’t skip this—it balances the sweetness.
- Unsalted butter : 6 tablespoons (85g), cold and frozen. This is the key to flaky scones. I freeze the butter for about 15 minutes before grating it.
- Pumpkin puree : 1/2 cup (120g). Not pumpkin pie filling—make sure you get 100% pure pumpkin puree. I like Libby’s for consistent texture.
- Heavy cream : 1/4 cup (60ml), plus more for brushing. The fat in the cream makes the scones tender and rich.
- Vanilla extract : 1 teaspoon. Pure vanilla is best, but imitation works in a pinch.
- Egg : 1 large, for binding and richness.
For the Maple Glaze:
- Powdered sugar : 1 1/2 cups (180g), sifted for a smooth glaze.
- Pure maple syrup : 3 tablespoons. Grade A dark amber gives the best flavor.
- Heavy cream or milk : 2-3 tablespoons, to adjust consistency.
- Vanilla extract : 1/2 teaspoon.
- Pinch of salt : To balance the sweetness.
For the pumpkin puree, look for a can that’s firm and doesn’t have any added sugar or spices. If you’re using homemade pumpkin puree, make sure to drain any excess liquid—wet pumpkin will make your scones dense and gummy. Trust me, I learned that the hard way.
Equipment Needed
You don’t need a lot of fancy equipment for these scones, which is part of why I love making them. Here’s what you’ll need:
- Large mixing bowl : For combining the dry ingredients.
- Box grater or food processor : For grating the frozen butter. A box grater is my go-to because it’s easy to clean and gives you those perfect little butter shreds.
- Pastry cutter or two forks : To cut the butter into the flour if you’re not grating it.
- Baking sheet : Line it with parchment paper for easy cleanup.
- Parchment paper : Non-stick and makes transferring scones a breeze.
- Bench scraper or sharp knife : For cutting the scone dough into wedges.
- Pastry brush : For brushing cream on top before baking.
- Cooling rack : So the scones cool evenly and the glaze sets properly.
- Whisk : For the glaze.
If you don’t have a box grater, you can use a food processor with the shredding attachment. Or, if you’re old school, just cut the butter into small cubes and use a pastry cutter. I’ve done it all three ways, and grating really does give you the best texture.
Preparation Method
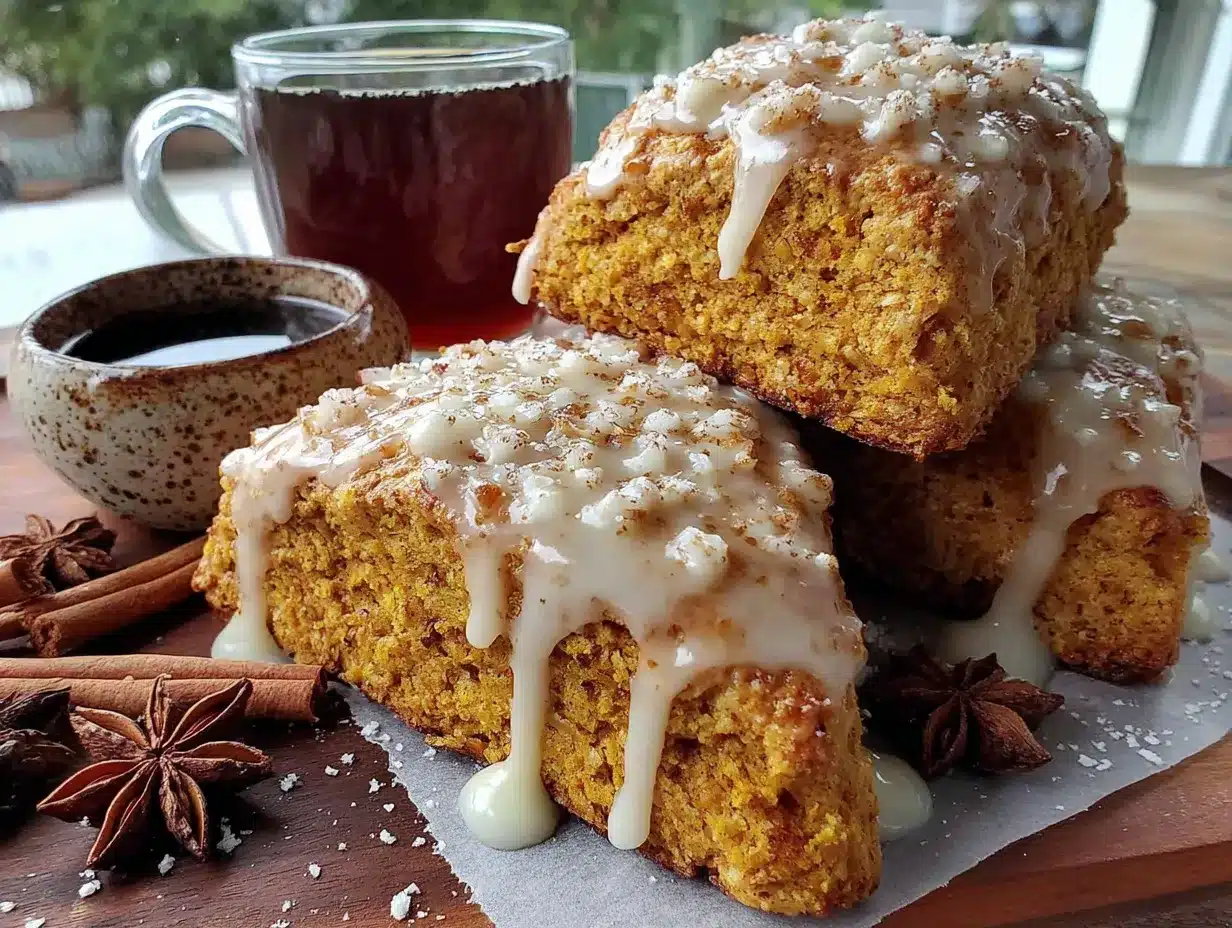
Let’s make these scones. I’ll walk you through every step so you get perfect results, even if it’s your first time making scones from scratch.
- Preheat your oven to 400°F (200°C) and line a baking sheet with parchment paper. Get this going first so the oven is hot when you’re ready to bake.
- Grate the frozen butter. Take your cold butter straight from the freezer and grate it on the large holes of a box grater. Work quickly so the butter doesn’t soften. Pop the grated butter back in the freezer while you prepare the dry ingredients.
- Mix the dry ingredients. In a large bowl, whisk together the flour, sugar, baking powder, pumpkin pie spice, cinnamon, and salt. Make sure everything is evenly distributed—you don’t want a pocket of baking powder in one scone.
- Add the grated butter. Take the butter out of the freezer and add it to the flour mixture. Use your fingers or a fork to toss the butter shreds with the flour until they’re all coated. The mixture should look like coarse crumbs with some pea-sized bits of butter still visible. Those little butter pockets are what create flaky layers.
- Mix the wet ingredients. In a separate small bowl, whisk together the pumpkin puree, heavy cream, vanilla extract, and egg until smooth. Make sure the egg is fully incorporated.
- Combine wet and dry. Pour the wet ingredients into the flour mixture. Use a rubber spatula to gently fold everything together. Stop as soon as the dough comes together—it will look shaggy and slightly sticky. Overmixing will make tough scones, so resist the urge to keep stirring.
- Shape the dough. Turn the dough out onto a lightly floured surface. Gently bring it together with your hands, patting it into a 6-inch circle that’s about 3/4-inch thick. Don’t use a rolling pin—just use your hands. The warmth of your hands is actually helpful here, but work quickly so the butter stays cold.
- Cut the scones. Use a sharp knife or bench scraper to cut the circle into 8 equal wedges, like a pizza. Transfer the wedges to your prepared baking sheet, spacing them about 2 inches apart.
- Brush with cream. Brush the tops of the scones with a little extra heavy cream. This gives them a beautiful golden-brown crust. Sprinkle a tiny bit of coarse sugar on top if you want extra crunch.
- Bake. Place the baking sheet in the preheated oven and bake for 14-16 minutes, or until the scones are golden brown on the bottom and just lightly golden on top. They should feel firm to the touch but still soft inside.
- Cool. Let the scones cool on the baking sheet for 5 minutes, then transfer them to a cooling rack. They need to cool almost completely before you add the glaze, otherwise it will just melt right off.
- Make the glaze. While the scones are cooling, whisk together the powdered sugar, maple syrup, vanilla extract, and a pinch of salt. Add cream or milk 1 tablespoon at a time until you get a thick, pourable consistency. You want it to be thick enough that it doesn’t run off the scones completely, but thin enough to drizzle.
- Glaze the scones. Once the scones are completely cool, drizzle the maple glaze over the tops. Let the glaze set for about 10 minutes before serving. If you’re impatient like me, you can eat them right away—the glaze will just be a little messy.
Cooking Tips & Techniques
After making these scones more times than I care to admit, I’ve picked up a few tricks that make a real difference. Here are the things I wish someone had told me when I first started making scones.
Keep everything cold. This is the number one rule of scone-making. Cold butter creates steam pockets in the oven, which gives you those flaky layers. If your butter melts before the scones hit the oven, you’ll end up with dense, heavy hockey pucks. I sometimes pop my mixing bowl in the fridge for 10 minutes before adding the wet ingredients.
Don’t overwork the dough. I know I’ve said this already, but it’s worth repeating. Scone dough should be shaggy and slightly sticky. If it’s smooth and uniform, you’ve overmixed it. The less you handle the dough, the more tender the scones will be. My first batch of scones was tough because I couldn’t stop kneading it. Learn from my mistake.
Use fresh baking powder. Baking powder loses its potency over time. If your baking powder is more than 6 months old, it might not give your scones enough lift. Test it by dropping a teaspoon into hot water—if it fizzes vigorously, it’s still good.
Freeze the scones before baking. This is a pro tip I picked up from a pastry chef friend. After you cut the scones, pop them in the freezer for 15 minutes before baking. This firms up the butter even more, which means taller, flakier scones. It also helps them hold their shape better.
Watch the baking time. Every oven is different. Start checking your scones at the 12-minute mark. They should be golden on the bottom and just barely browned on top. If the tops are getting too dark but the bottoms aren’t done, tent them loosely with foil for the last few minutes.
Glaze at the right time. Wait until the scones are completely cool before glazing. If they’re even slightly warm, the glaze will melt and soak in, leaving you with a sticky mess instead of a beautiful crackly top. I’ve made this mistake more than once, and it’s always disappointing.
Variations & Adaptations
One of the best things about this recipe is how versatile it is. Here are some variations I’ve tried and loved:
Gluten-Free Version : Substitute the all-purpose flour with a 1:1 gluten-free baking flour blend. I’ve had good results with Bob’s Red Mill 1:1 Baking Flour. Add an extra tablespoon of cream because gluten-free flours tend to absorb more liquid.
Vegan Adaptation : Use cold vegan butter (like Earth Balance) and replace the heavy cream with full-fat coconut cream. For the egg, use a flax egg (1 tablespoon ground flaxseed mixed with 3 tablespoons water, let sit for 5 minutes). The texture will be slightly different—a bit more dense—but still delicious.
Chocolate Chip Pumpkin Scones : Fold in 1/2 cup of dark chocolate chips with the wet ingredients. The combination of pumpkin, maple, and chocolate is surprisingly amazing. I tried this on a whim one day and it’s become one of my favorite variations.
Spiced Pecan Version : Add 1/2 cup of toasted, chopped pecans to the dry ingredients. Toast them first in a dry pan for about 3 minutes to bring out their flavor. Top the glazed scones with a few extra pecan halves for a pretty presentation.
Cranberry Orange Pumpkin Scones : Replace the maple glaze with a simple orange glaze (powdered sugar + fresh orange juice + orange zest) and fold 1/2 cup of dried cranberries into the dough. The tartness of the cranberries cuts through the sweetness beautifully.
Savory Pumpkin Scones : This is a wild card, but hear me out. Omit the sugar and pumpkin pie spice, add 1 teaspoon of garlic powder, 1/2 teaspoon of black pepper, and 1/2 cup of shredded cheddar cheese. Skip the glaze entirely and brush with melted butter instead. These are incredible with soup or chili.
Serving & Storage Suggestions
These scones are best served slightly warm, with the maple glaze just set. I like to reheat them in a 300°F oven for about 5 minutes if they’ve cooled completely. The warmth brings out the pumpkin and spice flavors and softens the glaze just enough to make it irresistible.
What to serve with them: A hot cup of coffee or chai latte is the classic pairing, but they’re also wonderful with a cold glass of milk or a warm mug of apple cider. For a more indulgent breakfast, serve them alongside scrambled eggs and crispy bacon. The sweet and savory combo is perfection.
Storage: Store unglazed scones in an airtight container at room temperature for up to 3 days. If you’ve already glazed them, layer them between sheets of parchment paper so the glaze doesn’t stick. They’ll keep for about 2 days at room temperature.
Freezing: These scones freeze beautifully. You have two options: freeze the unbaked scone wedges on a baking sheet, then transfer them to a freezer bag. Bake directly from frozen, adding 2-3 minutes to the baking time. Or, bake and cool the scones completely, then freeze them in a single layer in a freezer bag. Thaw at room temperature and reheat in the oven before glazing.
Reheating: The best way to reheat scones is in a 300°F oven for 5-7 minutes. The microwave works in a pinch, but it can make them soggy. If you’re reheating glazed scones, be careful—the glaze might melt a little. I usually reheat unglazed scones and add fresh glaze after.
The flavors actually develop over time. Day-old scones are often more flavorful than fresh ones, even if they’re not quite as tender. The spices have time to meld and deepen, which is pretty amazing for a baked good that comes together in 30 minutes.
Nutritional Information & Benefits
Here’s the approximate nutritional information for one scone (with glaze):
| Nutrient | Amount |
|---|---|
| Calories | 320 |
| Total Fat | 14g |
| Saturated Fat | 9g |
| Cholesterol | 55mg |
| Sodium | 280mg |
| Total Carbohydrates | 46g |
| Dietary Fiber | 2g |
| Sugars | 26g |
| Protein | 4g |
These scones aren’t health food, but they do have some redeeming qualities. Pumpkin is packed with vitamin A and fiber, which is good for your immune system and digestion. The spices—cinnamon, nutmeg, ginger—have anti-inflammatory properties. And let’s be real, sometimes you need a treat that feeds your soul as much as your body.
If you’re watching your sugar intake, you can reduce the sugar in the scones to 1/4 cup and use a thinner glaze. Or skip the glaze altogether and brush the warm scones with a little melted butter and sprinkle of cinnamon sugar. It’s not the same, but it’s still delicious.
These scones contain gluten, dairy, and eggs. For allergen-friendly versions, check out the variations section above.
Conclusion
These iced pumpkin scones with maple glaze are everything I want in a fall-inspired treat. They’re tender, flaky, perfectly spiced, and topped with that dreamy maple glaze that takes them from good to unforgettable. I’ve made them for lazy Saturday mornings, holiday brunches, and even as a surprise for my neighbors, and they’ve never let me down.
The best part? They’re so simple to make. No complicated techniques, no hard-to-find ingredients, just straightforward baking that yields incredible results. Whether you’re a seasoned baker or someone who’s never made scones before, this recipe is for you. It’s forgiving, adaptable, and absolutely delicious.
I’d love to hear how these turn out for you. Did you try any of the variations? Did you come up with your own twist? Drop a comment below and let me know—I read every single one, and I’m always looking for new ideas to try. And if you share them on social media, tag me so I can see your beautiful scones. Happy baking, friends!
Frequently Asked Questions
Can I use pumpkin pie filling instead of pumpkin puree?
No, please don’t. Pumpkin pie filling has added sugar and spices that will throw off the balance of this recipe. Stick with 100% pure pumpkin puree for the best results.
Why did my scones turn out dry?
A few things could cause dry scones. You might have overbaked them, overmixed the dough, or used too much flour. Make sure you’re measuring your flour correctly—spoon it into the measuring cup and level it off, don’t scoop directly from the bag.
Can I make the dough ahead of time?
Absolutely. You can prepare the scone dough, cut it into wedges, and refrigerate them on a baking sheet for up to 24 hours. Bake them straight from the fridge, adding a minute or two to the baking time. You can also freeze the unbaked wedges for up to 3 months.
How do I get a thicker maple glaze?
If your glaze is too thin, add more powdered sugar, one tablespoon at a time, until it reaches the consistency you want. If it’s too thick, add a tiny bit more cream or milk. The glaze should be thick enough to coat the back of a spoon but still pourable.
Can I use a different type of flour?
You can substitute up to half of the all-purpose flour with whole wheat pastry flour for a nuttier flavor. For a gluten-free version, use a 1:1 gluten-free baking blend. Avoid using coconut flour or almond flour alone—they behave very differently and will change the texture completely.
Pin This Recipe!
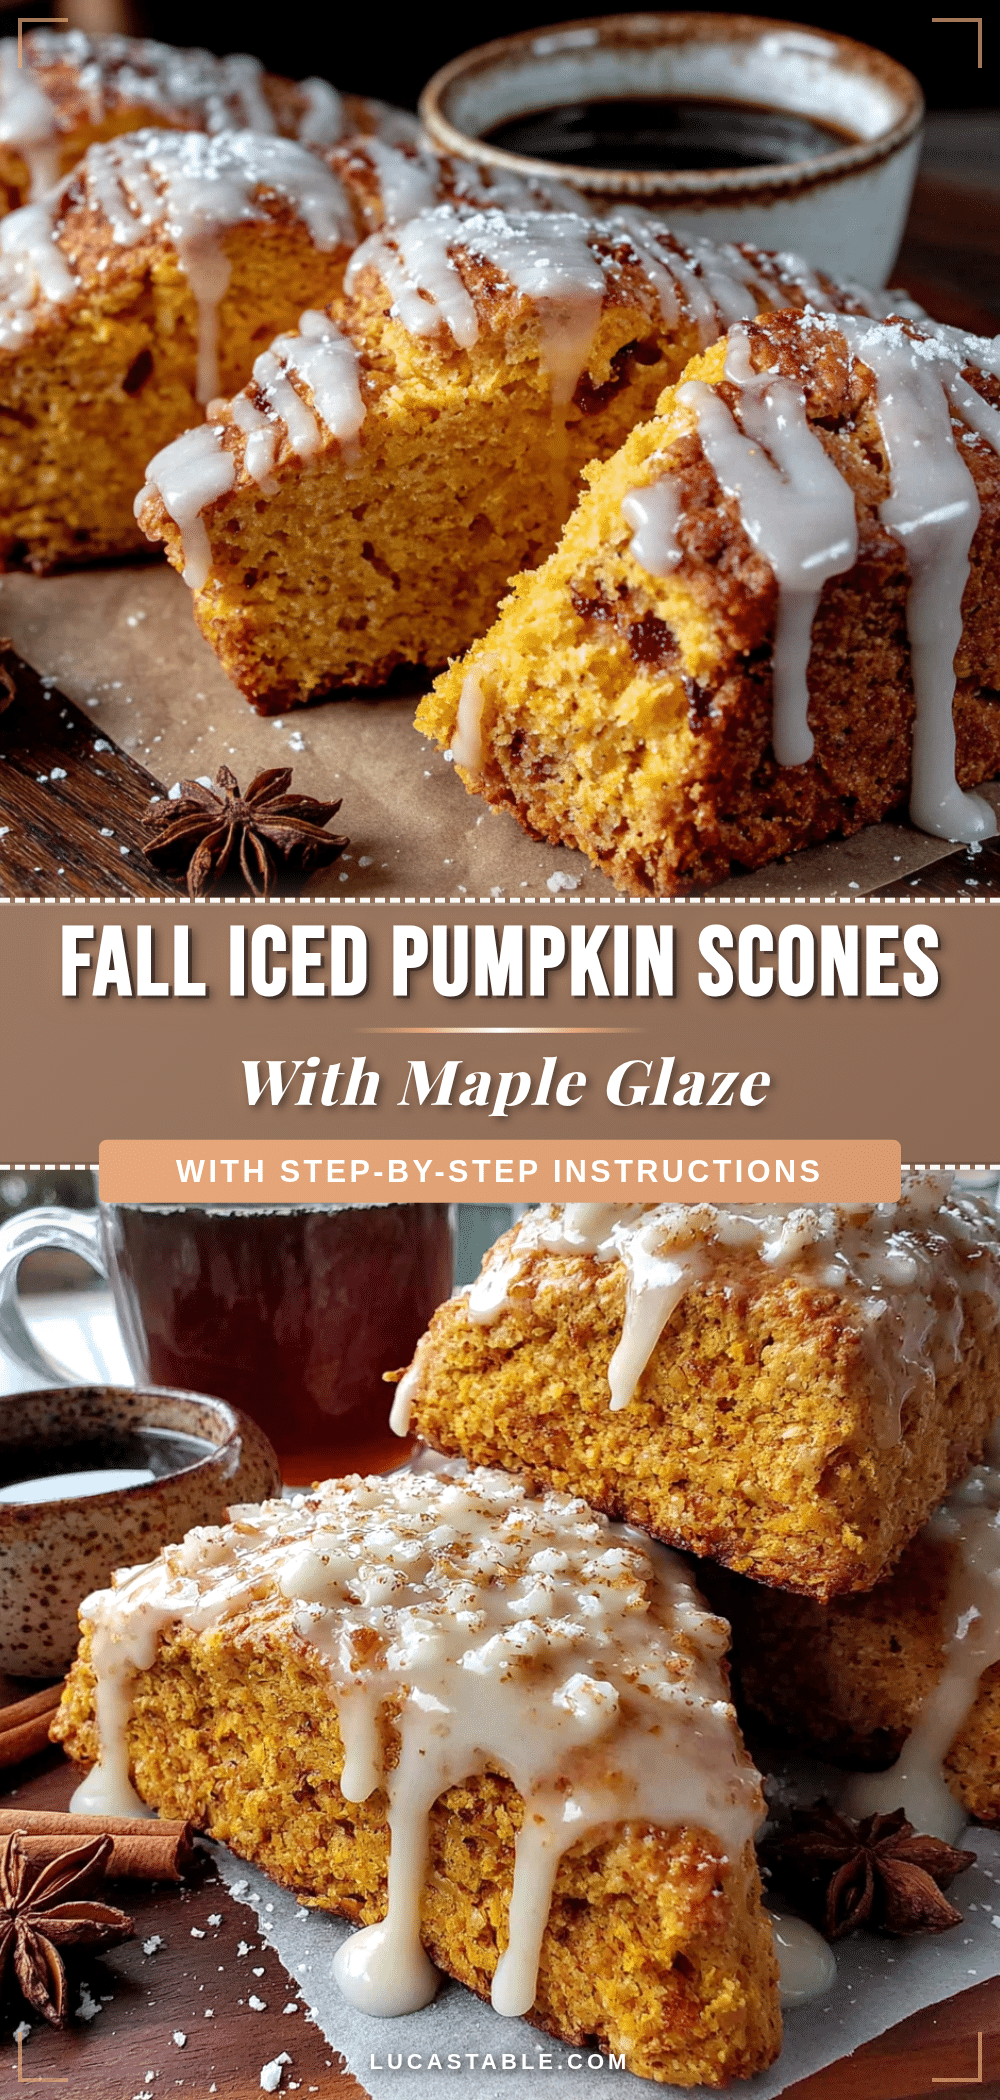
Easy Iced Pumpkin Scones with Maple Glaze

These tender, flaky pumpkin scones are topped with a thick maple glaze that crackles when you bite into them. Made with simple ingredients and ready in about 30 minutes, they’re the perfect cozy treat for any time of year.
- Prep Time: 15 minutes
- Cook Time: 16 minutes
- Total Time: 31 minutes
- Yield: 8 servings 1x
- Category: Breakfast
- Cuisine: American
Ingredients
- 2 cups (240g) all-purpose flour
- 1/3 cup (65g) granulated sugar
- 1 tablespoon baking powder
- 1 1/2 teaspoons pumpkin pie spice
- 1/2 teaspoon ground cinnamon
- 1/2 teaspoon salt
- 6 tablespoons (85g) unsalted butter, cold and frozen
- 1/2 cup (120g) pumpkin puree (100% pure, not pie filling)
- 1/4 cup (60ml) heavy cream, plus more for brushing
- 1 teaspoon vanilla extract
- 1 large egg
- For the Maple Glaze:
- 1 1/2 cups (180g) powdered sugar, sifted
- 3 tablespoons pure maple syrup (Grade A dark amber preferred)
- 2–3 tablespoons heavy cream or milk
- 1/2 teaspoon vanilla extract
- Pinch of salt
Instructions
- Preheat your oven to 400°F (200°C) and line a baking sheet with parchment paper.
- Grate the frozen butter on the large holes of a box grater. Work quickly and return the grated butter to the freezer while preparing the dry ingredients.
- In a large bowl, whisk together the flour, sugar, baking powder, pumpkin pie spice, cinnamon, and salt.
- Add the grated butter to the flour mixture. Toss with your fingers or a fork until the butter is coated and the mixture resembles coarse crumbs with some pea-sized butter bits.
- In a separate small bowl, whisk together the pumpkin puree, heavy cream, vanilla extract, and egg until smooth.
- Pour the wet ingredients into the flour mixture. Gently fold with a rubber spatula until just combined. The dough will be shaggy and slightly sticky. Do not overmix.
- Turn the dough out onto a lightly floured surface. Gently pat it into a 6-inch circle about 3/4-inch thick. Do not use a rolling pin.
- Cut the circle into 8 equal wedges. Transfer the wedges to the prepared baking sheet, spacing them about 2 inches apart.
- Brush the tops of the scones with a little extra heavy cream. Optionally, sprinkle with coarse sugar.
- Bake for 14-16 minutes, until golden brown on the bottom and just lightly golden on top. They should feel firm to the touch.
- Let the scones cool on the baking sheet for 5 minutes, then transfer to a cooling rack. Cool almost completely before glazing.
- While the scones cool, make the glaze: whisk together the powdered sugar, maple syrup, vanilla extract, and a pinch of salt. Add cream or milk 1 tablespoon at a time until you get a thick, pourable consistency.
- Once the scones are completely cool, drizzle the maple glaze over the tops. Let the glaze set for about 10 minutes before serving.
Notes
Keep all ingredients cold for flaky scones. Do not overwork the dough. For best results, freeze the cut scones for 15 minutes before baking. Wait until scones are completely cool before glazing to prevent the glaze from melting.
Nutrition
- Serving Size: 1 scone
- Calories: 320
- Sugar: 26
- Sodium: 280
- Fat: 14
- Saturated Fat: 9
- Carbohydrates: 46
- Fiber: 2
- Protein: 4
Keywords: pumpkin scones, maple glaze, fall baking, easy scone recipe, pumpkin spice


