My husband had claimed to hate pumpkin desserts for the better part of a decade. Ten years. Every fall, I’d make pumpkin bread, pumpkin muffins, pumpkin pie—all for me, apparently. He’d politely decline, reaching for a plain cookie or a slice of apple cake instead. I stopped offering. I stopped trying to convert him.
Then, last October, I pulled a tray of these brown butter pumpkin snickerdoodle cookies out of the oven. The kitchen smelled like a candle shop had exploded in the best possible way—warm cinnamon, nutty browned butter, and that faint, sweet earthiness of pumpkin. I set the tray on the counter to cool and walked away to answer my phone. When I came back five minutes later, he was standing there. Caught. Mid-bite. Crumbs on his shirt.
“What is that?” he asked, mouth half-full.
“Pumpkin,” I said. I didn’t even try to hide the smile.
He finished the cookie. Then he took another. And another. I mean, honestly, I’d never seen anything like it. The man who had spent a decade avoiding pumpkin was now single-handedly working his way through a dozen cookies before dinner. Maybe you’ve been there—that moment when a recipe cracks open something you thought was permanently closed. It’s a good feeling. Let me tell you, it never gets old.
These cookies are the reason. The brown butter changes everything. It adds this deep, nutty warmth that plays off the pumpkin without letting it get too heavy or sweet. The texture is soft and chewy with that classic snickerdoodle crackle on top. And the pumpkin? It’s there, for sure. But it’s not shouting. It’s humming in the background, making everything better. That’s the trick. That’s what got him.
This recipe stayed with me because it proved something I already knew but love to see in action: the right version of a dish can change a mind. You don’t have to convince anyone. You just have to hand them the right cookie.
Why You’ll Love This Recipe
I’ve tested this recipe more times than I can count. I’ve made it with fresh pumpkin puree, canned pumpkin, even a weird leftover sweet potato mash situation one time (don’t recommend that one). I’ve tweaked the butter-to-flour ratio, played with the spice blend, and burned more butter than I’d like to admit before I got it right. This version is the keeper. Here’s why it works for a family on a sensible budget:
- Quick & Easy: These cookies come together in about 30 minutes total. No chilling required. You can have warm cookies in the time it takes to unload the dishwasher.
- Simple Ingredients: You probably already have most of these in your pantry. Flour, sugar, butter, eggs, cinnamon, pumpkin puree. Nothing fancy. Nothing expensive.
- Perfect for Family Meals: These are great for after-school snacks, weekend baking projects, or a simple dessert that makes everyone happy without a lot of fuss.
- Crowd-Pleaser: Even the pumpkin skeptics in your house will reach for seconds. I’ve tested this on picky kids, grumpy teenagers, and adults who “don’t do dessert.” Every single one of them came back for more.
- Unbelievably Delicious: The brown butter gives these cookies a richness that feels almost decadent, but the ingredients are totally everyday. It’s a little bit of effort for a lot of payoff.
What makes this recipe different from the rest? It’s the brown butter. Most pumpkin snickerdoodle recipes skip that step, but it’s the secret to that deep, almost caramel-like flavor that balances the pumpkin perfectly. It’s not just another version. It’s the best version. And it’s the kind of cookie that makes you close your eyes after the first bite—and then reach for another.
What Ingredients You Will Need
This recipe uses simple, wholesome ingredients to deliver big flavor without breaking the bank. Most of these are pantry staples you probably already have on hand. Here’s what you’ll need:
For the Cookies
- 1 cup unsalted butter (2 sticks) — You’ll brown this, so don’t use salted butter unless you want a saltier cookie. I prefer Land O’Lakes for consistent results.
- 1 cup granulated sugar — Adds sweetness and helps create that signature crackly top.
- 1/2 cup packed light brown sugar — Adds moisture and a hint of molasses flavor.
- 1 large egg — Room temperature works best for even mixing.
- 1 teaspoon vanilla extract — Pure vanilla extract gives the best flavor, but imitation works fine in a pinch.
- 3/4 cup pumpkin puree — Not pumpkin pie filling. Make sure you grab the plain stuff. Libby’s is my go-to brand.
- 2 1/2 cups all-purpose flour — Spoon and level it for accuracy. Scooping directly from the bag can pack in too much flour.
- 1 teaspoon baking soda — Helps the cookies spread just enough.
- 1/2 teaspoon baking powder — Adds a little lift for a softer texture.
- 1/2 teaspoon salt — Balances the sweetness and brings out the brown butter flavor.
- 2 teaspoons ground cinnamon — The classic snickerdoodle spice. I use McCormick for consistent quality.
- 1 teaspoon pumpkin pie spice — You can make your own with cinnamon, nutmeg, ginger, and cloves if you don’t have a pre-made blend.
For the Cinnamon Sugar Coating
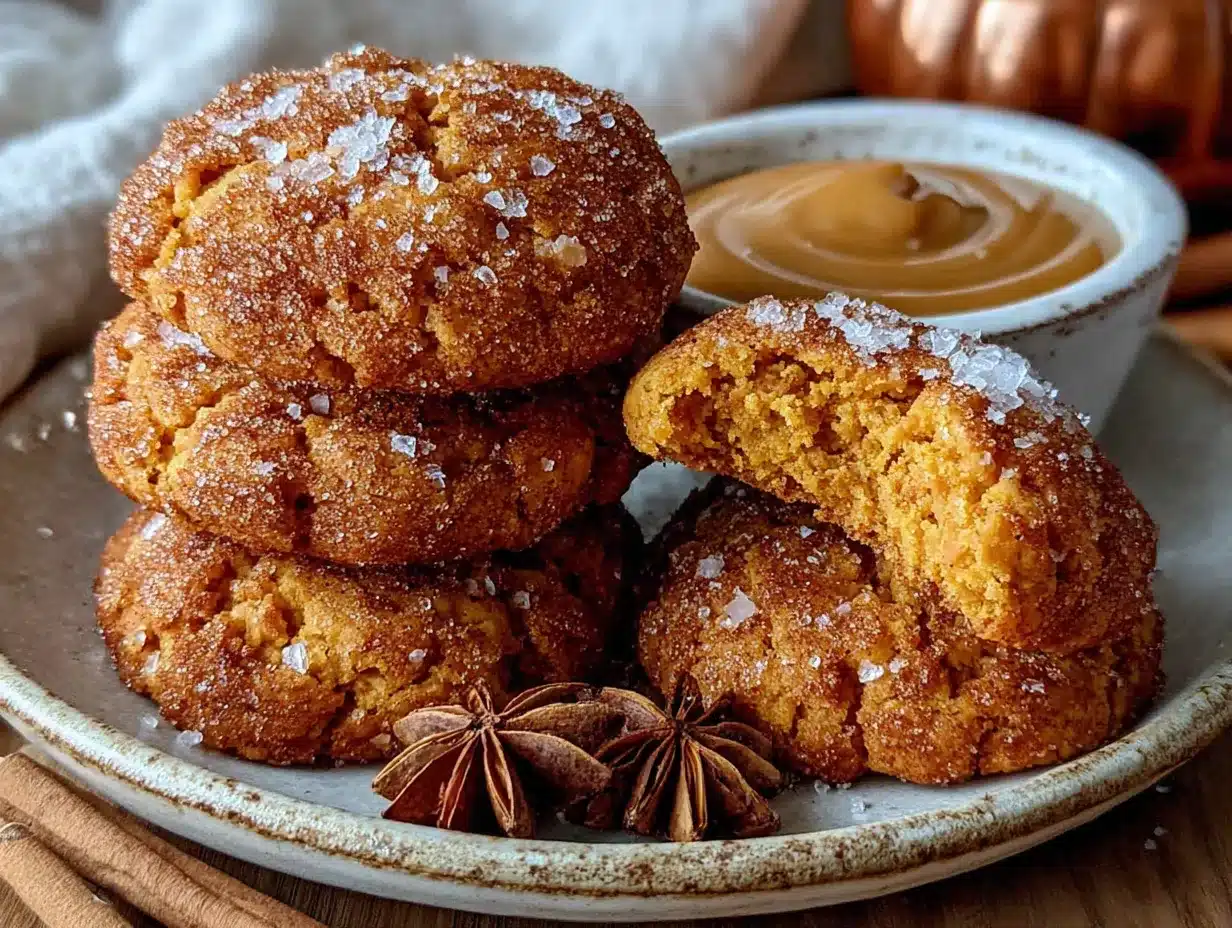
- 1/4 cup granulated sugar
- 2 teaspoons ground cinnamon
Ingredient Selection Tip: For the best texture, use canned pumpkin puree instead of fresh. Canned pumpkin has a consistent moisture level, which means your cookies will turn out the same every time. Fresh pumpkin can be watery and unpredictable unless you strain it well.
Substitution Guidance: If you need a dairy-free option, you can use vegan butter for browning. Just keep an eye on it—vegan butter can burn faster than regular butter. For a gluten-free version, swap the all-purpose flour with a 1:1 gluten-free baking flour blend. I’ve had good results with Bob’s Red Mill.
Equipment Needed
You don’t need a lot of fancy equipment for these cookies. Here’s what I use:
- Large skillet or saucepan — For browning the butter. A light-colored pan helps you see the color change. I use a stainless steel skillet, but a non-stick pan works too.
- Mixing bowls — One large bowl for the wet ingredients, one medium bowl for the dry ingredients.
- Whisk — For mixing the dry ingredients and smoothing out the batter.
- Spatula — A silicone spatula is great for scraping every last bit of brown butter out of the pan.
- Baking sheets — Standard half-sheet pans work perfectly. Line them with parchment paper for easy cleanup.
- Cookie scoop — A 1.5-tablespoon scoop gives you consistent-sized cookies. If you don’t have one, use a regular spoon and eyeball it.
- Cooling rack — Lets the cookies cool evenly so they don’t get soggy on the bottom.
Budget-Friendly Tip: If you don’t have a cookie scoop, you can use two spoons to portion the dough. It’s not as pretty, but the cookies will taste just as good. And if you don’t have a cooling rack, just let the cookies cool on the baking sheet for a few minutes before transferring them to a plate.
Preparation Method
Let me walk you through this step by step. Trust me, the brown butter is worth the extra few minutes.
- Brown the butter. Cut the butter into tablespoon-sized pieces and add them to a light-colored skillet or saucepan over medium heat. Stir constantly with a spatula or whisk. The butter will melt, then foam, then start to sizzle. After about 5-7 minutes, you’ll see brown specks forming at the bottom of the pan. The butter will smell nutty and amazing. As soon as it turns a golden-amber color, remove it from the heat immediately. Pour it into a heatproof bowl to stop the cooking process. Don’t walk away from this—burnt butter is a sad thing. Let it cool for about 10 minutes.
- Mix the wet ingredients. In a large mixing bowl, combine the cooled brown butter, granulated sugar, and brown sugar. Whisk until smooth and well combined. It should look like a thick, glossy paste. Add the egg, vanilla extract, and pumpkin puree. Whisk again until everything is fully incorporated. The mixture might look a little separated at first, but keep whisking—it’ll come together.
- Mix the dry ingredients. In a separate medium bowl, whisk together the all-purpose flour, baking soda, baking powder, salt, ground cinnamon, and pumpkin pie spice. Make sure everything is evenly distributed. I like to give it a good 10-15 seconds of whisking to make sure there are no clumps of baking soda or spice.
- Combine wet and dry. Gradually add the dry ingredients to the wet ingredients, stirring with a spatula or wooden spoon until just combined. Don’t overmix. A few streaks of flour are okay—they’ll disappear as you stir. The dough will be soft and slightly sticky, which is exactly what you want.
- Preheat the oven. Set your oven to 350°F (175°C). Line two baking sheets with parchment paper.
- Make the cinnamon sugar coating. In a small shallow bowl, whisk together the 1/4 cup granulated sugar and 2 teaspoons ground cinnamon.
- Shape the cookies. Using a cookie scoop or a spoon, portion out about 1.5 tablespoons of dough. Roll it into a ball between your palms. The dough will be soft, so don’t worry if it’s not perfectly round. Drop the dough ball into the cinnamon sugar mixture and roll it around to coat evenly. Place it on the prepared baking sheet. Repeat with the remaining dough, spacing the cookies about 2 inches apart. You should get about 24 cookies.
- Bake. Bake for 10-12 minutes, or until the edges are set and the tops look slightly crackled. The centers will still look soft and puffy—that’s okay. They’ll continue to set as they cool. For softer, chewier cookies, pull them out at 10 minutes. For slightly crispier edges, go for 12 minutes.
- Cool. Let the cookies cool on the baking sheet for 5 minutes. This is important—they’re fragile right out of the oven. After 5 minutes, transfer them to a cooling rack to cool completely. Or, you know, eat one warm. I won’t tell.
Sensory Cue: When the cookies are done, the kitchen will smell like a fall festival. The tops will have that beautiful crackled look, and the edges will be just barely golden. If you gently press the center of a cookie, it should spring back slightly.
Cooking Tips & Techniques
I’ve learned a few things the hard way so you don’t have to. Here are my best tips for perfect brown butter pumpkin snickerdoodle cookies every time:
- Don’t rush the brown butter. I know it’s tempting to crank up the heat, but medium heat is your friend. High heat burns the butter before it has a chance to brown evenly. Stir constantly. The moment you see those brown specks, pull it off the heat. I’ve burned more batches than I’d like to admit while trying to multitask.
- Let the brown butter cool slightly. If you add it to the sugars while it’s still hot, it can melt the sugar too much and change the texture of the cookies. Give it 10 minutes. Use that time to measure out your dry ingredients.
- Don’t overmix the dough. Overmixing develops the gluten in the flour, which can make the cookies tough. Mix until the flour just disappears. A few streaks are fine.
- Use parchment paper. Silicone baking mats work too, but parchment paper makes cleanup a breeze. Plus, the cookies slide right off without sticking.
- Chill if you have time. I said no chilling required, and that’s true. But if you have an extra 30 minutes, popping the dough balls in the fridge before baking gives you slightly thicker, chewier cookies. It’s optional, but worth mentioning.
- Bake one sheet at a time. If you try to bake both sheets at once, the cookies won’t spread evenly. If you’re short on time, just rotate the pans halfway through baking.
Variations & Adaptations
One of the best things about this recipe is how easy it is to adapt. Here are a few variations I’ve tried and loved:
- Gluten-Free Version: Substitute the all-purpose flour with a 1:1 gluten-free baking flour blend. I’ve used Bob’s Red Mill and King Arthur Flour blends with great results. The texture will be slightly more tender, but the flavor is spot on.
- Dairy-Free Version: Use vegan butter for browning. Just keep a close eye on it—vegan butter has a lower smoke point and can burn faster. I’ve had good luck with Miyoko’s European Style Cultured Vegan Butter.
- Spice It Up: Add a pinch of cayenne pepper or a teaspoon of ground ginger to the dry ingredients for a little heat. It sounds weird, but the warmth plays beautifully with the brown butter and pumpkin.
- Add Mix-Ins: Fold in 1/2 cup of white chocolate chips, chopped pecans, or dried cranberries after combining the wet and dry ingredients. White chocolate and pumpkin is a match made in heaven.
- Make It a Sandwich Cookie: Spread a little cream cheese frosting between two cookies for an indulgent treat. It’s perfect for holiday parties or when you want to impress someone without a lot of effort.
My personal favorite variation? I add a tablespoon of bourbon to the wet ingredients. It deepens the nutty flavor of the brown butter and adds a little grown-up warmth. Just don’t tell the kids.
Serving & Storage Suggestions
These cookies are best served warm, straight from the oven, with a cold glass of milk or a hot cup of coffee. The contrast between the warm, soft cookie and the cold milk is pure comfort food magic. For a fancier presentation, dust the cookies with a little extra cinnamon sugar right before serving.
Storage Instructions: Store the cookies in an airtight container at room temperature for up to 5 days. Place a piece of bread in the container to keep them soft—the bread absorbs excess moisture and the cookies stay chewy. Change the bread every other day if you’re storing them longer.
Freezer Instructions: These cookies freeze beautifully. You can freeze the baked cookies in a single layer on a baking sheet, then transfer them to a freezer-safe bag for up to 3 months. Thaw at room temperature for about 30 minutes, or pop them in the microwave for 10-15 seconds for that fresh-from-the-oven feel.
You can also freeze the unbaked dough balls. Roll them, coat them in cinnamon sugar, and place them on a baking sheet in the freezer. Once frozen solid, transfer them to a freezer bag. When you’re ready to bake, just add 2-3 minutes to the baking time. No need to thaw.
Flavor Development: Honestly, these cookies taste even better the next day. The flavors meld together overnight, and the brown butter flavor becomes even more pronounced. If you can resist eating them all on day one, you’re stronger than I am.
Nutritional Information & Benefits
Here’s the estimated nutritional breakdown for one cookie (based on 24 cookies):
| Nutrient | Amount per Cookie |
|---|---|
| Calories | 165 |
| Total Fat | 8g |
| Saturated Fat | 5g |
| Cholesterol | 25mg |
| Sodium | 95mg |
| Total Carbohydrates | 22g |
| Dietary Fiber | 1g |
| Sugars | 13g |
| Protein | 2g |
Health Benefits: Pumpkin is packed with vitamin A, which is great for eye health and immune function. It’s also a good source of fiber, which helps keep you full and satisfied. The cinnamon in these cookies has anti-inflammatory properties and can help regulate blood sugar levels. And while brown butter is still butter, the browning process adds a depth of flavor that lets you use less sugar overall—so these cookies are a little more balanced than your average sweet treat.
Dietary Considerations: This recipe contains gluten, dairy, and eggs. For gluten-free and dairy-free options, see the Variations section above. These cookies are nut-free as written, but if you add pecans or other nuts, be sure to label them accordingly for guests with allergies.
Conclusion
These brown butter pumpkin snickerdoodle cookies are more than just a fall treat. They’re the kind of recipe that changes minds, brings people together, and makes a kitchen feel like home. They’re simple enough for a weekday baking session with the kids, but special enough to bring to a holiday gathering or potluck. And honestly? They’re just really, really good.
I love this recipe because it proves that you don’t need fancy ingredients or complicated techniques to make something memorable. A little brown butter, a little pumpkin, a little cinnamon—that’s all it takes. It’s comfort food at its finest, made for real families on real budgets.
I’d love to hear how these turn out for you. Did you try a variation? Did your pumpkin skeptic finally come around? Drop a comment below and let me know. And if you share a photo on Pinterest, tag me—I always love seeing your baking adventures. Happy baking, friends. You’ve got this.
Frequently Asked Questions
Can I use fresh pumpkin puree instead of canned?
Yes, but you’ll need to strain it well. Fresh pumpkin puree has a higher water content than canned, which can make the cookies spread too much. Place the puree in a fine-mesh strainer lined with cheesecloth and let it drain for at least 30 minutes before using.
Why did my cookies turn out flat?
Flat cookies usually mean the butter was too warm or the dough wasn’t chilled long enough. Make sure your brown butter has cooled to room temperature before mixing. If your kitchen is warm, pop the dough balls in the fridge for 15-20 minutes before baking.
Can I make these cookies without brown butter?
You can, but you’ll lose a lot of flavor. If you’re short on time, use melted unsalted butter instead. The cookies will still be good, but they won’t have that deep, nutty richness that makes this recipe special.
How do I store these cookies to keep them soft?
Store them in an airtight container at room temperature with a slice of bread. The bread absorbs excess moisture and keeps the cookies soft. Change the bread every other day if you’re storing them for more than a few days.
Can I double this recipe?
Absolutely. This recipe doubles beautifully. Just make sure you have enough baking sheets and space in your oven. Brown the butter in two batches if your pan isn’t large enough to hold 2 cups of butter at once.
Pin This Recipe!
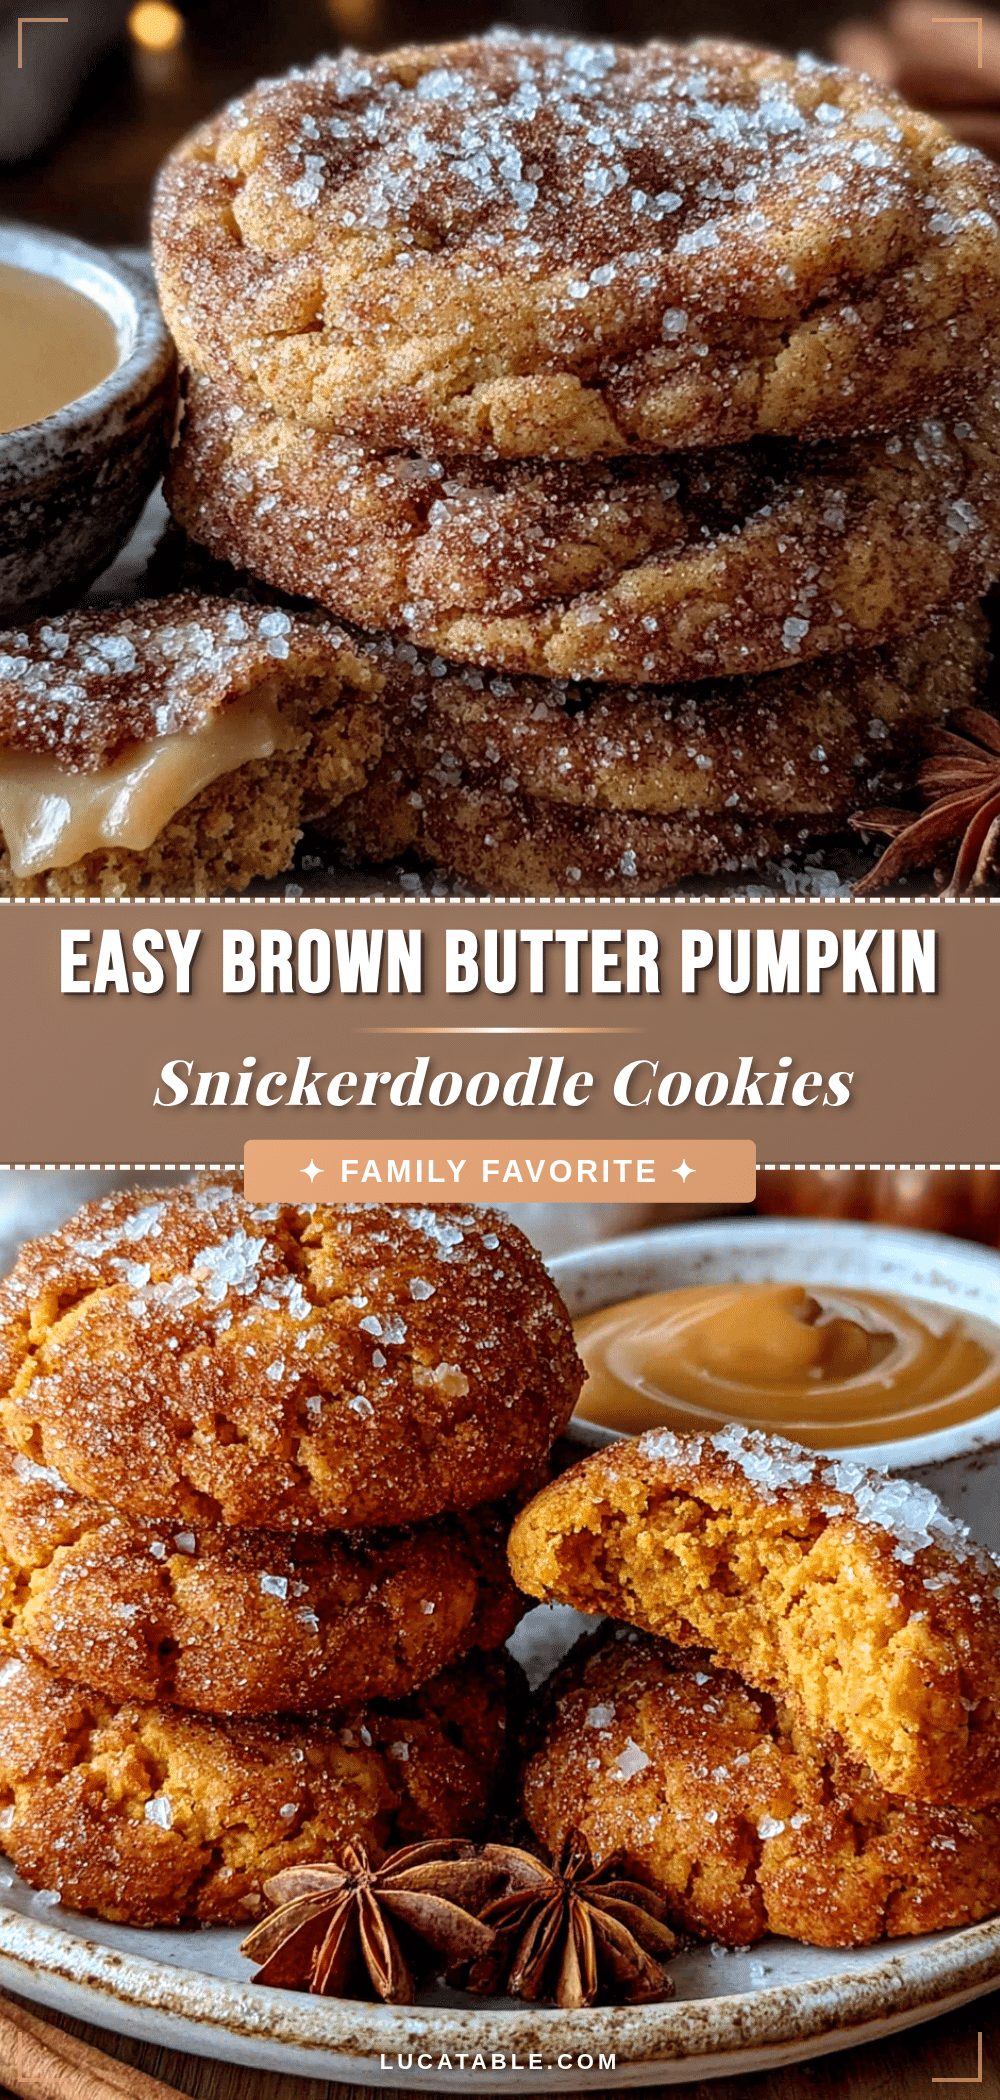
Easy Brown Butter Pumpkin Snickerdoodle Cookies Recipe
These brown butter pumpkin snickerdoodle cookies are soft, chewy, and packed with warm fall flavors. The brown butter adds a nutty richness that perfectly balances the pumpkin, making them a crowd-pleaser even for pumpkin skeptics.
- Prep Time: 15 minutes
- Cook Time: 12 minutes
- Total Time: 27 minutes
- Yield: 24 servings 1x
- Category: Dessert
- Cuisine: American
Ingredients
- 1 cup unsalted butter (2 sticks)
- 1 cup granulated sugar
- 1/2 cup packed light brown sugar
- 1 large egg
- 1 teaspoon vanilla extract
- 3/4 cup pumpkin puree
- 2 1/2 cups all-purpose flour
- 1 teaspoon baking soda
- 1/2 teaspoon baking powder
- 1/2 teaspoon salt
- 2 teaspoons ground cinnamon
- 1 teaspoon pumpkin pie spice
- 1/4 cup granulated sugar (for coating)
- 2 teaspoons ground cinnamon (for coating)
Instructions
- Brown the butter: Cut the butter into tablespoon-sized pieces and add to a light-colored skillet or saucepan over medium heat. Stir constantly. The butter will melt, foam, then sizzle. After 5-7 minutes, brown specks will form and the butter will smell nutty. Remove from heat immediately and pour into a heatproof bowl. Let cool for 10 minutes.
- Mix the wet ingredients: In a large mixing bowl, combine the cooled brown butter, granulated sugar, and brown sugar. Whisk until smooth and glossy. Add the egg, vanilla extract, and pumpkin puree. Whisk until fully incorporated.
- Mix the dry ingredients: In a separate medium bowl, whisk together the all-purpose flour, baking soda, baking powder, salt, ground cinnamon, and pumpkin pie spice until evenly distributed.
- Combine wet and dry: Gradually add the dry ingredients to the wet ingredients, stirring with a spatula or wooden spoon until just combined. Do not overmix. The dough will be soft and slightly sticky.
- Preheat the oven to 350°F (175°C). Line two baking sheets with parchment paper.
- Make the cinnamon sugar coating: In a small shallow bowl, whisk together 1/4 cup granulated sugar and 2 teaspoons ground cinnamon.
- Shape the cookies: Using a cookie scoop or spoon, portion out about 1.5 tablespoons of dough. Roll into a ball. Drop into the cinnamon sugar mixture and roll to coat evenly. Place on prepared baking sheet, spacing about 2 inches apart. Repeat for remaining dough (about 24 cookies).
- Bake for 10-12 minutes, until edges are set and tops look slightly crackled. For softer cookies, bake 10 minutes; for crispier edges, bake 12 minutes.
- Cool: Let cookies cool on the baking sheet for 5 minutes, then transfer to a cooling rack to cool completely.
Notes
For best results, use canned pumpkin puree (not pumpkin pie filling). Let brown butter cool for 10 minutes before mixing. For thicker cookies, chill dough balls for 30 minutes before baking. Store in an airtight container at room temperature for up to 5 days; add a slice of bread to keep them soft. Freeze baked cookies for up to 3 months.
Nutrition
- Serving Size: 1 cookie
- Calories: 165
- Sugar: 13
- Sodium: 95
- Fat: 8
- Saturated Fat: 5
- Carbohydrates: 22
- Fiber: 1
- Protein: 2
Keywords: brown butter, pumpkin, snickerdoodle, cookies, fall, easy, no chill


