My neighbor wasn’t trying to impress anyone. I’d stopped by to borrow a ladder—ours had mysteriously vanished after a garage sale—and the smell hit me before I even got to her porch. It was warm and spiced, like autumn had decided to move into her kitchen and make itself at home. She cracked the door, saw me standing there sniffing the air like a cartoon character, and just laughed. “Oh, that’s just snack time,” she said, waving me inside like it was nothing.
Let me tell you, it was not nothing. Her kids were sprawled on the living room floor, each holding a little plate piled high with apple slices, cheese cubes, and these adorable pumpkin-shaped crackers. In the center of the coffee table sat this gorgeous board—colorful, messy, completely kid-controlled. And there, in a small bowl, was the most incredible whipped pumpkin dip I’d ever seen. She’d made it that morning, she told me, while her toddler “helped” by dumping half the cinnamon on the counter. I mean, honestly, maybe you’ve been there. That kind of chaotic kitchen energy where something wonderful still comes out the other end.
I stood there for a good twenty minutes, “borrowing” that ladder, watching her kids graze and giggle. The whole scene felt so effortless, so perfectly suited for real family life. That’s when it clicked—charcuterie boards don’t have to be fancy adult affairs. They can be this. They can be for the kids, made by tired parents, using affordable ingredients that everyone actually eats. I went home that day with a borrowed ladder and a head full of ideas. This board is what came out of it, and honestly, I haven’t stopped making it since.
Why You’ll Love This Recipe
This isn’t just another pretty board you’ll stress over for an hour. This is a real, practical solution for feeding your family on a Tuesday afternoon or for a casual fall gathering where the kids actually eat what’s put in front of them. I’ve tested this with my own crew and with my neighbor’s kids, and let me tell you—it works.
- Budget-Friendly Ingredients: No fancy imported cheeses or expensive cured meats here. We’re using everyday items like cheddar cubes, apple slices, and store-bought crackers that won’t blow your grocery budget.
- Comes Together in 15 Minutes: The whipped pumpkin dip takes about 5 minutes in a mixer, and the rest is just arranging. Perfect for those afternoons when the kids are hungry and you need something fast.
- Picky Eater Approved: The beauty of a board is that kids choose what they want. My youngest won’t touch a sandwich but will happily eat three kinds of fruit if they’re arranged in a rainbow.
- Leftovers Reheat Beautifully: Well, the dip does. Store it in the fridge and it’s even better the next day. The fruit and cheese keep well for lunchboxes.
- Seasonal Without the Stress: Fall flavors without the complicated recipes. Pumpkin, apple, cinnamon—all the cozy stuff, minus the fuss.
What makes this board different from the hundreds you see on Pinterest is the focus on what kids actually enjoy. I’ve watched parents spend hours making elaborate themed boards only to watch their kids pick out the goldfish crackers and ignore everything else. This board is built around that reality. The whipped pumpkin dip is the star—creamy, slightly sweet, and perfect for dipping everything from pretzels to pear slices. It’s the kind of recipe that makes you close your eyes after the first bite, not because it’s fancy, but because it’s just so genuinely good.
What Ingredients You Will Need
This recipe uses simple, wholesome ingredients that you can find at any grocery store. The beauty is in how they come together—familiar foods arranged in a way that feels special without being complicated. Here’s what you’ll need:
For the Whipped Pumpkin Dip
- 1 cup (240g) canned pumpkin puree (not pumpkin pie filling—I prefer Libby’s for consistent texture)
- 8 oz (226g) cream cheese, softened (full-fat works best for creaminess, but Neufchâtel is fine too)
- 1/2 cup (100g) packed brown sugar (light or dark—dark gives a deeper molasses flavor)
- 1 teaspoon vanilla extract
- 1 teaspoon pumpkin pie spice (or make your own: 1/2 tsp cinnamon, 1/4 tsp ginger, 1/4 tsp nutmeg, pinch of cloves)
- 1/2 teaspoon ground cinnamon
- 1/4 teaspoon salt (trust me—it balances the sweetness)
- 1 cup (240ml) heavy whipping cream (or use 1 cup of frozen whipped topping, thawed, for a shortcut)
For the Charcuterie Board
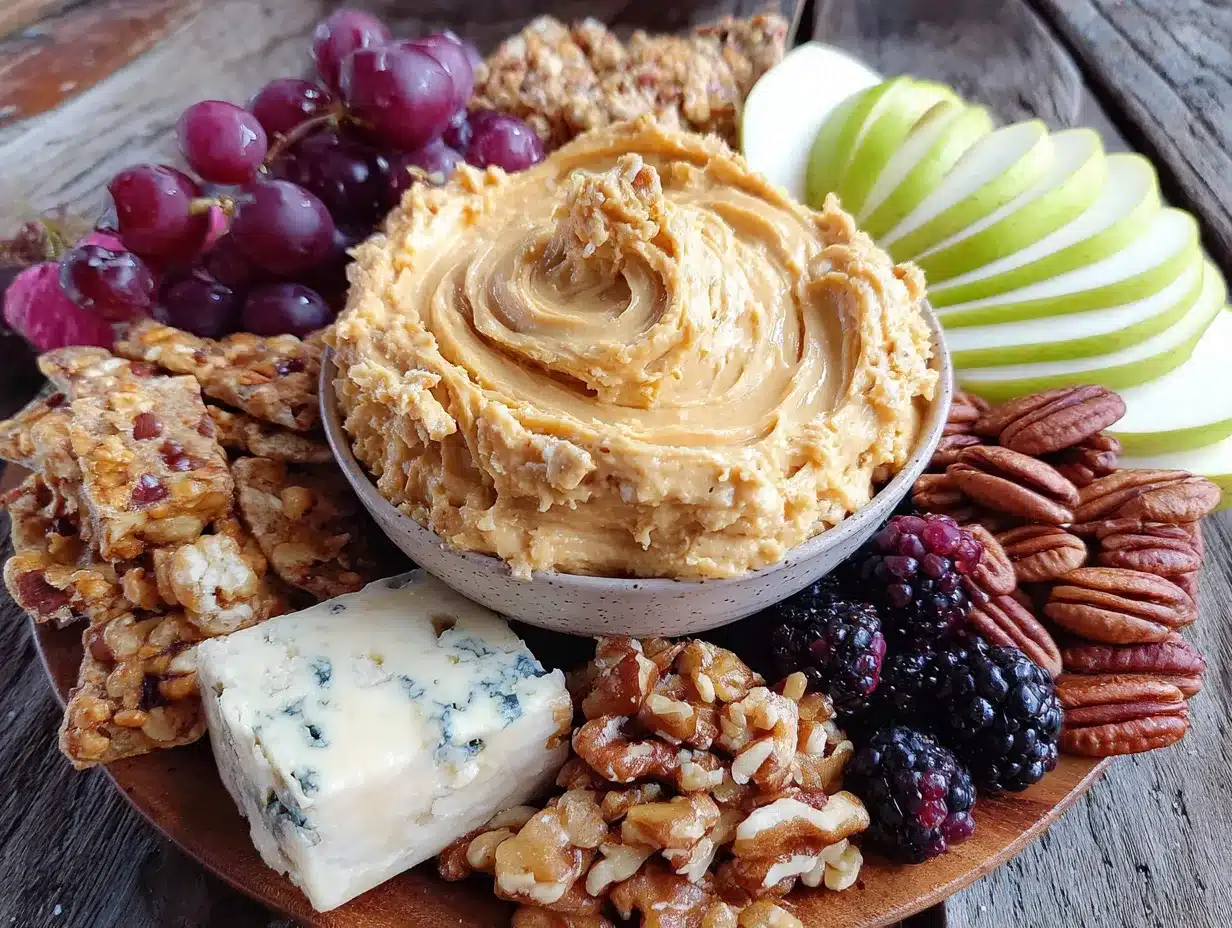
- Cheeses: 8 oz cheddar cheese, cut into cubes (mild or sharp—kids usually prefer mild); 4 oz string cheese, pulled apart into strips (fun for little hands)
- Fruits: 2 medium apples (Honeycrisp or Fuji are my go-to), sliced and tossed with lemon juice to prevent browning; 1 cup red seedless grapes, washed and left in small clusters; 1 large pear, sliced; 1/2 cup dried cranberries or raisins
- Crunches: 1 cup pumpkin-shaped crackers (Pepperidge Farm makes these seasonally, or use any fall-shaped cracker); 1 cup pretzel twists or sticks; 1 cup plain popcorn (air-popped is cheapest, or use a bag of lightly salted)
- Veggies (optional but encouraged): 1 cup baby carrots; 1 cup snap peas or cucumber rounds
- Extras: 1/4 cup pumpkin seeds (pepitas), shelled; 1-2 tablespoons honey or maple syrup for drizzling over the dip
Equipment Needed
- Large mixing bowl or stand mixer with whisk attachment (a hand mixer works great too—I used one for years before upgrading)
- Spatula for scraping down the bowl
- Cutting board and sharp knife for slicing fruit and cheese
- Large wooden board or serving platter (a baking sheet lined with parchment paper works in a pinch—I’ve done it)
- Small bowl or ramekin for the dip
- Measuring cups and spoons
- Small cookie cutters (optional, for cutting cheese into fun shapes—my kids love the leaf and acorn shapes)
Preparation Method
- Make the whipped pumpkin dip first. In a large mixing bowl, beat the softened cream cheese with an electric mixer on medium speed until it’s smooth and fluffy—about 2 minutes. Scrape down the sides of the bowl with a spatula. Add the pumpkin puree, brown sugar, vanilla extract, pumpkin pie spice, cinnamon, and salt. Beat on medium speed until everything is well combined and smooth, about 1-2 minutes. The mixture should be a beautiful orange color and smell like autumn in a bowl.
- Whip the cream separately. In a separate clean bowl, pour the heavy whipping cream. Using clean beaters, whip the cream on high speed until soft peaks form—this takes about 3-4 minutes. You’re looking for the cream to hold its shape when you lift the beaters, but it should still be soft and billowy. Don’t over-whip or you’ll end up with butter! If you’re using frozen whipped topping, just thaw it in the fridge and skip this step.
- Fold it all together. Gently fold the whipped cream into the pumpkin mixture. Use a spatula and a gentle cutting motion—fold from the bottom up, turning the bowl as you go. You want to keep as much air in the mixture as possible. Stop when you don’t see any more white streaks. The dip should be light, fluffy, and mousse-like. Transfer it to a small serving bowl, cover with plastic wrap, and refrigerate for at least 30 minutes. This chilling time helps the flavors meld and the texture set up perfectly.
- Prep your board ingredients. While the dip chills, wash and slice your fruit. Cut the apples into thin wedges and toss them with a squeeze of lemon juice to keep them from turning brown. Leave some of the apple slices with the skin on for color—it looks prettier and adds fiber. Cut the pear into similar shapes. Rinse the grapes and leave them in small clusters; they’re easier for little hands to grab that way. Cut the cheddar cheese into 1/2-inch cubes. Pull the string cheese apart into strips.
- Arrange the board. Place the bowl of whipped pumpkin dip in the center of your board or platter. This is your anchor. Now start building around it. I like to place the cheese cubes in small piles around the board—three or four piles so they’re easy to reach from any angle. Put the string cheese strips in another spot. Arrange the apple slices in a fan pattern near one edge. Add the pear slices next to them. Tuck the grape clusters into any gaps.
- Fill in the gaps. Now add the crunchy elements. Pour the pumpkin crackers into a small pile. Add the pretzels and popcorn in separate piles. Scatter the baby carrots and snap peas around the board. Sprinkle the dried cranberries and pumpkin seeds over everything—they fill in the empty spaces and add color. Drizzle a little honey or maple syrup over the top of the whipped pumpkin dip right before serving, if you like. It adds a beautiful glossy finish and a touch of extra sweetness.
- Serve and watch them go. Set the board out at room temperature. The dip is best within an hour of being arranged, but the fruit will hold up for a couple of hours if you keep it out of direct sunlight. Let the kids graze freely—that’s the whole point. No plates needed, just little hands and happy faces.
Cooking Tips & Techniques
I’ve made this board more times than I can count, and I’ve definitely learned a few things the hard way. Here’s what I wish someone had told me the first time:
Don’t over-whip the cream. I ruined my first batch by getting distracted and over-whipping until it turned grainy. Soft peaks are your friend. The dip should be light and airy, not dense. If you’re nervous, use frozen whipped topping—it’s foolproof and honestly, nobody can tell the difference once it’s mixed in.
Let the cream cheese soften naturally. I know the microwave seems faster, but it can melt the cream cheese unevenly and leave lumps. Leave it on the counter for 30-45 minutes before you start. If you’re in a hurry, cut it into small cubes—they soften faster.
Use a damp paper towel under the board. This is a trick my neighbor showed me. A slightly damp paper towel or a silicone mat under your board keeps it from sliding around on the counter, especially when kids are reaching across it. Such a simple thing, but it makes a huge difference.
Prep ingredients the night before. You can slice the cheese, wash the fruit, and even make the dip ahead of time. Store the dip in the fridge and assemble the board right before serving. This is a lifesaver for busy days or when you’re hosting a playdate.
Don’t stress about perfection. The first time I made this, I tried to arrange everything in neat little rows like the pictures online. My kids immediately messed it up, and that’s when I realized—this board is supposed to be touched. Let it be imperfect. Let the pretzels fall into the dip. That’s where the magic is.
Variations & Adaptations
One of the best things about this board is how flexible it is. Here are some ways I’ve adapted it for different needs:
Dairy-Free Version: Use dairy-free cream cheese (Kite Hill makes a good one) and coconut cream instead of heavy whipping cream. The texture will be slightly different—a bit more dense—but the flavor is still fantastic. Swap the cheddar for a plant-based cheese alternative, or just skip the cheese altogether and double up on the fruit and crunchy elements.
Gluten-Free Option: This one is easy. Just swap the regular crackers and pretzels for gluten-free versions. Most grocery stores carry gluten-free pretzels now, and there are plenty of gluten-free crackers shaped like leaves and pumpkins available seasonally. The popcorn is naturally gluten-free, so that’s a win.
Savory Twist: If your family leans more savory than sweet, reduce the brown sugar in the dip to 1/4 cup and add an extra teaspoon of pumpkin pie spice. Skip the honey drizzle and add a sprinkle of smoked paprika on top instead. It sounds weird, but it works—the smoky flavor pairs beautifully with the pumpkin.
Seasonal Swaps: In the fall, stick with apples and pears. But this board works year-round. In summer, swap in fresh berries and peaches. In winter, add clementine segments and pomegranate seeds. The dip stays the same, but the board changes with the seasons.
Protein-Packed Version: For growing kids who need more staying power, add hard-boiled eggs (cut into quarters), turkey roll-ups (slices of turkey wrapped around cheese sticks), or even mini meatballs. My neighbor’s kids love it when she adds little cubes of baked chicken breast—they dip them in the pumpkin dip like it’s a sauce.
Serving & Storage Suggestions
This board is best served at room temperature, so take the dip out of the fridge about 15 minutes before you plan to serve it. The fruit and cheese should also be at room temp for the best flavor—cold cheese doesn’t taste as rich, and cold fruit can be hard on little teeth.
For presentation, I like to keep it casual. Place the board in the center of the table and let everyone dig in. If you’re feeling fancy, you can add small plates and napkins, but honestly, my kids just grab from the board with their hands and that’s perfectly fine. It’s a grazing board, not a formal dinner.
Storage: The whipped pumpkin dip keeps beautifully in an airtight container in the refrigerator for up to 5 days. The flavors actually deepen and get better after a day or two. The fruit and cheese should be stored separately—fruit in a sealed container in the fridge, cheese in a resealable bag or container. The crackers and pretzels should be kept in an airtight container at room temperature to stay crispy.
Reheating: The dip is served cold, so no reheating needed. If you want to serve it warm (which is also delicious), transfer it to a small oven-safe dish and warm it in a 300°F oven for about 10 minutes, or microwave it in 15-second bursts until just warm. Stir before serving.
One note on leftovers: the apple slices will brown after a few hours, even with lemon juice. If you’re making the board ahead of time, wait to slice the apples until just before serving. Or use a variety of apple that browns slowly, like Honeycrisp or Granny Smith.
Nutritional Information & Benefits
This board is surprisingly balanced for something that feels like a treat. The whipped pumpkin dip is the star, and pumpkin is packed with vitamin A, fiber, and antioxidants. It’s good for eye health and immunity—perfect for the fall season when colds start making the rounds.
The cream cheese and cheddar provide calcium and protein, while the apples, pears, and grapes add natural sweetness along with fiber and vitamin C. The pumpkin seeds are a great source of magnesium and healthy fats. Even the popcorn counts as a whole grain!
Estimated per serving (1/6 of the dip with a handful of board items):
- Calories: 280-350 (varies based on what kids grab)
- Protein: 7-10g
- Fat: 16-22g
- Carbohydrates: 30-40g
- Fiber: 4-6g
- Sugar: 18-25g (mostly from fruit and natural sources)
Dietary Considerations: This recipe contains dairy (cream cheese, heavy cream, cheddar) and gluten (crackers, pretzels). See the variations section above for dairy-free and gluten-free adaptations. The pumpkin dip itself is egg-free and nut-free, making it a great option for school-friendly snacks.
My personal perspective? I love that this board lets kids self-regulate. They eat what they want, when they want, and somehow they end up with a more balanced snack than if I’d served them a plate. There’s something about the freedom of a board that just works for little ones.
Frequently Asked Questions
Can I make the whipped pumpkin dip ahead of time?
Absolutely! In fact, I recommend it. Make the dip up to 3 days in advance and store it in an airtight container in the refrigerator. Give it a good stir before serving, and let it sit at room temperature for 15 minutes to soften slightly. The flavors get even better after a day or two.
Can I use pumpkin pie filling instead of pumpkin puree?
I wouldn’t recommend it. Pumpkin pie filling is already sweetened and spiced, so it would throw off the balance of the dip. Stick with plain pumpkin puree—it gives you control over the sweetness and spice levels. If you accidentally buy pie filling, just reduce the brown sugar to 1/4 cup and skip the extra spices.
How do I keep the apple slices from turning brown?
Toss them in a little lemon juice or lime juice right after slicing. About 1 tablespoon of juice per 2 apples is plenty. You can also use a commercial fruit preservative like Fruit-Fresh, but lemon juice works just fine. Another trick? Slice the apples right before serving and arrange them on the board immediately—they’ll stay fresh for a couple of hours.
My kids are picky—what if they don’t like pumpkin dip?
No worries! The board works perfectly fine without the dip. Just skip it and add more of the other elements. You could also serve a simple yogurt dip or hummus on the side as a backup. My advice? Let them try the pumpkin dip on a pretzel or apple slice. If they don’t like it, they’ll still have plenty of other things to eat. Most kids end up loving it once they taste it.
Can I turn this into a lunchbox snack?
Definitely! Use a bento box or a divided container to pack individual portions. Put a small scoop of the pumpkin dip in one compartment, cheese cubes in another, apple slices in a third, and crackers or pretzels in the fourth. It’s like a mini charcuterie board for lunch. My kids love finding these in their lunchboxes—it feels special without being extra work for me.
Conclusion
This kid-friendly fall harvest charcuterie board with whipped pumpkin dip has become a staple in our house, and I think it’ll become one in yours too. It’s the kind of recipe that solves a real problem—how to feed hungry kids in the middle of a busy afternoon without resorting to processed snacks or spending hours in the kitchen. The dip is the star, but the whole board is built around what kids actually want: variety, color, and the freedom to choose.
I still think about that afternoon at my neighbor’s house, standing on her porch with the smell of cinnamon and pumpkin pulling me in. She didn’t know she was teaching me something that day, but she was. She was showing me that feeding kids doesn’t have to be complicated or fancy. It just has to be good. And this board is good—really good.
So go ahead and make it your own. Swap in your kids’ favorite fruits, use whatever crackers you have in the pantry, and don’t stress about making it perfect. The mess is part of the charm. I’d love to hear how it turns out—drop a comment below and let me know what your family thought. Did the kids go for the pumpkin dip first? Did they discover a new favorite fruit? Share your stories, and don’t forget to pin this recipe for later. Happy snacking!
Pin This Recipe!
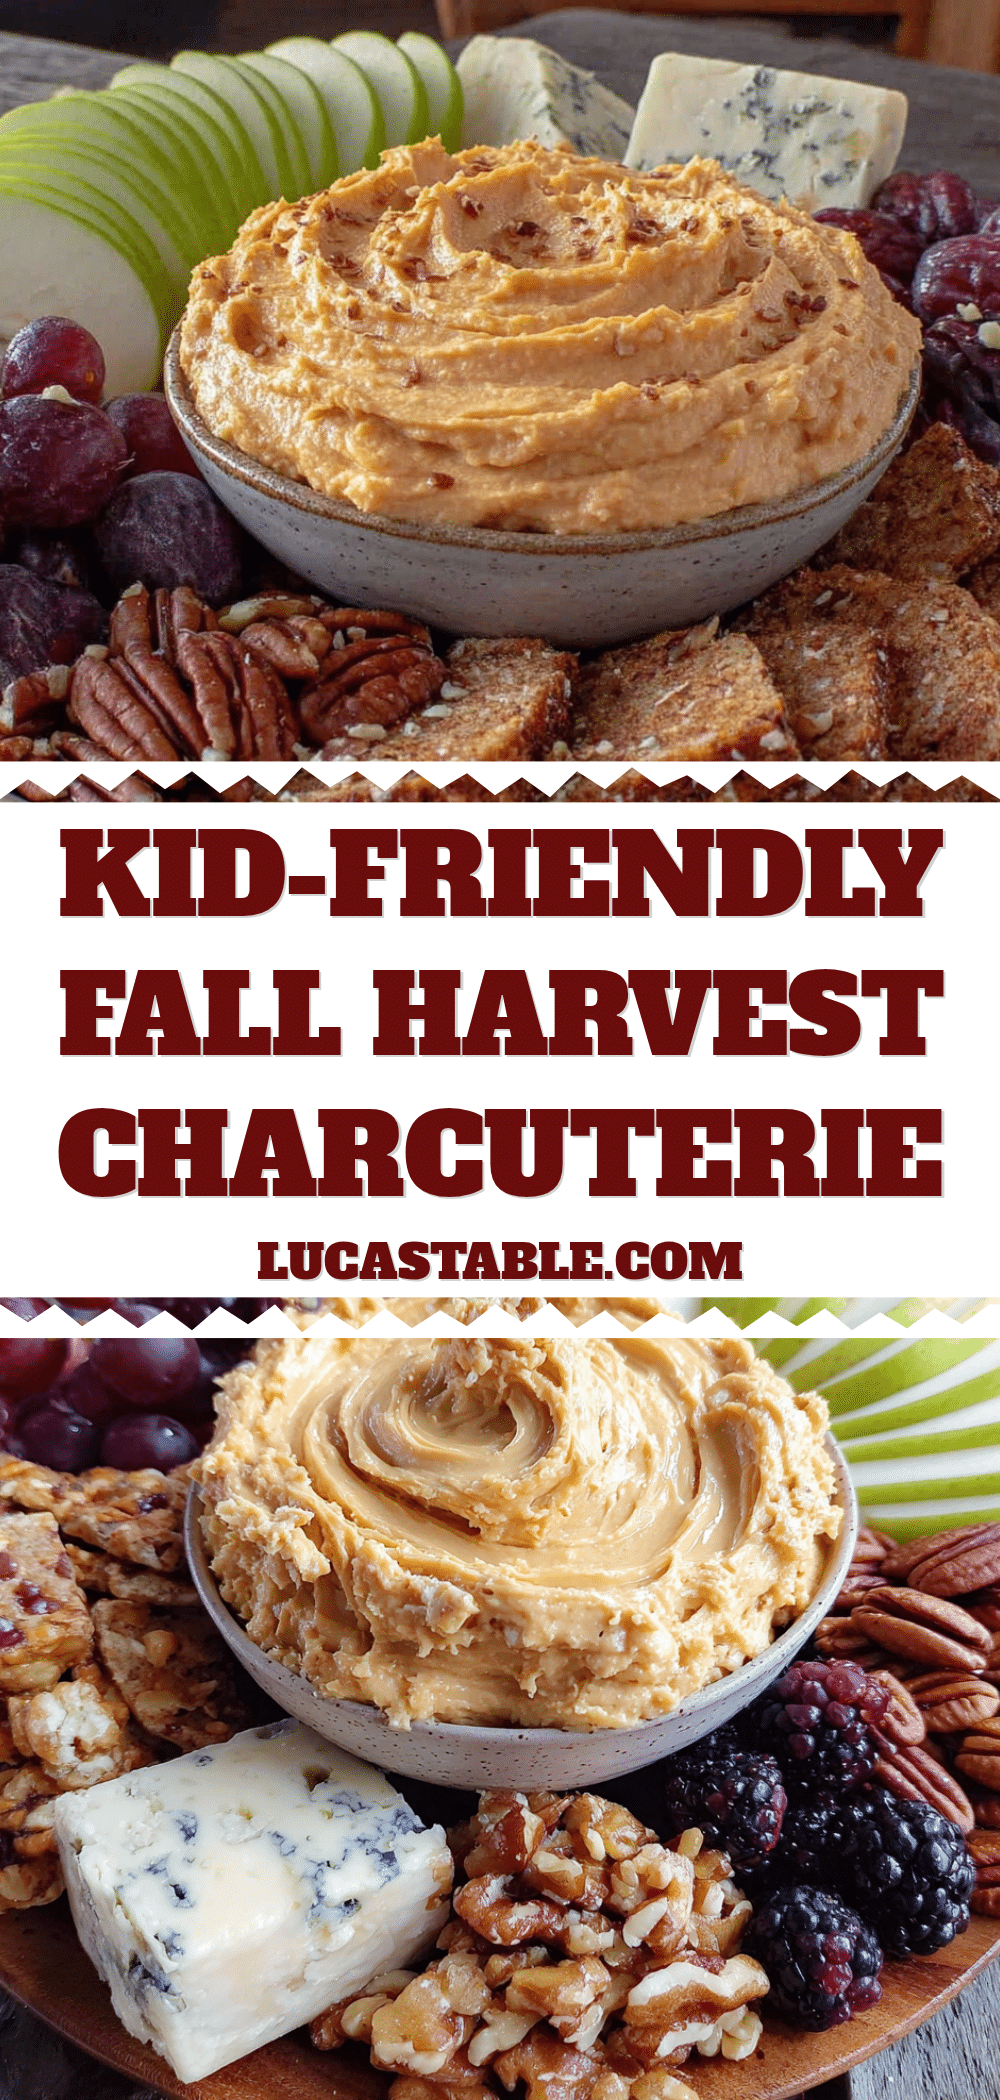
Kid-Friendly Fall Harvest Charcuterie Board with Easy Pumpkin Dip
A practical, budget-friendly charcuterie board featuring a creamy whipped pumpkin dip, fresh fruits, cheeses, and crunchy snacks that kids love. Perfect for fall afternoons or casual gatherings.
- Prep Time: 15 minutes
- Cook Time: 0 minutes
- Total Time: 45 minutes (includes 30 minutes chilling)
- Yield: 6 servings 1x
- Category: Appetizer
- Cuisine: American
Ingredients
- 1 cup (240g) canned pumpkin puree (not pumpkin pie filling)
- 8 oz (226g) cream cheese, softened
- 1/2 cup (100g) packed brown sugar
- 1 teaspoon vanilla extract
- 1 teaspoon pumpkin pie spice
- 1/2 teaspoon ground cinnamon
- 1/4 teaspoon salt
- 1 cup (240ml) heavy whipping cream (or 1 cup frozen whipped topping, thawed)
- 8 oz cheddar cheese, cut into cubes
- 4 oz string cheese, pulled apart into strips
- 2 medium apples (Honeycrisp or Fuji), sliced and tossed with lemon juice
- 1 cup red seedless grapes, washed and left in small clusters
- 1 large pear, sliced
- 1/2 cup dried cranberries or raisins
- 1 cup pumpkin-shaped crackers (or any fall-shaped cracker)
- 1 cup pretzel twists or sticks
- 1 cup plain popcorn
- 1 cup baby carrots
- 1 cup snap peas or cucumber rounds
- 1/4 cup pumpkin seeds (pepitas), shelled
- 1–2 tablespoons honey or maple syrup (for drizzling)
Instructions
- Make the whipped pumpkin dip first. In a large mixing bowl, beat the softened cream cheese with an electric mixer on medium speed until smooth and fluffy, about 2 minutes. Scrape down the sides of the bowl. Add the pumpkin puree, brown sugar, vanilla extract, pumpkin pie spice, cinnamon, and salt. Beat on medium speed until well combined and smooth, about 1-2 minutes.
- Whip the cream separately. In a separate clean bowl, pour the heavy whipping cream. Using clean beaters, whip the cream on high speed until soft peaks form, about 3-4 minutes. (If using frozen whipped topping, thaw it in the fridge and skip this step.)
- Fold it all together. Gently fold the whipped cream into the pumpkin mixture using a spatula, folding from the bottom up until no white streaks remain. Transfer to a small serving bowl, cover with plastic wrap, and refrigerate for at least 30 minutes.
- Prep your board ingredients. While the dip chills, wash and slice the fruit. Cut the apples into thin wedges and toss with lemon juice. Cut the pear into similar shapes. Rinse the grapes and leave in small clusters. Cut the cheddar cheese into 1/2-inch cubes. Pull the string cheese apart into strips.
- Arrange the board. Place the bowl of whipped pumpkin dip in the center of a large board or platter. Place cheese cubes in small piles around the board. Add string cheese strips in another spot. Arrange apple slices in a fan pattern near one edge. Add pear slices next to them. Tuck grape clusters into gaps.
- Fill in the gaps. Add the pumpkin crackers, pretzels, and popcorn in separate piles. Scatter baby carrots and snap peas around the board. Sprinkle dried cranberries and pumpkin seeds over everything. Drizzle honey or maple syrup over the dip right before serving.
- Serve and watch them go. Set the board out at room temperature. Let kids graze freely. The dip is best within an hour of being arranged, but the fruit will hold up for a couple of hours if kept out of direct sunlight.
Notes
Let cream cheese soften naturally for best texture. Don’t over-whip the cream; soft peaks are ideal. Use a damp paper towel under the board to prevent sliding. Prep ingredients the night before for easy assembly. The dip can be made up to 3 days ahead and stored in the refrigerator.
Nutrition
- Serving Size: 1/6 of the dip with
- Calories: 315
- Sugar: 21
- Sodium: 320
- Fat: 19
- Saturated Fat: 11
- Carbohydrates: 35
- Fiber: 5
- Protein: 8
Keywords: kid-friendly, fall harvest, charcuterie board, pumpkin dip, easy snack, fall recipe, family-friendly


