I was aiming for a rich, slow-braised chicken that night, the kind you spend hours coaxing into submission. I had the thyme, the wine, the whole production. But somewhere between answering emails and a forgotten timer, I grabbed the wrong skillet, threw in a pat of butter that was way too cold, and dumped in a heap of garlic without measuring. The kitchen smelled incredible, sure, but I knew I’d messed up. The wine? Still in the bottle. The careful plan? Out the window. I was already imagining a disappointed family picking at dry chicken. Honestly, I almost just ordered pizza. But I was stubborn, and the rice was already in the pot. So I tossed the chicken back in, added a splash of broth, and just… let it be. What came out of that pan was nothing like the plan. It was better. It was lighter, brighter, and somehow, impossibly, more flavorful. This Light & Easy Garlic Butter Chicken and Rice is the happy accident I keep on purpose now. Maybe you’ve been there, staring at a kitchen counter full of good intentions that went sideways. Trust me, sometimes the best meals come from the mess.
Why You’ll Love This Light & Easy Garlic Butter Chicken and Rice
This isn’t just another chicken and rice recipe. I’ve tested this one about a dozen times, and I can tell you it’s the version that finally stuck. It has the soul-soothing satisfaction of comfort food but without the heavy feeling afterward. Here is why it works so well for health-minded folks who still want something that tastes genuinely indulgent:
- Quick & Easy: From start to finish, this dish is on the table in under 40 minutes. Perfect for those nights when you need a win but have zero energy left.
- Simple Ingredients: You likely have most of this in your kitchen right now. No fancy grocery trips or obscure spice blends required.
- Perfect for Meal Prep: This rice stays fluffy for days, and the chicken reheats beautifully. It’s a lunch hero all week long.
- Crowd-Pleaser: My kids devour it, and my picky neighbor, who swears she hates garlic, asked for the recipe. It’s that kind of magic.
- Unbelievably Delicious: The garlic butter sauce seeps into every grain of rice. It’s rich but not greasy, satisfying but not heavy. That first bite makes you close your eyes.
What makes this different from the rest is the technique. Instead of drowning everything in heavy cream or tons of oil, we use a modest amount of high-quality butter and let the garlic do the heavy lifting. The rice absorbs the flavor from the pan fond, creating a deeply savory base that feels luxurious without being over the top. It is comfort food reimagined—healthier, faster, but with the same soul-soothing satisfaction. Perfect for impressing guests without stress, or turning a simple Tuesday night into something memorable.
What Ingredients You Will Need
This recipe uses simple, wholesome ingredients to deliver bold flavor and satisfying texture without the fuss. Most of these are pantry staples, which makes this dish a reliable go-to when you need a quick win.
- Chicken Thighs (1.5 lbs or 680g) – Boneless, skinless is best here. They stay juicy and forgiving if you cook them a minute too long. I prefer thighs for flavor, but you can use breasts if you watch the cook time.
- Unsalted Butter (3 tablespoons or 42g) – This is the star. Use a good quality butter here since it carries the garlic flavor. I like Kerrygold for its richness, but any unsalted butter works fine.
- Garlic (6 cloves, minced) – Fresh garlic is non-negotiable here. The pre-minced stuff in a jar just won’t give you that sweet, mellow depth. Trust me on this one.
- Long-Grain White Rice (1 cup or 200g) – Basmati or jasmine are my go-to. They cook up fluffy and separate, not sticky. Avoid short-grain rice here unless you want a risotto-like texture.
- Chicken Broth (2 cups or 480ml) – Low-sodium is your friend. You control the salt this way. I use Kitchen Basics or homemade when I have it on hand.
- Yellow Onion (1 medium, diced) – Adds a subtle sweetness that balances the garlic. Don’t skip it—it builds the foundation of flavor.
- Dried Thyme (1 teaspoon) – Earthy and warm, it pairs beautifully with garlic butter. Fresh thyme works too; just double the amount.
- Salt and Black Pepper (to taste) – Simple seasoning lets the garlic butter shine. I use kosher salt for better control.
- Fresh Parsley (2 tablespoons, chopped) – For garnish and a fresh finish. It cuts through the richness nicely.
- Optional: Lemon Zest (from 1 lemon) – A little brightness at the end lifts the whole dish. I add it when I want something extra fresh.
Equipment Needed
You don’t need a fancy kitchen for this one. A single pot and a cutting board are really all it takes.
- Large Skillet or Dutch Oven (12-inch or 5-quart) – A heavy-bottomed pan with a lid is ideal. I use my trusty enameled cast iron Dutch oven. It distributes heat evenly and keeps the rice from scorching.
- Sharp Knife and Cutting Board – For dicing the onion and mincing garlic. A dull knife makes this step miserable, so take a minute to sharpen yours.
- Wooden Spoon or Silicone Spatula – For stirring without scratching your pan.
- Measuring Cups and Spoons – Accuracy matters for the rice-to-liquid ratio. Don’t eyeball it.
- Lid that Fits Snugly – This traps the steam that cooks the rice. If your lid is loose, use a piece of foil underneath to seal it.
If you don’t have a Dutch oven, a deep non-stick skillet with a lid works perfectly. Just watch the heat to prevent sticking.
Preparation Method
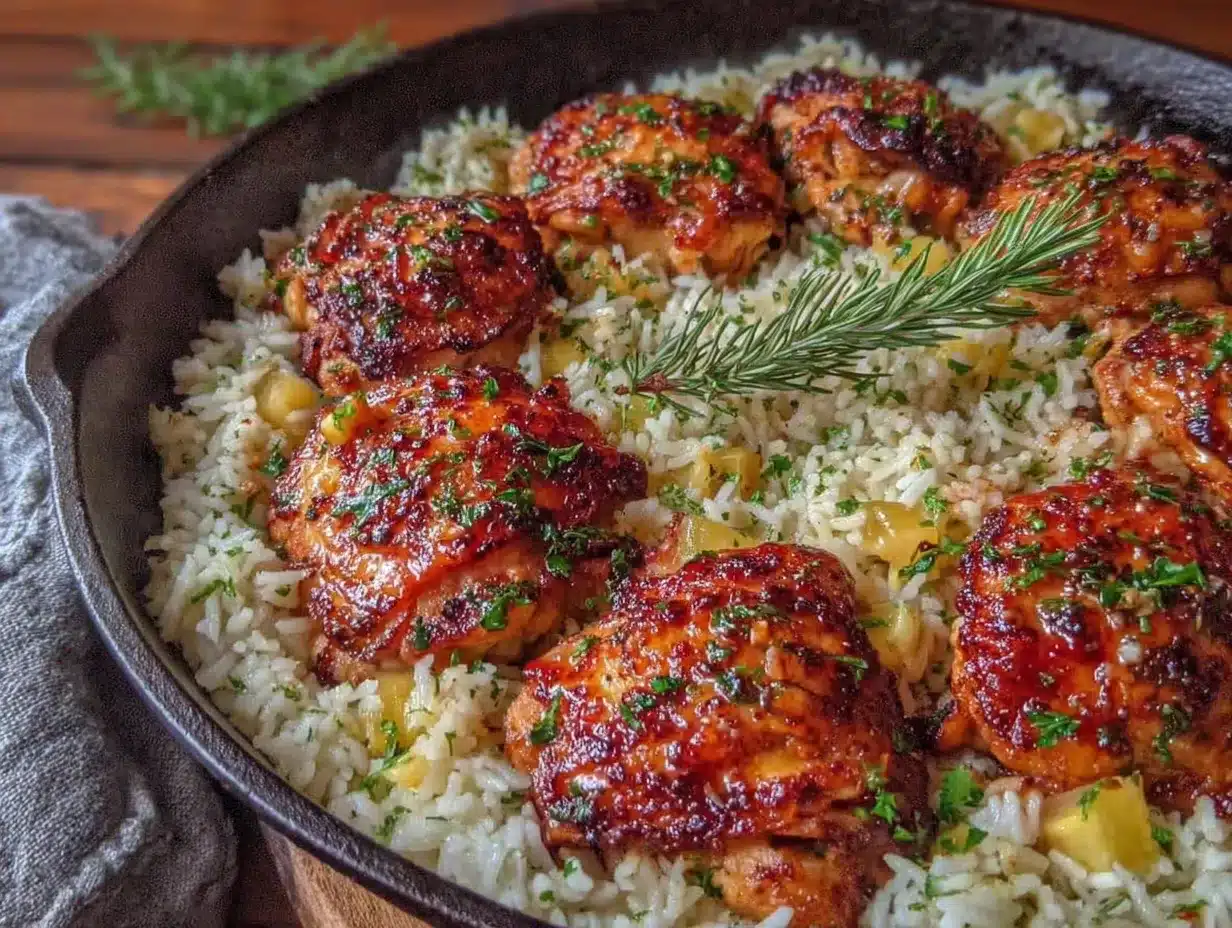
This comes together in one pan, which means less cleanup and more time for you. Follow these steps carefully, and you’ll have a perfect meal every time.
- Prep the Chicken (5 minutes): Pat the chicken thighs dry with paper towels. This is crucial for a good sear. Season both sides generously with salt and pepper. Let them sit at room temperature for 10 minutes while you prep the other ingredients.
- Brown the Chicken (8-10 minutes): Heat 1 tablespoon of the butter in your skillet over medium-high heat. Once it’s melted and shimmering, place the chicken thighs in the pan, smooth side down. Don’t crowd them—work in batches if needed. Let them cook undisturbed for 4-5 minutes until golden brown. Flip and cook another 3-4 minutes. The chicken won’t be fully cooked yet, and that’s fine. Transfer to a plate and set aside.
- Sauté the Aromatics (3 minutes): Reduce the heat to medium. Add the remaining 2 tablespoons of butter to the pan. Once it melts, add the diced onion. Cook for 2 minutes, scraping up the browned bits from the bottom of the pan with your wooden spoon. This is where the flavor lives. Add the minced garlic and cook for 1 minute more, stirring constantly. Your kitchen should smell amazing at this point.
- Toast the Rice (2 minutes): Add the rice to the pan and stir it into the garlic butter mixture. Let it toast for about 2 minutes, stirring frequently. The grains will turn slightly translucent at the edges. This step prevents mushy rice later.
- Add the Liquid (1 minute): Pour in the chicken broth and add the dried thyme. Stir everything together, scraping the bottom of the pan one more time to release any remaining flavor bits. Bring the liquid to a gentle boil.
- Return the Chicken (1 minute): Nestle the browned chicken thighs back into the rice, pushing them down slightly so they’re partially submerged. Any juices from the plate go in too—that’s pure flavor.
- Simmer and Cook (20 minutes): Reduce the heat to low, cover the pan with a tight-fitting lid, and let it simmer gently. Do not lift the lid during this time. Set a timer for 18 minutes, then check. The rice should be tender and the liquid fully absorbed. If the rice is still firm, add 2 tablespoons of water, re-cover, and cook for 2-3 more minutes.
- Rest and Fluff (5 minutes): Turn off the heat. Let the pan sit, covered, for 5 minutes. This allows the rice to finish steaming and the chicken to rest. Remove the lid, fluff the rice gently with a fork, and garnish with fresh parsley and lemon zest if using.
- Serve: Plate the chicken over a bed of rice and spoon any remaining garlic butter from the bottom of the pan over the top. The sauce is liquid gold—don’t waste a drop.
Cooking Tips & Techniques
I’ve made this recipe enough times to know where things can go wrong. Here are the lessons I learned the hard way so you don’t have to.
Don’t skip drying the chicken. I once rushed this step, and my chicken steamed instead of seared. The skin was pale and sad, and the fond (those brown bits) didn’t form. That fond is the backbone of the garlic butter rice. Patience pays off here.
Watch the garlic. Burnt garlic is bitter and ruins the whole dish. When you add it to the pan, keep stirring. If it starts to turn dark brown, you’ve gone too far. Pull the pan off the heat for a few seconds if needed. I’ve scorched garlic more times than I care to admit.
Resist the urge to peek. Lifting the lid releases steam, and steam is what cooks the rice. I know it’s tempting, but trust the process. That 20-minute window is sacred. If you peek, the rice might end up unevenly cooked.
Use a timer, not your memory. I once got distracted folding laundry and let the rice go an extra 10 minutes. The bottom scorched, and the kitchen smelled like a campfire. Set a timer and walk away.
Fluff, don’t stir. Stirring rice after it’s cooked turns it into a sticky mess. Use a fork and gently lift the grains to separate them. It makes a real difference in texture.
Variations & Adaptations
This recipe is a solid base, but it loves a little customization. Here are a few ways I’ve played with it depending on my mood or what’s in the fridge.
Vegetable Boost: Add a cup of frozen peas and diced carrots along with the broth. They cook right in the rice and add color and nutrients. I do this when I want to sneak extra veggies into dinner without anyone noticing.
Herb Swap: Not a thyme fan? Use rosemary or oregano instead. I once used fresh dill in a pinch, and it was surprisingly good—light and fresh, almost like a Greek twist.
Spicy Kick: Add a pinch of red pepper flakes along with the garlic. It gives the dish a gentle warmth without overpowering the garlic butter. My husband loves this version.
Dairy-Free Option: Swap the butter for a high-quality vegan butter or a generous drizzle of olive oil. The flavor shifts slightly, but it’s still delicious. I’ve done this for friends with dairy sensitivities, and no one complained.
Protein Swap: Chicken breasts work, but reduce the initial sear time to 3 minutes per side. You can also use boneless pork chops or even firm tofu for a vegetarian version. Just adjust the cooking time as needed.
Serving & Storage Suggestions
This dish is best served warm, straight from the pan. The rice is fluffy, the chicken is tender, and that garlic butter sauce is at its peak. I like to serve it with a simple side salad dressed with lemon vinaigrette to cut the richness. Steamed green beans or roasted asparagus also pair beautifully.
For leftovers, let the dish cool completely before transferring to an airtight container. It will keep in the refrigerator for up to 4 days. The flavors actually meld together overnight, making day-two leftovers even better—if you can resist eating it all the first night.
To reheat, I prefer the stovetop. Add a splash of water or broth to the pan, cover, and warm over low heat for 5-7 minutes. The microwave works in a pinch, but it can dry out the chicken. If using the microwave, cover the dish with a damp paper towel to retain moisture.
This recipe freezes well too. Portion it into freezer-safe containers and store for up to 3 months. Thaw overnight in the fridge before reheating.
Nutritional Information & Benefits
This dish is a balanced meal on its own. Here’s an approximate breakdown per serving (based on 4 servings):
- Calories: 485
- Protein: 32g
- Fat: 18g
- Carbohydrates: 42g
- Fiber: 1g
- Sugar: 2g
Chicken thighs provide a good dose of protein and iron, while the garlic offers anti-inflammatory benefits. The butter, used in moderation, adds satiety and helps absorb fat-soluble vitamins from any veggies you serve alongside. This meal fits nicely into a balanced diet without feeling restrictive.
If you’re watching sodium, use low-sodium broth and go easy on the added salt. You can also swap white rice for brown rice, but you’ll need to increase the cooking time by about 15 minutes and add an extra 1/4 cup of broth.
Conclusion
This Light & Easy Garlic Butter Chicken and Rice is the kind of recipe that rescues a busy weeknight or makes a lazy Sunday feel special. It came from a mistake, but it earned a permanent spot in my rotation. The garlic butter sauce is downright addictive, the rice is perfectly fluffy, and the whole thing comes together in one pan with minimal fuss. I honestly think you’re going to love it.
Try it this week, and don’t be afraid to make it your own. Swap in your favorite herbs, add extra veggies, or dial up the garlic if you’re feeling bold. I’d love to hear how it turns out for you. Drop a comment below and let me know if this recipe became a happy accident in your kitchen too. And if you loved it, share it with a friend who needs a quick dinner win. Happy cooking!
Frequently Asked Questions
Can I use chicken breasts instead of thighs?
Yes, absolutely. Just reduce the initial sear time to about 3 minutes per side since breasts cook faster and dry out more easily. Check the internal temperature with a thermometer—165°F is your target.
Why is my rice still crunchy after 20 minutes?
This usually means the heat was too low or the lid didn’t seal properly. Add 2-3 tablespoons of water, re-cover tightly, and cook for another 5 minutes on low heat. Next time, make sure your lid fits snugly and the liquid is at a gentle simmer before covering.
Can I make this in a rice cooker?
You can adapt it, but the flavor won’t be as deep since you lose the fond from searing the chicken. If you try it, sear the chicken in a skillet first, then transfer everything to the rice cooker with the broth. Cook on the white rice setting.
How do I prevent the garlic from burning?
Keep the heat at medium when you add the garlic, and stir constantly. If it starts to brown too quickly, pull the pan off the heat for 10-15 seconds. Garlic burns fast, so stay close to the stove during this step.
Is this recipe gluten-free?
Yes, as written. Just make sure your chicken broth is certified gluten-free, as some brands add wheat-based ingredients. The rest of the ingredients are naturally gluten-free.
Pin This Recipe!
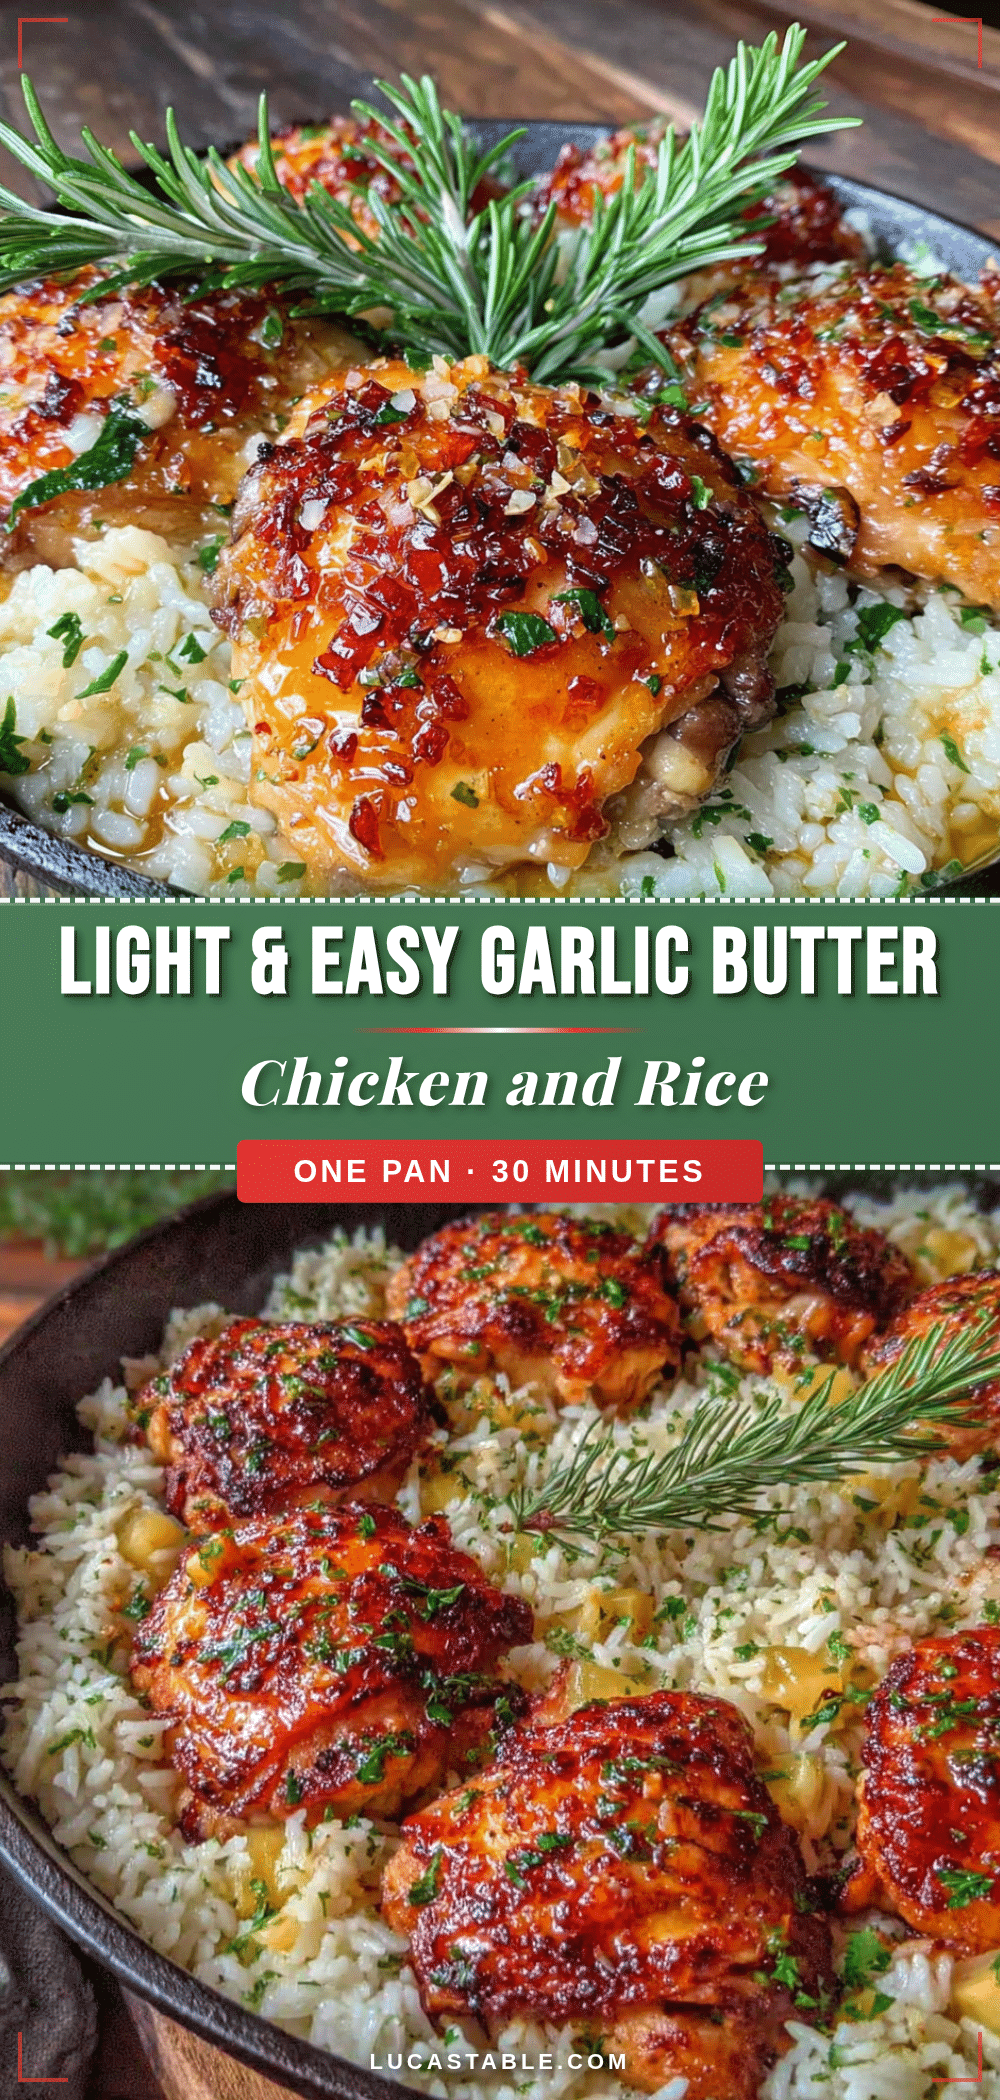
Light & Easy Garlic Butter Chicken and Rice

A quick and easy one-pan chicken and rice dish with a rich garlic butter sauce that’s lighter than traditional comfort food but just as satisfying.
- Prep Time: 15 minutes
- Cook Time: 30 minutes
- Total Time: 45 minutes
- Yield: 4 servings 1x
- Category: Main Course
- Cuisine: American
Ingredients
- 1.5 lbs (680g) boneless, skinless chicken thighs
- 3 tablespoons (42g) unsalted butter
- 6 cloves garlic, minced
- 1 cup (200g) long-grain white rice (basmati or jasmine)
- 2 cups (480ml) low-sodium chicken broth
- 1 medium yellow onion, diced
- 1 teaspoon dried thyme
- Salt and black pepper to taste
- 2 tablespoons fresh parsley, chopped
- Optional: zest of 1 lemon
Instructions
- Pat the chicken thighs dry with paper towels and season both sides generously with salt and pepper. Let sit at room temperature for 10 minutes.
- Heat 1 tablespoon of butter in a large skillet or Dutch oven over medium-high heat. Once melted and shimmering, place chicken thighs smooth side down in a single layer (work in batches if needed). Cook undisturbed for 4-5 minutes until golden brown, then flip and cook another 3-4 minutes. Transfer to a plate (chicken will not be fully cooked).
- Reduce heat to medium. Add remaining 2 tablespoons of butter. Once melted, add diced onion and cook for 2 minutes, scraping up browned bits from the pan. Add minced garlic and cook for 1 minute more, stirring constantly.
- Add rice to the pan and stir into the garlic butter mixture. Toast for about 2 minutes, stirring frequently, until grains turn slightly translucent at the edges.
- Pour in chicken broth and add dried thyme. Stir, scraping the bottom of the pan to release any remaining flavor bits. Bring to a gentle boil.
- Nestle the browned chicken thighs back into the rice, pushing them down slightly so they are partially submerged. Add any juices from the plate.
- Reduce heat to low, cover with a tight-fitting lid, and simmer for 20 minutes. Do not lift the lid during this time. Check at 18 minutes; if rice is still firm, add 2 tablespoons of water, re-cover, and cook for 2-3 more minutes.
- Turn off heat and let the pan sit, covered, for 5 minutes. Remove lid, fluff rice gently with a fork, and garnish with fresh parsley and lemon zest if using.
- Serve chicken over a bed of rice, spooning any remaining garlic butter from the bottom of the pan over the top.
Notes
Don’t skip drying the chicken for a good sear. Watch the garlic to prevent burning. Resist the urge to lift the lid while rice cooks. Fluff rice with a fork, not a spoon. For dairy-free, use vegan butter or olive oil. For a vegetable boost, add frozen peas and carrots with the broth.
Nutrition
- Serving Size: 1 serving (about 1/4
- Calories: 485
- Sugar: 2
- Sodium: 600
- Fat: 18
- Saturated Fat: 8
- Carbohydrates: 42
- Fiber: 1
- Protein: 32
Keywords: garlic butter chicken, chicken and rice, one-pan meal, easy dinner, quick weeknight meal, comfort food


