The neighborhood Halloween potluck was in four hours and I’d completely forgotten. I mean, I’d remembered to buy the big bag of candy for trick-or-treaters, but the sign-up sheet for the potluck? That had slipped my mind entirely. Everyone else would be bringing elaborate dishes—I’d seen the posts in the group chat. There was a from-scratch chili, a caramel apple cheesecake, and someone’s famous witch-hat cookies that took three days to decorate. I had a pumpkin. A big, beautiful pumpkin I’d bought for decoration, sitting on my front porch. Honestly, I almost grabbed my keys to run to the store, but then I looked at that pumpkin and thought… well, I’ve got the main ingredient right here.
So I carved the pumpkin for a jack-o-lantern (the kids were thrilled), and I was left with a huge pile of slippery, stringy guts and a mountain of seeds. It felt a little desperate, to be honest. I rinsed them, tossed them with some oil and salt, and threw them in the oven, praying they’d turn out okay. I didn’t have time for anything fancy. I walked into that potluck with a simple bowl of oven-roasted pumpkin seeds, feeling a bit sheepish next to the spread of gourmet dishes. You know that feeling when you’re the one who brought the “store-bought” equivalent to a bake sale? That was me.
The bowl was empty in fifteen minutes. People kept coming up to me, asking for the recipe. The chili was barely touched. The cheesecake had half a slice missing. But my humble little seeds? Gone. I stood there, holding an empty bowl, completely surprised. It was the underdog victory I didn’t see coming. That night, I realized that sometimes the simplest things—the things you almost don’t bother making—are the ones that really hit the spot. This recipe, with its perfect salty crunch, has been a staple in my kitchen ever since. Maybe you’ve been there, scrambling for a last-minute contribution? If so, this one’s for you.
Why You’ll Love This Recipe
Let me tell you, this isn’t just another way to use up pumpkin guts. This is the recipe that turns a seasonal chore into a snack you’ll crave all year round. I’ve tested this method more times than I can count, tweaking the temperature and timing until it was just right. It’s the kind of recipe that makes you look like a kitchen wizard, but it’s almost embarrassingly easy.
- Quick & Easy: From pumpkin to crunchy snack in under 30 minutes. Perfect for those moments when you need a last-minute appetizer or a healthy treat for the kids.
- Simple Ingredients: You only need pumpkin seeds, oil, and salt. That’s it. No fancy spice blends or hard-to-find ingredients. You probably have everything in your pantry right now.
- Perfect for Fall Gatherings: Great for Halloween parties, Thanksgiving appetizers, or just a cozy snack while watching a movie. It’s a crowd-pleaser that fits any casual occasion.
- Crowd-Pleaser: I’ve yet to meet a person who doesn’t love these. Kids, adults, picky eaters—everyone goes for that salty, crunchy goodness. It’s the snack that disappears before the main course.
- Unbelievably Delicious: The texture is what gets me every time. A light, crisp crunch that shatters in your mouth, with a simple sea salt finish that lets the earthy flavor of the seed shine through. It’s pure comfort food, no bells and whistles needed.
What makes this recipe different from all the others? It’s the method. I learned the hard way that high heat burns the small seeds before they’re dry, and low heat leaves them chewy. This oven-roasted technique at the perfect temperature gives you that ideal crunchy texture without any guesswork. It’s not about complicated spices or marinades—it’s about respecting the ingredient and getting the technique right. This is the version I make for my family on a sensible budget, and it never disappoints. It’s the kind of snack that makes you close your eyes after the first bite, just for a second.
What Ingredients You Will Need
This recipe uses the simplest of ingredients to create something truly satisfying. You don’t need a long shopping list or specialty items. It’s all about quality and technique with what you already have. Here’s what you’ll need:
- Pumpkin Seeds: About 1 ½ cups of fresh, raw seeds, straight from a medium-sized pumpkin. You can use seeds from sugar pumpkins or carving pumpkins—both work great. I prefer seeds from a larger carving pumpkin as they tend to be a bit bigger and meatier. (Look for seeds that are plump and not shriveled.)
- Olive Oil: 1 tablespoon of extra virgin olive oil. This helps the salt stick and promotes even browning. You can use melted coconut oil or avocado oil if you prefer a different flavor profile. (I’ve used bacon fat in a pinch, and it was incredible, but that’s a story for another day.)
- Sea Salt: ½ teaspoon of fine sea salt. I recommend a good quality flaky sea salt like Maldon for finishing, but fine sea salt works perfectly for the initial seasoning. (Kosher salt is also fine, just use a bit more.)
The beauty of this recipe is that you can absolutely customize it. Once you have the basic method down, you can add garlic powder, smoked paprika, cayenne pepper, or even a sprinkle of brown sugar for a sweet-and-salty version. But for this post, we’re keeping it pure and simple—just the seeds, oil, and salt. It’s the perfect blank canvas. For the best results, I recommend using fresh seeds rather than store-bought raw seeds. The flavor is just more vibrant. And don’t throw away the pumpkin flesh! You can roast that too for a side dish or puree it for soup.
Equipment Needed
You don’t need a lot of fancy tools for this recipe, which is part of its charm. Here’s what you’ll need to get the job done:
- Baking Sheet: A standard half-sheet pan works perfectly. I use a rimmed baking sheet to keep the seeds from rolling off. (My favorite is a heavy-duty aluminum one—it heats evenly and doesn’t warp.)
- Parchment Paper or Silicone Baking Mat: This is optional but highly recommended. It makes cleanup a breeze and prevents the seeds from sticking. I’ve forgotten it before and it was fine, but the parchment just makes life easier.
- Colander: For rinsing the seeds. A fine-mesh strainer is even better, as it catches the smaller seeds.
- Mixing Bowl: Just a medium-sized bowl for tossing the seeds with oil and salt.
- Paper Towels or Clean Kitchen Towel: For drying the seeds thoroughly. This is a crucial step that I’ll explain more in the method.
- Spatula or Wooden Spoon: For stirring the seeds halfway through roasting.
If you don’t have a baking sheet, you can use a cast-iron skillet or even a casserole dish. The key is to spread the seeds in a single layer so they roast evenly. For budget-friendly options, skip the parchment paper and just grease your pan lightly with a bit of oil spray. Honestly, I’ve made these with just a bowl and a pan—it’s that simple.
Preparation Method
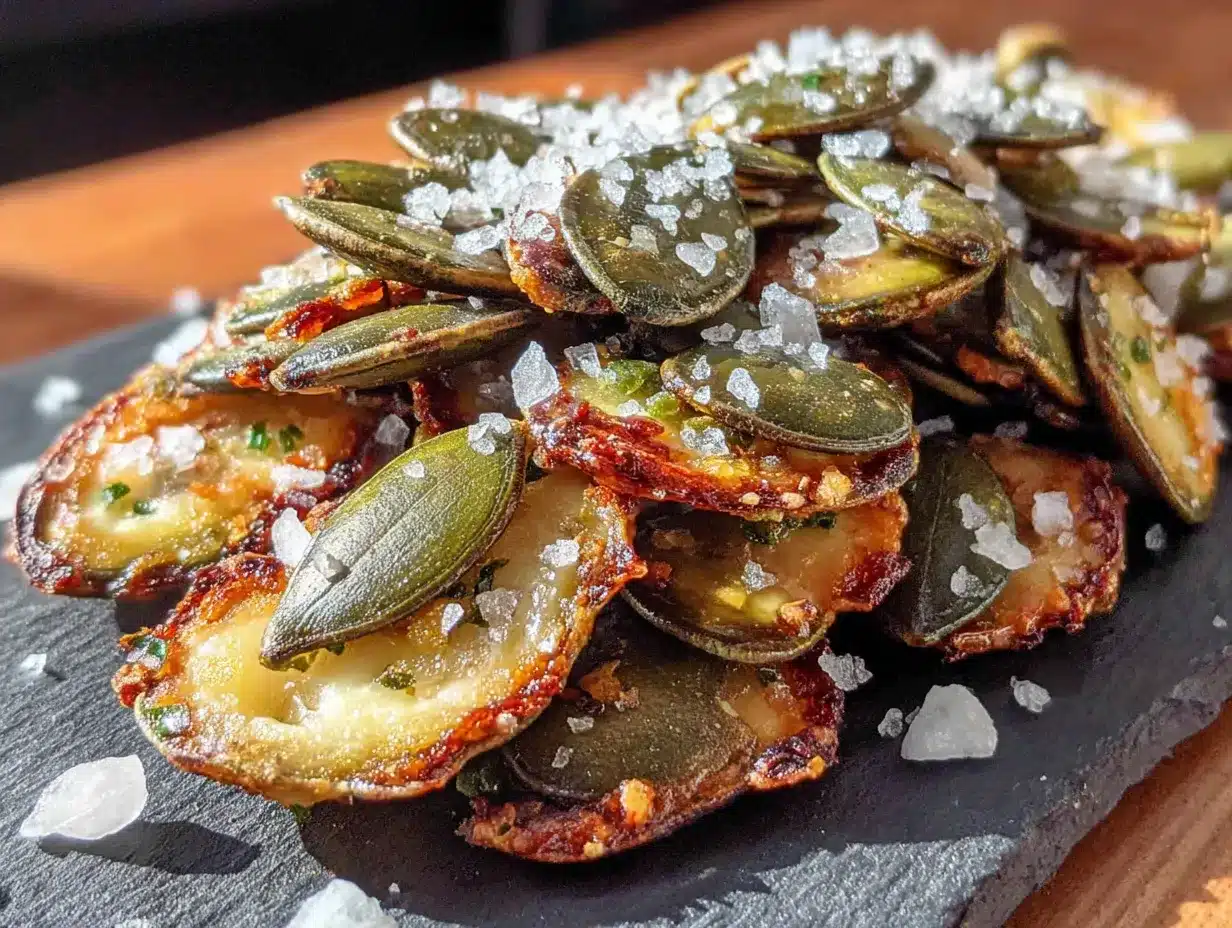
Alright, let’s get roasting. This method is foolproof, and I’ll walk you through every step. Trust me, once you do this, you’ll never throw pumpkin seeds away again.
- Preheat Your Oven: Set your oven to 325°F (160°C). This is the sweet spot. I’ve tried 350°F and the seeds tend to burn on the edges before they’re fully dry inside. 300°F takes too long and they come out a bit chewy. 325°F is the Goldilocks temperature.
- Separate the Seeds from the Pumpkin Guts: This is the messy part, but it’s also kind of fun. Scoop the seeds and the stringy pulp into a large bowl. Fill the bowl with cold water. The seeds will float to the top, and the pulp will sink. Use your hands to gently separate the seeds from the pulp. It’s a bit slimy, but that’s part of the charm. (I usually do this over the sink to contain the mess.)
- Rinse and Clean the Seeds: Place the seeds in a colander and rinse them under cold running water. Pick out any remaining bits of pumpkin flesh. You want the seeds to be as clean as possible. A few tiny strings are okay, but big chunks of pulp will burn in the oven.
- Dry the Seeds Thoroughly: This is the most important step. Spread the clean seeds out on a clean kitchen towel or a layer of paper towels. Pat them dry with another towel. Let them air dry for about 10 minutes. If the seeds are wet, they will steam instead of roast, and you’ll end up with chewy, not crunchy, seeds. I once skipped this step in a hurry, and the result was sad, soggy seeds. Learn from my mistake.
- Toss with Oil and Salt: In a medium mixing bowl, combine the dried seeds, 1 tablespoon of olive oil, and ½ teaspoon of fine sea salt. Use a spatula or your hands to toss everything together until the seeds are evenly coated. Make sure there are no clumps of salt.
- Spread on Baking Sheet: Line your baking sheet with parchment paper (optional, but helpful). Spread the seasoned seeds in a single, even layer. Don’t overcrowd them. If they’re piled on top of each other, they won’t roast evenly. You want each seed to have its own little spot.
- Roast for 20-25 Minutes: Place the baking sheet on the middle rack of your preheated oven. Roast for 10 minutes, then remove the pan and give the seeds a good stir with a spatula. This ensures even browning. Return the pan to the oven and roast for another 10-15 minutes. Keep a close eye on them during the last 5 minutes. They can go from golden to burnt very quickly. You’re looking for a light golden brown color and a fragrant, nutty aroma.
- Check for Doneness: The seeds are done when they are dry, lightly browned, and sound hollow when you tap them. Let one cool for a second and taste it. It should be crunchy, not chewy or soft. If they’re still a bit soft, give them another 2-3 minutes.
- Cool Completely: Remove the baking sheet from the oven and let the seeds cool completely on the pan. They will continue to crisp up as they cool. This takes about 10-15 minutes. Don’t skip this step! If you put them in a container while they’re still warm, they’ll trap steam and lose their crunch.
- Enjoy: Once they are completely cool, transfer them to a bowl and serve. Or, if you can resist eating them all immediately, store them for later.
Cooking Tips & Techniques
Over the years, I’ve made a lot of mistakes with pumpkin seeds. I’ve burned them, I’ve undercooked them, I’ve made them so salty they were inedible. But each failure taught me something. Here are the tips I wish I’d known from the start.
The Drying Secret: I cannot stress this enough—dry seeds are the key to crunchy seeds. After rinsing, spread them on a towel and let them sit for a full 15 minutes. If you’re in a real hurry, you can even use a salad spinner to get them extra dry. The less moisture, the better the crunch.
The Stirring Strategy: Don’t just stir the seeds once. Stir them halfway through, and then again if you’re doing a longer roast. The seeds on the edges of the pan cook faster than the ones in the middle. Stirring ensures everyone gets equal oven time.
The Salt Timing: I’ve found that salting before roasting gives a more integrated flavor, while salting right after roasting gives a more intense, crunchy salt hit. For this simple sea salt version, I prefer salting before. If you’re using a flavored salt (like truffle salt), add it after roasting so the flavor doesn’t bake off.
The Listen Test: Here’s a trick I learned from my grandmother. When you shake the baking sheet, the seeds should sound like tiny pebbles rattling. A dull, thudding sound means they’re still moist. It’s a weird but reliable test.
Batch Size Matters: If you’re using seeds from more than one pumpkin, don’t try to roast them all on one pan. Use two pans, or roast in batches. Overcrowding is the number one cause of soggy seeds. Trust me on this one—I tried to cram three pumpkins’ worth of seeds onto one pan once. It was a disaster.
Variations & Adaptations
Once you’ve mastered the basic recipe, the world is your oyster. Or, well, your pumpkin seed. Here are a few ways to switch it up based on what you have in the pantry or who you’re feeding.
- Spicy Chili Lime: Add ½ teaspoon of chili powder, ¼ teaspoon of cayenne pepper, and the zest of one lime to the oil before tossing. A squeeze of lime juice after roasting takes it over the top. My husband’s absolute favorite version.
- Sweet Cinnamon Sugar: Swap the sea salt for 1 tablespoon of brown sugar and ½ teaspoon of cinnamon. This is a huge hit with kids. I make this version for after-school snacks, and it disappears in minutes.
- Garlic Parmesan: Add ½ teaspoon of garlic powder and 2 tablespoons of finely grated Parmesan cheese to the seeds after they come out of the oven (while they’re still warm). The cheese melts slightly and creates a savory, umami coating. Perfect for a grown-up snack with a glass of wine.
- Everything Bagel: Toss the roasted seeds with 1 tablespoon of everything bagel seasoning (poppy seeds, sesame seeds, garlic flakes, onion flakes, and salt). This is my go-to for salad toppings.
- Dietary Adaptations: This recipe is naturally gluten-free and dairy-free (unless you add the Parmesan). For a lower-fat option, you can use a spray of oil instead of tossing them in the full tablespoon. It won’t be quite as crispy, but it still works.
Serving & Storage Suggestions
These seeds are incredibly versatile. I serve them warm or at room temperature. They are perfect as a pre-dinner snack, a crunchy topping for soups (especially butternut squash or tomato soup), or a salad topper for some extra texture. I love them on a simple green salad with a tangy vinaigrette—the saltiness cuts through the acidity beautifully. They also make a great gift! Fill a small mason jar and tie a ribbon around it. People love homemade gifts.
Storage: Store your completely cooled pumpkin seeds in an airtight container at room temperature. A glass jar with a tight-fitting lid works best. They will stay fresh and crunchy for up to 2 weeks. I’ve kept them for a month, but they do lose a bit of their snap over time.
Reheating: If your seeds lose their crunch (which can happen in humid weather), simply spread them on a baking sheet and pop them in a 300°F (150°C) oven for 3-5 minutes. Let them cool completely, and they’ll be crispy again. Do not microwave them—it will make them chewy and sad.
Flavor Development: I actually think these seeds taste even better the next day. The salt has a chance to fully integrate, and the texture is perfectly set. So don’t be afraid to make them a day ahead for a party. One less thing to worry about on the day!
Nutritional Information & Benefits
Don’t let their small size fool you—pumpkin seeds are nutritional powerhouses. They are packed with healthy fats, protein, and fiber, making them a satisfying snack that keeps you full. A quarter-cup serving (about 30 grams) provides approximately:
- Calories: 180
- Protein: 9 grams
- Fat: 15 grams (mostly healthy unsaturated fats)
- Fiber: 2 grams
- Magnesium: 40% of your daily needs (great for sleep and muscle function)
- Zinc: 20% of your daily needs (supports immune health)
These seeds are a fantastic source of antioxidants and are naturally gluten-free. They are also a good source of iron. For families on a budget, this is a great way to add nutrients to your diet without spending a lot of money. You’re essentially getting a superfood for free from your Halloween pumpkin! I feel good about giving these to my kids as an after-school snack. It’s a treat that’s actually good for them.
Conclusion
So there you have it—my simple, foolproof recipe for easy oven-roasted pumpkin seeds with sea salt. It started as a last-minute panic for a potluck and turned into one of my most-requested recipes. That’s the beauty of cooking, isn’t it? Sometimes the simplest things are the most rewarding. This recipe is a reminder that you don’t need complicated techniques or expensive ingredients to make something truly delicious. You just need a little bit of time, a hot oven, and a willingness to get your hands a little messy.
I encourage you to make this recipe your own. Play with the seasonings. Roast them a little darker if you like a deeper flavor. Share them with your family and friends. And when you do, I’d love to hear about it. Leave a comment below and tell me how they turned out! Did you try a fun variation? Did your picky eater finally approve? Let’s keep the conversation going. Happy roasting, friends. I promise, once you start, you’ll never look at a pumpkin the same way again.
Frequently Asked Questions
Do I have to wash the pumpkin seeds before roasting?
Yes, absolutely. You need to rinse them to remove the sticky pumpkin pulp and strings. If you skip this step, the pulp will burn in the oven and give the seeds a bitter, unpleasant taste. A good rinse in a colander does the trick.
Can I use store-bought raw pumpkin seeds instead of fresh ones?
Yes, you can. Store-bought raw pumpkin seeds (also called pepitas) work perfectly. The main difference is that they are already clean and dry, so you can skip the washing and drying steps. Just toss them with oil and salt and roast as directed. They may cook a few minutes faster since they are already dry.
Why are my pumpkin seeds chewy instead of crunchy?
Chewy seeds are usually the result of one of two things: they weren’t dried thoroughly before roasting, or they were undercooked. Make sure you pat them very dry with a towel before adding oil. Also, ensure your oven temperature is accurate and you roast them for the full 20-25 minutes. Letting them cool completely on the pan also helps them crisp up.
Can I roast pumpkin seeds without oil?
You can, but they won’t be as crispy or flavorful. The oil helps conduct heat and allows the salt to stick. If you want to reduce fat, you can use a light spray of cooking oil instead of tossing them in a tablespoon. Dry roasting will work, but the texture will be more like a toasted nut rather than a crunchy snack.
How long do roasted pumpkin seeds last?
Stored in an airtight container at room temperature, they will stay fresh and crunchy for up to 2 weeks. For longer storage, you can keep them in the refrigerator for up to a month or in the freezer for up to 3 months. Just make sure they are completely cool before storing to prevent condensation.
Pin This Recipe!
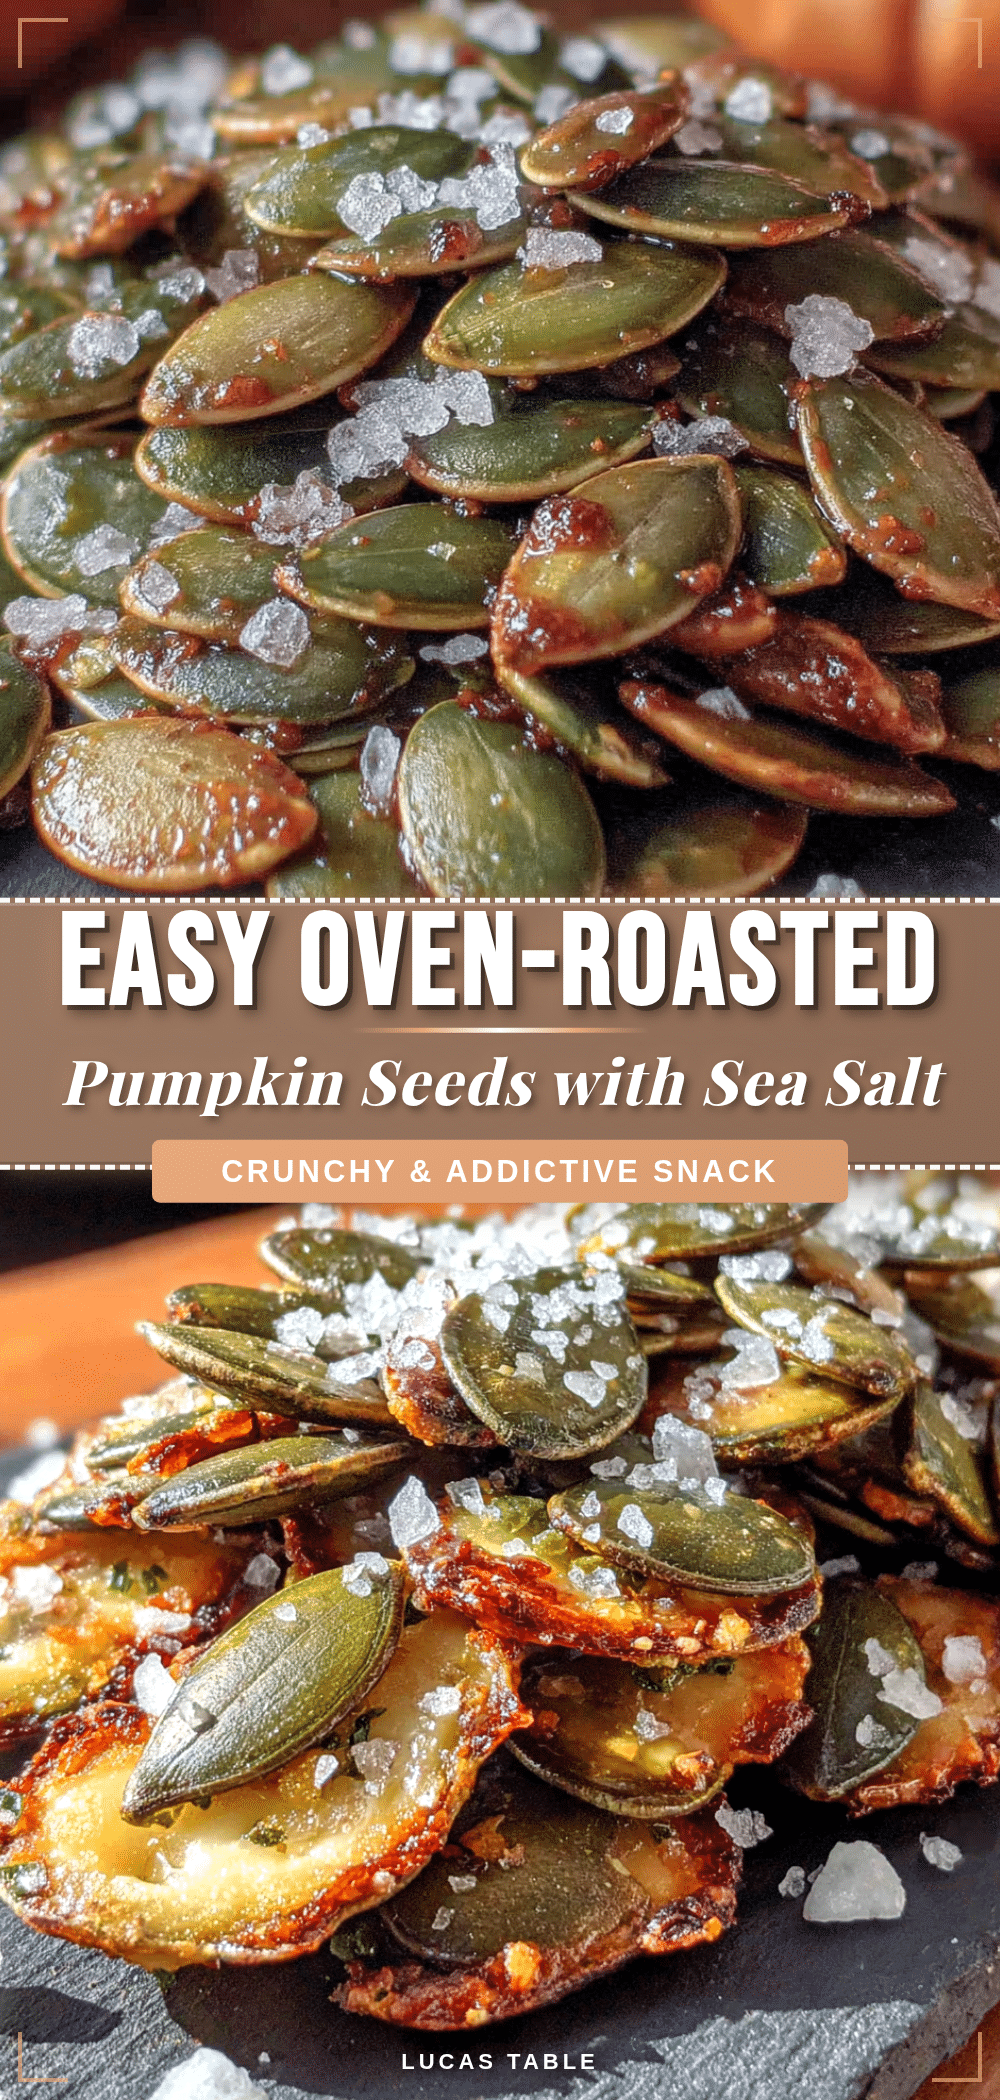
Easy Oven-Roasted Pumpkin Seeds Recipe: Best with Sea Salt
A simple, foolproof recipe for perfectly crunchy oven-roasted pumpkin seeds with sea salt. This last-minute potluck winner is quick, easy, and made with just three ingredients.
- Prep Time: 15 minutes
- Cook Time: 25 minutes
- Total Time: 40 minutes
- Yield: 4 servings 1x
- Category: Snack
- Cuisine: American
Ingredients
- 1 ½ cups fresh raw pumpkin seeds (from a medium pumpkin)
- 1 tablespoon extra virgin olive oil
- ½ teaspoon fine sea salt
Instructions
- Preheat your oven to 325°F (160°C).
- Separate the seeds from the pumpkin guts. Scoop seeds and pulp into a large bowl, fill with cold water, and use your hands to separate seeds from pulp.
- Rinse the seeds in a colander under cold running water, removing any remaining pumpkin flesh.
- Dry the seeds thoroughly by spreading them on a clean kitchen towel or paper towels. Pat dry and let air dry for about 10 minutes.
- In a medium mixing bowl, combine the dried seeds, olive oil, and sea salt. Toss until evenly coated.
- Spread the seasoned seeds in a single layer on a parchment-lined baking sheet.
- Roast for 10 minutes, then stir the seeds. Return to the oven and roast for another 10-15 minutes, until golden brown and fragrant.
- Check for doneness: seeds should be dry, lightly browned, and sound hollow when tapped. Let one cool and taste for crunchiness.
- Remove from oven and let the seeds cool completely on the baking sheet (about 10-15 minutes).
- Transfer to a bowl and serve, or store in an airtight container.
Notes
Dry seeds thoroughly for maximum crunch. Stir halfway through roasting for even browning. For a more intense salt hit, add extra salt after roasting. Store in an airtight container at room temperature for up to 2 weeks. Re-crisp in a 300°F oven for 3-5 minutes if they lose crunch.
Nutrition
- Serving Size: 1/4 cup (about 30 gr
- Calories: 180
- Sugar: 1
- Sodium: 150
- Fat: 15
- Saturated Fat: 2.5
- Carbohydrates: 5
- Fiber: 2
- Protein: 9
Keywords: pumpkin seeds, roasted pumpkin seeds, sea salt pumpkin seeds, easy snack, fall recipe, Halloween snack


