I swore I hated dirt cups. Honestly, for years I did. The whole concept felt like a gimmick—crushed cookies pretending to be soil, gummy worms wriggling out of what was supposed to be pudding. It was the kind of dessert I’d side-eye at a party, the one I’d politely pass on while muttering something about “real chocolate cake.” Then last October, my niece cornered me at her Halloween party. She was seven, covered in glittery face paint, and she shoved a plastic cup toward me with such determination that I didn’t have the heart to refuse. “Try it, Auntie. I made them myself.” So I did. And let me tell you, I stood there in her kitchen—the one with the chipped linoleum floor and the pumpkin-shaped cookie jar—eating that dirt cup like I hadn’t eaten in days. The cream cheese layer was tangy and smooth, the crushed Oreos gave this incredible crunch, and the gummy worms? They were just fun. I mean, who knew a dessert that looks like a miniature graveyard could taste this good? Maybe you’ve been there, judging a recipe by its cover, only to have that first bite flip everything around. That’s exactly what happened to me. And now, every Halloween, I make these Spooky Halloween Dirt Cups with Gummy Worms, and I don’t even pretend to share them.
Why You’ll Love This Recipe
Let me tell you why these dirt cups have become my go-to Halloween dessert, even after years of skepticism. First off, they’re ridiculously easy. We’re talking no-bake, no-fuss, throw-it-together-in-minutes easy. The kind of recipe you can make with kids without losing your mind.
- Quick & Easy: Comes together in under 20 minutes, then just chill for an hour. Perfect for busy Halloween weeknights or last-minute party prep.
- Simple Ingredients: No fancy grocery trips needed. You likely have most of this in your kitchen right now—pudding mix, cream cheese, Oreos, and gummy worms.
- Perfect for Halloween: Let’s be real, this is the star of any spooky spread. Kids love it, adults secretly love it more.
- Crowd-Pleaser: I’ve brought these to three different Halloween parties now, and every single time, someone asks for the recipe. Even the dirt cup skeptics.
- Unbelievably Delicious: The texture is what gets you. That creamy, tangy pudding layer against the crunchy cookie crumb—it’s comfort food in a cup.
What makes this recipe different from the rest? It’s the cream cheese. Most dirt cup recipes just use instant pudding and Cool Whip, but adding cream cheese gives it this richness that takes it from “kid snack” to “adult-approved dessert.” I tested it three times to get the ratio right—trust me, that extra step is worth it.
This isn’t just good. It’s the kind of dessert that makes you close your eyes after the first bite. It’s Halloween fun without the stress, and honestly? It’s the recipe that proved me wrong about dirt cups forever.
What Ingredients You Will Need
This recipe uses simple, everyday ingredients to deliver that perfect balance of creamy, crunchy, and spooky. Most of these are pantry staples, so you probably won’t need a special trip to the store.
- 1 (3.4 oz) box instant chocolate pudding mix — I prefer Jell-O brand for consistent texture, but any brand works fine. Use sugar-free if you want to cut back on sweetness.
- 2 cups cold milk — Whole milk gives the creamiest result, but 2% works too. For a dairy-free version, use oat milk or almond milk—just know the pudding might be slightly thinner.
- 4 oz cream cheese, softened — This is my secret ingredient. It adds tanginess and richness that makes the pudding layer taste almost cheesecake-like. Let it sit out for 30 minutes before mixing so it blends smoothly.
- 1/4 cup powdered sugar — Just enough to sweeten the cream cheese without making it cloying. If you’re using sweetened cream cheese, you can skip this.
- 1/2 cup Cool Whip or whipped topping, thawed — Adds lightness to the cream cheese mixture. You can substitute with homemade whipped cream if you’re feeling fancy—just whip 1/2 cup heavy cream with 1 tablespoon powdered sugar until stiff peaks form.
- 1 (14.3 oz) package Oreo cookies — About 20 cookies. You’ll crush them into fine crumbs to look like dirt. I recommend Double Stuf for extra cookie creme, but regular works great too.
- 1 cup gummy worms — The spooky star of the show! Use any brand—I like Trolli or Black Forest for their bright colors and chewy texture. You can also use gummy spiders or bugs for variety.
- Optional: Halloween sprinkles or candy eyes — For extra decoration on top. Totally optional, but kids love them.
Ingredient Selection Tip: For the best “dirt” texture, crush your Oreos in a food processor or seal them in a zip-top bag and smash with a rolling pin. You want fine crumbs, not chunks—think garden soil, not gravel.
Substitution Guidance: If you’re gluten-free, use gluten-free chocolate sandwich cookies and double-check your pudding mix label. For a nut-free version, make sure your gummy worms are produced in a nut-free facility—some brands are, some aren’t.
Equipment Needed
You don’t need much for this recipe, which is part of its charm. Here’s what you’ll need:
- 6-8 small cups or glasses — Clear plastic cups are best for showing off the layers. I use 8-ounce cups, but any size works. Mason jars are cute too.
- Mixing bowls — One medium for the pudding, one small for the cream cheese mixture.
- Electric mixer or whisk — An electric hand mixer makes the cream cheese mixture silky smooth. You can whisk by hand, but it takes some elbow grease.
- Food processor or zip-top bag and rolling pin — For crushing Oreos into fine crumbs. The food processor is faster, but the bag method is more fun for kids.
- Spatula — For scraping every last bit of that cream cheese mixture. Trust me, you won’t want to waste any.
- Measuring cups and spoons — Standard kitchen essentials.
I’ve made these with just a whisk and a zip-top bag before, so don’t stress if you don’t have a food processor. The bag method actually gives you more control over the crumb size. Just be careful not to over-smash—you’ll end up with Oreo dust everywhere, and trust me, I’ve learned that lesson the hard way.
Preparation Method
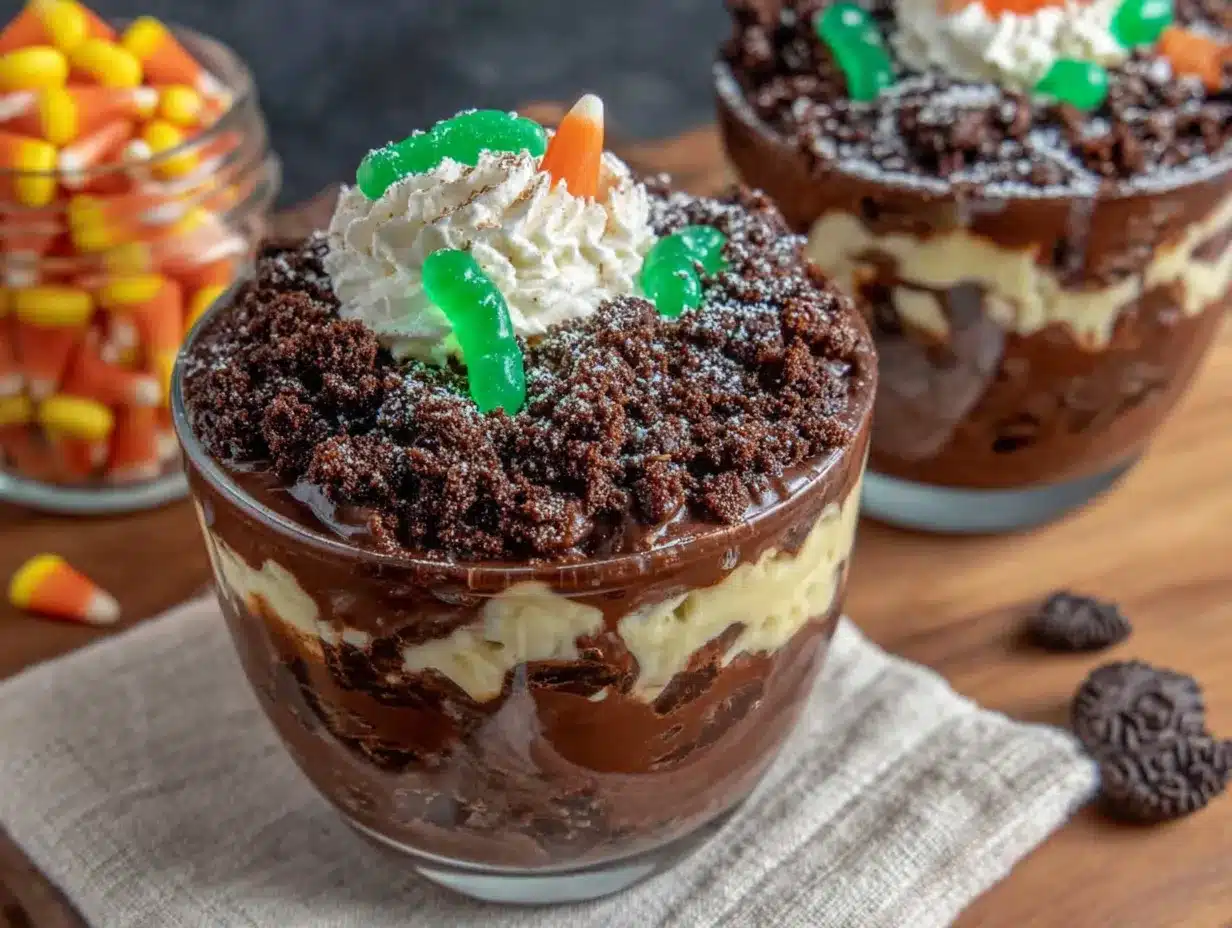
Let me walk you through this step by step. It’s easier than you think, and I’ve included all the little tricks I’ve learned from making these about a dozen times.
- Prepare the pudding: In a medium bowl, whisk together the instant chocolate pudding mix and 2 cups cold milk. Whisk for about 2 minutes until it starts to thicken. Let it sit for 5 minutes to set up slightly. Pro tip: If you’re in a hurry, use cold milk straight from the fridge—it helps the pudding set faster.
- Make the cream cheese mixture: In a separate small bowl, beat the softened cream cheese with the powdered sugar until smooth and creamy. I use an electric mixer on medium speed for about 1 minute. You want no lumps—if you see any, keep beating. Sensory cue: It should look like thick frosting, pale and silky.
- Combine the layers: Fold the cream cheese mixture into the prepared pudding. Use a spatula and stir gently until fully combined. Don’t overmix, or you’ll lose the airiness. Then fold in the thawed Cool Whip until everything is uniform. This is where the magic happens—the mixture turns into this light, fluffy, dreamy texture.
- Crush the Oreos: Place the Oreos in a food processor and pulse until they form fine crumbs. If using the bag method, put them in a zip-top bag, seal it, and go to town with a rolling pin. You want about 2 cups of crumbs. Warning: Don’t open the bag too fast after smashing—Oreo dust will puff out everywhere. I learned this the messy way.
- Assemble the cups: Spoon about 2 tablespoons of the pudding mixture into the bottom of each cup. Add a layer of Oreo crumbs—about 1 1/2 tablespoons. Repeat with another layer of pudding, then another layer of crumbs. Visual cue: You should see distinct white and dark layers through the cup.
- Add the worms: Gently poke 2-3 gummy worms into the top layer of each cup, letting them peek out like they’re crawling out of the dirt. I like to position some halfway in and some just barely sticking out for variety.
- Chill: Refrigerate the cups for at least 1 hour before serving. This lets the layers set and the flavors meld together. Time tip: They’re even better after 2-3 hours, but an hour works if you’re in a rush.
That’s it! Seven simple steps, and you’ve got a dessert that looks like it took way more effort than it actually did.
Cooking Tips & Techniques
I’ve made plenty of mistakes with these dirt cups so you don’t have to. Here’s what I’ve learned:
Don’t skip the cream cheese softening. I once tried to mix cold cream cheese straight from the fridge, and I ended up with lumpy pudding. Let it sit out for 20-30 minutes before starting. If you forget, microwave it for 10 seconds—but watch it carefully so it doesn’t melt.
Layer strategically. Start with pudding on the bottom, not crumbs. If you put crumbs first, they’ll get soggy and you’ll lose that satisfying crunch. Trust me on this one—I learned it after making a batch where the bottom layer turned into Oreo mush.
Crush Oreos finely but not to dust. You want some tiny pieces for texture, but if you over-crush, it turns into powder that clumps. Aim for crumbs that look like coarse sand. If using a food processor, pulse in short bursts rather than running it continuously.
Make ahead tip: These actually taste better after sitting overnight. The pudding sets fully, and the Oreo crumbs soften just enough to mimic real dirt. Just add the gummy worms right before serving so they stay chewy and don’t get soggy.
Timing strategy: I make the pudding and cream cheese mixture while the kids are decorating cupcakes or carving pumpkins. It takes about 15 minutes of active time, then they can help with assembly. It’s a great hands-on activity for little ones.
One time, I forgot to buy gummy worms and had to use gummy bears instead. They looked ridiculous—like tiny bears drowning in dirt. My nephew still ate three cups, but it wasn’t quite the same. Stick with the worms for that spooky factor.
Variations & Adaptations
These dirt cups are incredibly versatile. Here are some ways to switch things up:
- Peanut Butter Dirt Cups: Add 2 tablespoons of creamy peanut butter to the cream cheese mixture before folding in the Cool Whip. It adds a salty-sweet depth that’s incredible. Just make sure no one has peanut allergies if you’re serving at a party.
- Vegan Version: Use dairy-free cream cheese (I like Kite Hill), coconut whipped cream, and a plant-based milk like oat milk for the pudding. Most chocolate pudding mixes are accidentally vegan, but double-check the label. Use vegan chocolate sandwich cookies like Oreos—they’re actually vegan!
- Pumpkin Spice Dirt Cups: Swap the chocolate pudding for vanilla pudding and add 1/2 cup pumpkin puree and 1 teaspoon pumpkin pie spice to the cream cheese mixture. Top with crushed graham crackers instead of Oreos for a fall twist.
- Gluten-Free Option: Use gluten-free chocolate sandwich cookies (Kinnikinnick makes a good one) and verify your pudding mix is gluten-free. Everything else in the recipe is naturally gluten-free.
- Extra Spooky Touch: Add a few drops of green or orange food coloring to the pudding mixture for a brighter, more Halloween-appropriate color. I’ve done neon green before, and it looked like swamp dirt—the kids went wild.
My personal favorite variation? The peanut butter version. I made it for a Halloween potluck last year, and someone actually asked if they could take the leftovers home. I said no. That’s how good it is.
Serving & Storage Suggestions
These dirt cups are best served cold, straight from the fridge. The contrast between the creamy pudding and the crunchy Oreo crumbs is perfect at chilled temperature. I like to serve them in clear plastic cups so everyone can see the layers—it adds to the spooky presentation.
Presentation Tips: For a party, arrange the cups on a tray lined with black or orange napkins. Add a few extra gummy worms around the base of each cup for a “crawling out” effect. You can also top each cup with a plastic spider ring or a candy eyeball for extra fun.
Complementary Dishes: These pair wonderfully with other Halloween treats like pumpkin-shaped sugar cookies, caramel apples, or a bowl of popcorn balls. For drinks, serve with apple cider or a hot chocolate bar.
Storage Instructions: Store assembled dirt cups in the refrigerator, covered with plastic wrap or lids, for up to 3 days. The Oreo crumbs will soften over time, but that’s actually part of the charm—it looks more like real dirt after a day or two.
Freezer Tips: You can freeze these for up to 1 month. Assemble without the gummy worms, wrap each cup tightly in plastic wrap, and freeze. Thaw in the refrigerator overnight, then add fresh gummy worms before serving. The texture will be slightly different—a bit more like ice cream—but still delicious.
Reheating: Don’t. These are meant to be served cold. If they’ve been out for more than 2 hours, just return them to the fridge.
One thing I’ve noticed—the flavors actually develop and get better after a day in the fridge. The cream cheese and pudding meld together, and the Oreo crumbs absorb just enough moisture to create that perfect “dirt” texture. So if you can, make them a day ahead.
Nutritional Information & Benefits
Let’s be honest—these are a treat, not a health food. But here’s a rough breakdown per serving (based on 8 servings):
- Calories: Approximately 320-350 per cup
- Fat: 18g (mostly from cream cheese and Oreos)
- Carbohydrates: 42g
- Protein: 6g
- Sugar: 28g
Health Benefits of Key Ingredients: Believe it or not, there are a few redeeming qualities. Cream cheese provides calcium and a small amount of protein. Milk adds vitamin D and calcium. And chocolate pudding? Well, it has a little iron from the cocoa. The gummy worms are pure sugar, but they make people smile, and that counts for something.
Dietary Considerations: As written, this recipe contains dairy, gluten (from Oreos), and gelatin (from gummy worms). For a gluten-free version, use gluten-free cookies. For a dairy-free version, use plant-based alternatives. For a gelatin-free version, use vegan gummy worms made with pectin.
Potential Allergens: Milk, wheat, and soy (from Oreos). Gummy worms may contain gelatin, which is animal-based. Always check labels if serving to guests with allergies.
My personal take? These are a once-a-year Halloween treat. They’re not something you eat every day, and that’s okay. Sometimes the joy of a dessert is just about the experience—the laughter, the messy fingers, the “eww, it looks like real dirt!” reactions. That’s worth every calorie.
Conclusion
So there you have it—the dirt cups that converted a skeptic. These Spooky Halloween Dirt Cups with Gummy Worms are proof that sometimes the simplest desserts are the ones that surprise you most. They’re fun, they’re easy, and honestly? They’re delicious in a way that feels almost unfair for something made with instant pudding and crushed cookies.
I hope you give them a try, whether you’re making them for a Halloween party, a classroom treat, or just because you want to eat something that looks like it belongs in a haunted graveyard. Customize them however you like—add more worms, swap the pudding flavor, go wild with the decorations. That’s the beauty of a recipe this forgiving.
If you make these, I’d love to hear about it. Drop a comment below and tell me how they turned out, or share a photo of your spooky creations. Did your kids help? Did you add your own twist? Did anyone else get converted from dirt cup skeptic to fan? Share your story—I read every comment, and honestly, they make my day.
Happy Halloween, and happy eating! 🎃
Frequently Asked Questions
Can I make these dirt cups ahead of time?
Absolutely! These are actually better when made a day ahead. Assemble them without the gummy worms, refrigerate overnight, then add the worms right before serving. The flavors meld together beautifully, and the Oreo crumbs soften to that perfect dirt-like texture.
Can I use sugar-free pudding mix?
Yes, you can. Sugar-free chocolate pudding mix works perfectly fine—just follow the package instructions for the milk amount. The texture might be slightly less creamy, but the cream cheese helps compensate. I’ve tested it, and honestly, most people can’t tell the difference.
What if I don’t have Cool Whip?
No problem! You can substitute with homemade whipped cream. Just whip 1/2 cup of heavy cream with 1 tablespoon of powdered sugar until stiff peaks form. Fold it into the pudding mixture the same way you would with Cool Whip. It’s actually a bit richer, which I personally prefer.
How long do these last in the fridge?
These dirt cups will keep in the refrigerator for up to 3 days when covered. The Oreo crumbs will soften over time, making the “dirt” layer more authentic-looking. Just keep the gummy worms on top fresh if you can—they tend to get soggy after a day or two.
Can I use a different type of cookie for the dirt?
Definitely! While Oreos are the classic choice, you can use any chocolate sandwich cookie. For a different flavor, try using chocolate wafer cookies, graham crackers (for a lighter “sand” look), or even crushed chocolate chip cookies. Just make sure they’re crushed into fine crumbs for that dirt-like appearance.
Pin This Recipe!
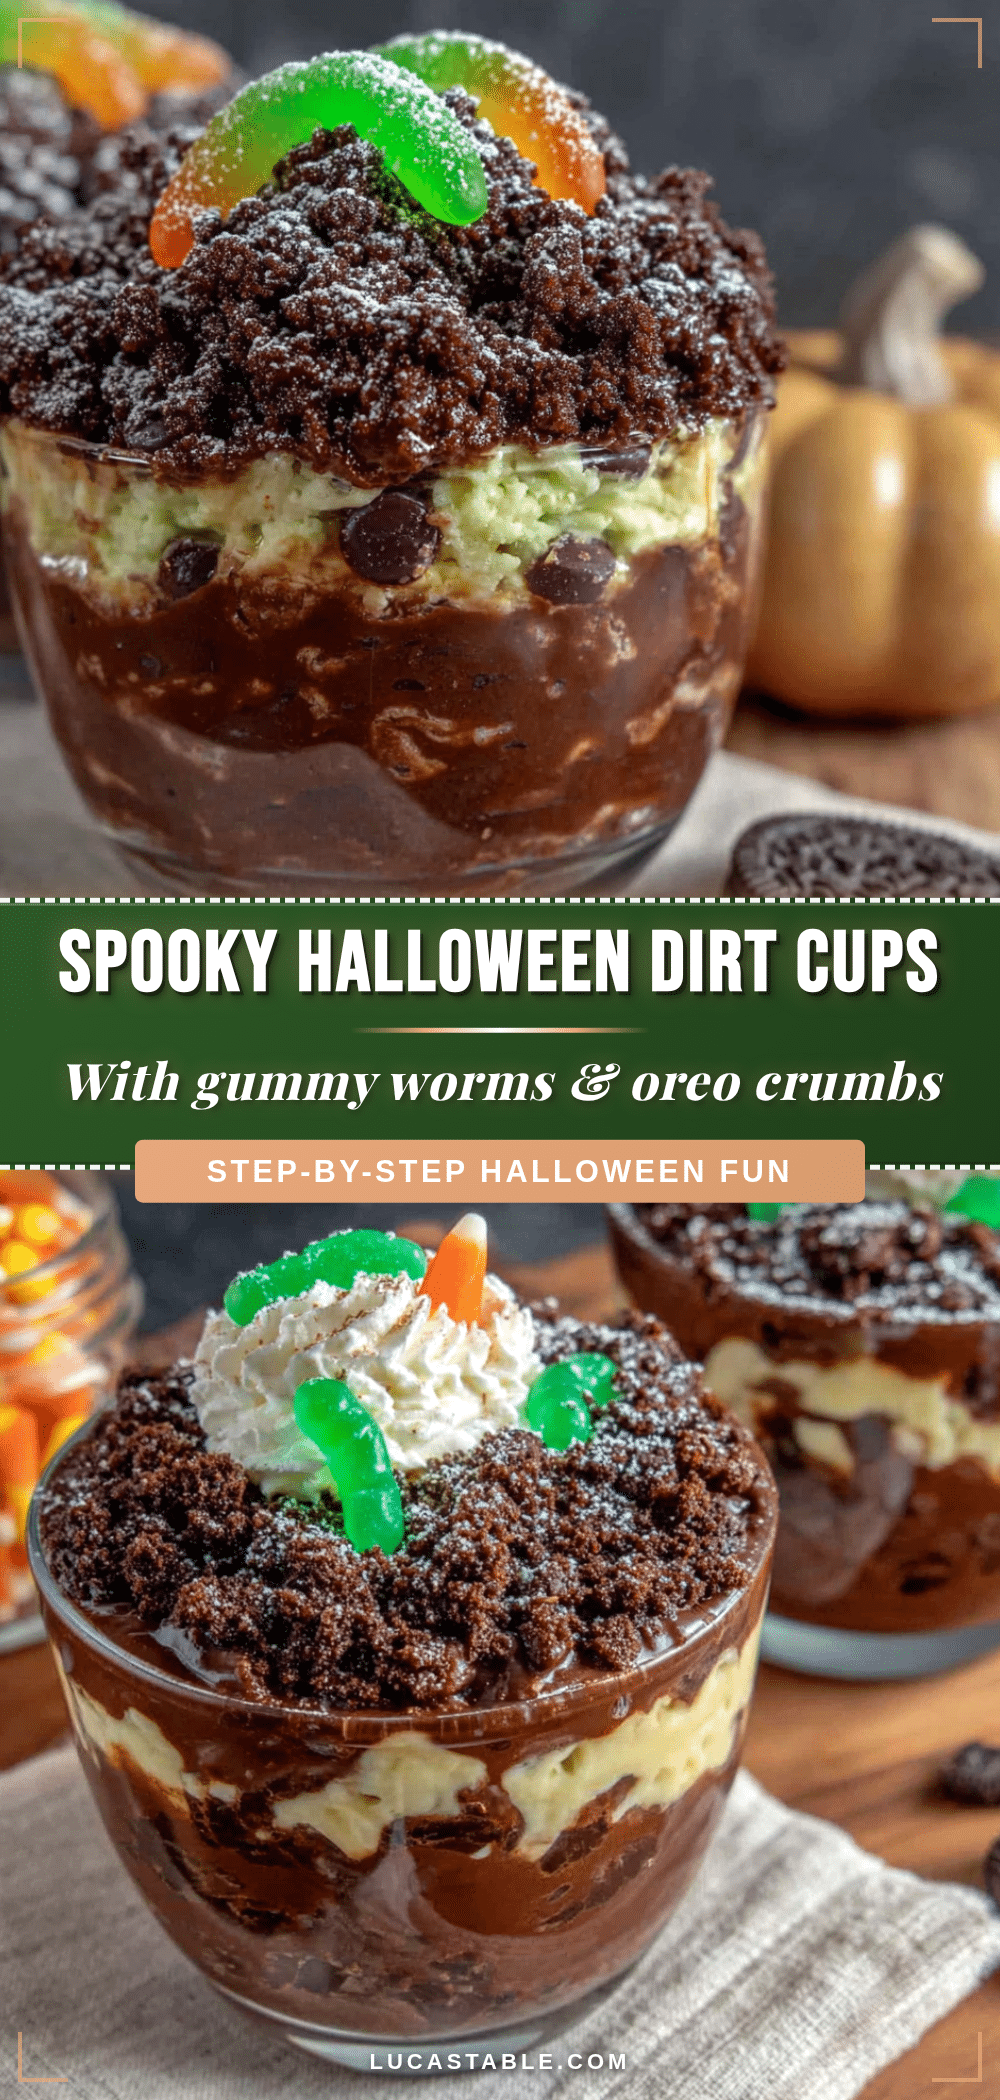
Spooky Halloween Dirt Cups with Gummy Worms: Easy Dessert

These no-bake dirt cups feature a creamy chocolate pudding and cream cheese layer, topped with crushed Oreo ‘dirt’ and gummy worms. They’re a fun, easy Halloween treat that kids and adults love.
- Prep Time: 15 minutes
- Cook Time: 0 minutes
- Total Time: 1 hour 15 minutes (includes chilling)
- Yield: 8 servings 1x
- Category: Dessert
- Cuisine: American
Ingredients
- 1 (3.4 oz) box instant chocolate pudding mix
- 2 cups cold milk
- 4 oz cream cheese, softened
- 1/4 cup powdered sugar
- 1/2 cup Cool Whip or whipped topping, thawed
- 1 (14.3 oz) package Oreo cookies (about 20 cookies)
- 1 cup gummy worms
- Optional: Halloween sprinkles or candy eyes
Instructions
- Prepare the pudding: In a medium bowl, whisk together the instant chocolate pudding mix and 2 cups cold milk. Whisk for about 2 minutes until it starts to thicken. Let it sit for 5 minutes to set up slightly.
- Make the cream cheese mixture: In a separate small bowl, beat the softened cream cheese with the powdered sugar until smooth and creamy, about 1 minute with an electric mixer on medium speed.
- Combine the layers: Fold the cream cheese mixture into the prepared pudding using a spatula until fully combined. Then fold in the thawed Cool Whip until uniform.
- Crush the Oreos: Place the Oreos in a food processor and pulse until they form fine crumbs (or seal in a zip-top bag and crush with a rolling pin). You should have about 2 cups of crumbs.
- Assemble the cups: Spoon about 2 tablespoons of the pudding mixture into the bottom of each cup. Add a layer of Oreo crumbs (about 1 1/2 tablespoons). Repeat with another layer of pudding and another layer of crumbs.
- Add the worms: Gently poke 2-3 gummy worms into the top layer of each cup, letting them peek out.
- Chill: Refrigerate the cups for at least 1 hour before serving.
Notes
For best results, let cream cheese soften at room temperature for 20-30 minutes before mixing. Crush Oreos finely but not to dust. Make ahead: assemble without gummy worms, refrigerate overnight, then add worms before serving. Store covered in fridge for up to 3 days. Can be frozen for up to 1 month (without worms).
Nutrition
- Serving Size: 1 cup
- Calories: 335
- Sugar: 28
- Sodium: 380
- Fat: 18
- Saturated Fat: 9
- Carbohydrates: 42
- Fiber: 1
- Protein: 6
Keywords: Halloween dessert, dirt cups, gummy worms, no-bake dessert, chocolate pudding, Oreo, spooky treat, easy dessert


