Jen wasn’t trying to impress anyone. I’d stopped by her place on a random Tuesday afternoon to grab a casserole dish I’d left at her potluck the weekend before, and the smell hit me before I even got through the front door. It was rich, dark, and slightly sweet—like chocolate had made a deal with vanilla and they were both keeping secrets. I found her in the kitchen, flour dusted across her cheek, pulling a tray of the blackest cupcakes I’d ever seen out of the oven. “Oh, those?” she said, waving her hand like it was nothing. “Just messing around with some Halloween stuff for the kids’ class party.” She slid one across the counter to me, still warm, and topped it with a swirl of cream cheese frosting that looked like it belonged on a bakery shelf. I took a bite, and honestly, I think I made a sound that embarrassed us both. She just laughed and told me the trick was in the vinegar—vinegar!—and that she’d figured it out by accident when she ran out of buttermilk. That’s the thing about the best recipes, isn’t it? They never come from trying too hard. They come from someone who doesn’t even realize they’re making magic. I’ve been making these Best Black Velvet Halloween Cupcakes with Cream Cheese Frosting every October since, and every time I pull them out of the oven, I think of Jen’s messy kitchen and her casual shrug. Maybe you’ve had that moment too—where a recipe finds you instead of the other way around.
Why You’ll Love This Recipe
These aren’t just another Halloween cupcake. After testing this recipe at least a dozen times—and trust me, I’ve had some disasters along the way—I can tell you this version is the one. The cake is impossibly moist, the color is genuinely black (no gray-ish disappointment here), and that cream cheese frosting? It’s the perfect tangy counterpoint to the rich cocoa. Here’s why this recipe works for hosting:
- Perfect for a Crowd: This recipe scales beautifully. I’ve doubled it for a Halloween block party and halved it for a small dinner with friends. It just works.
- Make-Ahead Friendly: Bake the cupcakes a day early, store them in an airtight container, and frost them right before your guests arrive. No last-minute stress.
- No Fancy Ingredients: You probably have everything in your pantry right now—flour, sugar, cocoa, vinegar, baking soda. The black color comes from a generous amount of black cocoa powder, not artificial dye.
- Visually Stunning: The contrast between the dark velvet crumb and the snowy white cream cheese frosting is honestly show-stopping. Your guests will think you bought them from a high-end bakery.
- Foolproof Texture: The vinegar and baking soda reaction creates a tender, springy crumb that stays moist for days. I’ve tested this with different cocoa powders, and the texture is consistently perfect.
This isn’t just another cupcake recipe—it’s the kind that makes people close their eyes after the first bite. It’s Halloween comfort food reimagined: decadent, dramatic, and deeply satisfying without being complicated. Perfect for impressing guests without breaking a sweat.
What Ingredients You Will Need
This recipe uses simple, pantry-friendly ingredients to create something that tastes anything but ordinary. The key players are black cocoa powder (which gives that deep, Oreo-like color and flavor) and the classic red velvet reaction of vinegar and baking soda, which keeps the crumb tender and light.
For the Cupcakes
- 1 ½ cups all-purpose flour (spooned and leveled—don’t scoop straight from the bag)
- 1 cup granulated sugar
- ½ cup black cocoa powder (I recommend Rodelle or King Arthur for the deepest color; regular Dutch-process will work but won’t be as dark)
- 1 teaspoon baking soda
- ½ teaspoon salt
- 1 cup buttermilk, room temperature (adds tenderness and activates the baking soda)
- ½ cup vegetable oil (keeps the cupcakes moist for days)
- 1 large egg, room temperature
- 2 teaspoons vanilla extract
- 1 teaspoon white vinegar (this reacts with the baking soda for lift—don’t skip it)
- Optional: 1 tablespoon black gel food coloring (only if you want an even darker, more dramatic crumb; natural cocoa alone gives a very dark brown-black)
For the Cream Cheese Frosting
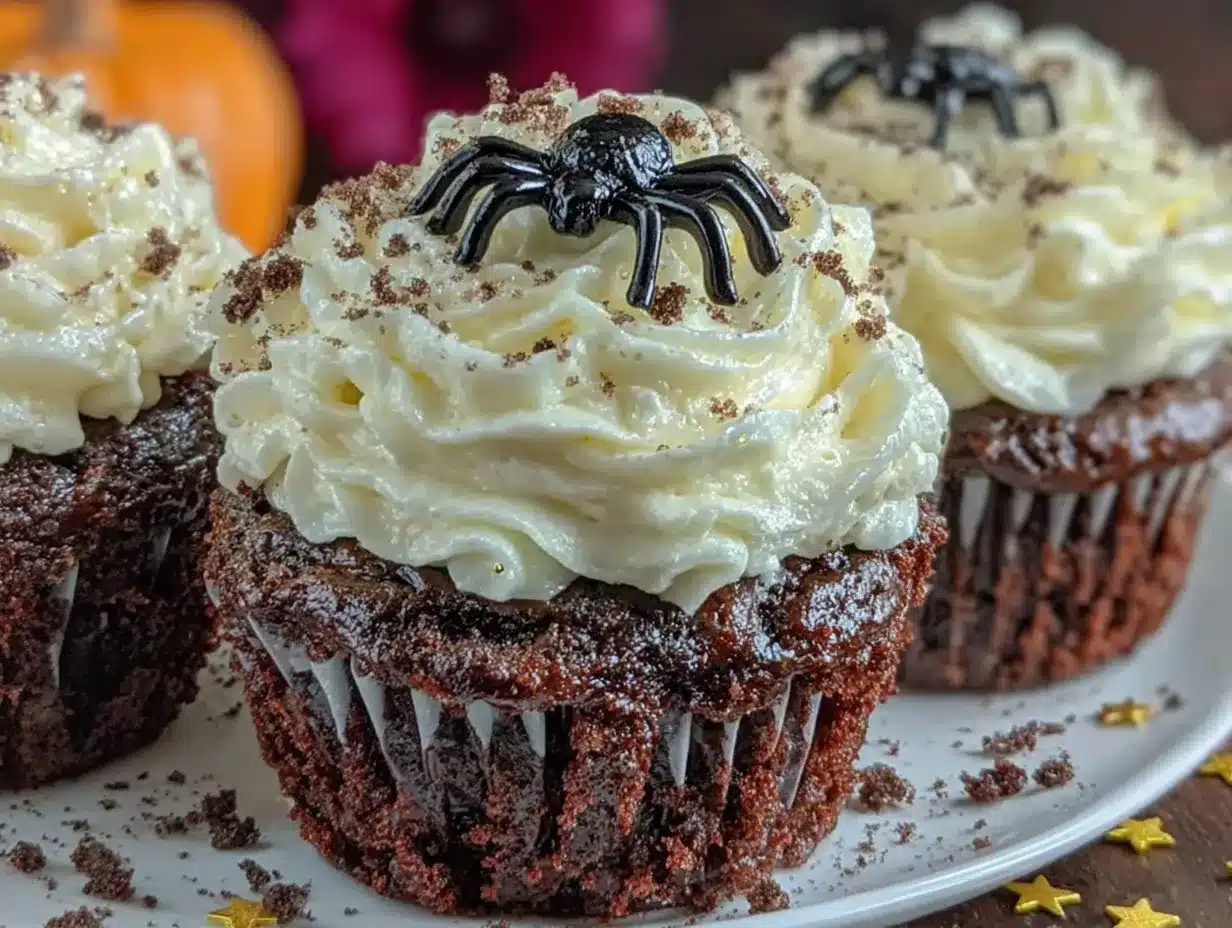
- 8 ounces cream cheese, softened (full-fat is best for stability; low-fat can make the frosting runny)
- ½ cup unsalted butter, softened
- 3 cups powdered sugar, sifted
- 1 teaspoon vanilla extract
- Pinch of salt
For Decoration (Optional but Fun)
- Orange and black sprinkles
- Mini candy eyeballs
- Crushed Oreo cookies (for a “dirt” effect)
- Pretzel sticks (to make “broomsticks” or “spider legs”)
Equipment Needed
You don’t need a professional bakery setup for these. Here’s what I use, and what I’ve learned the hard way:
- Standard 12-cup muffin tin—the metal ones with a non-stick coating work best. Dark non-stick pans can make the edges brown too fast, so if that’s all you have, reduce the oven temp by 25°F.
- Paper cupcake liners—go with black, orange, or white ones. I once tried cheap dollar-store liners and they stuck to every single cupcake. Invest in good quality ones.
- Two mixing bowls (one large, one medium)
- Whisk and rubber spatula
- Electric hand mixer or stand mixer—you can whisk the frosting by hand, but your arm will hate you. Trust me on this.
- Cookie scoop or ice cream scoop—for evenly portioning batter. I use a #20 scoop (about 3 tablespoons) and it’s perfect.
- Piping bag with a star tip—a Wilton 1M or 2D tip gives that classic bakery swirl. A zip-top bag with the corner snipped off works in a pinch.
- Cooling rack—absolutely necessary. Stacking warm cupcakes traps steam and makes them soggy.
Preparation Method
Let’s make these. I’ve broken it down so you can prep ahead and assemble right before your guests arrive.
- Preheat and prep. Preheat your oven to 350°F (175°C). Line your muffin tin with 12 paper liners. Set aside.
- Whisk the dry ingredients. In a large bowl, whisk together the flour, sugar, black cocoa powder, baking soda, and salt. Make sure there are no lumps of cocoa—black cocoa is notoriously clumpy. If you see any, sift it through a fine-mesh strainer.
- Mix the wet ingredients. In a medium bowl or a large liquid measuring cup, whisk together the buttermilk, vegetable oil, egg, vanilla extract, and vinegar. The mixture should look smooth and slightly thick.
- Combine wet and dry. Pour the wet ingredients into the dry ingredients. Stir gently with a rubber spatula until just combined—about 12 strokes. Do not overmix! A few small lumps are fine. Overmixing develops gluten and makes the cupcakes tough.
- Add food coloring (optional). If you want that dramatic, pitch-black crumb, stir in 1 tablespoon of black gel food coloring now. The batter will look like dark chocolate pudding. If you’re using natural black cocoa alone, it will be very dark but not jet black—both are delicious, so don’t stress.
- Fill the liners. Use your cookie scoop to divide the batter evenly among the 12 liners. Fill each about ⅔ full—don’t overfill, or you’ll get muffin tops that spill over.
- Bake. Place the tin in the preheated oven and bake for 18-22 minutes. At 18 minutes, insert a toothpick into the center of a cupcake. If it comes out clean or with a few moist crumbs, they’re done. If it’s wet batter, give them another 2 minutes. The tops should spring back when lightly touched.
- Cool completely. Let the cupcakes cool in the tin for 5 minutes, then transfer them to a wire rack. This is crucial—if you try to frost them while they’re even slightly warm, the frosting will slide right off. I learned this the hard way before a Halloween party and ended up with a very sad, melted mess.
- Make the frosting. While the cupcakes cool, beat the softened cream cheese and butter together in a large bowl with an electric mixer on medium speed until smooth and creamy—about 2 minutes. Scrape down the sides of the bowl. Add the sifted powdered sugar, vanilla, and salt. Start on low speed (or you’ll get a sugar cloud in your face), then increase to medium-high and beat for 2-3 minutes until light, fluffy, and spreadable. Don’t overbeat, or the frosting can become too soft to pipe.
- Frost and decorate. Transfer the frosting to your piping bag fitted with a star tip. Pipe a generous swirl onto each cooled cupcake. Add sprinkles, candy eyeballs, or crushed Oreos immediately—once the frosting sets, decorations won’t stick as well.
Cooking Tips & Techniques
I’ve made these cupcakes more times than I can count, and I’ve definitely had my share of flops. Here’s what I’ve learned:
Room temperature ingredients matter. Cold buttermilk and cold egg won’t emulsify properly with the oil, leading to a denser, less tender crumb. Set them out on the counter 30 minutes before you start. If you’re in a rush, place the egg in a bowl of warm water for 5 minutes and gently warm the buttermilk in the microwave for 10 seconds.
Don’t skip the vinegar. I know it sounds weird, but the vinegar reacts with the baking soda to create carbon dioxide bubbles, which give these cupcakes their signature lift and tender texture. It’s the same science that makes red velvet cake work. Without it, you’ll get flat, dense discs.
Black cocoa can be tricky. It’s less acidic than regular cocoa, which means it doesn’t react as strongly with baking soda. If your batter looks thin or doesn’t rise as much as you’d like, add an extra ¼ teaspoon of baking soda next time. I’ve also found that sifting the cocoa with the flour prevents those stubborn little lumps.
Multitasking strategy: While the cupcakes are baking, wash your mixing bowls and set up your piping bag. While they’re cooling, make the frosting. This way, everything is ready to assemble in about 15 minutes flat.
Consistency check: The frosting should be thick enough to hold its shape when piped but soft enough to spread easily. If it’s too stiff, add a teaspoon of milk. If it’s too soft (usually from overbeating or warm cream cheese), pop it in the fridge for 10 minutes.
Variations & Adaptations
These cupcakes are incredibly flexible. Here are some ways I’ve adapted them for different guests and occasions:
Dairy-Free Version: Swap the buttermilk for 1 cup of unsweetened almond milk mixed with 1 teaspoon of lemon juice (let it sit for 5 minutes). Use a dairy-free cream cheese alternative like Miyoko’s or Kite Hill, and substitute the butter with vegan butter. The texture is slightly less tender, but still delicious.
Gluten-Free Adaptation: Replace the all-purpose flour with a 1:1 gluten-free baking blend that contains xanthan gum. I’ve had good results with Bob’s Red Mill. The crumb will be a bit more delicate, so handle the cupcakes gently when transferring them to the cooling rack.
Spooky Spiderweb Design: After piping the frosting, pipe a small circle of black frosting in the center. Use a toothpick to drag lines outward from the center to create a web effect. Add a plastic spider on top for maximum Halloween drama.
Pumpkin Spice Twist: Add 1 teaspoon of pumpkin pie spice to the dry ingredients and replace the buttermilk with canned pumpkin puree (reduce to ¾ cup). The result is a black-orange color combo that screams fall.
Mini Cupcake Version: Use a mini muffin tin and bake for 10-12 minutes. This is perfect for parties where guests want to try multiple treats. You’ll get about 36 mini cupcakes from this recipe.
Serving & Storage Suggestions
These cupcakes are best served at room temperature, which allows the cream cheese frosting to soften slightly and the cake to be perfectly tender. If you’ve stored them in the fridge, let them sit on the counter for 20-30 minutes before serving.
For a Halloween party spread: Arrange the cupcakes on a black cake stand or a wooden board lined with orange tissue paper. Place them next to a bowl of caramel apples and a platter of pumpkin-shaped cookies for a cohesive look. I like to scatter a few candy eyeballs and fake spider webs around the stand for extra atmosphere.
Storage: Store unfrosted cupcakes in an airtight container at room temperature for up to 3 days. Frosted cupcakes should be stored in the refrigerator in a single layer (or with parchment paper between layers) for up to 5 days. The frosting will firm up in the fridge, so let them sit out for 15 minutes before serving.
Freezing: You can freeze unfrosted cupcakes for up to 3 months. Wrap each one tightly in plastic wrap, then place them in a freezer bag. Thaw at room temperature for about an hour before frosting. I’ve also frozen the frosting in a piping bag—just thaw it in the fridge overnight and give it a quick re-whip before using.
Flavor development: Honestly, these cupcakes taste even better the next day. The flavors meld together and the crumb becomes even more moist. If you’re hosting a party, bake them a day ahead and frost them the morning of—your guests will never know.
Nutritional Information & Benefits
Let’s be real—these are cupcakes, not health food. But knowing what’s in them helps you enjoy them mindfully. Per cupcake (with frosting, based on 12 servings):
- Calories: Approximately 380
- Fat: 20g
- Carbohydrates: 48g
- Protein: 4g
- Sugar: 35g
Black cocoa powder is rich in antioxidants called flavonoids, which may help reduce inflammation. It also contains less fat than regular cocoa, making it a slightly lighter choice for baking. Cream cheese provides calcium and a small amount of protein, while buttermilk adds probiotics (if you’re using cultured buttermilk).
Dietary considerations: This recipe contains gluten, dairy, and eggs. See the variations section for adaptations. For anyone watching their sugar intake, you can reduce the sugar in the frosting to 2 cups—it won’t be as stiff, but it will still be delicious.
My personal take? A cupcake like this is about joy, not nutrition. One of these with a cup of coffee on a crisp October afternoon? That’s self-care, plain and simple.
Frequently Asked Questions
Can I use regular cocoa powder instead of black cocoa?
Yes, but your cupcakes will be dark brown rather than black. Add 1-2 tablespoons of black gel food coloring to get closer to the black velvet look. The flavor will also be less Oreo-like and more traditional chocolate.
Why did my cupcakes sink in the middle?
This usually happens if the oven door is opened too early (before the 18-minute mark) or if the batter was overmixed. The vinegar-baking soda reaction creates bubbles that need heat to set. Be patient and resist peeking!
Can I make these cupcakes without a mixer?
Absolutely. The batter comes together with a whisk and spatula—no mixer needed. For the frosting, you can beat it by hand with a wooden spoon, but it will take about 10 minutes of vigorous stirring. A hand mixer is worth the effort for that light, fluffy texture.
How far in advance can I make these for a party?
Bake the cupcakes up to 2 days ahead and store them in an airtight container at room temperature. Make the frosting up to 3 days ahead and refrigerate it in a piping bag. Frost the cupcakes the morning of your party for the freshest presentation.
My frosting turned out runny. What went wrong?
Most likely, the cream cheese or butter was too warm. They should be softened but still cool to the touch. If the frosting is already runny, pop it in the fridge for 15-20 minutes, then re-whip. You can also beat in an extra ¼ cup of powdered sugar to help stabilize it.
Conclusion
These Best Black Velvet Halloween Cupcakes with Cream Cheese Frosting have become my go-to for every fall gathering, and I think they’ll become yours too. They’re dramatic enough to steal the show at a Halloween party, but simple enough that you’re not stressing in the kitchen while your guests are having fun. The black cocoa gives them that mysterious, almost gothic appeal, while the tangy cream cheese frosting keeps every bite balanced and crave-worthy.
I love that this recipe came from a completely unremarkable Tuesday afternoon and a friend who didn’t realize she was doing anything special. That’s the kind of recipe worth holding onto—the one that feels like a happy accident, even when you’ve perfected it.
I’d love to hear how yours turn out! Leave a comment below and let me know if you tried any fun decorations or variations. And if you’re looking for more Halloween baking ideas, don’t miss my spiderweb brownies or pumpkin cheesecake bars—they’re perfect for a spooky dessert table. Happy baking, and may your cupcakes be as dark as the October night!
Pin This Recipe!
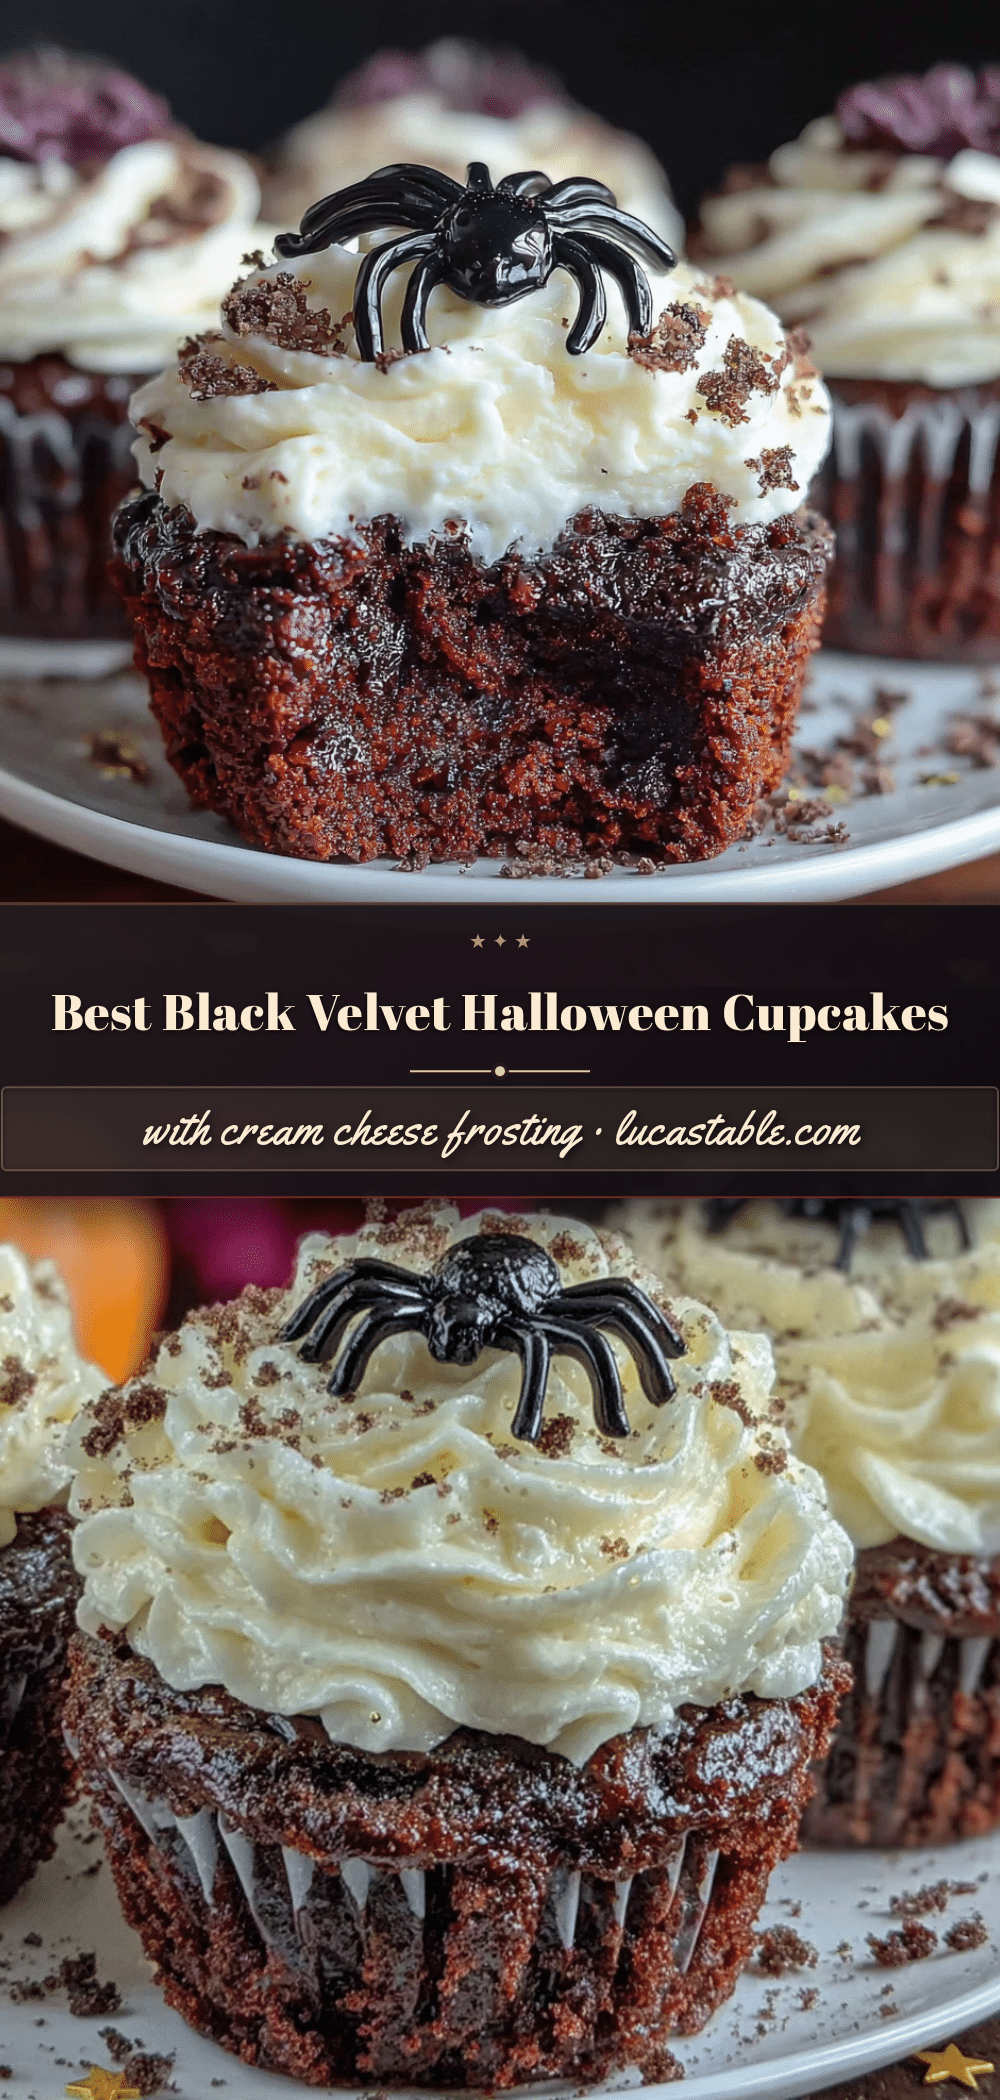
Best Black Velvet Cupcakes with Cream Cheese Frosting
These impossibly moist, pitch-black velvet cupcakes are topped with a tangy cream cheese frosting. Made with black cocoa powder and a touch of vinegar for a tender crumb, they’re a dramatic and delicious Halloween treat that’s surprisingly simple to make.
- Prep Time: 20 minutes
- Cook Time: 20 minutes
- Total Time: 40 minutes
- Yield: 12 cupcakes 1x
- Category: Dessert
- Cuisine: American
Ingredients
- 1 ½ cups all-purpose flour
- 1 cup granulated sugar
- ½ cup black cocoa powder
- 1 teaspoon baking soda
- ½ teaspoon salt
- 1 cup buttermilk, room temperature
- ½ cup vegetable oil
- 1 large egg, room temperature
- 2 teaspoons vanilla extract
- 1 teaspoon white vinegar
- Optional: 1 tablespoon black gel food coloring
- 8 ounces cream cheese, softened
- ½ cup unsalted butter, softened
- 3 cups powdered sugar, sifted
- 1 teaspoon vanilla extract
- Pinch of salt
- Orange and black sprinkles (optional)
- Mini candy eyeballs (optional)
- Crushed Oreo cookies (optional)
- Pretzel sticks (optional)
Instructions
- Preheat your oven to 350°F (175°C). Line a 12-cup muffin tin with paper liners.
- In a large bowl, whisk together the flour, sugar, black cocoa powder, baking soda, and salt. Sift if cocoa is clumpy.
- In a medium bowl, whisk together the buttermilk, vegetable oil, egg, vanilla extract, and vinegar until smooth.
- Pour the wet ingredients into the dry ingredients. Stir gently with a rubber spatula until just combined (about 12 strokes). Do not overmix.
- If using, stir in the black gel food coloring until the batter is evenly dark.
- Divide the batter evenly among the 12 liners, filling each about ⅔ full.
- Bake for 18-22 minutes, until a toothpick inserted in the center comes out clean or with a few moist crumbs. Cool in the tin for 5 minutes, then transfer to a wire rack to cool completely.
- While the cupcakes cool, make the frosting: In a large bowl, beat the softened cream cheese and butter together with an electric mixer on medium speed until smooth and creamy (about 2 minutes). Scrape down the sides.
- Add the sifted powdered sugar, vanilla, and salt. Start on low speed, then increase to medium-high and beat for 2-3 minutes until light, fluffy, and spreadable.
- Transfer the frosting to a piping bag fitted with a star tip. Pipe a generous swirl onto each cooled cupcake. Add decorations immediately if desired.
Notes
Room temperature ingredients are crucial for a tender crumb. Don’t skip the vinegar—it reacts with baking soda for lift. Black cocoa can be clumpy; sift if needed. For a darker crumb, add black gel food coloring. Frosted cupcakes can be refrigerated for up to 5 days; let sit at room temperature 15 minutes before serving. Unfrosted cupcakes freeze well for up to 3 months.
Nutrition
- Serving Size: 1 cupcake
- Calories: 380
- Sugar: 35
- Sodium: 280
- Fat: 20
- Saturated Fat: 10
- Carbohydrates: 48
- Fiber: 2
- Protein: 4
Keywords: black velvet cupcakes, Halloween cupcakes, cream cheese frosting, black cocoa, velvet cake, spooky desserts, fall baking


