This was supposed to be a proper Halloween party spread. I had it all planned out—a bubbling cauldron of chili, spooky deviled eggs with olive spiders, and a batch of “witches’ fingers” cookies that take about an hour to shape. But then the neighbor called to say her kids were coming over in twenty minutes, my toddler decided to “help” by dumping the entire bag of flour on the floor, and the chili wasn’t even close to done. I stood there in my flour-covered kitchen, looking at the clock, and honestly, I almost just ordered pizza.
Then I spotted the block of cheese in the fridge and a bag of pretzel sticks. I grabbed the cutting board, started slicing, and told myself I’d just throw whatever I had on a board and call it a day. No theme, no plan, just survival mode. My neighbor walked in as I was frantically arranging pepperoni slices into what I hoped looked intentional. She took one look at the board, laughed, and said, “That actually looks like a spider web.” And you know what? It kind of did.
That moment changed everything. I realized that a Halloween charcuterie board didn’t need to be elaborate or time-consuming. It just needed a little creativity and whatever ingredients were already in my fridge. This quick Halloween charcuterie board in 10 minutes was born from a total kitchen disaster, and honestly, it’s the best thing that ever happened to my October 31st plans.
Why You’ll Love This Recipe
Let me tell you why this quick Halloween charcuterie board has become my go-to for every last-minute gathering. I’ve tested this approach through three Halloweens now, and it never fails to deliver—even when I’m running on caffeine and sheer willpower.
- Ready in 10 Minutes: No joke. From fridge to table in the time it takes to find a Halloween playlist on your phone. Perfect for those moments when trick-or-treaters arrive early or you forgot about the school party until the night before.
- Simple Ingredients: You don’t need specialty stores or weird Halloween-shaped items. Most of what you need is probably already in your fridge and pantry. I’ve made this with everything from fancy aged gouda to basic cheddar slices.
- Perfect for Any Halloween Occasion: Classroom parties, work potlucks, pre-trick-or-treating snacks, or just a fun dinner before the kids head out. It works for crowds of two or twenty.
- Crowd-Pleaser: Kids love the spooky shapes, adults appreciate the savory options, and everyone enjoys the interactive eating experience. I’ve yet to see leftovers.
- Stress-Free Hosting: This is the recipe that lets you actually enjoy your own party. No last-minute cooking, no complicated assembly, just a beautiful board that looks like you spent way more time than you did.
What makes this different from other Halloween boards is the technique. Instead of trying to create intricate designs with specialty tools, I use simple cutting tricks and clever placement to create spooky shapes from everyday ingredients. It’s not about having the perfect Halloween cookie cutter—it’s about seeing the potential in a slice of cheese or a handful of pretzels.
What Ingredients You Will Need
This quick Halloween charcuterie board uses simple, everyday ingredients that transform into something spooky with just a little creativity. I’ve organized them by category so you can easily see what you need and what you can swap.
For the Base and Structure
- Large wooden cutting board or platter: (at least 12×16 inches) – The foundation of your board. A baking sheet lined with parchment works perfectly too.
- Small bowls or ramekins: (2-3) – For dips, olives, or candy eyeballs. I use whatever mismatched bowls I have.
- Parchment paper or cheese paper: (optional) – Adds texture and keeps cheese from sliding.
For the Spooky Shapes and Themes
- Cheese slices: (8-10 slices of cheddar, provolone, or mozzarella) – Use a small knife or cookie cutter to make ghost, bat, or pumpkin shapes. Provolone is my favorite for ghosts because it’s pale and pliable.
- Pepperoni or salami slices: (about 20 slices) – These become “spider bodies” or “bat wings” when arranged creatively. I prefer larger pepperoni slices for easier shaping.
- Pretzel sticks: (1 cup) – Perfect for spider legs, fence posts, or skeleton bones. They also add great crunch.
- Black olives: (1 can, drained) – Sliced into “spider bodies” or used whole for eyeballs. I always buy pitted for easier prep.
- Red bell pepper: (1 medium) – Cut into small triangles for “devil horns” or “pumpkin faces.” Adds a pop of color.
For the Filler and Variety
- Crackers: (about 2 cups of assorted shapes) – Round crackers look like full moons, square ones work for “tombstones.” I like using a mix of plain and flavored.
- Grapes or berries: (1 cup) – Black grapes look like eyeballs, red grapes add color. They also provide a sweet contrast to the savory items.
- Nuts: (½ cup of almonds or cashews) – Scatter these around for texture and to fill gaps.
- Dips: (½ cup each of hummus, ranch, or spinach dip) – Serve in small bowls. Orange-colored dips (like cheddar hummus or roasted red pepper hummus) add to the Halloween theme.
- Dried fruit: (½ cup of apricots or cranberries) – Adds chewiness and a touch of sweetness. Dried apricots look like tiny pumpkins.
For the Spooky Decorations (Optional but Fun)
- Candy eyeballs: (a small handful) – Available at craft stores or online. These make everything instantly Halloween-themed.
- Black food-safe marker: – For drawing faces on cheese or crackers. I use a brand called Foodoodler that’s specifically made for food.
- Fresh rosemary sprigs: (2-3 sprigs) – Looks like tiny “trees” or “broomsticks” when placed strategically.
I recommend using Boar’s Head or Sargento for pre-sliced cheeses and Applegate for pepperoni if you want consistent quality. But honestly, store brands work just fine for this recipe. The key is having a variety of colors and textures—creamy, crunchy, savory, and sweet.
Equipment Needed
You don’t need fancy equipment for this quick Halloween charcuterie board. Here’s what I actually use when I’m racing against the clock:
- Large cutting board or platter: The bigger the better—you need room to spread everything out. My favorite is a 16×20 inch bamboo board I got for $15 at a home goods store.
- Small cookie cutters: Halloween shapes like ghosts, bats, and pumpkins. If you don’t have these, a small sharp knife works just as well—I’ve used a paring knife to freehand ghost shapes many times.
- Cheese knife or small paring knife: For cutting shapes and slicing ingredients. A serrated knife works best for cutting cheese without it sticking.
- Small bowls or ramekins: For dips, olives, and loose items. I use 4-ounce ramekins that cost about $1 each at the grocery store.
- Paring knife: For detail work like cutting olive spiders or pepperoni shapes. A sharp blade makes all the difference.
- Tongs or small spoons: For serving. I keep these nearby so guests can grab items without touching everything.
- Paper towels: For quick cleanup and blotting moisture off cheese or fruit. Trust me on this one—wet cheese makes everything slide around.
Budget-friendly tip: Skip the Halloween cookie cutters and use a small paring knife. I’ve made dozens of boards with just a sharp knife and a steady hand. If you do buy cookie cutters, check dollar stores first—they usually have Halloween shapes for a buck.
Preparation Method
Here’s how to assemble this quick Halloween charcuterie board in 10 minutes flat. I’ve timed myself on this, so trust the process.
- Prep your base (1 minute): Place your cutting board or platter on the counter. If using parchment paper, crumple it slightly and lay it flat—this adds texture and prevents cheese from sliding. Arrange your small bowls on the board first, placing them where you want them. I usually put one bowl in the upper left corner for dip and one in the lower right for olives or candy eyeballs.
- Cut your cheese shapes (2 minutes): Take your cheese slices and use your Halloween cookie cutters to press out shapes. If you don’t have cookie cutters, use a small knife to freehand simple shapes. For ghosts: cut a rounded top with a wavy bottom. For bats: cut a simple wing shape. For pumpkins: cut a circle and add a small stem. You should get about 2-3 shapes per slice. Place these shapes in a cluster in the center of the board.
- Create your pepperoni spiders (2 minutes): Take 5-6 pepperoni slices and arrange them in a slightly overlapping circle to form a “spider body.” Then take 8 pretzel sticks and place them around the pepperoni circle like spider legs—4 on each side. For the eyes, place two small dollops of dip or hummus on top of the pepperoni, then press a candy eyeball into each. Make 2-3 of these spiders and place them around the board.
- Build your olive “eyeballs” (1 minute): Slice black olives in half lengthwise. Place a small piece of cream cheese or a dot of dip in the center of each olive half, then press a candy eyeball or a small piece of red bell pepper into the center. Arrange these “eyeballs” in a small bowl or scatter them around the board. I usually make about 8-10 of these.
- Add your crackers and fillers (2 minutes): Start placing crackers around the board, grouping them by shape or type. I like to create little “clusters” of crackers near the cheese shapes. Then scatter your nuts, dried fruit, and grapes in the gaps between the larger items. Don’t worry about perfect placement—just fill in the empty spaces so the board looks full and abundant.
- Add your dips and decorations (1 minute): Spoon your dips into the small bowls. If you want to get creative, add a few drops of green food coloring to ranch dressing for a “slime” effect. Place fresh rosemary sprigs around the board to look like tiny trees or broomsticks. Scatter a few extra candy eyeballs around for a fun surprise.
- Final touches and serving (1 minute): Step back and look at your board. Fill any obvious gaps with extra crackers or nuts. If you have a black food-safe marker, draw tiny jack-o’-lantern faces on a few round crackers. Place the board on your table or counter and watch everyone grab their favorites.
Your quick Halloween charcuterie board should look full and inviting, with colors and textures spread evenly across the board. The cheese shapes should be visible and the spiders should be easy to spot. If something looks sparse, add more crackers—they’re the best filler.
Cooking Tips & Techniques
I’ve learned a few things the hard way over the years. Here are my best tips for making this quick Halloween charcuterie board work every time:
- Use room temperature cheese: Cold cheese is harder to cut and doesn’t have as much flavor. Let your cheese sit out for 10-15 minutes before you start. If you’re in a rush, microwave the cheese slices for 5 seconds—just enough to soften them slightly.
- Don’t overthink the shapes: The first time I tried to make cheese ghosts, I spent 10 minutes trying to get the perfect shape. Now I know that imperfect shapes look more authentic and spooky. A wobbly ghost is a friendly ghost.
- Use the “cluster” method: Instead of spreading everything out evenly, group similar items together. This creates visual interest and makes the board look more intentional. I cluster my cheese ghosts in one area, pepperoni spiders in another, and crackers in between.
- Keep wet and dry separate: Grapes and olives can make crackers soggy if they sit too long. Place wet items in small bowls or on the edges of the board where they won’t touch the crackers directly.
- Prep ahead when possible: You can cut cheese shapes and make olive eyeballs up to 24 hours in advance. Store them in separate containers in the fridge, then assemble the board right before serving. This cuts your assembly time down to about 5 minutes.
- Don’t forget the “surprise” element: Kids especially love finding hidden candy eyeballs or unexpected spooky shapes. I always hide a few extra eyeballs under crackers or behind cheese clusters for a fun discovery.
One mistake I made early on was trying to make the board too perfect. I spent so much time arranging everything symmetrically that it looked stiff and unnatural. Now I embrace the chaos—a little messiness makes it look more inviting and homemade.
Variations & Adaptations
This quick Halloween charcuterie board is endlessly adaptable. Here are my favorite variations:
- Dairy-Free Version: Use dairy-free cheese slices (Daiya or Violife work well) and skip the cream cheese for the olive eyeballs. Use hummus or guacamole instead of ranch dip. The rest of the ingredients are naturally dairy-free.
- Gluten-Free Version: Use gluten-free crackers (I like Simple Mills or Mary’s Gone Crackers) and double-check that your pretzels are certified gluten-free. Most pepperoni and salami are gluten-free, but always check labels.
- Kid-Friendly Version: Skip the spicy meats and strong cheeses. Use mild cheddar, mozzarella sticks cut into “bones,” and add more sweet items like apple slices, yogurt-covered raisins, and fruit leather cut into bat shapes. Let the kids help arrange the board—it’s a fun activity.
- Healthy Halloween Version: Focus on vegetables and lean proteins. Use cucumber slices and bell pepper strips as the base, add turkey roll-ups cut into shapes, and use sugar snap peas and cherry tomatoes for color. Serve with Greek yogurt dip seasoned with ranch powder.
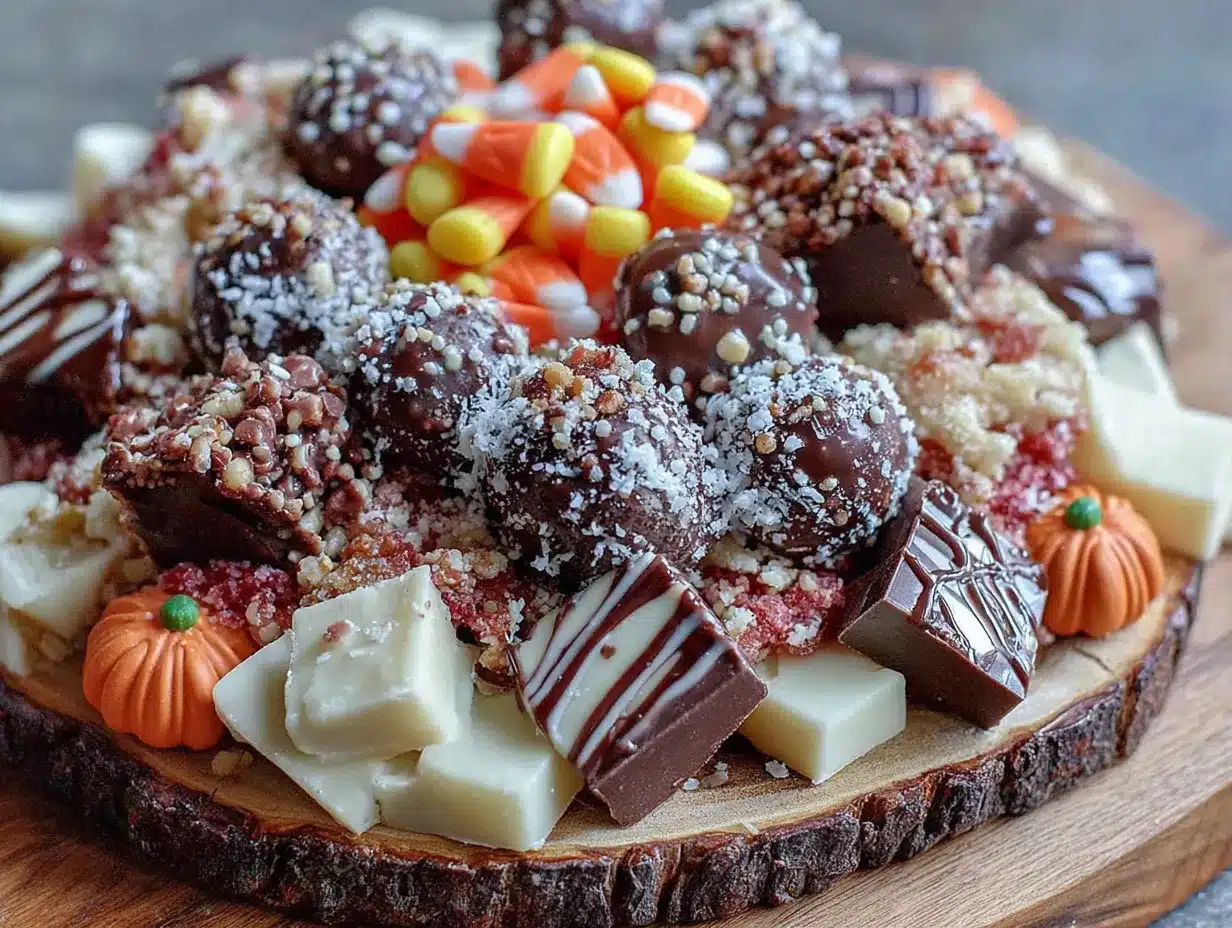
- Sweet Halloween Version: Turn this into a dessert board. Use chocolate-covered pretzels, candy corn, marshmallow ghosts (draw faces with a black marker), chocolate bars broken into pieces, and fresh fruit like strawberries and blackberries. Add a bowl of melted chocolate for dipping.
- Spooky Snack Board for One: Scale it down for a single serving. Use a small plate and add a few cheese shapes, a handful of crackers, some nuts, and a small spider made from one pepperoni slice and four pretzel sticks. Perfect for a Halloween movie night alone.
I once tried a “zombie” version where I added green food coloring to the ranch dip and used only green and black items. It looked amazing but tasted exactly the same—sometimes the visual theme is more important than the flavors.
Serving & Storage Suggestions
This quick Halloween charcuterie board is best served immediately, but here’s how to handle leftovers and make it ahead:
- Serving temperature: Serve the board at room temperature. Take it out of the fridge about 15-20 minutes before serving to let the cheese soften and the flavors develop. If you’re serving outside on a cool Halloween night, keep it inside until the last minute.
- Presentation tips: Place the board on a table where people can gather around it. I like to add a few tea lights in small holders around the board for a spooky glow (just keep them away from the food). You can also scatter a few fake spider webs around the board for extra Halloween flair.
- Complementary dishes: This board pairs beautifully with a warm bowl of soup or chili for a complete meal. For drinks, serve apple cider, pumpkin beer, or a simple sparkling water with orange slices. If you’re serving kids, offer apple juice or “witches’ brew” (limeade with green food coloring).
- Storage instructions: If you have leftovers, separate the components and store them in individual containers. Cheese shapes can go in a zip-top bag, crackers in an airtight container, and dips in their original containers. The pepperoni spiders will fall apart, but you can reassemble them later.
- Reheating tips: This board is meant to be served cold or at room temperature, so no reheating is needed. If your cheese has been in the fridge, let it sit out for 10 minutes before serving again.
- How flavors develop: The cheese shapes and pepperoni spiders actually taste better after sitting for an hour or two at room temperature. The flavors meld together and the textures soften slightly. Just don’t leave it out for more than 2 hours for food safety reasons.
I’ve found that this board actually looks better after people have started eating it. The chaos of half-eaten spiders and scattered crackers adds to the Halloween vibe. Embrace the mess—it’s part of the fun.
Nutritional Information & Benefits
Here’s a rough estimate for a serving of this quick Halloween charcuterie board (about ¼ of the board):
- Calories: Approximately 350-450 calories per serving, depending on the ingredients you choose. The cheese and nuts are the biggest calorie contributors.
- Protein: 15-20 grams from the cheese, pepperoni, and nuts. This makes it a satisfying snack that keeps you full.
- Carbohydrates: 25-30 grams from crackers, fruit, and pretzels. If you’re watching carbs, use more vegetables and fewer crackers.
- Fat: 20-25 grams from cheese, nuts, and meats. Most of this is healthy fat from nuts and cheese.
- Fiber: 3-5 grams from nuts, fruit, and vegetables. Not bad for a snack board.
The health benefits come from the variety of ingredients. Nuts provide healthy fats and protein, cheese offers calcium and protein, and fruit adds vitamins and antioxidants. If you include vegetables like bell peppers and cucumbers, you’ll get extra fiber and vitamin C. This board is naturally low in added sugar (unless you add candy) and can be adapted to fit most dietary needs.
As a busy mom, I appreciate that this board gives me a way to offer my family a balanced snack without cooking. The protein and healthy fats keep everyone satisfied, and the fun shapes make it feel like a treat. It’s a win-win in my book.
Conclusion
This quick Halloween charcuterie board started as a total disaster, but it’s become one of my favorite Halloween traditions. It’s proof that you don’t need hours of prep or fancy ingredients to create something special. A little creativity, a few simple ingredients, and 10 minutes is all it takes to make a spooky spread that everyone will love.
I love this recipe because it takes the stress out of Halloween hosting. Instead of worrying about complicated dishes or last-minute cooking, I can focus on what really matters—spending time with family and friends, watching the kids run around in their costumes, and enjoying the holiday without being stuck in the kitchen. That’s the real magic of Halloween.
I’d love to see your version of this quick Halloween charcuterie board! Share your photos in the comments below or tag me on social media. Tell me what spooky shapes you created, what ingredients you used, and how your family reacted. And if you have a favorite Halloween snack that’s saved you from a kitchen disaster, I’d love to hear about it. Happy Halloween, and happy snacking!
Frequently Asked Questions
Can I make this Halloween charcuterie board the night before?
Absolutely! You can prep all the components the night before—cut your cheese shapes, make the olive eyeballs, and arrange the pepperoni spiders (without the pretzel legs, which might get soggy). Store everything in separate containers in the fridge, then assemble the board right before serving. This cuts your morning-of or party-time prep to about 5 minutes.
What if I don’t have Halloween cookie cutters?
No problem at all! Use a small paring knife to freehand simple shapes. Ghosts are the easiest—just cut a rounded top with a wavy bottom. Bats can be simple wing shapes, and pumpkins are just circles with a small stem. You can also use the rim of a small glass to cut round shapes and draw faces with a black food-safe marker.
How many people does this board serve?
This recipe as written serves about 4-6 people as a snack or appetizer. If you’re serving it as a light meal or for a larger crowd, double the ingredients. For a party of 10-12, I usually make two boards with different themes—one savory and one sweet—so everyone has options.
Can I use different types of cheese?
Definitely! I’ve used everything from cheddar to provolone to mozzarella. Soft cheeses like brie or goat cheese are harder to cut into shapes but work well as a spread. Hard cheeses like gouda or manchego hold their shape beautifully. Just make sure the cheese is at room temperature for easier cutting.
How long can the board sit out at room temperature?
For food safety, don’t leave the board out for more than 2 hours. If you’re serving it outside on a cool Halloween night, it might last a bit longer. After that, refrigerate any leftovers. The cheese and meats will last 3-4 days in the fridge, but the crackers will get stale, so store them separately.
Pin This Recipe!
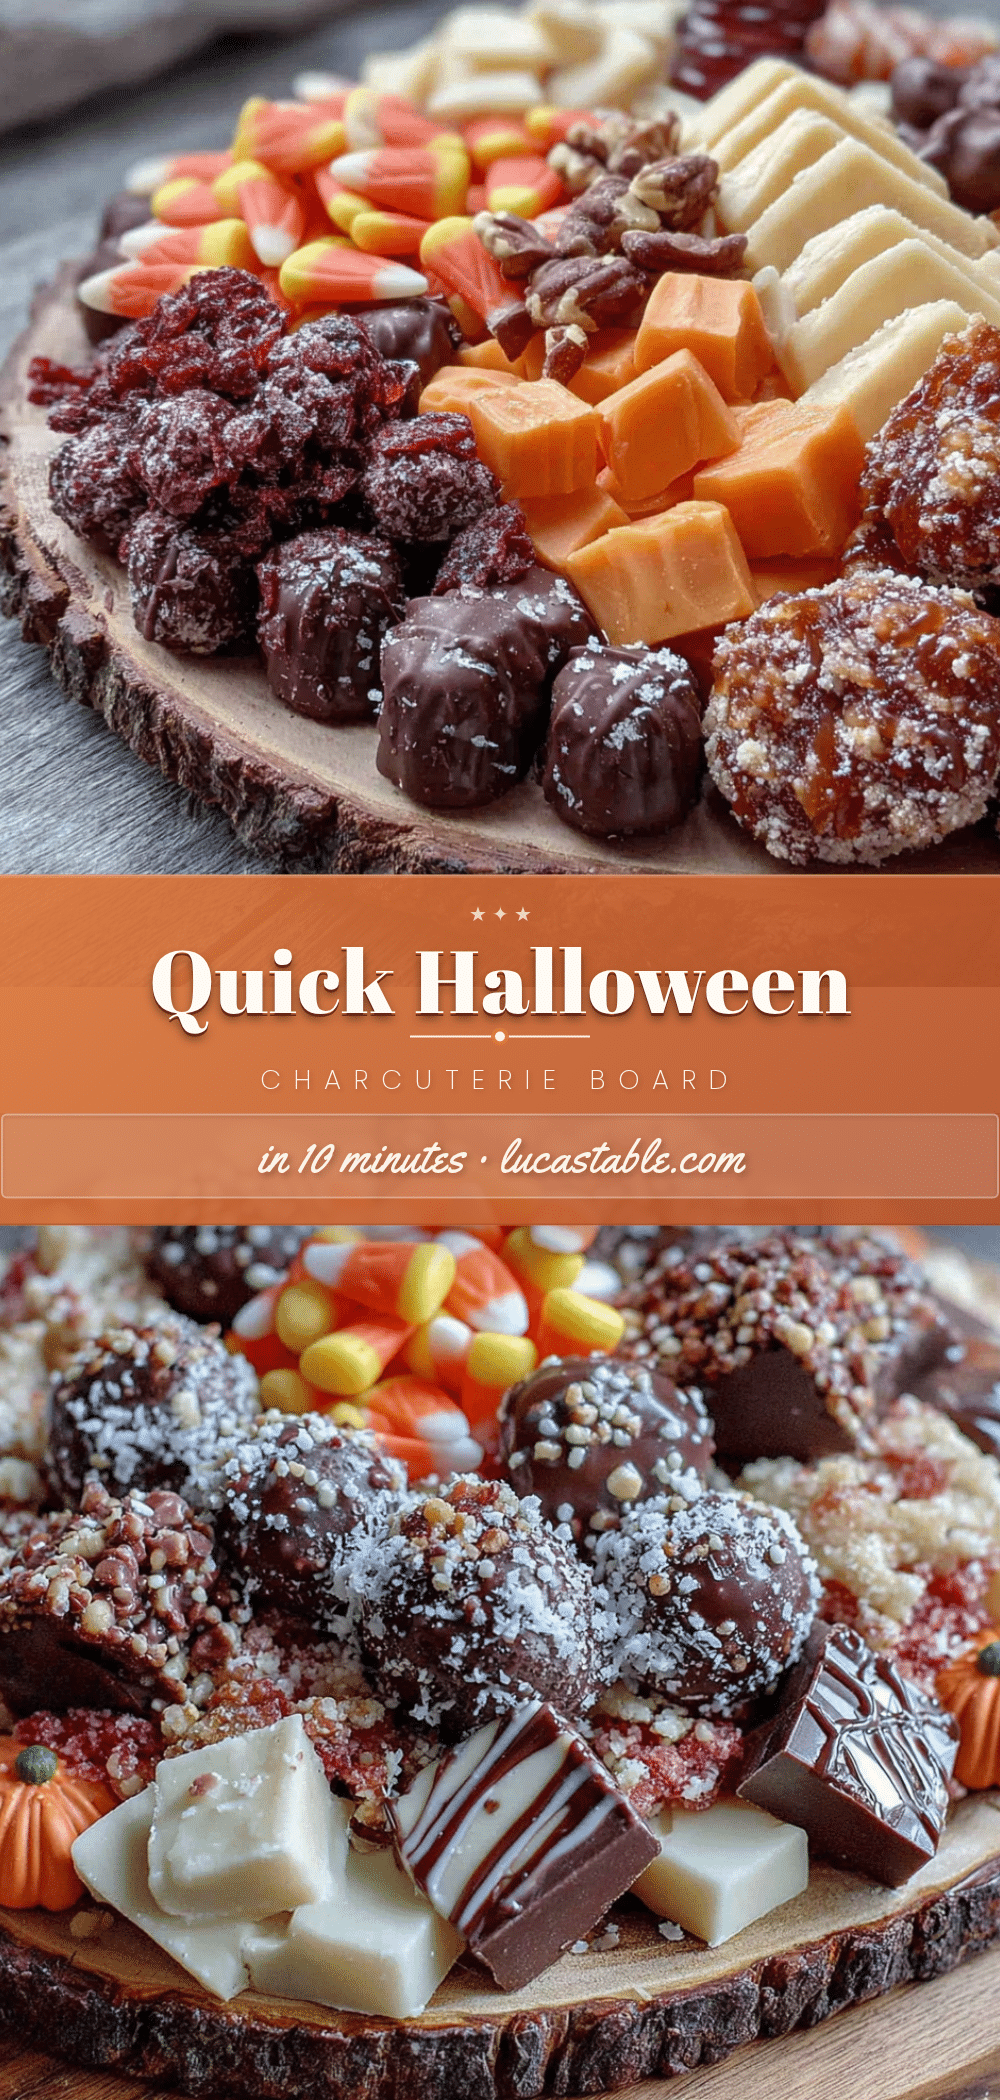
Quick Halloween Charcuterie Board Ready in 10 Minutes
A spooky and fun charcuterie board that comes together in just 10 minutes using simple ingredients. Perfect for last-minute Halloween parties, classroom treats, or pre-trick-or-treating snacks.
- Prep Time: 10 minutes
- Cook Time: 0 minutes
- Total Time: 10 minutes
- Yield: 4-6 servings 1x
- Category: Appetizer
- Cuisine: American
Ingredients
- 8–10 slices cheddar, provolone, or mozzarella cheese
- 20 slices pepperoni or salami
- 1 cup pretzel sticks
- 1 can black olives, drained
- 1 medium red bell pepper
- 2 cups assorted crackers
- 1 cup grapes or berries
- ½ cup almonds or cashews
- ½ cup hummus, ranch, or spinach dip
- ½ cup dried apricots or cranberries
- Candy eyeballs (optional)
- Black food-safe marker (optional)
- 2–3 sprigs fresh rosemary (optional)
Instructions
- Prep your base (1 minute): Place your cutting board or platter on the counter. If using parchment paper, crumple it slightly and lay it flat. Arrange small bowls on the board for dips and olives.
- Cut your cheese shapes (2 minutes): Use Halloween cookie cutters or a small knife to cut ghost, bat, or pumpkin shapes from cheese slices. Place them in a cluster in the center of the board.
- Create your pepperoni spiders (2 minutes): Arrange 5-6 pepperoni slices in a slightly overlapping circle. Place 8 pretzel sticks around it like spider legs. Add two small dollops of dip and press candy eyeballs on top. Make 2-3 spiders.
- Build your olive ‘eyeballs’ (1 minute): Slice black olives in half lengthwise. Place a small piece of cream cheese or dip in the center, then press a candy eyeball or red bell pepper piece into it. Make 8-10.
- Add your crackers and fillers (2 minutes): Group crackers by shape around the board. Scatter nuts, dried fruit, and grapes in the gaps.
- Add your dips and decorations (1 minute): Spoon dips into small bowls. Add green food coloring to ranch for a ‘slime’ effect if desired. Place rosemary sprigs around the board. Scatter extra candy eyeballs.
- Final touches and serving (1 minute): Fill any gaps with extra crackers or nuts. Draw jack-o’-lantern faces on round crackers with a black food-safe marker if desired. Serve immediately.
Notes
Use room temperature cheese for easier cutting. Imperfect shapes look more authentic. Keep wet and dry items separate to prevent sogginess. Prep components up to 24 hours in advance for faster assembly.
Nutrition
- Serving Size: 1/4 of the board
- Calories: 350450
- Sugar: 1015
- Sodium: 600800
- Fat: 2025
- Saturated Fat: 810
- Carbohydrates: 2530
- Fiber: 35
- Protein: 1520
Keywords: Halloween charcuterie board, quick Halloween snack, spooky appetizer, last-minute Halloween party, easy Halloween recipe


