My neighbor Gina wasn’t trying to impress anyone. I’d stopped by to borrow a bag of sugar—classic, I know—and this smell hit me before I even got through her front door. Something buttery, something sweet, with a hint of cinnamon that wrapped around me like a warm blanket. She had a dozen apples laid out on her counter, each one speared with a stick, and a pot of caramel bubbling away on the stove. “Oh, these?” she said when I asked, barely looking up. “Just something quick for the kids’ Halloween party.” She said it like she was boiling water for pasta.
Let me tell you, that moment changed how I think about holiday treats forever. Here was this woman, three kids running around in costumes, a dog barking at the doorbell, and she was making these gorgeous caramel apple slices like it was absolutely nothing special. Not a fussy dessert that takes all day. Not something you stress over and then hide in the fridge until guests arrive. Just simple, beautiful, crowd-pleasing caramel apple slices laid out on a parchment-lined tray. And honestly? They were the best thing I’d eaten all season.
Maybe you’ve been there too—that moment when you realize the best recipes come from people who aren’t trying to show off. Gina didn’t have a fancy kitchen or a culinary degree. She had a bag of apples, a package of caramels, and the casual confidence of someone who’s made these a hundred times. That’s the energy I wanted to bottle up and share with you. Because these aren’t just caramel apple slices. They’re the kind of treat that makes people stop mid-conversation and say, “Wait, where did you get these?” And when you tell them you made them yourself, the look on their face is priceless.
I’ve been making these every Halloween since that day, tweaking the method, testing different toppings, and figuring out exactly what works for a crowd. This version with the Halloween toppings bar is my absolute favorite—it turns a simple dessert into an activity, which is perfect when you’re hosting a party. The best part? You can prep everything hours before guests arrive. No last-minute scrambling, no sticky fingers while people are walking through the door.
Why You’ll Love This Recipe
These crowd-pleasing caramel apple slices are honestly the smartest Halloween dessert I’ve ever made. Here’s why they work so well for hosting:
- Perfect for Parties : Set up a toppings bar and let guests customize their own slices. It becomes an instant activity that gets people talking and laughing together. No more standing in the kitchen while everyone else has fun.
- Make-Ahead Friendly : Prep the apples, melt the caramel, and set out your toppings an hour before guests arrive. When people show up, you’re already relaxed and ready to mingle.
- No Sticky Mess : Unlike traditional caramel apples on a stick, these slices are easy to eat without getting caramel all over your face. Your guests will thank you, trust me.
- Crowd-Pleasing Flavors : The combination of crisp apple, buttery caramel, and crunchy toppings is basically irresistible. Kids and adults both go crazy for them.
- Endless Customization : From crushed cookies to sprinkles to drizzled chocolate, the topping possibilities are endless. Everyone can make their perfect bite.
- Budget-Friendly : Apples and caramel are inexpensive, especially compared to fancy party desserts. You can feed a crowd without breaking the bank.
What makes this recipe different from other caramel apple recipes I’ve tried? It’s the method. Instead of struggling with whole apples that drip caramel everywhere, slicing them first makes everything neater and easier to eat. Plus, the caramel sets up faster on slices because there’s more surface area. I learned this trick after one too many disasters with whole apples sliding off their sticks into a puddle of caramel on my counter. Never again.
This recipe is the kind that makes you close your eyes after the first bite. The crunch of the apple, the soft chew of the caramel, the salty-sweet contrast of the toppings—it’s comfort food reimagined for a party. And honestly, it’s perfect for impressing guests without any stress. You can even get the kids involved in setting up the toppings bar, which makes it a family-friendly activity too.
What Ingredients You Will Need
This recipe uses simple, wholesome ingredients that come together to create something truly special. Most of these are pantry staples, especially during fall, but I’ve included notes on where to find the best versions and what substitutions work well.
For the Caramel Apple Slices
- 6 medium apples (Granny Smith, Honeycrisp, or Fuji work best—choose firm apples that hold their shape)
- 14 ounces soft caramel candies (I recommend Kraft Caramels or Werther’s Soft Caramels for consistent melting; unwrap them first—this takes patience but it’s worth it)
- 3 tablespoons whole milk or heavy cream (adds richness and helps the caramel stay smooth; use dairy-free milk if needed)
- 1 teaspoon vanilla extract (pure vanilla, not imitation, for the best flavor)
- Pinch of sea salt (balances the sweetness and makes the caramel taste more complex)
- 1 tablespoon unsalted butter (optional, but adds a beautiful shine and silky texture to the caramel)
For the Halloween Toppings Bar
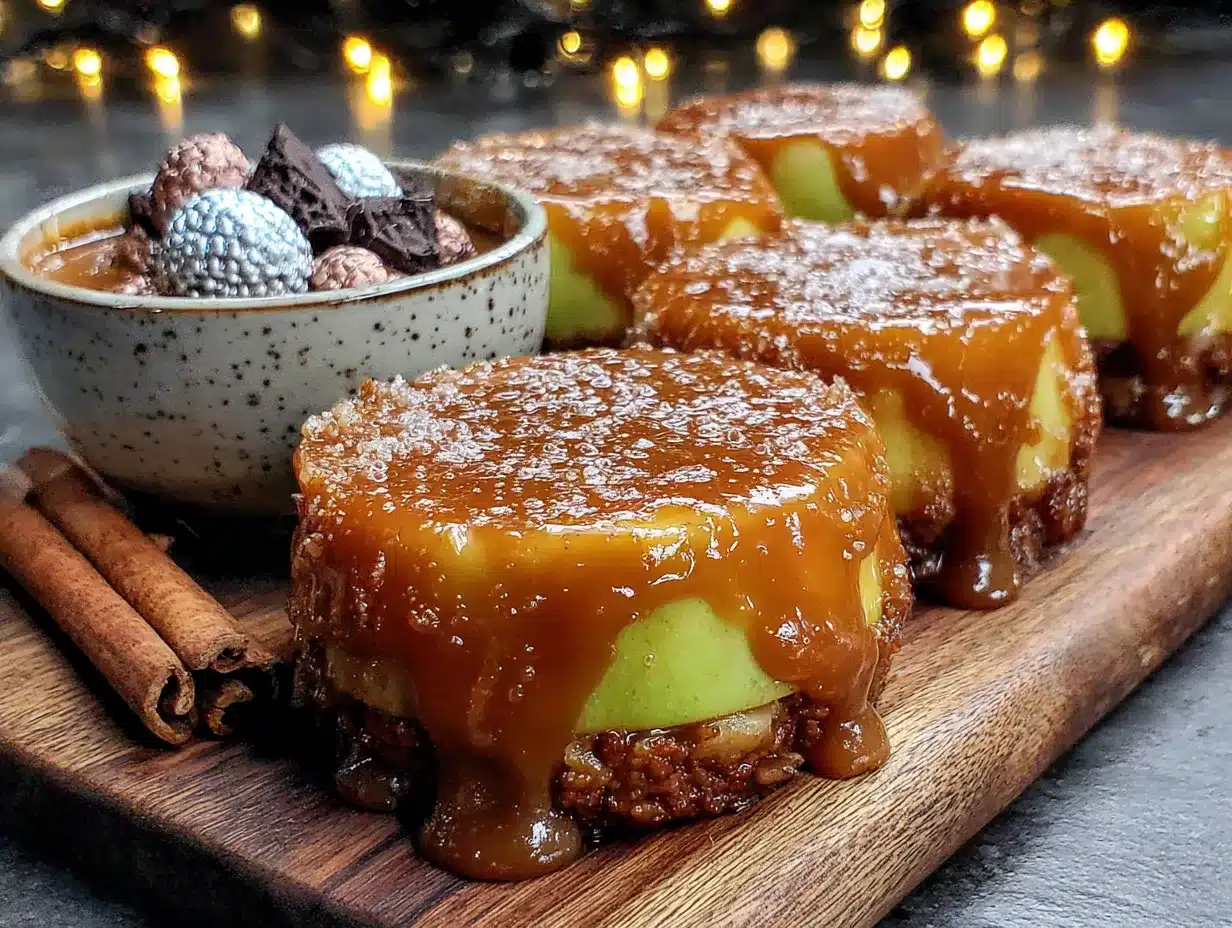
- 1 cup mini chocolate chips (milk, dark, or semi-sweet—your choice)
- 1 cup crushed graham crackers or digestive biscuits (adds a lovely crunch)
- 1 cup chopped nuts (peanuts, pecans, or walnuts—toast them lightly for extra flavor)
- 1 cup Halloween sprinkles (orange, black, and purple colors are perfect for the theme)
- 1 cup crushed pretzels (for that salty-sweet combo everyone loves)
- 1 cup shredded coconut (sweetened or unsweetened, depending on your preference)
- 1 cup candy corn or candy pumpkins (for a festive touch that kids adore)
- 1 cup melted white or dark chocolate (for drizzling—use candy melts or good-quality chocolate chips)
- 1 cup crushed Oreo cookies (cream removed, cookies crushed into small pieces)
- 1 cup mini M&Ms (use the Halloween colors for extra festivity)
Ingredient Selection Tips
When choosing apples, look for ones that are firm with no soft spots or bruises. Granny Smith apples are my go-to because their tartness balances the sweet caramel perfectly. Honeycrisp apples are sweeter but still hold up well. I’ve tried using Gala apples before and they got a bit mealy after sitting out—so stick with the firmer varieties.
For the caramel, I’ve tested both homemade and store-bought options. While homemade caramel is delicious, the store-bought soft caramels are more consistent for this recipe and save a ton of time. Just make sure you’re using soft caramels, not hard candies. The Kraft brand melts beautifully and stays soft even after it sets.
If you’re dairy-free, use coconut cream or oat milk instead of heavy cream. The caramel will still be smooth and delicious. For a vegan version, check the ingredient list on your caramels—some contain dairy, but there are vegan-friendly options available.
Equipment Needed
You don’t need fancy equipment for these crowd-pleasing caramel apple slices, which is part of what makes this recipe so great for hosting. Here’s what you’ll need:
- Large baking sheet lined with parchment paper or a silicone baking mat (for setting the finished slices)
- Apple corer and slicer (or a sharp knife and cutting board—the corer makes it faster and more uniform)
- Small saucepan (for melting the caramel; use a heavy-bottomed one to prevent burning)
- Wooden skewers or popsicle sticks (optional, but fun for serving—guests can pick up their slices easily)
- Small bowls (for arranging the toppings bar—ramekins or small glass bowls work perfectly)
- Fork or dipping tool (for coating the apple slices in caramel)
- Pastry brush (optional, for brushing excess caramel off the bottom of the slices)
- Microwave-safe bowl (if you prefer to melt the caramel in the microwave instead of on the stove)
I’ve made these with just a knife and a pot before, and they turned out great. The apple corer and slicer just make the process faster, which is helpful when you’re prepping for a party. If you don’t have one, just cut the apples into wedges and remove the core with a paring knife. Simple as that.
For the toppings bar, I like using small ceramic ramekins or even cupcake liners set in a muffin tin. It keeps everything organized and looks cute on the table. You can also use small paper cups if you’re going for a more casual vibe.
Preparation Method
Let me walk you through this step by step. I’ve made these so many times that I’ve got the method down to a science, and I’ll share all the little tricks I’ve learned along the way.
- Prep the apples (10 minutes) : Wash and dry your apples thoroughly. Any moisture on the surface will make the caramel slide right off, so pat them dry with a paper towel. Using a sharp knife or apple slicer, cut each apple into 8 wedges (or 6 if you want thicker slices). Remove the core from each wedge. You should have about 48 slices total from 6 apples. Place them on a parchment-lined baking sheet and refrigerate for 15 minutes. Cold apples help the caramel set faster and stay put.
- Set up your toppings bar (10 minutes) : While the apples chill, arrange your toppings in small bowls. I like to group them by type—crunchy toppings together, sweet toppings together, chocolatey ones together. This makes it easier for guests to customize their slices. Set out small plates or a clean baking sheet where guests can work.
- Melt the caramel (10 minutes) : Unwrap all the caramel candies and place them in a small saucepan with the milk or cream. Cook over low heat, stirring constantly with a wooden spoon or silicone spatula. Be patient here—medium heat will burn the caramel. Stir until completely smooth, about 8-10 minutes. Remove from heat and stir in the vanilla extract, sea salt, and butter if using. The caramel should be thick but pourable, like warm honey.
- Dip the apple slices (15 minutes) : Working with one slice at a time, hold it by the peel edge and dip it into the warm caramel. Use a spoon to help coat the cut sides if needed. Let the excess caramel drip off for a few seconds, then place the slice on the parchment-lined baking sheet. Repeat with all slices. If the caramel starts to thicken too much, return it to low heat for a minute, stirring constantly.
- Add toppings immediately (10 minutes) : This is the fun part. While the caramel is still warm and sticky, sprinkle your chosen toppings over each slice. Press them in gently so they stick. If you’re using a drizzle of chocolate, wait until the caramel has set slightly (about 5 minutes) so the chocolate doesn’t slide off. For a neat presentation, keep the toppings on the cut sides and leave the peel edge clean.
- Let the caramel set (20-30 minutes) : Place the baking sheet in the refrigerator for 20-30 minutes, or until the caramel is firm to the touch. Don’t leave them in too long, or the apples might get too cold and lose their crunch. Room temperature is actually perfect for serving—the caramel stays soft and chewy.
- Arrange for serving (5 minutes) : Transfer the slices to a serving platter or arrange them on a large board. If you’re using skewers, insert them into the peel end of each slice for easy grabbing. Serve immediately or keep at room temperature for up to 2 hours.
A few things I’ve learned the hard way: Don’t skip chilling the apples. I did that once and the caramel slid off in big sheets, leaving me with naked apple slices and a sticky mess. Also, work quickly when adding toppings—once the caramel sets, nothing will stick to it. If you’re making these for a big party, you can dip all the slices first, then add toppings in batches.
Cooking Tips & Techniques
After making these crowd-pleasing caramel apple slices more times than I can count, I’ve picked up some tricks that make the process smoother and the results better. Let me share them with you.
Keep the caramel at the right temperature. This is the most important tip I can give you. If the caramel is too hot, it will run right off the apple slices. If it’s too cool, it will be too thick to coat evenly. The sweet spot is when it’s warm enough to flow like thick syrup but not so hot that it burns your finger when you test it. I usually let it cool for 2-3 minutes after removing it from the heat before I start dipping.
Use a double boiler if you’re nervous about burning. I’ve burned my fair share of caramel by getting distracted. Now I use a double boiler setup—a heatproof bowl set over a pot of simmering water. It takes a few extra minutes, but the caramel melts evenly without any risk of scorching. This is especially helpful if you’re making a double batch for a party.
Don’t overcrowd the toppings. I made this mistake the first time I set up a toppings bar. I put everything in one big bowl, and guests ended up with a chaotic mix of every topping stuck together in one clump. Now I use separate small bowls for each topping, and I encourage guests to choose 2-3 toppings per slice. It looks more intentional and tastes better too.
Prep everything before guests arrive. This is a hosting lifesaver. Make the caramel apple slices completely, including the toppings, and keep them in the refrigerator. When guests arrive, take them out and let them come to room temperature for about 15 minutes. The caramel will soften slightly and become perfectly chewy. You can also set up the toppings bar as a self-serve station and let guests add extra toppings if they want.
Use a wet knife for cutting. If you’re making these ahead and need to cut the slices smaller, dip your knife in hot water between cuts. The caramel won’t stick to the blade, and you’ll get clean, neat slices. This is great for bite-sized portions at a cocktail party.
Variations & Adaptations
One of the best things about this recipe is how easy it is to customize. Here are some variations I’ve tried and loved, along with ideas for different dietary needs.
Dairy-Free Version : Use dairy-free caramel candies (many brands now make them with coconut milk) and substitute coconut cream for the heavy cream. The texture will be slightly different—a bit softer—but still delicious. I’ve also used oat milk with good results.
Gluten-Free Option : Most caramel candies are naturally gluten-free, but double-check the label. For toppings, skip the graham crackers and Oreos, and use gluten-free pretzels or crushed gluten-free cookies. Everything else on the list is gluten-free.
Nut-Free Version : Simply omit the chopped nuts and replace them with extra seeds like pumpkin seeds or sunflower seeds. Crushed cereal like Chex or Rice Krispies also works well for crunch without nuts.
Spiced Caramel Variation : Add 1/2 teaspoon of pumpkin pie spice or cinnamon to the caramel while it melts. The warmth of the spices pairs beautifully with the apples and makes the whole kitchen smell incredible. I tried this last year and now I can’t go back.
Chocolate Lover’s Version : After dipping the slices in caramel, let them set for 10 minutes, then drizzle with melted dark chocolate. Sprinkle with sea salt flakes for a salted caramel chocolate experience that’s absolutely addictive.
Kid-Friendly Toppings Bar : Set out bowls of sprinkles, mini marshmallows, crushed cookies, and candy corn. Let the kids go wild—honestly, the messier the better. It’s a Halloween activity in itself, and the kids will be so proud of their creations.
Adult Edition : For a grown-up twist, drizzle the finished slices with a little bourbon caramel sauce (just add a tablespoon of bourbon to the melted caramel) and top with toasted pecans and flaky sea salt. Serve with a glass of apple cider or a bourbon cocktail.
Serving & Storage Suggestions
These crowd-pleasing caramel apple slices are best served at room temperature, when the caramel is soft and chewy and the apple is still crisp. If you’ve refrigerated them, take them out about 15-20 minutes before serving. The texture difference is noticeable—cold caramel gets hard and can pull at your teeth, while room temperature caramel is perfectly yielding.
For presentation, I love arranging the slices on a large wooden board or a slate platter. Fan them out in a circular pattern, with the peel ends pointing outward. It looks beautiful and makes it easy for guests to grab one. If you’re using skewers, arrange them in a tall glass or mason jar for a fun, casual look.
These pair wonderfully with warm apple cider, hot chocolate, or even a cup of coffee. For a Halloween party, set up a hot chocolate bar next to your caramel apple station—guests can sip and snack while they mingle. I’ve also served these alongside a cheese board for a sweet-savory combo that always surprises people.
Storage Instructions : Store leftover slices in an airtight container in the refrigerator for up to 3 days. Place parchment paper between layers to prevent sticking. The apples will release some moisture over time, so they’re best eaten within 24 hours for maximum crunch. I usually only make as many as I think will be eaten in one sitting—they’re so popular that leftovers are rarely an issue.
Reheating Tip : If the caramel has hardened in the fridge, let the slices sit at room temperature for 20 minutes. The caramel will soften naturally. Avoid microwaving them—it will make the apples mushy and the caramel will slide off.
One thing I love about these is that the flavors actually improve after an hour or so. The caramel absorbs a bit of apple juice and becomes even more flavorful. So if you’re making them a few hours ahead, you’re actually doing yourself a favor.
Nutritional Information & Benefits
While these caramel apple slices are definitely a treat, they do have some redeeming qualities. Here’s a rough breakdown per slice (based on 48 slices from 6 apples, with average toppings):
- Calories : Approximately 120-150 per slice
- Carbohydrates : 22-28g
- Sugar : 16-20g
- Fat : 4-6g
- Fiber : 1-2g
- Protein : 1-2g
The apples themselves are a good source of fiber and vitamin C, especially if you leave the peel on—which I recommend for both texture and nutrition. The caramel adds sugar, yes, but it also provides a small amount of calcium from the dairy. The nuts and seeds in the toppings add healthy fats and protein, making these slightly more balanced than a plain candy bar.
For those watching their sugar intake, you can reduce the amount of caramel you use by dipping the slices lightly instead of coating them completely. You’ll still get that caramel flavor without as much sugar. I’ve also made these with sugar-free caramel candies, and while the texture is slightly different, they’re still delicious.
As with any dessert, moderation is key. These are perfect for a special occasion like Halloween, where you can enjoy one or two without guilt. And honestly, the joy of making them with friends or family is part of the experience—that’s good for the soul, even if it doesn’t show up on a nutrition label.
Conclusion
These crowd-pleasing caramel apple slices with a Halloween toppings bar have become my go-to party dessert, and I honestly can’t imagine Halloween without them anymore. They’re the kind of recipe that makes you look like a hero without any of the stress. The toppings bar turns dessert into an activity, which means less pressure on you as the host and more fun for everyone else.
What I love most about this recipe is how adaptable it is. You can make it as simple or as elaborate as you want. Some years I go all out with a dozen different toppings and fancy drizzles. Other years, I just set out sprinkles and chocolate chips and call it a day. Either way, people love it. The combination of crisp apple, soft caramel, and crunchy toppings is just one of those perfect food moments that everyone appreciates.
I’d love to hear how yours turn out. What toppings did you choose? Did your guests have a favorite combination? Drop a comment below and share your creations—I read every single one and I always get inspired by what you all come up with. And if you’re looking for more Halloween dessert ideas, check out my spider web dip and pumpkin patch bark for more festive fun.
Now go make some memories—and some really delicious caramel apple slices. You’ve got this.
Frequently Asked Questions
Can I make these caramel apple slices ahead of time?
Absolutely! You can make them up to 24 hours in advance. Store them in an airtight container in the refrigerator, with parchment paper between layers. Take them out 15-20 minutes before serving to let the caramel soften.
What are the best apples for caramel apple slices?
Granny Smith apples are my top choice because their tartness balances the sweet caramel perfectly. Honeycrisp and Fuji apples also work well. Avoid soft varieties like Gala or Red Delicious, which can get mealy.
How do I keep the caramel from sliding off the apples?
Make sure your apples are completely dry before dipping—any moisture will cause the caramel to slide. Also, chill the apple slices in the refrigerator for 15 minutes before dipping. The cold surface helps the caramel adhere better.
Can I use homemade caramel instead of store-bought?
Yes, you can use homemade caramel sauce, but it needs to be thick enough to coat the slices without running off. If your homemade caramel is too thin, cook it a bit longer until it reaches a thick, pourable consistency.
How long do these stay fresh?
These are best eaten within 24 hours for maximum crunch. They’ll keep in the refrigerator for up to 3 days, but the apples will release moisture over time, making the caramel slightly sticky and the apples less crisp.
Pin This Recipe!
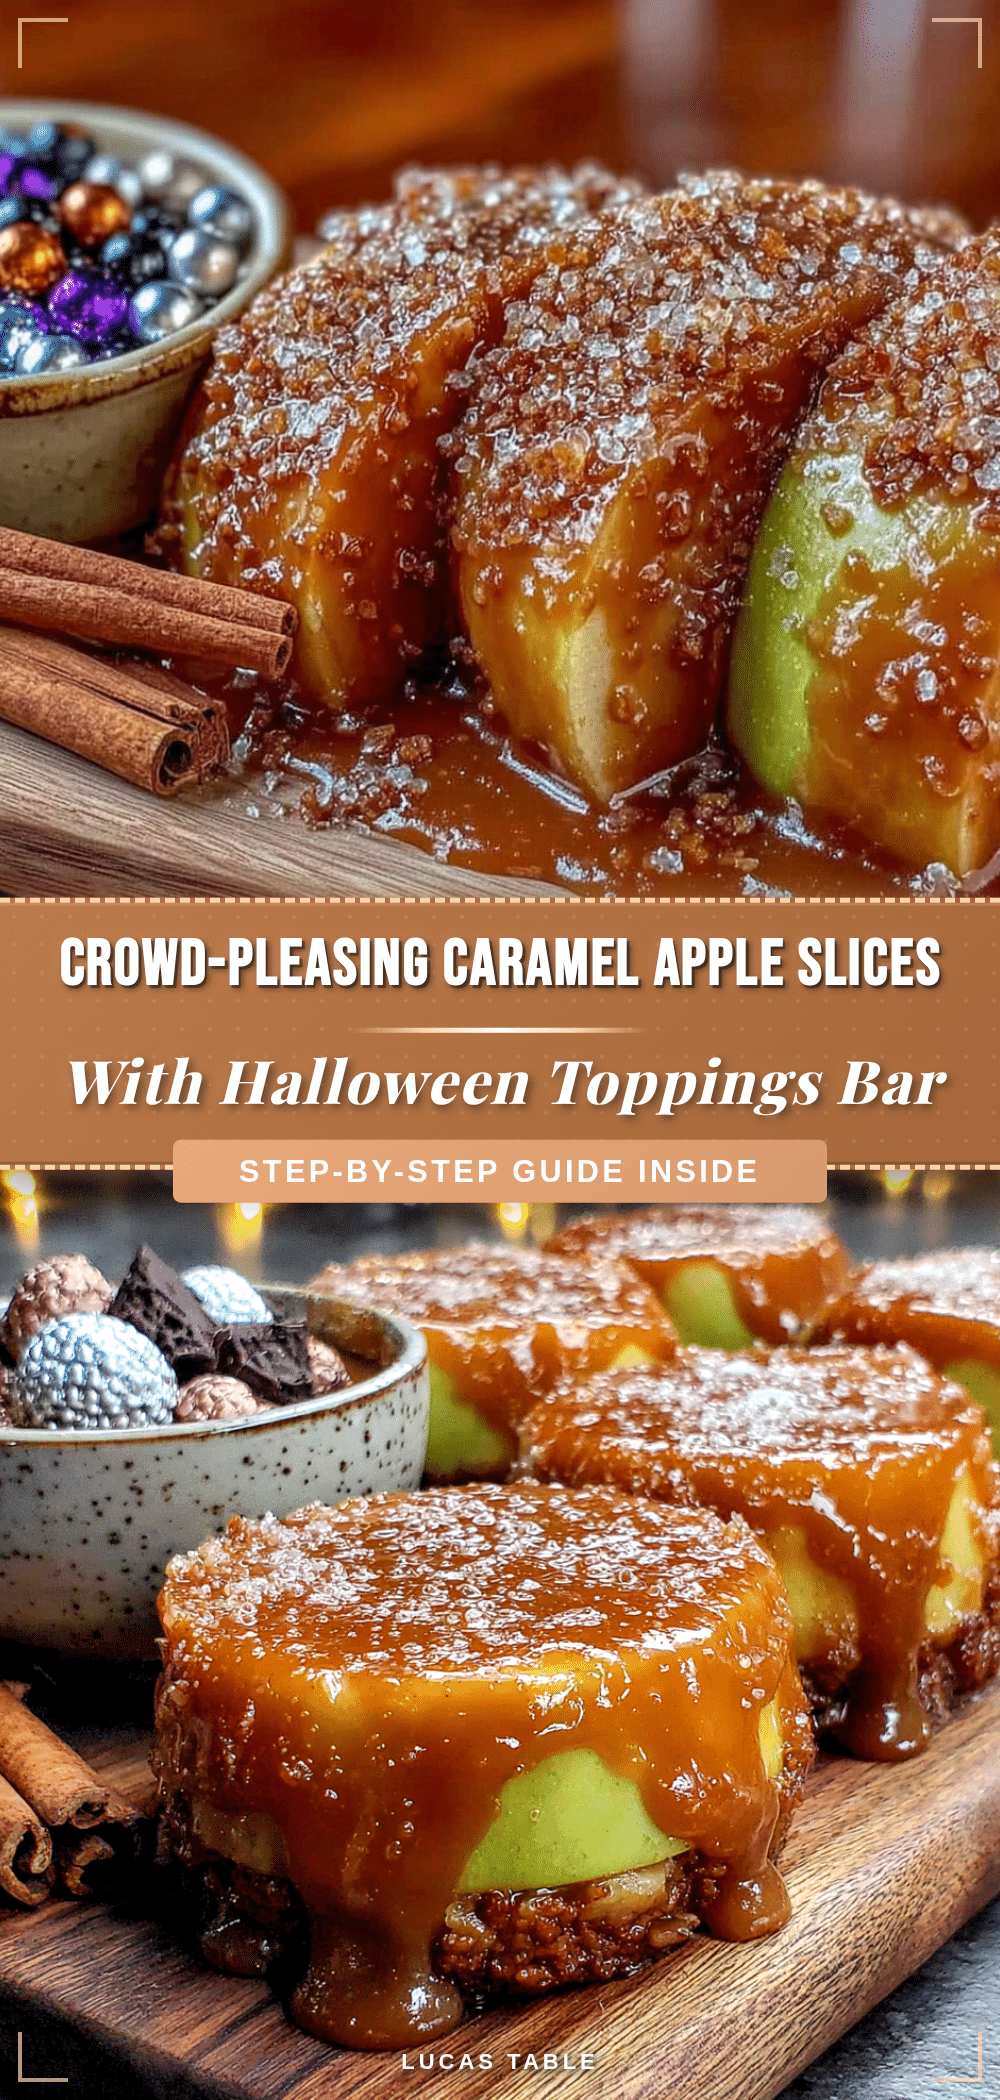
Crowd-Pleasing Caramel Apple Slices with Halloween Toppings Bar

These crowd-pleasing caramel apple slices are the perfect Halloween dessert, featuring crisp apple wedges dipped in smooth caramel and topped with a customizable toppings bar. Easy to make ahead and perfect for parties, they turn dessert into a fun activity for guests of all ages.
- Prep Time: 20 minutes
- Cook Time: 10 minutes
- Total Time: 1 hour 10 minutes
- Yield: 48 slices 1x
- Category: Dessert
- Cuisine: American
Ingredients
- 6 medium apples (Granny Smith, Honeycrisp, or Fuji)
- 14 ounces soft caramel candies (e.g., Kraft Caramels or Werther’s Soft Caramels)
- 3 tablespoons whole milk or heavy cream
- 1 teaspoon vanilla extract
- Pinch of sea salt
- 1 tablespoon unsalted butter (optional)
- 1 cup mini chocolate chips
- 1 cup crushed graham crackers or digestive biscuits
- 1 cup chopped nuts (peanuts, pecans, or walnuts)
- 1 cup Halloween sprinkles
- 1 cup crushed pretzels
- 1 cup shredded coconut
- 1 cup candy corn or candy pumpkins
- 1 cup melted white or dark chocolate
- 1 cup crushed Oreo cookies
- 1 cup mini M&Ms (Halloween colors)
Instructions
- Prep the apples: Wash and dry apples thoroughly. Cut each apple into 8 wedges (or 6 for thicker slices) and remove the core. Place on a parchment-lined baking sheet and refrigerate for 15 minutes.
- Set up toppings bar: Arrange toppings in small bowls, grouping by type (crunchy, sweet, chocolatey). Set out small plates or a clean baking sheet for guests to work on.
- Melt the caramel: Unwrap caramel candies and place in a small saucepan with milk or cream. Cook over low heat, stirring constantly, until smooth (8-10 minutes). Remove from heat and stir in vanilla extract, sea salt, and butter if using.
- Dip the apple slices: Working one slice at a time, hold by the peel edge and dip into warm caramel. Let excess drip off, then place on parchment-lined baking sheet. Repeat with all slices. If caramel thickens, return to low heat briefly.
- Add toppings immediately: While caramel is still warm, sprinkle chosen toppings over each slice and press gently. For chocolate drizzle, wait 5 minutes for caramel to set slightly.
- Let caramel set: Place baking sheet in refrigerator for 20-30 minutes until caramel is firm. Do not over-chill; room temperature is ideal for serving.
- Arrange for serving: Transfer slices to a serving platter or board. Insert skewers into peel end if desired. Serve immediately or keep at room temperature for up to 2 hours.
Notes
For best results, ensure apples are completely dry before dipping to prevent caramel from sliding off. Chill apple slices for 15 minutes before dipping to help caramel adhere. Work quickly when adding toppings as caramel sets fast. Store leftovers in an airtight container in the refrigerator for up to 3 days; bring to room temperature before serving for best texture.
Nutrition
- Serving Size: 1 slice
- Calories: 135
- Sugar: 18
- Sodium: 80
- Fat: 5
- Saturated Fat: 2
- Carbohydrates: 25
- Fiber: 1.5
- Protein: 1.5
Keywords: caramel apple slices, Halloween dessert, party dessert, caramel apples, apple slices, toppings bar, fall dessert, easy dessert


