It was 11:47 PM on a random Wednesday in October, and I was standing in front of my open fridge, staring at a can of pumpkin puree like it held the answers to all my problems. The craving hit me out of nowhere—a deep, almost unreasonable need for pumpkin pie. Not the polite, holiday-gathering version. The real deal. The kind you eat in the dark, straight from the pan, when nobody’s watching.
But here’s the thing. I didn’t have any butter on the counter. I had a stick in the freezer, rock solid. And I definitely didn’t have the patience to wait for it to soften. So I did what any slightly unhinged, sleep-deprived person would do—I threw that frozen butter into a hot pan and let it go. I watched it melt, bubble, and turn this gorgeous shade of amber, filling my quiet kitchen with a nutty, toasty smell that honestly, I’d never associated with pumpkin pie before. That was the moment. That weird, impulsive decision at nearly midnight changed how I make pie forever.
Let me tell you, the result was nothing short of a revelation. The brown butter added this deep, almost caramel-like richness that regular butter just can’t touch. And the maple whipped cream? That was a last-minute addition when I realized I had heavy cream about to expire and a bottle of real maple syrup staring at me from the pantry. Sometimes, you know, the best things happen when you’re too tired to overthink. This pie is proof.
Maybe you’ve been there—standing in your kitchen late at night, wanting something that feels like a hug in food form. This is that recipe. It’s the one you’ll reach for when you need a little comfort, a little warmth, and a lot of flavor. And honestly? It’s the pie that finally made me stop buying the store-bought stuff.
Why You’ll Love This Recipe
I’ve tested this pie more times than I care to admit—through burnt batches, soggy crusts, and one particularly sad attempt where I forgot the sugar entirely (don’t ask). After all those trials, I can say with confidence: this is the best easy brown butter pumpkin pie you’ll ever make.
- Quick & Easy : From start to table in about an hour and a half, with only 15 minutes of active prep. Perfect for those “I need pie now” moments.
- Simple Ingredients : You probably have everything except maybe the pumpkin puree and maple syrup. No fancy trips to specialty stores required.
- Perfect for Fall Gatherings : Whether it’s Thanksgiving, Friendsgiving, or just a cozy Tuesday, this pie fits right in.
- Crowd-Pleaser : I’ve served this to pie purists and pumpkin skeptics alike. The brown butter wins everyone over.
- Unbelievably Delicious : The nutty brown butter plus the silky pumpkin custard plus that fluffy maple cream? It’s next-level comfort food.
What makes this recipe different from the rest is the brown butter technique. It’s not just a gimmick—it actually transforms the flavor profile of the entire pie. The toasty notes from the browned milk solids complement the warm spices in a way that feels intentional, not accidental. And the maple whipped cream isn’t an afterthought; it’s the perfect finishing touch that ties everything together.
This is the kind of pie that makes you close your eyes after the first bite. It’s comfort food reimagined—familiar enough to feel nostalgic, but elevated enough to feel special. Perfect for impressing guests without the stress, or for turning a simple fall evening into something memorable.
What Ingredients You Will Need
This recipe uses simple, wholesome ingredients to deliver that rich, cozy flavor. Most of these are pantry staples, especially if you’re a fall baking enthusiast. Here’s what you’ll need:
For the Brown Butter
- Unsalted butter, ½ cup (1 stick or 113g) – I recommend using a good-quality butter like Kerrygold or Plugrà for the best flavor. The fat content matters here.
- Optional: A pinch of salt if using unsalted butter (though we’ll add salt later)
For the Pumpkin Filling
- Pumpkin puree, 1 can (15 oz or 425g) – Not pumpkin pie filling! Make sure it’s 100% pure pumpkin. Libby’s is my go-to for consistent texture.
- Large eggs, 2, at room temperature – Cold eggs can seize the brown butter, so let them sit out for 30 minutes.
- Sweetened condensed milk, 1 can (14 oz or 397g) – This gives the filling that silky, creamy texture without extra work.
- Brown sugar, ¼ cup (50g), packed – Light or dark works. Dark brown sugar adds more molasses depth.
- Vanilla extract, 1 teaspoon – Pure, not imitation. Trust me on this.
- Ground cinnamon, 1 teaspoon – Freshly ground if you have it.
- Ground ginger, ½ teaspoon – Adds that subtle warmth.
- Ground nutmeg, ¼ teaspoon – Freshly grated is amazing here.
- Ground cloves, ⅛ teaspoon – A little goes a long way.
- Salt, ¼ teaspoon – Balances the sweetness.
For the Maple Whipped Cream
- Heavy cream, 1 cup (240ml) – Cold, straight from the fridge.
- Pure maple syrup, 3 tablespoons – Grade A dark amber is my preference for stronger flavor. Don’t use pancake syrup!
- Vanilla extract, ½ teaspoon
For the Pie Crust
- Store-bought or homemade pie crust, 1 (9-inch) – I’ve used both. If going store-bought, Pillsbury refrigerated crust works fine. For homemade, I love this flaky all-butter pie crust recipe—it pairs beautifully with the brown butter filling.
Ingredient Selection Tips: For the best texture, make sure your pumpkin puree isn’t watery. If it looks loose, pat it dry with a paper towel before mixing. And please, please use real maple syrup for the cream. The fake stuff has a weird aftertaste that ruins the whole experience.
Substitution Guidance: For a dairy-free version, use vegan butter for browning (though it won’t brown exactly the same) and coconut cream for the whipped topping. For gluten-free, use a gluten-free pie crust—just pre-bake it according to package directions.
Equipment Needed
You don’t need a fancy kitchen to pull this off. Here’s what I use:
- 9-inch pie dish – Glass or ceramic works best. I prefer a deep-dish glass pie plate so I can see the crust browning.
- Saucepan – Light-colored is ideal for browning butter so you can see the color change. Stainless steel works great.
- Mixing bowls – One large, one medium.
- Whisk – For the filling and the cream.
- Rubber spatula – To scrape every last bit of that brown butter goodness.
- Hand mixer or stand mixer – For the whipped cream. You can whisk by hand, but your arm will thank you for the mixer.
- Measuring cups and spoons – Accuracy matters in baking.
- Pie weights or dried beans – For blind baking the crust. I’ve used both; dried beans work perfectly and can be reused.
- Parchment paper or aluminum foil – To line the crust during blind baking.
- Cooling rack – Lets air circulate so the crust stays crisp.
Budget-Friendly Tip: Don’t have pie weights? A roll of aluminum foil and a bag of dried beans costs under $5 and does the same job. I’ve used the same bag of pinto beans for years—they’re strictly for baking now.
Preparation Method
Let’s get to the good part. I’ve broken this down into clear steps so you don’t miss a thing.
Step 1: Brown the Butter (5 minutes)
Cut the stick of butter into even pieces and add them to your saucepan. Set the heat to medium and let the butter melt, swirling the pan occasionally. Once melted, it will start to foam and sputter—that’s the water evaporating. Keep a close eye on it. After about 3-4 minutes, you’ll see brown specks forming at the bottom and the butter will smell nutty and toasty. The moment it turns a deep amber color (think the color of a penny), remove it from the heat immediately. Pour it into a heat-safe bowl to stop the cooking process. Don’t walk away during this—burnt butter happens fast and tastes bitter.
Step 2: Prepare the Pie Crust (15 minutes + chilling)
If using store-bought, let it sit at room temperature for 15 minutes as directed. Roll it out to a 12-inch circle and gently press it into your pie dish. Crimp the edges however you like—I do a simple pinch with my fingers. Prick the bottom with a fork a few times. Line the crust with parchment paper and fill with pie weights or dried beans. Bake at 375°F (190°C) for 12 minutes, then remove the weights and paper and bake another 5-7 minutes until the bottom looks dry and lightly golden. Set aside to cool slightly.
Step 3: Make the Filling (10 minutes)
In a large bowl, whisk the eggs until they’re light and frothy. Add the pumpkin puree, sweetened condensed milk, brown sugar, vanilla, and all the spices. Whisk until smooth and well combined. Now, slowly drizzle in the cooled brown butter while whisking constantly. You want it to emulsify into the filling, not separate. The mixture should look glossy and smell incredible. Give it a taste—it should be sweet with a warm spice kick and that nutty brown butter undertone.
Step 4: Assemble and Bake (50-60 minutes)
Pour the filling into the pre-baked crust. It will fill the crust nearly to the top—that’s normal. Place the pie on the middle rack of your oven, still at 375°F (190°C). Bake for 45-55 minutes. The edges should be set and slightly puffed, but the center will still jiggle slightly when you gently shake the pan. That’s the sweet spot. If the crust edges are browning too fast, tent them with foil strips after 20 minutes.
Step 5: Cool Completely (2-3 hours)
This is the hardest part. Let the pie cool on a wire rack for at least 2 hours. The filling will continue to set as it cools. Don’t rush this—warm pumpkin pie is delicious, but a fully set pie slices so much cleaner. After it’s completely cool, you can refrigerate it for up to 2 days before serving.
Step 6: Make the Maple Whipped Cream (5 minutes)
Just before serving, pour the cold heavy cream into a chilled bowl. Add the maple syrup and vanilla. Beat with a hand mixer on medium-high until soft peaks form—about 2-3 minutes. Don’t overbeat or you’ll end up with butter. The cream should be fluffy and hold its shape but still be silky.
Cooking Tips & Techniques
I’ve made every mistake in the book with this pie, so let me save you some trouble.
Brown Butter Do’s and Don’ts: Use a light-colored pan so you can actually see the color change. Dark nonstick pans hide the browning process, and before you know it, you’ve got burnt butter. Also, don’t use a whisk to stir—the butter can splash and burn you. A rubber spatula is safer and lets you scrape the bottom to check for those brown specks.
Prevent a Soggy Crust: This is the number one complaint with pumpkin pie. Blind baking is non-negotiable here. And don’t skip the fork pricks—they let steam escape so the crust doesn’t bubble up. If you’re feeling extra cautious, brush the bottom of the pre-baked crust with a beaten egg white and bake for 2 more minutes. It creates a waterproof seal.
How to Tell When It’s Done: I used to obsessively check with a knife, but that leaves a crack in the filling. The jiggle test is better. Gently shake the pie—the outer 2 inches should be set and firm, while the center should have a slight wobble, like Jell-O. It will continue to set as it cools.
Timing and Multitasking: Brown the butter while the crust is blind baking. Make the filling while the crust cools. You can even make the filling a day ahead and store it in the fridge—just bring it to room temperature before pouring into the crust.
My Biggest Failure: One Thanksgiving, I forgot to add the eggs. The filling never set. It was basically pumpkin soup in a crust. Now I double-check every ingredient before I start mixing. Learn from my shame.
Variations & Adaptations
This recipe is flexible, so feel free to make it your own.
- Spice It Up: Add a pinch of cardamom or allspice for a different warmth. I once added a teaspoon of Chinese five-spice powder by accident, and honestly? It was surprisingly good.
- Make It Vegan: Use a vegan pie crust, replace the eggs with 2 tablespoons of cornstarch mixed with ¼ cup water, and use full-fat coconut milk in place of the sweetened condensed milk (add 2 tablespoons of sugar to compensate). The texture won’t be identical, but it’s still delicious.
- Gluten-Free Option: Use a gluten-free pie crust blend. I’ve had good luck with King Arthur’s gluten-free pie crust mix. Blind bake it a few minutes longer since gluten-free crusts tend to be more delicate.
- Bourbon Maple Whipped Cream: Add 1 tablespoon of bourbon to the cream along with the maple syrup. It adds a lovely warmth that pairs beautifully with the brown butter.
- Pumpkin Maple Pie: Replace ½ cup of the sweetened condensed milk with ½ cup of maple syrup. Reduce the brown sugar to 2 tablespoons. The filling will be slightly softer but has a deeper maple flavor.
Serving & Storage Suggestions
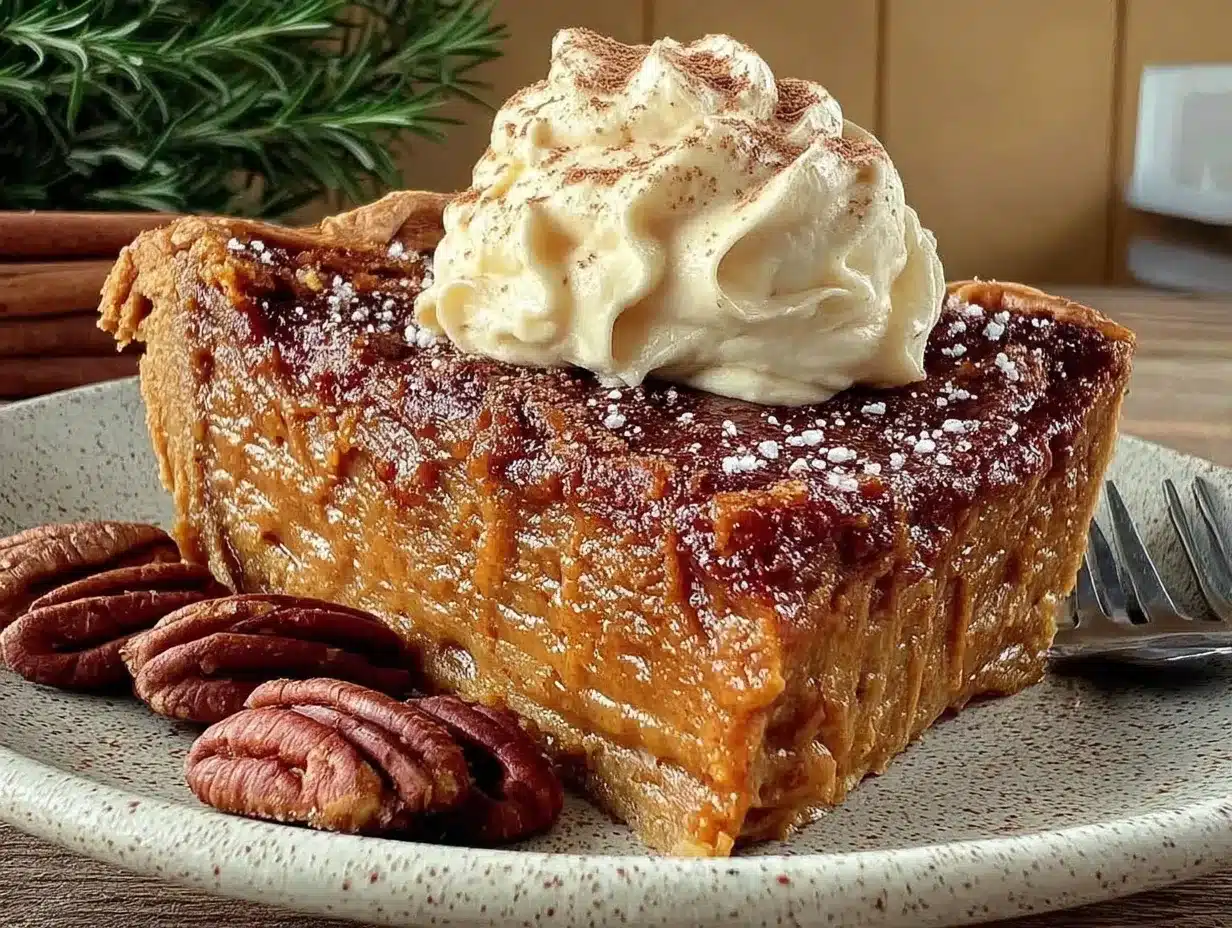
This pie is best served at room temperature or slightly warm. I like to slice it, add a generous dollop of maple whipped cream, and maybe a sprinkle of flaky sea salt on top. The salt cuts through the sweetness and makes the brown butter flavor pop.
What to Serve With It: A cup of black coffee or a spiced chai latte is perfect. For a full fall spread, pair it with roasted butternut squash soup as a starter and a apple cider margarita for sipping. It also goes beautifully with vanilla ice cream if you want to go all out.
Storage: Cover the pie loosely with plastic wrap or foil and store it in the refrigerator for up to 4 days. The flavors actually deepen after a day or two—the spices meld together and the brown butter becomes even more pronounced.
Freezing: You can freeze the baked, cooled pie (without the cream) for up to 2 months. Wrap it tightly in plastic wrap, then foil. Thaw overnight in the fridge and bring to room temperature before serving. The whipped cream doesn’t freeze well, so make it fresh.
Reheating: If you want warm pie, pop individual slices in a 300°F (150°C) oven for 10 minutes. The microwave works in a pinch, but it can make the crust soggy.
Nutritional Information & Benefits
Let’s be real—this is a dessert, not a health food. But it does have some redeeming qualities.
Estimated Nutritional Values (per slice, 1/8 of pie with cream):
- Calories: 380
- Fat: 22g
- Carbohydrates: 42g
- Protein: 6g
- Fiber: 2g
- Sugar: 32g
Health Benefits: Pumpkin is packed with vitamin A (great for your eyes and immune system) and fiber. The spices—cinnamon, ginger, nutmeg—have anti-inflammatory properties. And hey, butter has vitamin A too. So it’s practically a multivitamin, right? (I’m kidding. Mostly.)
Dietary Considerations: This recipe contains dairy, eggs, and gluten. For a lower-sugar version, you can reduce the brown sugar to 2 tablespoons and use a sugar-free sweetened condensed milk. The texture will be slightly less creamy, but still good.
My Take: I believe in balance. Enjoy a slice of this pie, savor every bite, and don’t stress about the numbers. Food is about joy, connection, and comfort—and this pie delivers all three.
Conclusion
This brown butter pumpkin pie with maple whipped cream isn’t just a recipe—it’s a moment. It’s the smell of toasted butter filling your kitchen on a crisp fall evening. It’s the first bite that makes you pause and actually taste what you’re eating. It’s the pie you’ll bring to every gathering and watch disappear before your eyes.
I’ve made this pie for Thanksgiving dinners, for quiet Sunday afternoons, and for those late-night cravings that started the whole thing. Every time, it delivers. The brown butter adds a depth you didn’t know pumpkin pie was missing. The maple cream is the perfect sweet, fluffy finish. Together, they’re unstoppable.
I’d love to hear how it turns out for you. Did you add your own twist? Did you serve it with something unexpected? Drop a comment below and share your experience. And if you loved it, share this recipe with a friend who needs a little fall comfort in their life. Happy baking!
Frequently Asked Questions
Can I use pumpkin pie filling instead of pumpkin puree?
No, don’t do that. Pumpkin pie filling already has sugar and spices added, so your pie will end up overly sweet and the spice balance will be off. Stick with 100% pure pumpkin puree.
Why did my brown butter turn bitter?
You probably cooked it too long. The line between perfectly browned and burnt is about 10 seconds. As soon as you see amber color and smell that nutty aroma, pull it off the heat. Pour it into a cool bowl to stop the cooking immediately.
Can I make this pie ahead of time?
Absolutely. You can bake the pie up to 2 days in advance. Keep it covered in the fridge. Make the whipped cream fresh on the day you serve it—it doesn’t hold up well overnight.
My pie cracked on top. What went wrong?
Overbaking is the most common cause. The edges might look done, but if the center is completely firm when you pull it out, it’s overbaked. Remember: the center should still jiggle slightly. Also, cooling too quickly (like putting a hot pie directly in the fridge) can cause cracks.
Can I use a different type of milk in the cream?
Heavy cream is best for whipping because of its high fat content. Half-and-half or whole milk won’t whip into stiff peaks. If you need a dairy-free option, use full-fat coconut cream (the solid part from a can of coconut milk) and whip it cold.
Pin This Recipe!
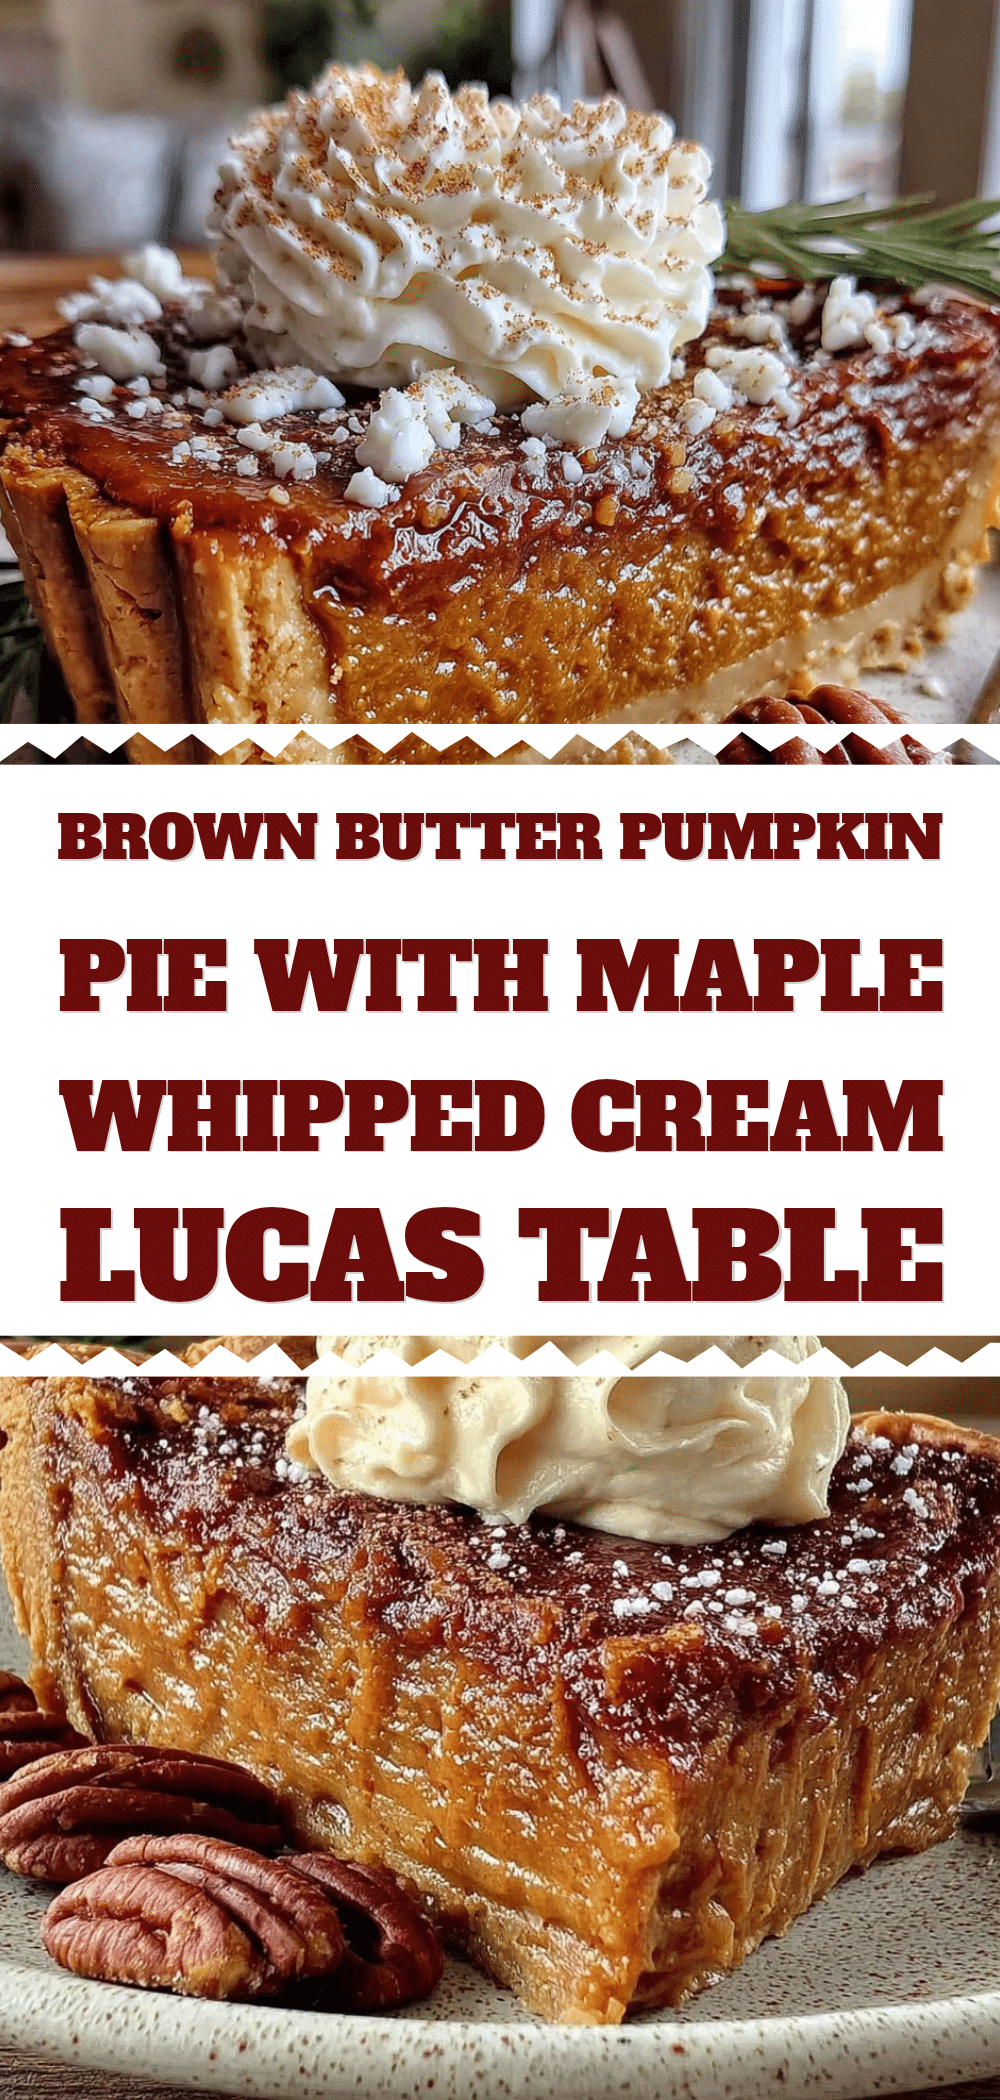
Best Easy Brown Butter Pumpkin Pie with Maple Cream
A rich, nutty brown butter pumpkin pie topped with fluffy maple whipped cream. This easy recipe transforms a classic fall dessert into something truly special, perfect for Thanksgiving or any cozy occasion.
- Prep Time: 15 minutes
- Cook Time: 50 minutes
- Total Time: 1 hour 5 minutes
- Yield: 8 servings 1x
- Category: Dessert
- Cuisine: American
Ingredients
- ½ cup (1 stick or 113g) unsalted butter
- 1 can (15 oz or 425g) pumpkin puree (100% pure pumpkin)
- 2 large eggs, at room temperature
- 1 can (14 oz or 397g) sweetened condensed milk
- ¼ cup (50g) packed brown sugar (light or dark)
- 1 teaspoon vanilla extract
- 1 teaspoon ground cinnamon
- ½ teaspoon ground ginger
- ¼ teaspoon ground nutmeg
- ⅛ teaspoon ground cloves
- ¼ teaspoon salt
- 1 (9-inch) store-bought or homemade pie crust
- 1 cup (240ml) heavy cream, cold
- 3 tablespoons pure maple syrup (Grade A dark amber preferred)
- ½ teaspoon vanilla extract
Instructions
- Brown the butter: Cut the stick of butter into even pieces and add to a light-colored saucepan over medium heat. Swirl occasionally. After 3-4 minutes, when the butter turns deep amber and smells nutty, remove from heat immediately and pour into a heat-safe bowl to stop cooking.
- Prepare the pie crust: If using store-bought, let sit at room temperature for 15 minutes. Roll out to a 12-inch circle and press into a 9-inch pie dish. Crimp edges, prick bottom with a fork. Line with parchment paper and fill with pie weights or dried beans. Bake at 375°F (190°C) for 12 minutes, then remove weights and paper and bake another 5-7 minutes until bottom is dry and lightly golden. Set aside to cool slightly.
- Make the filling: In a large bowl, whisk eggs until light and frothy. Add pumpkin puree, sweetened condensed milk, brown sugar, vanilla, cinnamon, ginger, nutmeg, cloves, and salt. Whisk until smooth. Slowly drizzle in cooled brown butter while whisking constantly until emulsified.
- Assemble and bake: Pour filling into pre-baked crust. Bake at 375°F (190°C) for 45-55 minutes, until edges are set and center jiggles slightly. If crust edges brown too fast, tent with foil after 20 minutes.
- Cool completely: Let pie cool on a wire rack for at least 2 hours. The filling will continue to set as it cools. Refrigerate for up to 2 days before serving if desired.
- Make the maple whipped cream: Just before serving, pour cold heavy cream into a chilled bowl. Add maple syrup and vanilla. Beat with a hand mixer on medium-high until soft peaks form, about 2-3 minutes. Do not overbeat.
Notes
For best results, use a light-colored pan to brown butter so you can see the color change. Blind baking the crust is essential to prevent sogginess. The center should still jiggle slightly when done; it will set as it cools. Make the whipped cream fresh just before serving. For a dairy-free version, use vegan butter and coconut cream. For gluten-free, use a gluten-free pie crust.
Nutrition
- Serving Size: 1 slice (1/8 of pie
- Calories: 380
- Sugar: 32
- Sodium: 280
- Fat: 22
- Saturated Fat: 13
- Carbohydrates: 42
- Fiber: 2
- Protein: 6
Keywords: brown butter pumpkin pie, maple whipped cream, pumpkin pie, fall dessert, Thanksgiving pie, easy pumpkin pie


