There used to be a tiny coffee shop tucked into a brick building on the corner of Elm and 3rd in my old neighborhood that made the most ridiculous Cranberry Bliss Bars. When they closed their doors three years ago—just a handwritten sign taped to the window saying “Thanks for the memories”—I honestly felt a little lost. That bar was my Tuesday afternoon ritual, the thing I grabbed when I needed fifteen minutes of quiet between errands. After six attempts—two of them ending up in the trash, one that was so dry my husband asked if it was a new kind of granola—I finally got it.
Let me tell you, there were some messy moments. I remember one Sunday afternoon when I was testing batch number four, and I got so distracted by the football game that I completely forgot the white chocolate chips were in the oven. The smell—honestly, it was like a sweet, burnt apology filling the whole kitchen. My neighbor Karen knocked on the door asking if everything was okay. I just laughed and handed her a spatula to help scrape the mess off the baking sheet. That’s the thing about chasing a memory through food—it’s never perfect the first time, but the journey is half the fun.
This copycat version has everything I loved about that original bar: the chewy blondie base, the tart bursts of dried cranberries, the creamy white chocolate layer, and that signature drizzle that makes it look like you spent hours in the kitchen. The best part? You can make a whole tray for a fraction of what that little coffee shop charged, and honestly, I think mine tastes even better now. Maybe you’ve been there—that feeling when a recipe just clicks and you know you’ve nailed it. That’s what these bars are for me now.
Why You’ll Love This Recipe
These Copycat Cranberry Bliss Bars are about to become your secret weapon for every party, potluck, and holiday gathering. I’ve brought these to more events than I can count, and they disappear faster than anything else on the table. Here’s why they work so well:
- Made for a Crowd: This recipe makes a full 9×13 pan, which means you can easily feed 16 to 20 people without breaking a sweat. Perfect for when you need to impress without the stress.
- Simple Pantry Ingredients: You probably have most of these items already. No weird specialty items or expensive extracts—just good, honest baking staples.
- Looks Fancy, Tastes Better: That two-tone drizzle and the pretty cranberry topping make these bars look like they came from a bakery. Your guests will think you spent all day on them.
- Make-Ahead Magic: These bars actually taste better the next day. You can bake them a full 24 hours before your party, and they’ll be even more flavorful when you serve them.
- Always a Crowd-Pleaser: I’ve served these at birthday parties, baby showers, Christmas dinners, and casual Friday night get-togethers. Kids love the sweetness, adults appreciate the tart cranberry balance, and everyone goes back for seconds.
What makes these bars different from other cranberry desserts is the texture. The blondie base stays soft and chewy in the middle with slightly crisp edges—exactly like the original. The white chocolate cream cheese layer adds this tangy richness that cuts through the sweetness, and the dried cranberries give you these little pops of tartness that keep every bite interesting. It’s not just another bar cookie—it’s the bar cookie that everyone asks for the recipe.
I remember the first time I brought these to my book club. I walked in feeling nervous because Sarah always brings those fancy French pastries from that bakery downtown. But by the end of the night, three people had asked for the recipe, and Sarah herself said these were better than her usual store-bought treats. That moment—honestly, that was the validation I needed. These bars have that effect on people.
What Ingredients You Will Need
This recipe uses simple, wholesome ingredients to deliver that signature Cranberry Bliss Bar flavor and texture without any complicated steps. Most of these are pantry staples, so you’re probably already halfway there.
For the Blondie Base
- 1 cup (226g) unsalted butter, melted and slightly cooled (I use Land O’Lakes for consistent results—it really does make a difference)
- 1 ½ cups (300g) granulated sugar (adds sweetness and helps create that chewy texture)
- 2 large eggs, room temperature (cold eggs will seize the melted butter, so let them sit out for 30 minutes)
- 2 teaspoons vanilla extract (use pure vanilla if you can—imitation works, but pure gives a warmer flavor)
- 2 ¼ cups (280g) all-purpose flour (spoon and level it—don’t scoop directly from the bag or you’ll get too much)
- 1 teaspoon baking powder
- ½ teaspoon salt (don’t skip this—it balances all that sweetness)
- ¾ cup (90g) dried cranberries (look for plump, soft ones; if they seem dry, soak them in hot water for 10 minutes and pat dry)
- ½ cup (85g) white chocolate chips (Ghirardelli is my go-to for melting smoothly)
For the Cream Cheese Frosting Layer
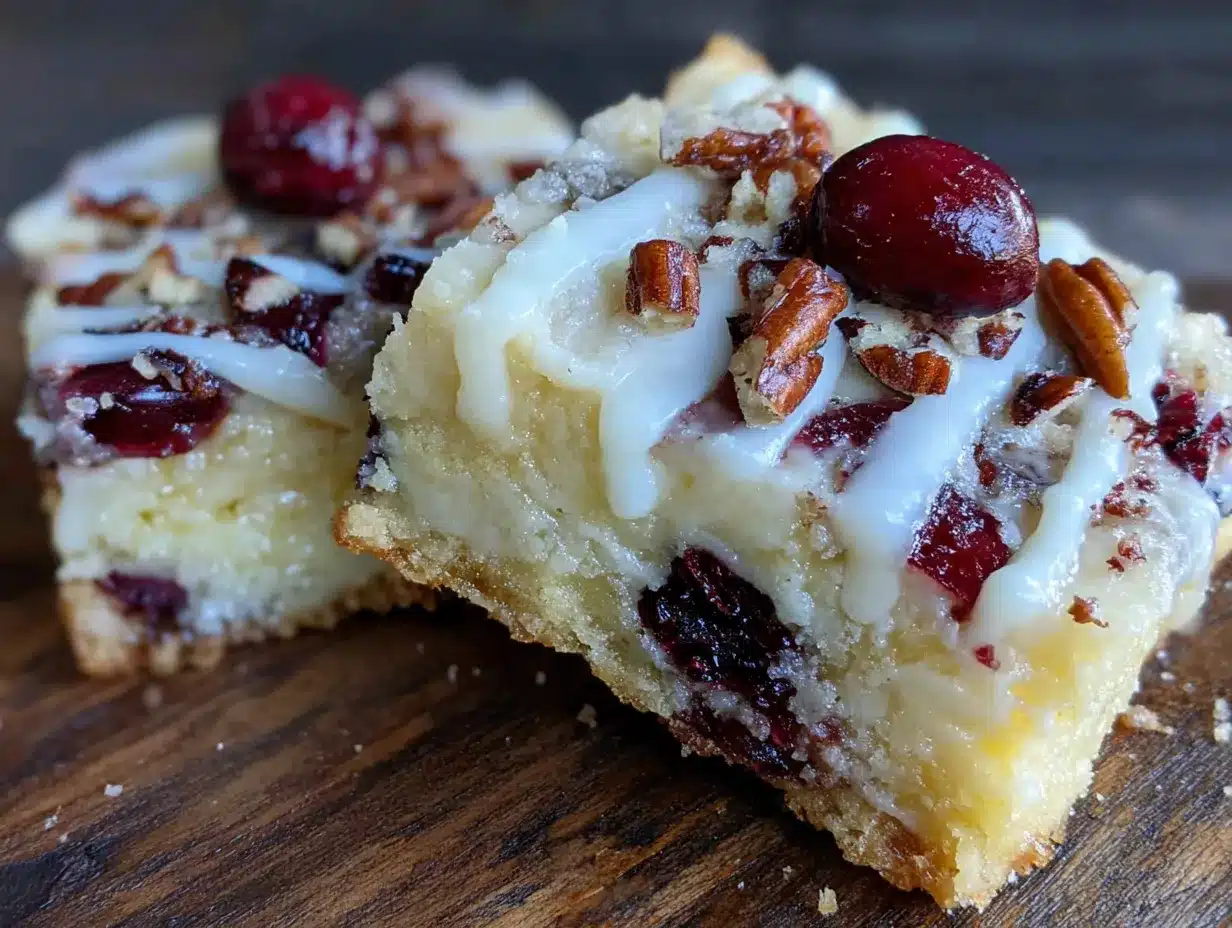
- 8 ounces (226g) cream cheese, softened to room temperature (Philadelphia brand gives the smoothest result—don’t use low-fat or it will be runny)
- ¼ cup (56g) unsalted butter, softened
- 2 cups (240g) powdered sugar, sifted (sifting prevents lumps—trust me on this one)
- 1 teaspoon vanilla extract
- 1 tablespoon heavy cream (or whole milk if that’s what you have)
For the Topping & Drizzle
- ¼ cup (30g) dried cranberries, roughly chopped (for that pretty sprinkle on top)
- ½ cup (85g) white chocolate chips (for the signature drizzle)
- 1 teaspoon coconut oil or vegetable shortening (helps the white chocolate melt smoothly without seizing)
If you’re making these for someone with dietary restrictions, here are a few swaps that work well. For a gluten-free version, substitute the all-purpose flour with a good 1:1 gluten-free baking flour—I’ve had great luck with King Arthur’s Measure for Measure. For a dairy-free option, use vegan butter and a dairy-free cream cheese alternative, though the texture will be slightly less firm. And if you can’t find dried cranberries, dried cherries or chopped dried apricots make lovely substitutes—just know the flavor profile shifts a bit.
Equipment Needed
You don’t need a fancy bakery setup for these bars. Here’s what you’ll need:
- 9×13-inch baking pan (metal pans give the best golden edges; glass works but may need a few extra minutes of baking time)
- Parchment paper (this is non-negotiable—it makes lifting the bars out so much easier and saves you from scrubbing)
- Electric hand mixer or stand mixer (you can do this by hand with a whisk, but your arm will thank you for the mixer)
- Large mixing bowls (one for the blondie base, one for the frosting)
- Rubber spatula (the flexible kind that scrapes every last bit of batter)
- Measuring cups and spoons (dry and liquid sets for accuracy)
- Small microwave-safe bowl (for melting the white chocolate drizzle)
- Sharp knife (for cutting clean bars—a serrated knife works beautifully)
- Wire cooling rack (essential for even cooling before frosting)
I bought my 9×13 pan from a discount store for twelve dollars, and it’s been going strong for five years. You really don’t need expensive equipment here—just good technique and patience.
Preparation Method
Let me walk you through this step by step. I’ve made these bars so many times that I could do it in my sleep, but I still follow these exact steps every time because they work.
Step 1: Prep Your Pan and Oven
Preheat your oven to 350°F (175°C). Line your 9×13 baking pan with parchment paper, leaving a 2-inch overhang on the long sides. This creates handles that let you lift the entire slab out later. Lightly spray the parchment with non-stick cooking spray—just a quick spritz.
Step 2: Make the Blondie Base
In a large bowl, whisk together the melted butter and granulated sugar until they’re well combined. It should look glossy and smooth. Add the eggs one at a time, whisking well after each addition. Stir in the vanilla extract. In a separate bowl, whisk together the flour, baking powder, and salt. Gradually add the dry ingredients to the wet mixture, stirring with a rubber spatula until just combined. Be careful not to overmix—stop as soon as you don’t see any more streaks of flour. Fold in the dried cranberries and white chocolate chips. The batter will be thick and slightly sticky—that’s exactly what you want.
Step 3: Bake the Base
Spread the batter evenly into your prepared pan. Use an offset spatula or the back of a spoon to smooth it out—it will be thick, so take your time. Bake for 18 to 22 minutes, or until the edges are golden brown and a toothpick inserted into the center comes out with a few moist crumbs. The center should look set but still soft. Let the blondie base cool completely in the pan on a wire rack. This takes about 45 minutes to an hour. Don’t rush this—warm blondies will melt your frosting into a puddle.
Step 4: Make the Cream Cheese Frosting
While the base cools, make the frosting. In a medium bowl, beat the softened cream cheese and butter together until smooth and creamy—about 2 minutes with an electric mixer. Add the sifted powdered sugar, vanilla extract, and heavy cream. Beat on low speed until combined, then increase to medium-high and beat for another 2 minutes until the frosting is light, fluffy, and spreadable. Don’t overbeat or it can become too soft.
Step 5: Frost the Bars
Once the blondie base is completely cool, spread the cream cheese frosting evenly over the top. An offset spatula makes this so much easier, but a butter knife works too. Sprinkle the chopped dried cranberries over the frosting, pressing them in gently so they stick.
Step 6: Make the White Chocolate Drizzle
Place the white chocolate chips and coconut oil in a small microwave-safe bowl. Microwave in 20-second intervals, stirring between each, until completely smooth. This usually takes about 60 to 80 seconds total. Let it cool for 2 minutes—if it’s too hot, it will melt the frosting. Drizzle the melted white chocolate back and forth over the frosted bars using a fork or a small piping bag (a zip-top bag with a tiny corner snipped off works great).
Step 7: Chill and Cut
Refrigerate the bars for at least 1 hour, or until the frosting and drizzle are firm. This step is crucial—if you try to cut them too soon, you’ll get a messy, smeared disaster. Once chilled, use the parchment handles to lift the entire slab out of the pan. Place it on a cutting board and use a sharp knife to cut into squares or triangles. For that classic coffee shop look, cut them into triangles by cutting diagonal lines across the pan.
Cooking Tips & Techniques
After making these bars more times than I care to count, I’ve learned a few things the hard way. Here are my best tips to save you from the same mistakes.
Room temperature ingredients matter. I know it’s tempting to use cold eggs and cold cream cheese straight from the fridge, but trust me—it makes a difference. Cold cream cheese creates lumpy frosting, and cold eggs can make the butter seize up. Set everything out 30 to 45 minutes before you start baking. I learned this lesson the hard way when my frosting turned out looking like cottage cheese. Not my finest moment.
Don’t overbake the blondie base. This was my biggest struggle in the beginning. The bars should look slightly underdone when you pull them out—the edges will be golden, but the center will still look soft and a little puffy. They continue to bake as they cool in the pan. Overbaked blondies turn into dry, crumbly bars that nobody wants to eat. I ruined two batches before I figured out the timing.
Use a metal pan for better results. Glass pans conduct heat differently and can lead to overbaked edges and an underbaked center. If you only have glass, reduce the oven temperature by 25°F and bake a few minutes longer. Metal pans give you that even golden color all the way across.
Patience is your friend. I know you want to cut into these bars immediately, but the chilling time is non-negotiable. The frosting needs to set, and the bars need to firm up so you get clean, beautiful slices. I once tried to cut them after only 30 minutes in the fridge, and it was a sticky, frosting-smeared mess. Not pretty.
For the perfect drizzle, use a fork. Dip a fork into the melted white chocolate and wave it back and forth over the bars. The tines create those thin, professional-looking lines that make these bars look like they came from a bakery. It takes a little practice, but it’s so satisfying once you get the hang of it.
Variations & Adaptations
These bars are wonderfully adaptable. Here are some variations I’ve tried and loved:
Holiday Cranberry Bliss Bars: Add a teaspoon of orange zest to the blondie batter and another teaspoon to the frosting. The orange and cranberry combination is absolutely perfect for Christmas. I made these for our family’s Christmas Eve dinner last year, and my aunt asked for the recipe before she even finished her first bar.
Dark Chocolate Twist: Swap the white chocolate chips in the blondie base for dark chocolate chips, and use dark chocolate for the drizzle instead of white chocolate. The bitterness of the dark chocolate balances the sweet cream cheese frosting beautifully. This version is my husband’s favorite.
Gluten-Free Version: Substitute the all-purpose flour with a high-quality 1:1 gluten-free baking blend. I’ve tested this with King Arthur’s Measure for Measure, and honestly, nobody could tell the difference. Just make sure your gluten-free blend contains xanthan gum for structure.
Nutty Addition: Fold in ½ cup of toasted chopped pecans or walnuts along with the dried cranberries. The crunch adds a lovely texture contrast. Toast the nuts first at 350°F for 5 to 7 minutes to bring out their flavor.
Lighter Version: Use reduced-fat cream cheese and cut the butter in the blondie base to ¾ cup. The texture will be slightly less rich, but the bars are still delicious. I’ve made this version for my sister who’s watching her calories, and she said they were just as satisfying.
Serving & Storage Suggestions
These bars are incredibly versatile when it comes to serving. For a dinner party or holiday gathering, arrange them on a beautiful platter with fresh cranberries and a few sprigs of rosemary scattered around for a festive look. The red and green combination is stunning for Christmas. For a summer potluck, serve them chilled straight from the fridge—the cool, creamy frosting is so refreshing on a warm day.
These bars pair beautifully with a hot cup of coffee or a tall glass of cold milk. For an extra indulgent dessert, serve them warm with a scoop of vanilla ice cream on top. The contrast between the warm bar and the cold ice cream is absolutely heavenly.
Storing: Keep the bars in an airtight container in the refrigerator for up to 5 days. Place a sheet of parchment paper between layers if you’re stacking them. The flavors actually deepen and meld together after a day in the fridge, so these are one of those rare desserts that taste even better the next day.
Freezing: These bars freeze beautifully. Wrap individual bars tightly in plastic wrap, then place them in a freezer-safe bag or container. They’ll keep for up to 3 months. To thaw, simply transfer them to the refrigerator overnight. I always keep a stash in my freezer for unexpected guests or last-minute cravings.
Reheating: If you prefer your bars warm, microwave an individual bar for 10 to 15 seconds. Just be careful not to overheat, or the white chocolate drizzle will melt away. A quick 10-second burst is all you need.
Nutritional Information & Benefits
Each bar (based on 20 servings) contains approximately 290 calories, 15g fat, 36g carbohydrates, 3g protein, and 22g sugar. These are definitely a treat, not an everyday snack, but they’re made with real ingredients that offer some nutritional benefits.
Cranberries are packed with antioxidants and vitamin C, which support immune health. They’re also known for their anti-inflammatory properties. The white chocolate and cream cheese provide calcium for bone health, though they’re also the main source of the fat and sugar content.
If you’re watching your sugar intake, you can reduce the granulated sugar in the blondie base to 1 cup without significantly affecting the texture. The dried cranberries and white chocolate chips already add plenty of sweetness. For a lower-fat option, use reduced-fat cream cheese and substitute half the butter in the blondie base with unsweetened applesauce.
These bars contain dairy, gluten, and eggs, so they’re not suitable for those with related allergies. For a dairy-free version, use vegan butter and dairy-free cream cheese, though the texture will be slightly different.
Conclusion
These Copycat Cranberry Bliss Bars have become my signature dessert for every gathering, and I honestly can’t imagine hosting a party without them. They bring back that warm feeling from my Tuesday afternoons at the coffee shop, but now I get to share that joy with the people I love. There’s something special about watching someone take their first bite and seeing their eyes light up—that’s the moment that makes all the baking worth it.
I hope you’ll try these bars and make them your own. Maybe you’ll add a little extra orange zest, or swap in dark chocolate, or serve them with a scoop of ice cream on top. However you make them, I promise they’ll become a favorite in your kitchen too. When you do make them, I’d love to hear how they turned out. Drop a comment below and let me know if your guests went back for seconds—or thirds. Happy baking, friend!
Frequently Asked Questions
Can I use fresh cranberries instead of dried?
I don’t recommend it for this recipe. Fresh cranberries are very tart and release moisture during baking, which can make the blondie base soggy. Dried cranberries give you that chewy, concentrated sweetness that makes these bars so special. If you only have fresh cranberries, you can roughly chop them and toss them with a tablespoon of sugar before adding them to the batter, but the texture will be different.
How do I get clean, sharp cuts on these bars?
The secret is patience and a good knife. Chill the bars for at least 1 hour before cutting. Use a sharp chef’s knife or a serrated knife, and wipe the blade clean between each cut with a damp paper towel. For the classic triangle shape, cut diagonal lines across the pan—it looks so professional.
Can I make these bars ahead of time for a party?
Absolutely! In fact, I recommend it. These bars taste even better after a day in the fridge because the flavors have time to meld together. You can make them up to 2 days in advance and store them in an airtight container in the refrigerator. Just add the white chocolate drizzle right before serving for the prettiest presentation.
Why did my white chocolate seize up when I melted it?
White chocolate is notoriously finicky. It seizes when it comes into contact with even a tiny amount of water or when it’s overheated. Make sure your bowl and utensils are completely dry, and always microwave in short 20-second bursts, stirring between each. Adding a teaspoon of coconut oil or vegetable shortening helps keep it smooth and liquid.
Can I use a different type of dried fruit?
Yes! Dried cherries are a wonderful substitute—they have a similar tart-sweet balance. Dried apricots, chopped into small pieces, also work beautifully. For a tropical twist, try dried mango or pineapple, though the flavor profile will be quite different. Just make sure whatever dried fruit you use is soft and plump, not hard and dry.
Pin This Recipe!
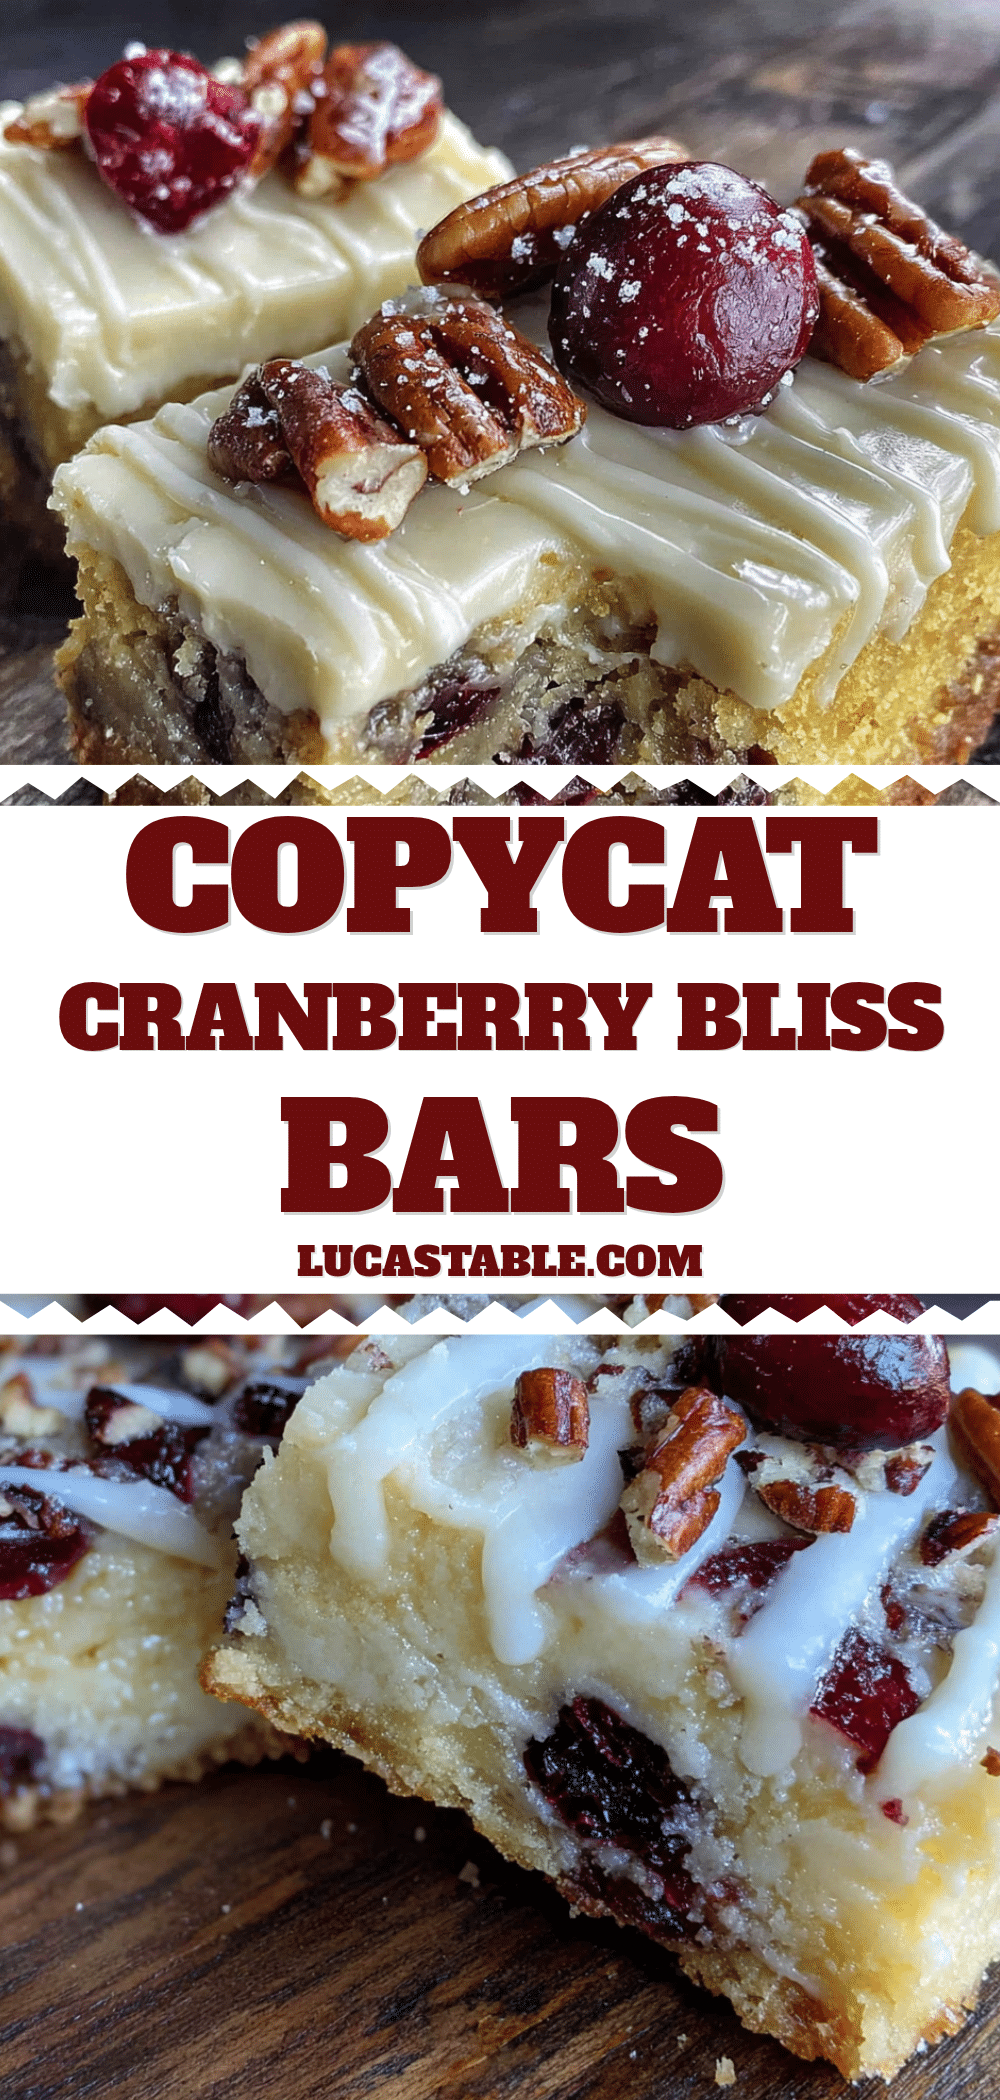
Easy Copycat Cranberry Bliss Bars: The Best Party Dessert
These Copycat Cranberry Bliss Bars feature a chewy blondie base with tart dried cranberries, a creamy white chocolate cream cheese layer, and a signature white chocolate drizzle. Perfect for parties, potlucks, and holiday gatherings, they taste even better the next day.
- Prep Time: 30 minutes
- Cook Time: 20 minutes
- Total Time: 1 hour 50 minutes (includes cooling and chilling)
- Yield: 20 servings 1x
- Category: Dessert
- Cuisine: American
Ingredients
- 1 cup (226g) unsalted butter, melted and slightly cooled
- 1 ½ cups (300g) granulated sugar
- 2 large eggs, room temperature
- 2 teaspoons vanilla extract
- 2 ¼ cups (280g) all-purpose flour
- 1 teaspoon baking powder
- ½ teaspoon salt
- ¾ cup (90g) dried cranberries
- ½ cup (85g) white chocolate chips
- 8 ounces (226g) cream cheese, softened to room temperature
- ¼ cup (56g) unsalted butter, softened
- 2 cups (240g) powdered sugar, sifted
- 1 teaspoon vanilla extract
- 1 tablespoon heavy cream
- ¼ cup (30g) dried cranberries, roughly chopped
- ½ cup (85g) white chocolate chips
- 1 teaspoon coconut oil or vegetable shortening
Instructions
- Preheat oven to 350°F (175°C). Line a 9×13-inch baking pan with parchment paper, leaving a 2-inch overhang on the long sides. Lightly spray with non-stick cooking spray.
- In a large bowl, whisk together melted butter and granulated sugar until glossy and smooth. Add eggs one at a time, whisking well after each. Stir in vanilla extract.
- In a separate bowl, whisk together flour, baking powder, and salt. Gradually add dry ingredients to wet mixture, stirring with a rubber spatula until just combined. Fold in dried cranberries and white chocolate chips.
- Spread batter evenly into prepared pan. Bake for 18 to 22 minutes, until edges are golden brown and a toothpick inserted in the center comes out with a few moist crumbs. Cool completely in the pan on a wire rack (about 45 minutes to 1 hour).
- While base cools, make frosting: Beat softened cream cheese and butter together until smooth and creamy (about 2 minutes). Add sifted powdered sugar, vanilla extract, and heavy cream. Beat on low until combined, then on medium-high for 2 minutes until light and fluffy.
- Once blondie base is completely cool, spread cream cheese frosting evenly over the top. Sprinkle chopped dried cranberries over frosting, pressing gently.
- Place white chocolate chips and coconut oil in a small microwave-safe bowl. Microwave in 20-second intervals, stirring between each, until completely smooth (about 60 to 80 seconds). Let cool for 2 minutes.
- Drizzle melted white chocolate over frosted bars using a fork or small piping bag.
- Refrigerate bars for at least 1 hour until frosting and drizzle are firm. Use parchment handles to lift slab out of pan. Cut into squares or triangles with a sharp knife.
Notes
Room temperature ingredients are crucial for smooth frosting and even baking. Do not overbake the blondie base; it should look slightly underdone when removed. Chill bars for at least 1 hour before cutting for clean slices. Bars taste even better the next day. For gluten-free, use a 1:1 gluten-free baking flour. For dairy-free, use vegan butter and dairy-free cream cheese.
Nutrition
- Serving Size: 1 bar
- Calories: 290
- Sugar: 22
- Sodium: 120
- Fat: 15
- Saturated Fat: 9
- Carbohydrates: 36
- Fiber: 1
- Protein: 3
Keywords: cranberry bliss bars, copycat recipe, blondie bars, white chocolate, cream cheese frosting, party dessert, holiday dessert


