“You know, I wasn’t even planning to bake that day,” I remember telling my friend as I rolled out the dough for these crispy diploma-rolled sugar cookie sticks with royal icing. It was one of those afternoons when a sudden text popped up: “Got a last-minute graduation party—can you bring something sweet?” Honestly, I was half-expecting to raid the pantry for something store-bought. But then, staring at the plain sugar cookie dough I had on hand, an idea clicked—why not shape them like little diplomas? It felt both playful and perfect for the occasion.
The process was surprisingly simple, but the crispness of the cookie sticks and the smoothness of the royal icing won me over immediately. I was skeptical at first about rolling the cookies into diploma shapes—after all, sugar cookies can get soggy or too soft if you’re not careful. But the trick is in the rolling and baking technique, which gave these sticks that satisfying crunch. The icing? Not too sweet, just the right touch to make the presentation feel special without overpowering the delicate cookie flavor.
That afternoon, surrounded by laughter and congratulations, I realized these crispy diploma-rolled sugar cookie sticks weren’t just cute—they were a little celebration on their own. They held memories of a rushed plan turning into a sweet success, and that’s why this recipe stuck with me. If you’re looking for a recipe that’s both charming and approachable, with a bit of crispy crunch to boot, this one’s for you.
Why You’ll Love This Recipe
After making these crispy diploma-rolled sugar cookie sticks with royal icing multiple times (yes, sometimes in the same week), I can say they’re a real crowd-pleaser. Here’s why they might just become your new go-to sugar cookie recipe:
- Quick & Easy: From mixing the dough to the final icing touch, this comes together in under 90 minutes, making it perfect for those last-minute celebrations or cozy afternoons.
- Simple Ingredients: No fancy or hard-to-find stuff here—just good old sugar, butter, eggs, and a few baking basics you probably have in your pantry.
- Perfect for Graduations & Celebrations: The diploma shape adds a thoughtful touch that’s great for parties, teacher gifts, or any milestone worth marking with something sweet.
- Crowd-Pleaser: Kids, adults, cookie enthusiasts—they all keep coming back for more because of the crisp texture and light, buttery flavor.
- Unbelievably Delicious: The balance between the crispy cookie and silky royal icing makes each bite a comforting treat that’s anything but ordinary.
What sets this recipe apart is the diploma-rolled shape, which isn’t just for looks—it actually helps the cookies bake evenly and stay crisp longer. Plus, the royal icing recipe is just right for decorating without that chalky aftertaste you sometimes get. It’s a bit like the comfort of classic sugar cookies, but with a fresh twist that feels festive and fun.
Honestly, it’s the kind of recipe that makes you pause mid-bite and think, “Yeah, this was worth the effort.” Whether you’re making these for your own graduation bash or just because you love a good cookie, they bring a little extra joy to the table.
What Ingredients You Will Need
This recipe uses simple, wholesome ingredients to deliver bold flavor and satisfying texture without the fuss. Most are pantry staples, which means you won’t have to run out to the store last minute.
- For the Sugar Cookie Dough:
- All-purpose flour – 2 ¾ cups (345g), sifted for a tender crumb
- Granulated sugar – 1 cup (200g), the sweet backbone of the cookies
- Unsalted butter – 1 cup (227g), softened (I like using Land O’Lakes for consistency)
- Large eggs – 2, at room temperature for smooth dough
- Pure vanilla extract – 1 ½ tsp, adds warmth and depth
- Baking powder – 1 tsp, to give a slight lift
- Salt – ½ tsp, balances the sweetness
- For the Royal Icing:
- Powdered sugar – 4 cups (480g), sifted to avoid lumps
- Pasteurized egg whites – 3 tbsp (or 4 tsp meringue powder as a substitute for safety and convenience)
- Fresh lemon juice – 1 ½ tsp, adds brightness and helps the icing set
- Water – 2 to 3 tbsp, to adjust consistency
- Optional: Food coloring gel (white and diploma blue recommended for a classic look)
Looking for a gluten-free twist? You can substitute the all-purpose flour with a 1:1 gluten-free baking blend like Bob’s Red Mill Gluten-Free Flour. For dairy-free options, swap the butter with a plant-based margarine or coconut oil, though the flavor will shift slightly.
When picking eggs, I recommend large, fresh eggs for the dough and pasteurized whites for the icing to keep things safe and smooth. If you want to add a little extra sparkle, a pinch of edible glitter or pearl dust on the icing works wonders without overpowering the simple elegance.
Equipment Needed
- Mixing bowls – Preferably glass or stainless steel for easy cleaning and ingredient mixing
- Electric mixer – Stand or handheld, makes creaming butter and sugar a breeze
- Measuring cups and spoons – Accurate measurement is key for cookie success
- Rolling pin – A smooth, medium-weight rolling pin works best for even dough thickness
- Sharp knife or pizza cutter – For slicing the dough into neat cookie sticks
- Baking sheets – Non-stick or lined with parchment paper to prevent sticking
- Cooling racks – Essential for crisping cookies after baking
- Small piping bags or squeeze bottles – For applying royal icing precisely (a zip-top bag with a small corner snipped works too)
I used a silicone rolling pin for a while, but honestly, a wooden one with a bit of flour dusted on the surface feels easier to control. If you don’t have a piping bag, those disposable plastic ones from the supermarket are surprisingly good and save cleanup time. Also, keeping a damp cloth nearby while working with royal icing helps keep it from drying out too fast between decorating sessions.
Preparation Method
- Make the Dough: In a large bowl, cream together 1 cup (227g) softened unsalted butter and 1 cup (200g) granulated sugar until fluffy—this usually takes about 3-4 minutes with an electric mixer on medium speed. Scrape down the sides occasionally. Add 2 large eggs and 1 ½ tsp vanilla extract, mixing until fully combined.
- Combine Dry Ingredients: In a separate bowl, whisk together 2 ¾ cups (345g) all-purpose flour, 1 tsp baking powder, and ½ tsp salt. Gradually add the dry mix to the wet ingredients in batches, mixing on low speed until the dough comes together. It should be soft but not sticky.
- Chill the Dough: Wrap the dough in plastic wrap and refrigerate for at least 1 hour. This step is crucial—it helps the dough firm up, making it easier to roll and shape without spreading too much during baking.
- Roll and Cut the Dough: Preheat your oven to 350°F (175°C). Lightly flour your workspace and rolling pin. Roll the dough out evenly to about ¼ inch (6mm) thickness. Using a sharp knife or pizza cutter, slice the dough into 1-inch (2.5cm) wide strips that are about 4 inches (10cm) long, resembling mini diploma scrolls.
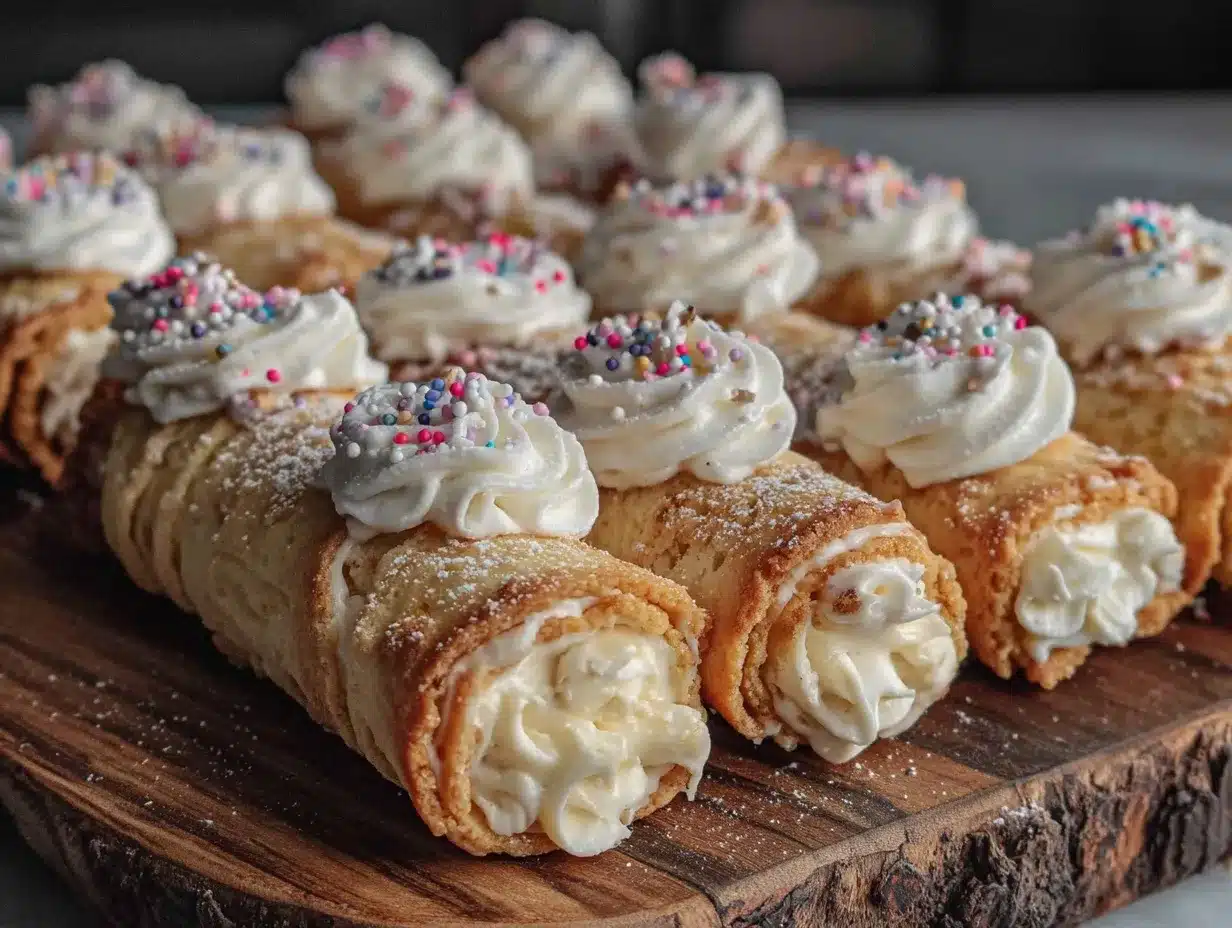
- Roll the Sticks: Carefully roll each strip from one end to the other, creating a tight scroll shape. Place each rolled cookie stick seam-side down on a parchment-lined baking sheet. This rolling technique is what gives the cookies their signature diploma look and helps them bake with a crisp edge.
- Bake: Bake in the preheated oven for 12-15 minutes, or until the edges turn a light golden brown. Keep a close eye after the 12-minute mark to avoid overbaking, which can make the cookies too hard.
- Cool Completely: Transfer the cookies to a cooling rack and allow them to cool thoroughly. This step ensures the cookies crisp up perfectly before icing.
- Prepare Royal Icing: In a mixing bowl, beat 4 cups (480g) sifted powdered sugar with 3 tbsp pasteurized egg whites and 1 ½ tsp fresh lemon juice. Add water, a tablespoon at a time, until you reach a smooth, pipeable consistency. Divide and tint as desired.
- Decorate: Pipe the royal icing onto the cooled cookie sticks in thin, neat lines or patterns reminiscent of diploma ribbons. Let the icing dry at room temperature for several hours or overnight for the best finish.
Pro tip: If the dough feels too soft to roll after chilling, pop it back in the fridge for 15 more minutes. Also, when piping the royal icing, practice on parchment paper first to get your pressure and speed just right.
Cooking Tips & Techniques
One thing I learned the hard way is that rolling the dough too thin can lead to burnt edges before the middle cooks through. Keeping the thickness around ¼ inch (6mm) strikes the perfect balance between crisp and tender. Also, chilling the dough isn’t optional—skip it, and your cookies will spread into a sad, flat mess.
When it comes to royal icing, consistency is king. Too thick, and it’s a pain to pipe; too thin, and it runs off the cookie. I usually start thicker for outlining and add a bit more water to flood the surface smoothly. Using a small squeeze bottle for the icing makes it easier to control the flow and add delicate details.
Don’t rush the drying time. Icing that isn’t fully set can smudge easily, and trust me, redoing those delicate diploma ribbons is no fun. If you want to speed things up, a fan set on low can help dry the icing without cracking it.
For multitasking, you can prepare the royal icing while the cookies bake and cool—this keeps you efficient and minimizes waiting around. And if you’re in a pinch, these cookies pair wonderfully with a simple cup of tea or even alongside a meal like the quick zesty lemon chicken recipe, balancing savory and sweet beautifully.
Variations & Adaptations
- Flavored Icing: Add a few drops of almond or peppermint extract to the royal icing for a twist that’s subtle but distinctive.
- Color Variations: Use food coloring gels to create school colors for graduation parties or mix pastel shades for baby showers and birthdays.
- Gluten-Free Version: Swap all-purpose flour with a gluten-free blend, and add ¼ tsp xanthan gum if your blend doesn’t already include it to help with structure.
- Chocolate Dip: For a fun upgrade, dip one end of the cookie sticks in melted dark or white chocolate and let them set before icing.
- Mini Cookie Diplomas: Cut the dough into smaller strips for bite-sized treats, perfect for party trays or gift boxes.
I once tried a lemon zest-infused dough version combined with a light lavender icing—surprisingly refreshing and elegant for spring celebrations. Feel free to get creative with flavors or presentation depending on your event or mood.
Serving & Storage Suggestions
These crispy diploma-rolled sugar cookie sticks are best served at room temperature, allowing the royal icing to shine without melting. Display them on a decorative platter or tied in small bundles with a ribbon for a charming touch at parties.
They pair wonderfully with warm beverages—think a cup of spiced chai or a simple black tea. If you’re planning a full meal, they complement savory dinners like the quick creamy tuna pasta recipe by balancing richness with a sweet crunch.
For storage, keep the cookies in an airtight container at room temperature for up to 5 days. To prevent the royal icing from softening, place parchment paper between layers. They also freeze well for up to 3 months; just thaw at room temperature before serving.
Reheating isn’t recommended, as it can soften the crisp texture. However, flavors deepen slightly after a day or two, making them even more enjoyable if you can wait that long.
Nutritional Information & Benefits
Each crispy diploma-rolled sugar cookie stick contains approximately 120 calories, 5g fat, 18g carbohydrates, and 1g protein, depending on size and icing amount. While these cookies are a sweet treat, the simple ingredients avoid preservatives and artificial additives often found in store-bought options.
Using real butter provides a richer flavor and a dose of fat-soluble vitamins, and the egg whites in the royal icing add a bit of protein while keeping the sugar coating light. This recipe is naturally gluten-containing but can be adapted to gluten-free with suitable flour blends.
As with any treat, moderation is key, but these cookies make a memorable addition to celebrations and special moments, bringing joy with every crisp bite.
Conclusion
If you’re after a recipe that’s more than just a cookie—something playful, crisp, and a little bit special—these crispy diploma-rolled sugar cookie sticks with royal icing fit the bill perfectly. They’re straightforward to make, fun to shape, and carry a sense of occasion in every bite.
Feel free to tweak the colors or flavors to match your event or personal taste. I love how these cookies bring a smile and a little bit of homemade charm to any gathering. Whether you’re celebrating a graduation or just craving a sweet snack, these diploma cookies bring a touch of joy that’s hard to beat.
Give them a try and let me know how you decorated yours! Sharing your ideas and tweaks is what makes cooking so much fun, don’t you think?
FAQs
- Can I make the cookie dough ahead of time? Yes, you can prepare the dough and refrigerate it for up to 24 hours before rolling and baking.
- How do I store decorated cookies to keep them crisp? Store in an airtight container at room temperature with parchment paper between layers for up to 5 days.
- Can I use powdered egg whites instead of fresh? Absolutely, meringue powder is a safe and convenient substitute for royal icing.
- What if my royal icing is too runny? Add more powdered sugar gradually until it thickens to a pipeable consistency.
- How do I prevent the cookies from spreading too much? Make sure to chill the dough well and avoid rolling it too thin, keeping it around ¼ inch thick.
Pin This Recipe!
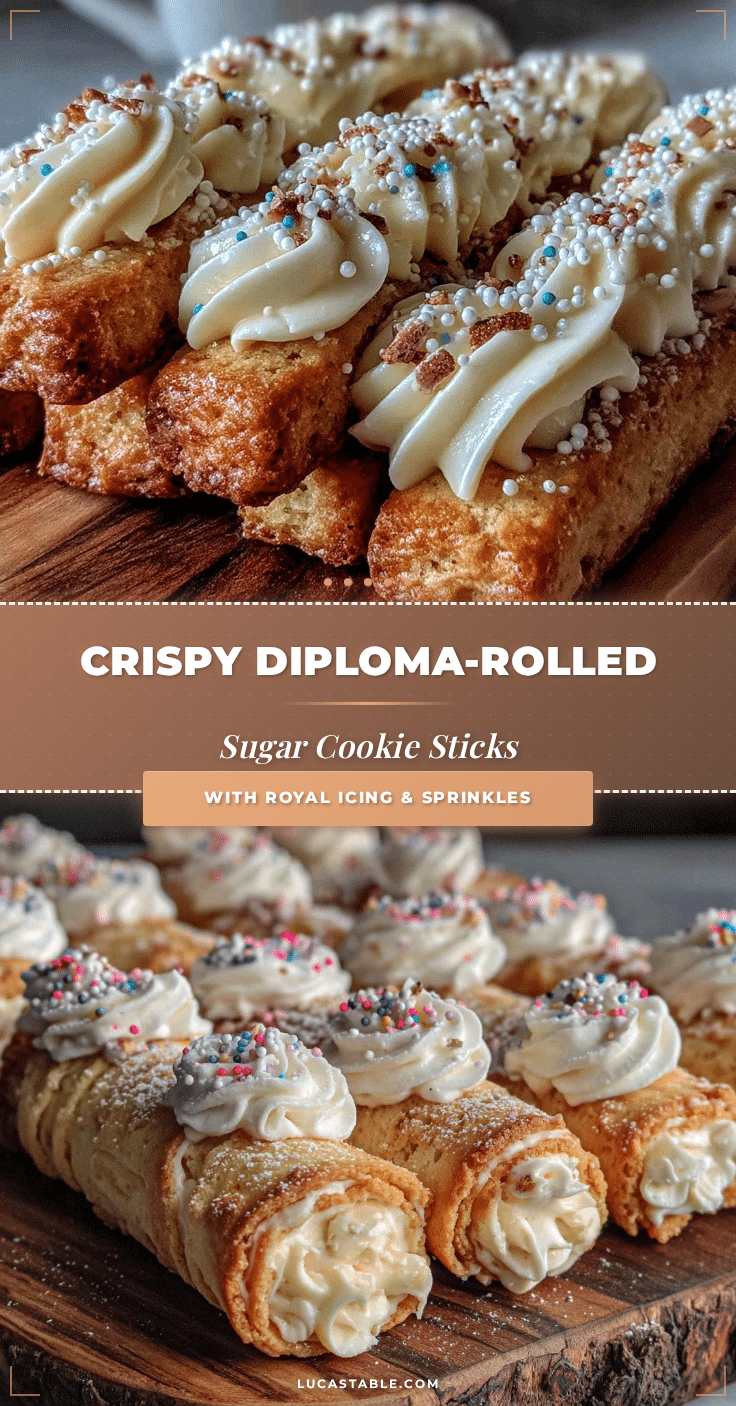
Crispy Diploma-Rolled Sugar Cookie Sticks Easy Royal Icing Recipe
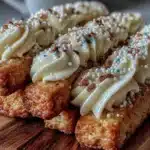
These crispy diploma-rolled sugar cookie sticks with royal icing are a playful and perfect treat for graduations and celebrations, featuring a satisfying crunch and smooth icing.
- Prep Time: 15 minutes
- Cook Time: 15 minutes
- Total Time: 1 hour 30 minutes
- Yield: 24 cookie sticks 1x
- Category: Dessert
- Cuisine: American
Ingredients
- 2 ¾ cups (345g) all-purpose flour, sifted
- 1 cup (200g) granulated sugar
- 1 cup (227g) unsalted butter, softened
- 2 large eggs, at room temperature
- 1 ½ tsp pure vanilla extract
- 1 tsp baking powder
- ½ tsp salt
- 4 cups (480g) powdered sugar, sifted
- 3 tbsp pasteurized egg whites (or 4 tsp meringue powder as substitute)
- 1 ½ tsp fresh lemon juice
- 2 to 3 tbsp water
- Optional: Food coloring gel (white and diploma blue recommended)
Instructions
- Make the Dough: In a large bowl, cream together 1 cup (227g) softened unsalted butter and 1 cup (200g) granulated sugar until fluffy, about 3-4 minutes with an electric mixer on medium speed. Scrape down the sides occasionally. Add 2 large eggs and 1 ½ tsp vanilla extract, mixing until fully combined.
- Combine Dry Ingredients: In a separate bowl, whisk together 2 ¾ cups (345g) all-purpose flour, 1 tsp baking powder, and ½ tsp salt. Gradually add the dry mix to the wet ingredients in batches, mixing on low speed until the dough comes together. It should be soft but not sticky.
- Chill the Dough: Wrap the dough in plastic wrap and refrigerate for at least 1 hour to firm up.
- Roll and Cut the Dough: Preheat oven to 350°F (175°C). Lightly flour workspace and rolling pin. Roll dough evenly to about ¼ inch (6mm) thickness. Slice dough into 1-inch (2.5cm) wide strips about 4 inches (10cm) long using a sharp knife or pizza cutter.
- Roll the Sticks: Roll each strip tightly from one end to the other to create a scroll shape. Place rolled cookie sticks seam-side down on parchment-lined baking sheet.
- Bake: Bake for 12-15 minutes until edges are light golden brown. Watch closely after 12 minutes to avoid overbaking.
- Cool Completely: Transfer cookies to a cooling rack and cool thoroughly to crisp up.
- Prepare Royal Icing: Beat 4 cups (480g) sifted powdered sugar with 3 tbsp pasteurized egg whites and 1 ½ tsp fresh lemon juice. Add water 1 tbsp at a time until smooth and pipeable. Divide and tint as desired.
- Decorate: Pipe royal icing onto cooled cookie sticks in thin, neat lines or diploma ribbon patterns. Let icing dry at room temperature for several hours or overnight.
Notes
Chill dough for at least 1 hour to prevent spreading. Keep dough thickness around ¼ inch to avoid burnt edges. Practice piping royal icing on parchment paper first. Let icing dry fully to avoid smudging. Use a fan on low to speed drying if needed. Dough can be refrigerated up to 24 hours before baking. Store cookies in airtight container with parchment paper between layers for up to 5 days or freeze up to 3 months.
Nutrition
- Serving Size: 1 cookie stick
- Calories: 120
- Fat: 5
- Carbohydrates: 18
- Protein: 1
Keywords: sugar cookies, diploma cookies, royal icing, graduation treats, crispy cookies, easy cookie recipe, celebration cookies