“Mom, what’s for snack today?” That question hit me like clockwork every afternoon during the first week of school. Honestly, juggling work emails, homework battles, and dinner prep, I was running on fumes one particular afternoon when I spotted a half-empty jar of peanut butter and some oats on the counter. I thought, “Why not whip up something quick?” The result was these easy chewy back to school cookies — chewy, simple, and just the kind of treat that silenced those snack-time pleas for a bit. I wasn’t expecting much, but by the time I pulled them out of the oven, my kitchen smelled like a cozy bakery, and the kids were hovering, eager for their first bite.
What struck me most was how these cookies balanced that perfect chewy texture without turning into a brick or crumbly mess. Plus, they packed enough flavor to feel like a treat, yet weren’t so sweet that I worried about sugar crashes during afternoon classes. This recipe became my go-to snack hack, especially on rushed mornings or when I had to pack a little something for the lunchboxes. And you know what? It’s one of those recipes that feels like a secret weapon — easy enough to pull together when you’re tired but impressive enough to have your friends ask for the recipe.
There’s this quiet comfort in knowing you can handle snack time without scrambling, and these easy chewy back to school cookies stuck with me because they deliver just that. No fuss, no stress, just a little bite of calm in the whirlwind of school days.
Why You’ll Love This Recipe
Honestly, these easy chewy back to school cookies aren’t just another cookie recipe crowding your kitchen repertoire. I’ve made them dozens of times, tweaking and testing until they hit that sweet spot of chewiness and flavor every single time.
- Quick & Easy: Ready in under 30 minutes, they’re perfect when time’s tight but the snack craving is real.
- Simple Ingredients: Pantry staples like oats, peanut butter, and a touch of honey—no fancy runs to specialty stores needed.
- Perfect for School Snacks: Sized just right for lunchboxes or after-school munching without the sugar overload.
- Crowd-Pleaser: Whether it’s my picky youngest or the neighbor’s kids, these cookies always disappear fast.
- Unbelievably Delicious: That chewy texture with a subtle nutty richness makes every bite feel like a little reward.
What sets this recipe apart? It’s the careful balance of ingredients—like using natural peanut butter for that nutty depth without overpowering sweetness, and the secret addition of a little flaxseed meal to keep things moist and chewy. Plus, I swap in a touch of brown sugar alongside honey for that classic cookie flavor with a twist. Honestly, it’s the kind of recipe that turns a simple cookie into a reliable, comforting snack that feels homemade but foolproof.
This isn’t just a cookie; it’s a little moment of peace on a crazy school day, a treat that feels like it was made just for those hectic afternoons. And hey, if you want to mix it up, these cookies pair beautifully with a cold glass of milk or even a quick homemade smoothie for a balanced snack.
What Ingredients You Will Need
This simple recipe calls for easy-to-find ingredients that come together to create that chewy, satisfying cookie you want after a busy school day. Nothing fancy, just wholesome stuff you probably have on hand.
- For the Cookie Base:
- 1 cup natural peanut butter (creamy or chunky depending on preference; I usually go with Smucker’s Natural for best texture)
- ½ cup honey (raw or regular, adds natural sweetness and chewiness)
- 1 large egg (room temperature helps with better mixing)
- 1 teaspoon vanilla extract (real vanilla, if possible, makes a noticeable difference)
- Dry Ingredients:
- 1 cup old-fashioned rolled oats (not instant—adds the perfect chew)
- ½ cup whole wheat flour (you can swap with all-purpose for lighter texture)
- 2 tablespoons ground flaxseed meal (optional but highly recommended for moisture and nutrition)
- ½ teaspoon baking soda (helps with slight rise and texture)
- ¼ teaspoon salt (balances the sweetness)
- Optional Mix-ins:
- ½ cup mini chocolate chips or raisins (for a little extra fun)
- ¼ cup chopped nuts (walnuts or pecans work great for crunch)
If you’re looking to make these gluten-free, swapping the whole wheat flour for almond flour or a gluten-free blend works nicely. For a dairy-free and vegan twist, use a flax egg (1 tablespoon flaxseed meal + 3 tablespoons water) instead of the egg and check your peanut butter label for any dairy additives.
Equipment Needed
- Mixing bowls (one large for wet ingredients, one for dry)
- Measuring cups and spoons (precision matters for texture)
- Wooden spoon or silicone spatula (for mixing sticky dough)
- Baking sheet (a standard 9×13-inch sheet works well)
- Parchment paper or silicone baking mat (prevents sticking and makes cleanup easier)
- Cooling rack (helps cookies cool evenly and maintain chewiness)
If you don’t have parchment paper, lightly greasing your baking sheet with butter or oil will do the trick. I’ve tried my hand with a stand mixer for these cookies, but honestly, a sturdy wooden spoon is all you need. It feels more hands-on and lets you tell when the dough is just right.
Preparation Method
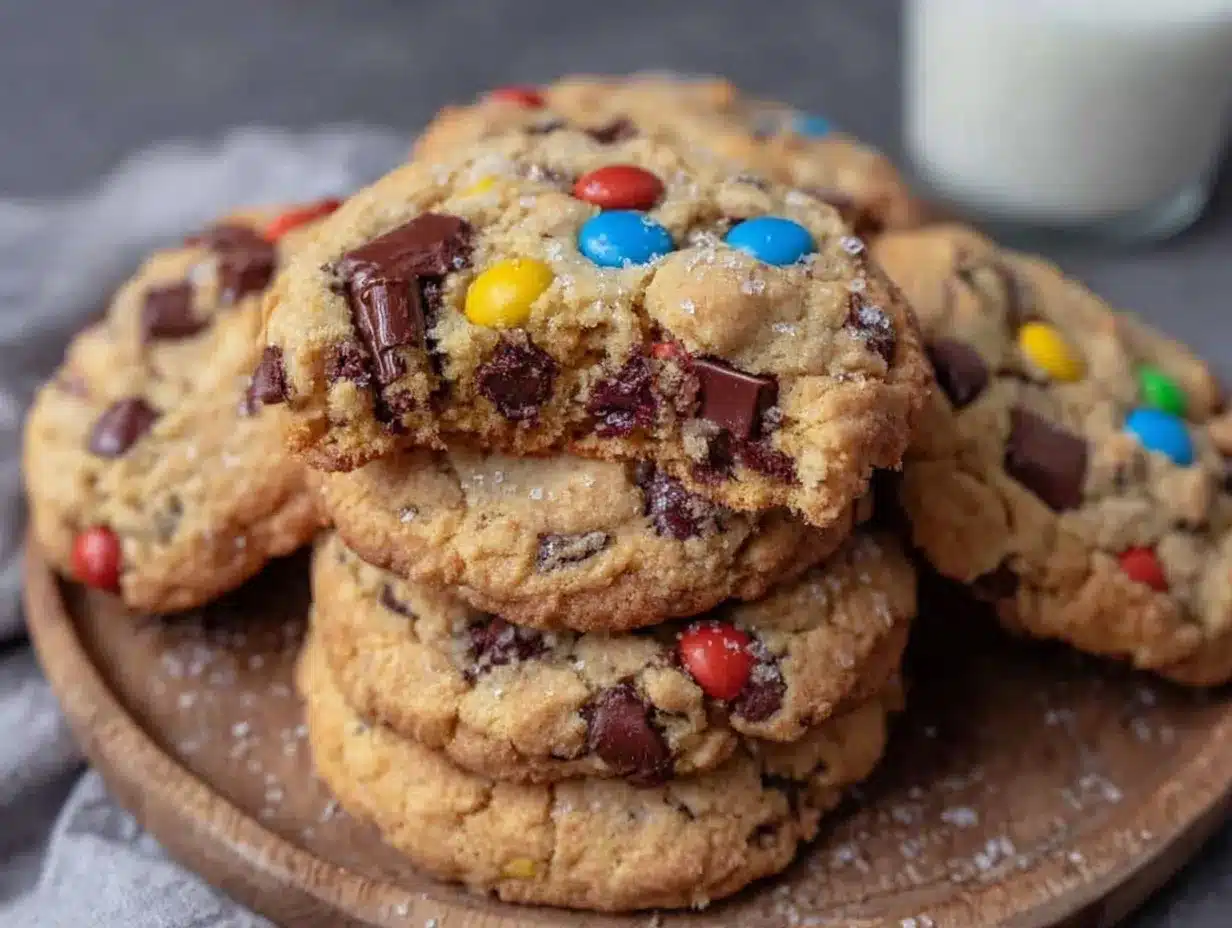
- Preheat your oven to 350°F (175°C) and line your baking sheet with parchment paper. This step is key so your cookies don’t stick and come off the sheet cleanly.
- Mix the wet ingredients: In a large bowl, combine 1 cup peanut butter, ½ cup honey, 1 large egg, and 1 teaspoon vanilla extract. Stir until smooth and creamy—takes about 2 minutes. If your peanut butter is thick, warming it slightly can help with mixing.
- Combine dry ingredients: In a separate bowl, whisk together 1 cup rolled oats, ½ cup whole wheat flour, 2 tablespoons flaxseed meal, ½ teaspoon baking soda, and ¼ teaspoon salt. This ensures even distribution and helps with that consistent chew.
- Gradually mix dry into wet: Add the dry ingredients to the wet mixture and stir until just combined. Don’t overmix or the cookies might turn out tough. The dough will be thick and slightly sticky—perfect.
- Add optional mix-ins: Fold in ½ cup mini chocolate chips or raisins and/or ¼ cup chopped nuts if using. These add a fun twist without overpowering the cookie.
- Scoop the dough: Using a tablespoon or small cookie scoop, drop dough balls about 2 inches apart on the prepared baking sheet. Flatten slightly with the back of a spoon or your fingers to encourage even baking. This should make about 20 cookies.
- Bake for 10-12 minutes: Look for edges to firm up and a golden hue, but the centers will still look a bit soft. That’s the chewy magic you want. Overbaking can turn these into hard biscuits.
- Cool on the baking sheet for 5 minutes: This helps them set before transferring to a cooling rack to finish cooling. Don’t rush this step or they might crumble.
Pro tip: If you want them extra chewy, try adding an extra tablespoon of honey or swap half the whole wheat flour for oat flour. Also, if your kitchen is humid, baking times might vary slightly—keep an eye after 10 minutes. My kids always say the smell halfway through baking is the best part!
Cooking Tips & Techniques
From experience, the trick to chewy cookies (especially when using oats and peanut butter) is balancing moisture and baking time. I’ve learned the hard way that baking even a minute too long makes all the difference between chewy and dry.
- Use natural peanut butter: The oil content helps keep the cookies moist. Avoid overly processed or powdered peanut butter here.
- Don’t skip the flaxseed meal: It’s a game-changer for chewiness and adds a subtle nutty flavor plus nutrition.
- Room temperature egg: Helps emulsify the dough better so it’s not dry or crumbly.
- Watch your oven’s quirks: Every oven bakes differently; rotate the baking sheet halfway through if you notice uneven browning.
- Resist overmixing: Stir until ingredients are just combined. Overworking gluten in the flour can toughen cookies.
- Multitasking tip: While these cookies bake, you can prep a quick dinner like the quick zesty lemon chicken to make the most of your time.
Honestly, I’ve made batches that came out crumbly or too dry, but tweaking the honey amount and baking time fixed that immediately. These small adjustments make the difference between a cookie you munch happily and one you toss aside.
Variations & Adaptations
Not everyone loves the same cookie, so I’ve tried a few variations to keep things interesting and adaptable for different diets or seasons.
- Chocolate Lover’s Boost: Add ¼ cup cocoa powder to the dry ingredients and increase chocolate chips to ¾ cup for a richer, fudgier cookie.
- Fruit & Nut Medley: Swap raisins for dried cranberries and toss in chopped almonds instead of walnuts for a tart twist.
- Gluten-Free Option: Replace whole wheat flour with almond or oat flour and ensure oats are certified gluten-free. Use a flax egg for vegan needs.
- Spiced Up: Add ½ teaspoon cinnamon and a pinch of nutmeg—perfect for early fall snack boxes.
- Sunflower Seed Butter Substitute: For nut allergies, swap peanut butter with sunflower seed butter; it bakes up just as chewy.
I personally love the chocolate boost version for weekend baking sessions, while the fruit & nut mix is a hit when I pack my own afternoon snack. These cookies also reheat nicely, retaining their chewiness, which means you can bake ahead and enjoy later.
Serving & Storage Suggestions
These easy chewy back to school cookies are best enjoyed at room temperature, fresh from the cooling rack. They pair wonderfully with a cold glass of milk or a warm cup of tea if you’re sneaking one in yourself (no judgment here!). For school snacks, I wrap them individually in parchment or reusable sandwich bags to keep them fresh and mess-free.
Store leftover cookies in an airtight container at room temperature for up to 5 days. For longer storage, pop them in the freezer for up to 3 months. When reheating, a quick 10-15 seconds in the microwave softens them back up nicely without drying them out.
Flavors actually deepen after a day or two, so if you can wait, letting them rest wrapped at room temperature can make them taste even better. And if you’re packing lunchboxes, pairing these cookies with a protein-packed option like the quick creamy tuna pasta balances the meal nicely.
Nutritional Information & Benefits
On average, one cookie contains approximately 150-170 calories, 6 grams of fat (mostly healthy fats from peanut butter), 3 grams of protein, and 10 grams of carbohydrates, including 2 grams of fiber from oats and flaxseed meal.
Peanut butter provides heart-healthy monounsaturated fats and protein, while oats contribute beta-glucan fiber, known to support digestion. The honey adds natural sweetness without refined sugar spikes. These cookies are naturally gluten-free if you use gluten-free oats and flour substitutes.
Just a heads up: they do contain nuts and eggs, so they aren’t suitable for people with those allergies. From a wellness perspective, these cookies offer a balanced snack option that fuels kids’ afternoon energy without the crash sugary snacks often bring.
Conclusion
Easy chewy back to school cookies quickly became my go-to for those frantic afternoons when I needed something fast, satisfying, and kid-approved. The balance of chewy texture with wholesome ingredients means they’re not just a treat but a little powerhouse of flavor and comfort. I love how adaptable they are—whether you want to sneak in some extra nutrition or customize the flavor, this recipe rolls with you.
Give these a try and tweak them to fit your family’s taste buds. Honestly, they feel like a small win on busy days, and that’s worth a lot. If you enjoy a quick and tasty snack recipe, you might also appreciate the easy 15-minute spaghetti aglio olio for a speedy dinner option.
Feel free to share your variations or questions below—I’m always excited to hear how you make these cookies your own. Here’s to easier snack times and happy, full bellies!
Frequently Asked Questions
Can I make these cookies ahead of time?
Absolutely! These cookies store well in an airtight container for up to 5 days at room temperature and freeze nicely for up to 3 months. Just thaw and warm slightly before serving.
What if I don’t have honey? Can I substitute it?
You can substitute honey with maple syrup or agave nectar, but expect a slightly different texture and sweetness level. Adjust baking time if needed.
Are these cookies suitable for vegan diets?
With a simple swap of the egg for a flax egg (1 tbsp flaxseed meal + 3 tbsp water), and ensuring your peanut butter is vegan-friendly, these cookies can be vegan.
Can I use crunchy peanut butter instead of creamy?
Yes! Crunchy peanut butter adds a bit more texture, and the cookies will still be chewy and delicious.
How can I make these cookies less sweet?
Try reducing the honey to ⅓ cup and compensating with a ripe mashed banana for natural sweetness and moisture.
Pin This Recipe!
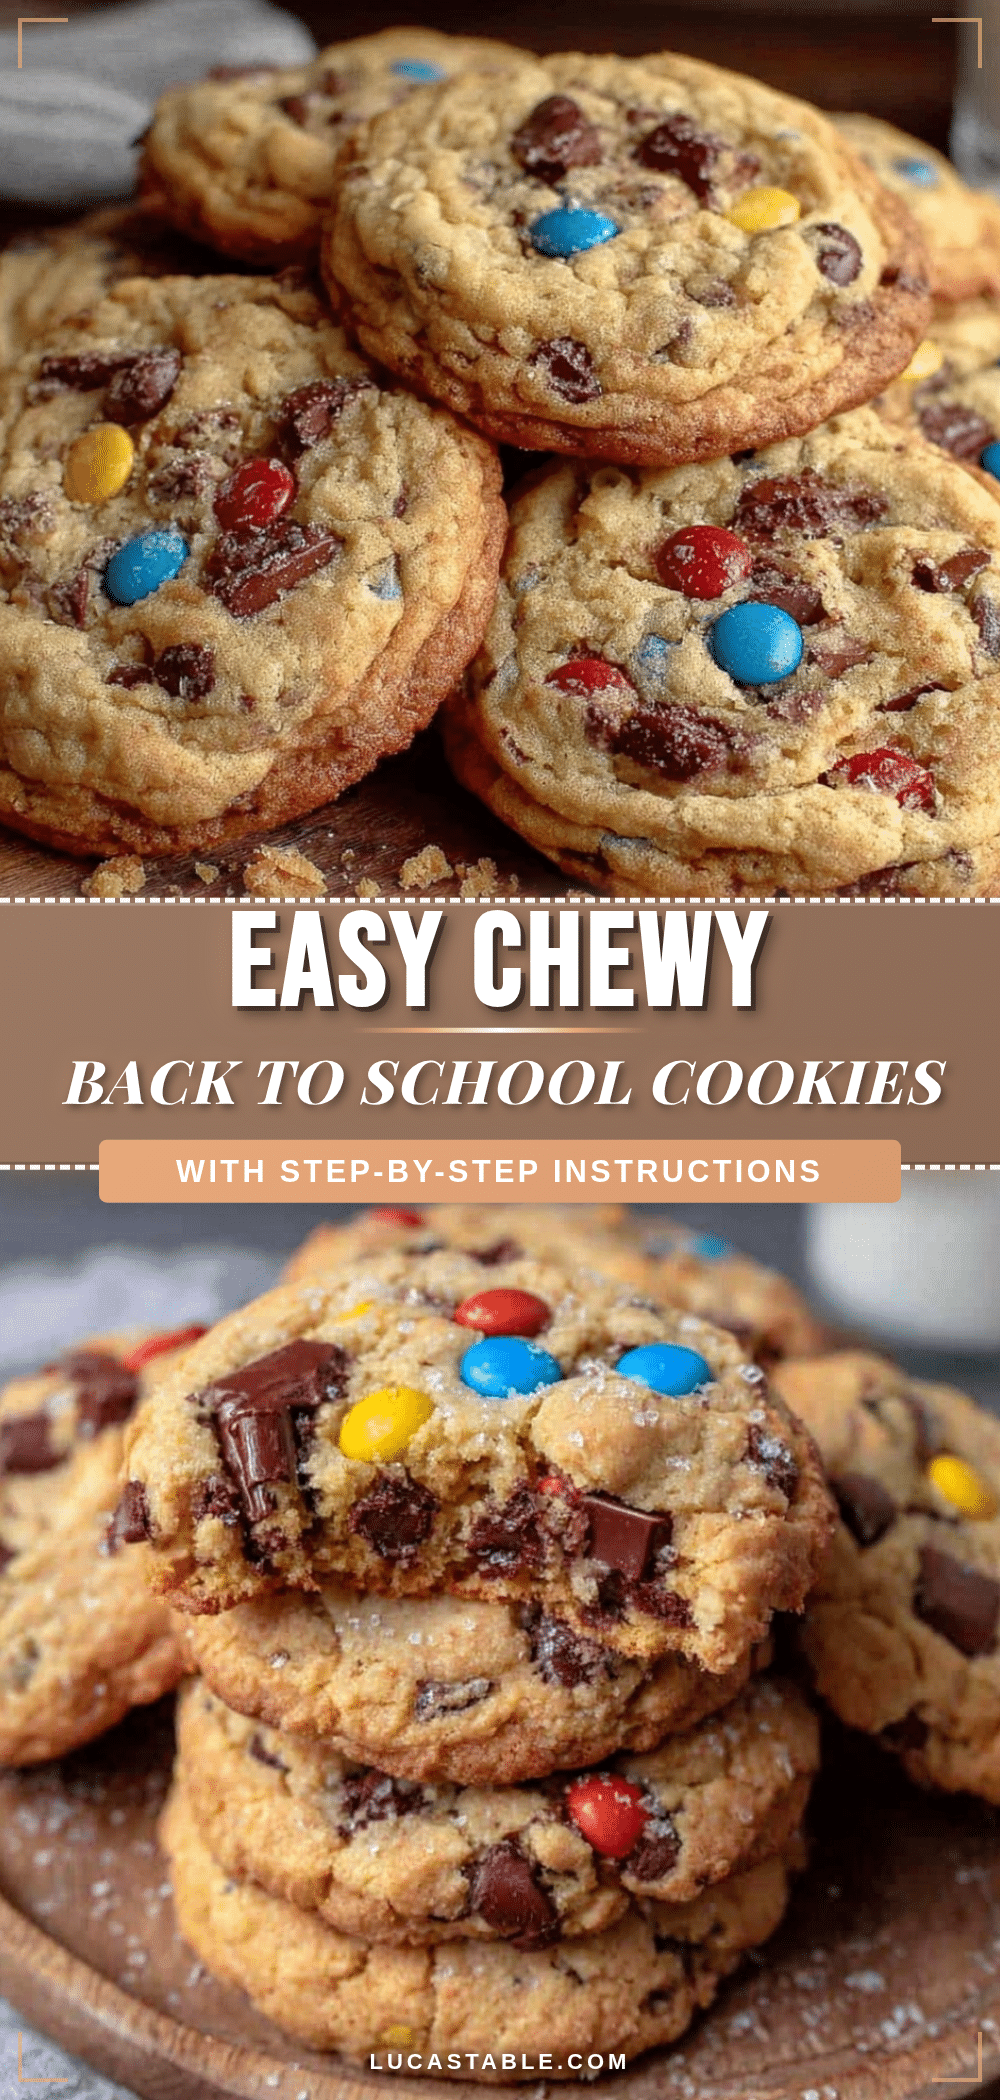
Easy Chewy Back To School Cookies

These easy chewy back to school cookies are a quick, simple, and delicious snack perfect for busy afternoons or lunchboxes. They balance chewy texture with wholesome ingredients like peanut butter, oats, and honey.
- Prep Time: 10 minutes
- Cook Time: 12 minutes
- Total Time: 22 minutes
- Yield: 20 cookies 1x
- Category: Snack
- Cuisine: American
Ingredients
- 1 cup natural peanut butter (creamy or chunky)
- ½ cup honey (raw or regular)
- 1 large egg (room temperature)
- 1 teaspoon vanilla extract
- 1 cup old-fashioned rolled oats
- ½ cup whole wheat flour (or all-purpose flour)
- 2 tablespoons ground flaxseed meal (optional but recommended)
- ½ teaspoon baking soda
- ¼ teaspoon salt
- Optional mix-ins:
- ½ cup mini chocolate chips or raisins
- ¼ cup chopped nuts (walnuts or pecans)
Instructions
- Preheat your oven to 350°F (175°C) and line your baking sheet with parchment paper.
- In a large bowl, combine peanut butter, honey, egg, and vanilla extract. Stir until smooth and creamy.
- In a separate bowl, whisk together rolled oats, whole wheat flour, flaxseed meal, baking soda, and salt.
- Gradually add the dry ingredients to the wet mixture and stir until just combined. Do not overmix.
- Fold in optional mix-ins like chocolate chips, raisins, or chopped nuts if using.
- Drop dough balls about 2 inches apart on the prepared baking sheet using a tablespoon or small cookie scoop. Flatten slightly.
- Bake for 10-12 minutes until edges are firm and golden but centers remain soft.
- Cool on the baking sheet for 5 minutes before transferring to a cooling rack to finish cooling.
Notes
Use natural peanut butter for best moisture and flavor. Do not overbake to maintain chewiness. Room temperature egg helps with mixing. For extra chewiness, add an extra tablespoon of honey or swap half the whole wheat flour for oat flour. Baking times may vary depending on oven. Cookies store well up to 5 days at room temperature or 3 months frozen.
Nutrition
- Serving Size: 1 cookie
- Calories: 160
- Sugar: 6
- Sodium: 100
- Fat: 6
- Saturated Fat: 1
- Carbohydrates: 10
- Fiber: 2
- Protein: 3
Keywords: chewy cookies, back to school snacks, peanut butter cookies, healthy snacks, easy cookies, kid-friendly snacks


