Three-time this week and the crisp snap of fresh dill pickles still caught me off guard—how something so simple could pack such a punch. Honestly, I wasn’t even aiming to become the pickle queen of my circle, but after making these easy quick refrigerator dill pickles every Friday for a month, I started noticing the fridge magnet watching over my latest batch like a proud parent. The first time, I thought, “Okay, this is decent.” The second time, I tweaked the garlic and added a pinch more dill seed. By the third batch, the tang and crunch were spot-on, and suddenly, these pickles weren’t just an afterthought—they were the star of the snack table.
It’s funny how the process itself hooked me: the ritual of slicing cucumbers just right, layering herbs in glass jars, and then waiting those few days for the magic to happen. The smell of dill mingling with garlic and vinegar in the kitchen is oddly soothing—like a little green therapy. I know, it sounds obsessive, but when you nail that fresh homemade flavor without the fuss of canning or long waits, it’s addictive.
What made me come back wasn’t just the crisp bite or that perfect balance of tang and herbaceousness—it was the way these easy quick refrigerator dill pickles fit into my life. The fridge jars sitting ready to brighten sandwiches, salads, or even just a quick crunchy snack. And I realized, the best part is how approachable this recipe is: no fancy equipment, no hours of prep, just five simple steps that anyone can master. That quiet satisfaction—that’s why these pickles stuck around in my kitchen and my routine.
Why You’ll Love This Recipe
Trust me, after testing and tweaking this recipe multiple times (yes, seriously), I’m confident you’ll love these easy quick refrigerator dill pickles for a bunch of reasons:
- Quick & Easy: Ready to enjoy in as little as 24 hours, perfect for last-minute cravings or casual snacks.
- Simple Ingredients: No weird stuff—just cucumbers, vinegar, dill, garlic, and spices you probably already have stocked.
- Perfect for Any Occasion: Whether it’s a sandwich side, a picnic snack, or an addition to your quick crispy BBQ chicken pizza, these pickles fit right in.
- Crowd-Pleaser: Kids and adults alike love the crunch and fresh flavor—no weird vinegar overkill here.
- Unbelievably Delicious: The balance of tang, dill, and that subtle garlic kick feels like comfort meets freshness.
This isn’t your typical pickle recipe either—I’ve found that using fresh dill sprigs combined with dill seeds gives a layered flavor that’s more complex than store-bought jars. Plus, the quick refrigerator method means you don’t wrestle with canning jars or long waits—just fresh flavor ready in days. Honestly, this recipe has become my go-to alongside quick dinners like the easy 15-minute spaghetti aglio olio, adding that crisp, homemade touch to the meal.
What Ingredients You Will Need
This recipe uses simple, wholesome ingredients to deliver bold flavor and satisfying crunch without any fuss. Most of these are pantry staples or fresh from the garden, and substitutions are easy if needed.
- Fresh Cucumbers: About 4 medium cucumbers (Kirby or pickling cucumbers work best for crunch and size)
- White Vinegar: 1 cup (240 ml) – the acidity gives that classic pickle tang
- Water: 1 cup (240 ml) – balances the vinegar, keeping pickles crisp and not too sour
- Fresh Dill Sprigs: 4-5 sprigs – key for that signature dill flavor; if you can find fresh, use it, but dried dill can substitute in a pinch
- Dill Seeds: 1 tablespoon – adds an extra layer of aromatic dill that complements the fresh sprigs
- Garlic Cloves: 3-4, peeled and gently crushed – garlic is a must for that punchy, savory bite
- Salt: 1 tablespoon (preferably pickling or kosher salt, no iodine) – crucial for the brine and preserving crunch
- Black Peppercorns: 1 teaspoon – whole peppercorns add a subtle heat and complexity
- Red Pepper Flakes: Optional, ½ teaspoon – if you want a little kick, but totally optional
For best results, I recommend using quality white vinegar like Heinz or Bragg’s apple cider vinegar for a slightly different twist. If you want a gluten-free version, double-check your spices, but this recipe is naturally gluten-free. Also, in summer months, swapping fresh dill for a mix of dill and tarragon can add a lovely herbal nuance.
Equipment Needed
- Glass Mason Jars (1 quart or 1 liter): Ideal for pickling and easy storage. If you don’t have mason jars, any clean glass jar with a tight lid works fine.
- Sharp Knife and Cutting Board: For slicing cucumbers evenly. I like a serrated knife for less smashing of the cucumber flesh.
- Measuring Cups and Spoons: Precision matters in pickling—too much salt or vinegar can throw off the flavor.
- Small Saucepan: To warm the brine ingredients just enough to dissolve salt (optional, but speeds up the process).
- Tongs or Fork: Handy for packing cucumbers into jars without bruising them.
Personally, I’ve tried plastic containers before, but glass jars keep the pickles tasting freshest and avoid any off-flavors. For budget options, reuse your store-bought pickle jars after cleaning thoroughly. Maintaining your knives sharp helps keep cucumber slices neat and prevents mushy edges.
Preparation Method
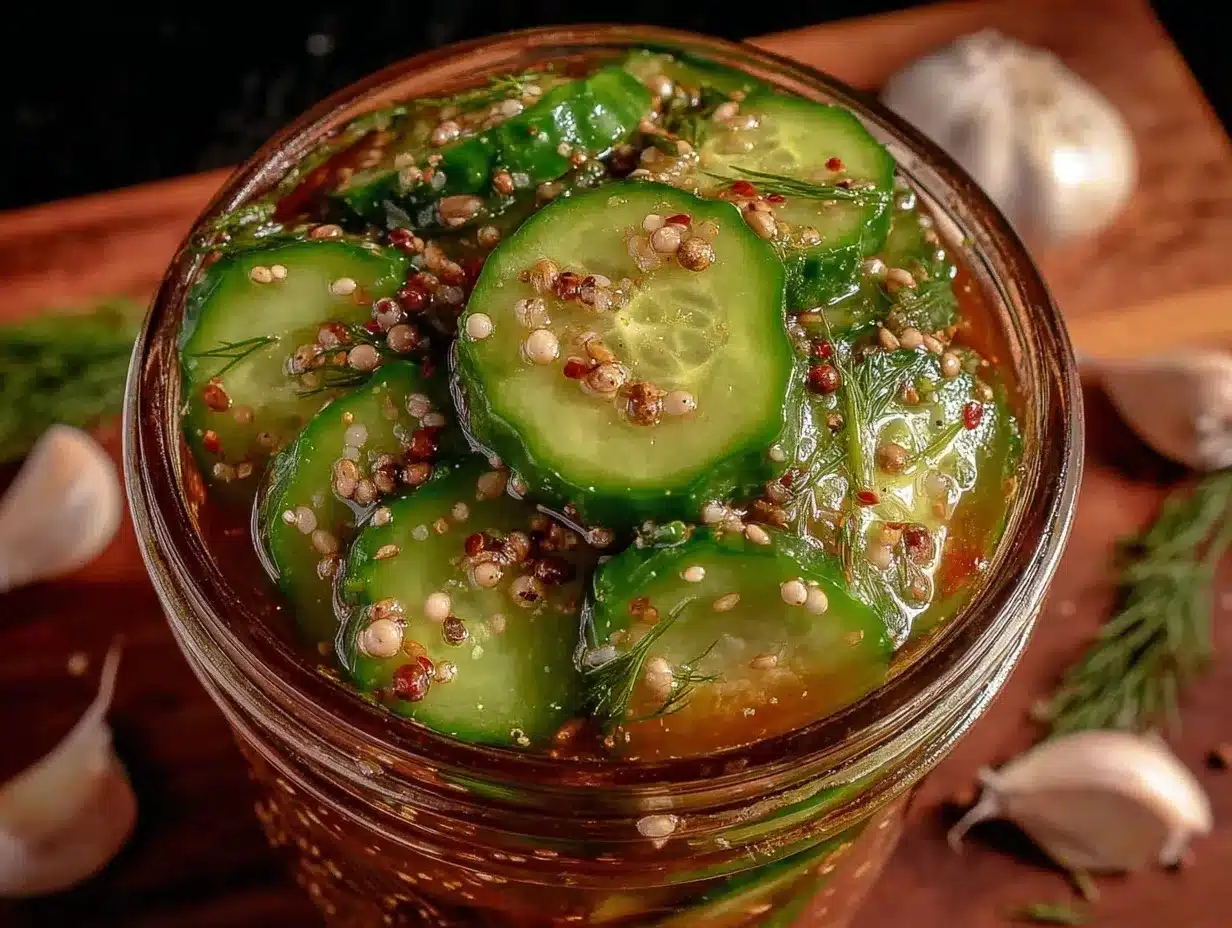
- Wash and Slice Cucumbers: Rinse 4 medium cucumbers under cold water. Slice into ¼-inch (0.6 cm) thick rounds or spears, whichever you prefer. I like spears for snacking and rounds for sandwiches. This step should take about 10 minutes.
- Prepare the Brine: In a small saucepan, combine 1 cup (240 ml) white vinegar, 1 cup (240 ml) water, and 1 tablespoon salt. Warm gently over medium heat just until salt dissolves—no need to boil. Remove from heat and let cool slightly, about 5 minutes.
- Pack Jars: Into each clean quart (liter) jar, place 4-5 fresh dill sprigs, 1 tablespoon dill seeds, 3-4 crushed garlic cloves, 1 teaspoon black peppercorns, and optional ½ teaspoon red pepper flakes. Then tightly pack the cucumber slices or spears in, leaving about ½ inch (1.25 cm) headspace at the top.
- Pour Brine Over Cucumbers: Pour the warm brine into the jars, covering the cucumbers completely. Tap gently to release any trapped air bubbles. Seal the jars with lids and let cool to room temperature (about 30 minutes).
- Refrigerate and Wait: Place the sealed jars in the refrigerator for at least 24 hours. For best flavor, wait 48 hours, but the pickles are usually crisp and tasty even after one day. The longer they sit, the more the flavors meld.
Pro tip: If you notice any floating cucumber slices, just press them down with a clean utensil to keep them submerged. And don’t skip the lightly crushed garlic—it’s a flavor game changer. After a few batches, I started prepping the brine the night before to save time.
Cooking Tips & Techniques
Making quick refrigerator dill pickles might seem straightforward, but a few insider tips can make all the difference:
- Choose the Right Cucumber: Pick firm, fresh cucumbers with no soft spots. Kirby or pickling cucumbers hold up better than slicing types, which tend to get mushy.
- Uniform Slices: Keeping slices or spears the same thickness ensures even pickling. Uneven pieces might taste inconsistent.
- Don’t Boil the Brine: Just warm enough to dissolve salt. Boiling can mellow the vinegar’s sharpness, which you want to keep bright.
- Pack Jars Tightly: This keeps cucumbers submerged and prevents soggy spots from air exposure.
- Wait Patiently: I know it’s tempting to dive in after 12 hours, but the pickles need that minimum 24-hour rest for the flavor to really develop.
- Experiment with Flavors: Add mustard seeds, coriander seeds, or even a splash of apple cider vinegar to vary the profile once you master the basics.
I once made the mistake of skipping the dill seeds, and the pickles felt one-dimensional. Lesson learned: both fresh dill sprigs and seeds are essential. Also, if you find your pickles turning soft, it might be from using cucumbers that were too ripe or storing them too long. Keeping everything chilled and eating within 2-3 weeks is best.
Variations & Adaptations
This easy quick refrigerator dill pickles recipe is a great base for trying out different flavors or accommodating dietary needs:
- Spicy Pickles: Add extra red pepper flakes or a sliced jalapeño for heat. I’ve tried adding a chipotle pepper once—smoky and bold!
- Garlic Lovers: Double the garlic cloves for a stronger punch.
- Low Sodium Version: Reduce salt by half and increase refrigeration time slightly to compensate for preservation.
- Herb Twist: Swap some dill for fresh tarragon or thyme for a unique flavor profile.
- Vinegar Swap: Use apple cider vinegar for a fruitier, milder acidity.
For a fun twist, I once adapted this recipe into a quick creamy tuna pasta topping—chopped pickles added that fresh crunch and flavor boost that elevated a simple dish to something memorable.
Serving & Storage Suggestions
These refrigerator dill pickles are best served chilled and make a fantastic crunchy side or snack. I often slice them thinly atop burgers, alongside deli sandwiches, or as a bright contrast to creamy dips. They’re also a hit tossed into salads or chopped into potato salad for a little zip.
Store pickles in the refrigerator in their sealed jars for up to 3 weeks. Over time, the flavor deepens, but the crunch might soften slightly. To refresh, drain the pickles and soak them in ice water for 15 minutes before serving.
Pair these pickles with savory dishes like quick zesty lemon chicken or your favorite sandwiches for a bright, tangy contrast. For drinks, a cold beer or sparkling water with a slice of lemon complements the pickle’s zing perfectly.
Nutritional Information & Benefits
Per serving (about 2-3 pickle slices): approximately 10 calories, negligible fat, 2 grams carbohydrates, 1 gram fiber, and 200 mg sodium.
These pickles have probiotics if left to ferment slightly, but since this is a quick refrigerator style, they primarily offer hydration and a low-calorie, flavorful boost. The vinegar may aid digestion, and dill is known for its antioxidant properties.
This recipe is naturally gluten-free, low-carb, and vegan, making it a healthy condiment option. Just watch the salt intake if you’re on a sodium-restricted diet.
Conclusion
If you want fresh homemade flavor without complicated canning, these easy quick refrigerator dill pickles are a winner. The recipe’s simplicity, combined with that unmistakable crunch and tang, makes it a staple in my kitchen. I love how it’s so adaptable—whether you want spicy, garlicky, or classic dill, it’s all just a few steps away.
Feel free to personalize the seasoning to your taste or try adding your favorite herbs. I find this recipe pairs so well with quick dinners like the quick and flavorful fried rice, turning simple meals into something special. Give it a go, and maybe you’ll find yourself making these pickles every week too.
Here’s to crunchy, fresh, homemade pickles that brighten your fridge and your meals!
FAQs About Easy Quick Refrigerator Dill Pickles
How long do refrigerator dill pickles last?
Stored properly in the fridge, these pickles last about 3 weeks. The flavor deepens over time, but they’re best enjoyed within that period for optimal crunch.
Can I use regular cucumbers instead of pickling cucumbers?
You can, but pickling cucumbers or Kirby cucumbers hold up better and stay crisp longer. Regular slicing cucumbers might become soft faster.
Do I need to boil the brine?
No need to boil. Just warm it enough to dissolve the salt, then pour it over the cucumbers. Boiling can dull the vinegar’s sharp flavor.
Can I make these pickles vegan and gluten-free?
Yes! The recipe is naturally vegan and gluten-free, just ensure your spices don’t have hidden additives.
How soon can I eat these pickles after making them?
They are ready after 24 hours in the fridge, but the flavor improves if you wait 48 hours. The crunch is great even after one day.
Pin This Recipe!
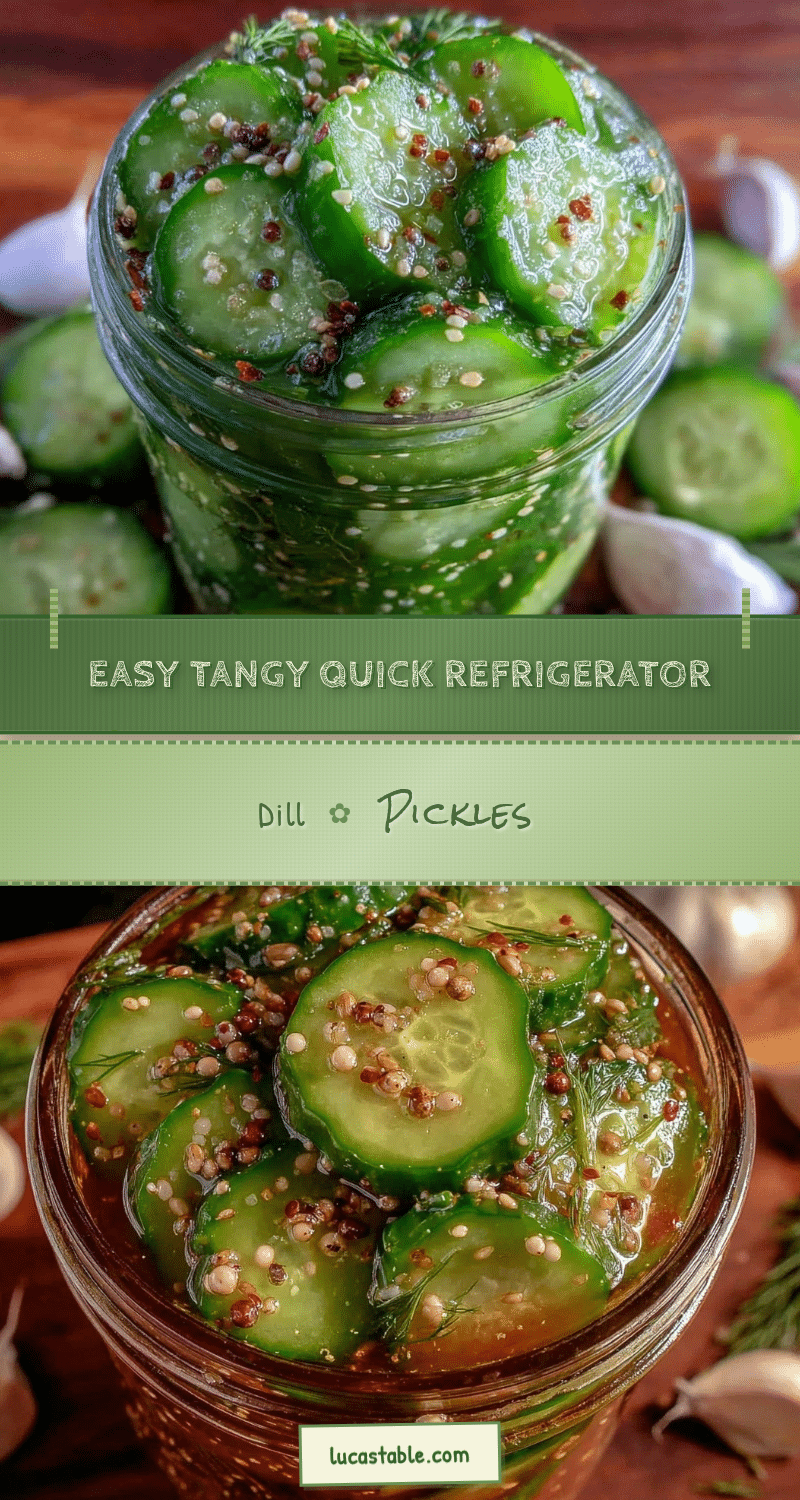
Easy Quick Refrigerator Dill Pickles
A simple and quick recipe for fresh homemade dill pickles with a perfect balance of tang, dill, and garlic flavor, ready in as little as 24 hours.
- Prep Time: 15 minutes
- Cook Time: 5 minutes
- Total Time: 24 hours 20 minutes
- Yield: 4 servings 1x
- Category: Condiment
- Cuisine: American
Ingredients
- 4 medium fresh cucumbers (Kirby or pickling cucumbers preferred)
- 1 cup (240 ml) white vinegar
- 1 cup (240 ml) water
- 4–5 fresh dill sprigs (or dried dill as substitute)
- 1 tablespoon dill seeds
- 3–4 garlic cloves, peeled and gently crushed
- 1 tablespoon salt (preferably pickling or kosher salt, no iodine)
- 1 teaspoon black peppercorns
- ½ teaspoon red pepper flakes (optional)
Instructions
- Wash and slice 4 medium cucumbers into ¼-inch (0.6 cm) thick rounds or spears.
- In a small saucepan, combine 1 cup white vinegar, 1 cup water, and 1 tablespoon salt. Warm gently over medium heat until salt dissolves, then remove from heat and let cool slightly for about 5 minutes.
- Pack each clean quart (1 liter) jar with 4-5 fresh dill sprigs, 1 tablespoon dill seeds, 3-4 crushed garlic cloves, 1 teaspoon black peppercorns, and optional ½ teaspoon red pepper flakes. Tightly pack cucumber slices or spears into the jar, leaving about ½ inch (1.25 cm) headspace.
- Pour the warm brine over the cucumbers, covering them completely. Tap jars gently to release air bubbles. Seal jars with lids and let cool to room temperature for about 30 minutes.
- Place sealed jars in the refrigerator for at least 24 hours. For best flavor, wait 48 hours before eating.
Notes
Use Kirby or pickling cucumbers for best crunch. Do not boil the brine, just warm to dissolve salt. Pack jars tightly to keep cucumbers submerged. Wait at least 24 hours for flavor development, preferably 48 hours. Store pickles in the refrigerator up to 3 weeks. To refresh softened pickles, soak in ice water for 15 minutes before serving. Experiment with additional spices like mustard seeds or coriander seeds for flavor variations.
Nutrition
- Serving Size: About 2-3 pickle sli
- Calories: 10
- Sodium: 200
- Carbohydrates: 2
- Fiber: 1
Keywords: quick pickles, refrigerator pickles, dill pickles, easy pickles, homemade pickles, quick refrigerator dill pickles, fresh pickles


