My phone buzzed just as I was about to settle in for a quiet evening—“Can I swing by? I’ve got a craving for something sweet.” The fridge was looking pretty bleak: a tub of peanut butter, a half-empty carton of heavy cream, and a sad bar of dark chocolate. No fancy ingredients, no time for baking. Honestly, I thought I’d have to disappoint my unannounced guest. But then I remembered a trick from a few chaotic kitchen nights before—a no-bake icebox cake that’s practically magic in its simplicity.
The creamy no-bake chocolate peanut butter icebox cake was born right there, out of the kind of improvisation that feels a little wild but ends up super satisfying. Layers of rich chocolate, smooth peanut butter cream, and soft cookies that soak up all that goodness without a single oven in sight. It’s the kind of dessert that sneaks up on you, comforting and decadent, yet effortless enough to whip up when your fridge is nearly empty.
That night, as we dug into the chilled layers, I realized this recipe sticks around not because it’s perfect—it isn’t—but because it’s real. It’s for those moments when you want something sweet, creamy, and chocolatey, without turning your kitchen upside down. If you’ve ever found yourself staring into a bare fridge hoping to pull off a dessert miracle, this creamy no-bake chocolate peanut butter icebox cake is your friend. Trust me, it’ll surprise you in the best way.
Why You’ll Love This Creamy No-Bake Chocolate Peanut Butter Icebox Cake Recipe
This cake isn’t just a quick fix—it’s a little slice of creamy comfort that’s been tested across many unplanned dinners and last-minute celebrations. It’s the kind of recipe that feels both indulgent and approachable, perfect for when you want to impress without the stress.
- Quick & Easy: Ready in under 30 minutes, no oven needed, making it ideal for busy weeknights or unexpected guests.
- Simple Ingredients: Uses pantry staples like peanut butter, chocolate, and cookies, so no frantic grocery runs.
- Perfect for Any Occasion: Whether a casual get-together or a cozy dessert after dinner, this icebox cake fits right in.
- Crowd-Pleaser: Kids and adults alike rave about the creamy, chocolate-peanut butter combo that hits just right.
- Unbelievably Delicious: The silky peanut butter cream layered with chocolate and cookies creates a melt-in-your-mouth texture that’s hard to beat.
What sets this version apart? The peanut butter cream is whipped to a perfect fluffiness—thanks to a little cream cheese addition—that balances the richness without overwhelming sweetness. Plus, layering with chocolate wafers (or graham crackers if you’re in a pinch) creates a texture that’s just right—not soggy, not dry. I’ve tried other icebox cakes, but this one nails that delicate harmony of flavors every time.
Honestly, this recipe feels like a little celebration of comfort food—easy, creamy, and satisfying. It’s the dessert you’ll want to recreate when you want that cozy feeling with minimal effort (and maximum taste).
What Ingredients You Will Need
This creamy no-bake chocolate peanut butter icebox cake recipe leans on simple, wholesome ingredients that come together to make a rich, satisfying dessert without any fuss. Most of these are pantry staples, and they’re easy to swap if needed.
- Chocolate Wafers or Graham Crackers: About 2 cups (150 g) for layering. I prefer chocolate wafers for that extra chocolatey kick, but graham crackers work well too.
- Peanut Butter: 1 cup (240 g), creamy style. Natural peanut butter works if you like a little texture, but creamy gives the smoothest result.
- Heavy Whipping Cream: 1 ½ cups (360 ml), cold. This is key for that fluffy, airy cream layer.
- Cream Cheese: 4 oz (115 g), softened. Adds richness and helps the cream hold its shape.
- Powdered Sugar: ¾ cup (90 g), sifted. Sweetens the cream without the graininess of granulated sugar.
- Unsweetened Cocoa Powder: 2 tbsp (10 g), for a subtle chocolate flavor in the cream.
- Vanilla Extract: 1 tsp (5 ml), to round out the flavors.
- Dark Chocolate: 2 oz (55 g), finely chopped or grated, for topping. Choose a quality brand like Ghirardelli or Lindt for best flavor.
Substitution tips: If you’re dairy-free, swap heavy cream for coconut cream and use vegan cream cheese. For gluten-free, pick gluten-free cookies or wafers. And if peanut butter isn’t your jam, almond butter can be a fun twist (though it will change the flavor).
Equipment Needed
- Mixing Bowls: A large bowl for whipping cream and another for mixing peanut butter and cream cheese.
- Electric Mixer or Stand Mixer: For whipping the cream and blending the cream cheese mixture smoothly. Hand-whisking is possible but takes patience.
- Spatula: For folding and spreading layers evenly.
- 9×9 Inch (23×23 cm) Square Pan or Similar: Perfect for layering the cake. You can also use a loaf pan or springform pan if that’s what you have.
- Refrigerator: Essential for chilling and setting the cake overnight (or at least 4 hours).
Honestly, I’ve made this cake in everything from glass Pyrex dishes to simple metal pans—each gives a slightly different edge to the texture, but always tasty. If you don’t have a mixer, a sturdy whisk and some elbow grease work just fine.
Preparation Method
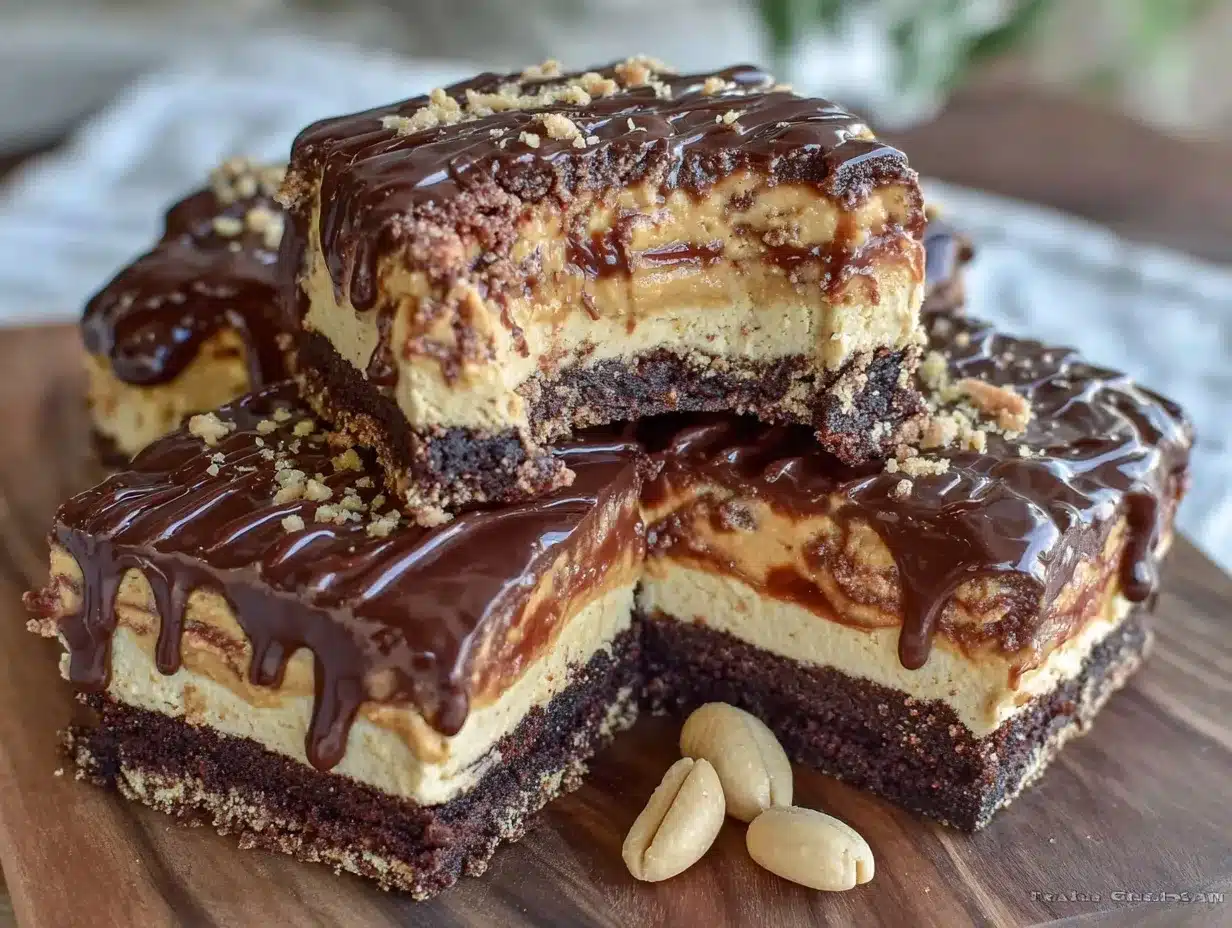
- Prepare the Peanut Butter Cream: In a medium bowl, beat the softened cream cheese and peanut butter together until smooth and creamy, about 2-3 minutes. This step ensures no lumps and a silky base.
- Whip the Heavy Cream: In a chilled large bowl, whip the cold heavy cream with an electric mixer on medium-high speed until it starts to thicken.
- Add Sugar, Cocoa, and Vanilla: Gradually add the powdered sugar, unsweetened cocoa powder, and vanilla extract to the whipping cream. Continue beating until you get soft peaks—when you lift the whisk, the cream should hold a gentle peak that droops slightly.
- Fold Cream into Peanut Butter Mixture: Carefully fold about half of the whipped cream into the peanut butter mixture to lighten it, then gently fold in the remaining whipped cream. This keeps the cream fluffy, not dense. Be gentle here!
- Layer the Cake: Line the bottom of your pan with a single layer of chocolate wafers or graham crackers. Spread about one-third of the peanut butter cream evenly over the cookies. Repeat two more layers, ending with the cream.
- Top with Chocolate: Sprinkle the finely chopped dark chocolate over the top layer for a satisfying crunch and extra chocolate flavor.
- Chill and Set: Cover the pan with plastic wrap and refrigerate for at least 4 hours, preferably overnight. This allows the cookies to soften and the flavors to meld into that dreamy icebox cake texture.
Pro tip: When layering, if your cookies are thick or hard, you can gently press them down with the back of a spoon to help them soften better. Also, don’t skip chilling—it’s what turns this assembly into a luscious cake.
Cooking Tips & Techniques
Whipping cream to the perfect consistency is the trickiest part here. If you under-whip, the cream will be runny and your cake won’t hold together. Over-whip, and you risk turning it grainy or even into butter! I always stop when soft peaks form and the cream feels light but stable.
Folding is another skill to get right. Use a spatula to gently cut through the center of the bowl and scoop under the mixture, turning it over without stirring vigorously. This preserves the airiness, so your cake stays fluffy and not dense.
When selecting cookies, keep in mind that thinner wafers absorb moisture faster and give a melt-in-your-mouth texture, while thicker graham crackers add a bit more bite. Both are delicious—just adjust chilling time if needed.
Don’t rush the chilling! The icebox cake needs time to set properly. I usually prepare mine the night before a gathering, so it’s perfectly chilled and flavors have blended by dessert time.
Lastly, a quick note on peanut butter: creamy works best here for smooth texture, but if you like a little crunch, feel free to experiment. The key is balancing flavor and texture to keep the cream dreamy.
Variations & Adaptations
- Nut-Free Version: Swap peanut butter for sunflower seed butter or cookie butter to keep it allergy-friendly but still decadent.
- Chocolate Lovers’ Dream: Add an extra layer of melted chocolate ganache between layers for a richer taste. Just warm equal parts cream and chocolate, stir until smooth, and let it cool slightly before layering.
- Berry Boost: Add fresh raspberries or sliced strawberries between layers for a fresh, tart contrast that complements the peanut butter perfectly.
- Vegan Option: Use coconut cream in place of heavy cream, vegan cream cheese, and dairy-free chocolate wafers or cookies.
- Crunch Factor: Sprinkle chopped peanuts or toffee bits between layers for a little surprise crunch.
I once added a swirl of caramel sauce in the middle layer—unexpected but absolutely dreamy. It brought a lovely salted-sweet balance that I still think about.
Serving & Storage Suggestions
This creamy no-bake chocolate peanut butter icebox cake is best served chilled right from the fridge. Let it sit out for about 10 minutes before slicing to get cleaner cuts and let the flavors bloom a little.
Presentation-wise, a simple dusting of cocoa powder or a few chocolate shavings on top adds a nice touch. Pair it with a cup of strong coffee or a cold glass of milk for the perfect combo.
Store leftovers covered in the refrigerator for up to 4 days. The flavors actually deepen over time, making it even more delicious the next day. If you want to keep it longer, wrap tightly and freeze for up to a month—thaw overnight in the fridge before serving.
Reheating isn’t necessary; this cake shines cold. But if you want a softer texture, let it sit at room temperature for 15-20 minutes before eating.
Nutritional Information & Benefits
Estimated per serving (based on 8 servings):
| Calories | 320 |
|---|---|
| Fat | 22g |
| Carbohydrates | 24g |
| Protein | 6g |
| Sugar | 18g |
This dessert packs a protein punch from the peanut butter, along with healthy fats that help satisfy hunger. Using dark chocolate adds antioxidants, while the absence of refined flours keeps it lighter than traditional cakes.
If you’re watching gluten, just use gluten-free wafers or crackers. The recipe is naturally gluten-light and can easily be made dairy-free. Just watch out for peanut allergies and substitute accordingly.
From a wellness perspective, I appreciate how this cake feels indulgent yet straightforward—no additives, no preservatives, just simple ingredients that come together to satisfy that sweet tooth.
Conclusion
This creamy no-bake chocolate peanut butter icebox cake is one of those rare recipes that delivers on comfort, flavor, and simplicity all at once. It’s a dessert born from the chaos of last-minute cravings and an understocked fridge, but it ended up a favorite because it tastes like a treat, not a quick fix.
Feel free to tweak the layers, add your favorite mix-ins, or even make it your own by trying different nut butters or cookies. The recipe is forgiving and meant to be enjoyed without stress.
I keep coming back to this cake whenever I want that creamy, chocolatey satisfaction without the fuss of baking. It’s proof that sometimes, the best recipes come from what you have on hand—and a little bit of kitchen improvisation.
If you make this recipe, I’d love to hear how you customize it or what moment it saved for you. There’s something special about sharing these easy, delicious finds that brighten the unexpected.
FAQs about Creamy No-Bake Chocolate Peanut Butter Icebox Cake
Can I use crunchy peanut butter instead of creamy?
Yes, you can! Crunchy peanut butter adds a nice texture, but the creaminess in the filling might be slightly less smooth. It’s a tasty variation if you like a bit of crunch.
How long should I chill the icebox cake?
At least 4 hours is best, but overnight chilling gives the best texture and flavor melding. If you’re short on time, try 3 hours but expect firmer cookies.
Can I make this cake ahead of time?
Absolutely! This recipe is perfect for making a day ahead. Just keep it covered and chilled until ready to serve.
What can I substitute for chocolate wafers?
Graham crackers, digestive biscuits, or gluten-free crackers work well. Just be mindful of their thickness and adjust chilling time accordingly.
Is there a way to make this recipe vegan?
Yes, swap heavy cream for chilled coconut cream, use vegan cream cheese, and choose dairy-free chocolate and cookies. The texture changes slightly but stays delicious.
By the way, if you’re looking for a quick dinner to pair with this dessert, you might enjoy the quick zesty lemon chicken recipe or the easy 15-minute spaghetti aglio olio for a simple homemade meal that won’t keep you in the kitchen all night.
Pin This Recipe!
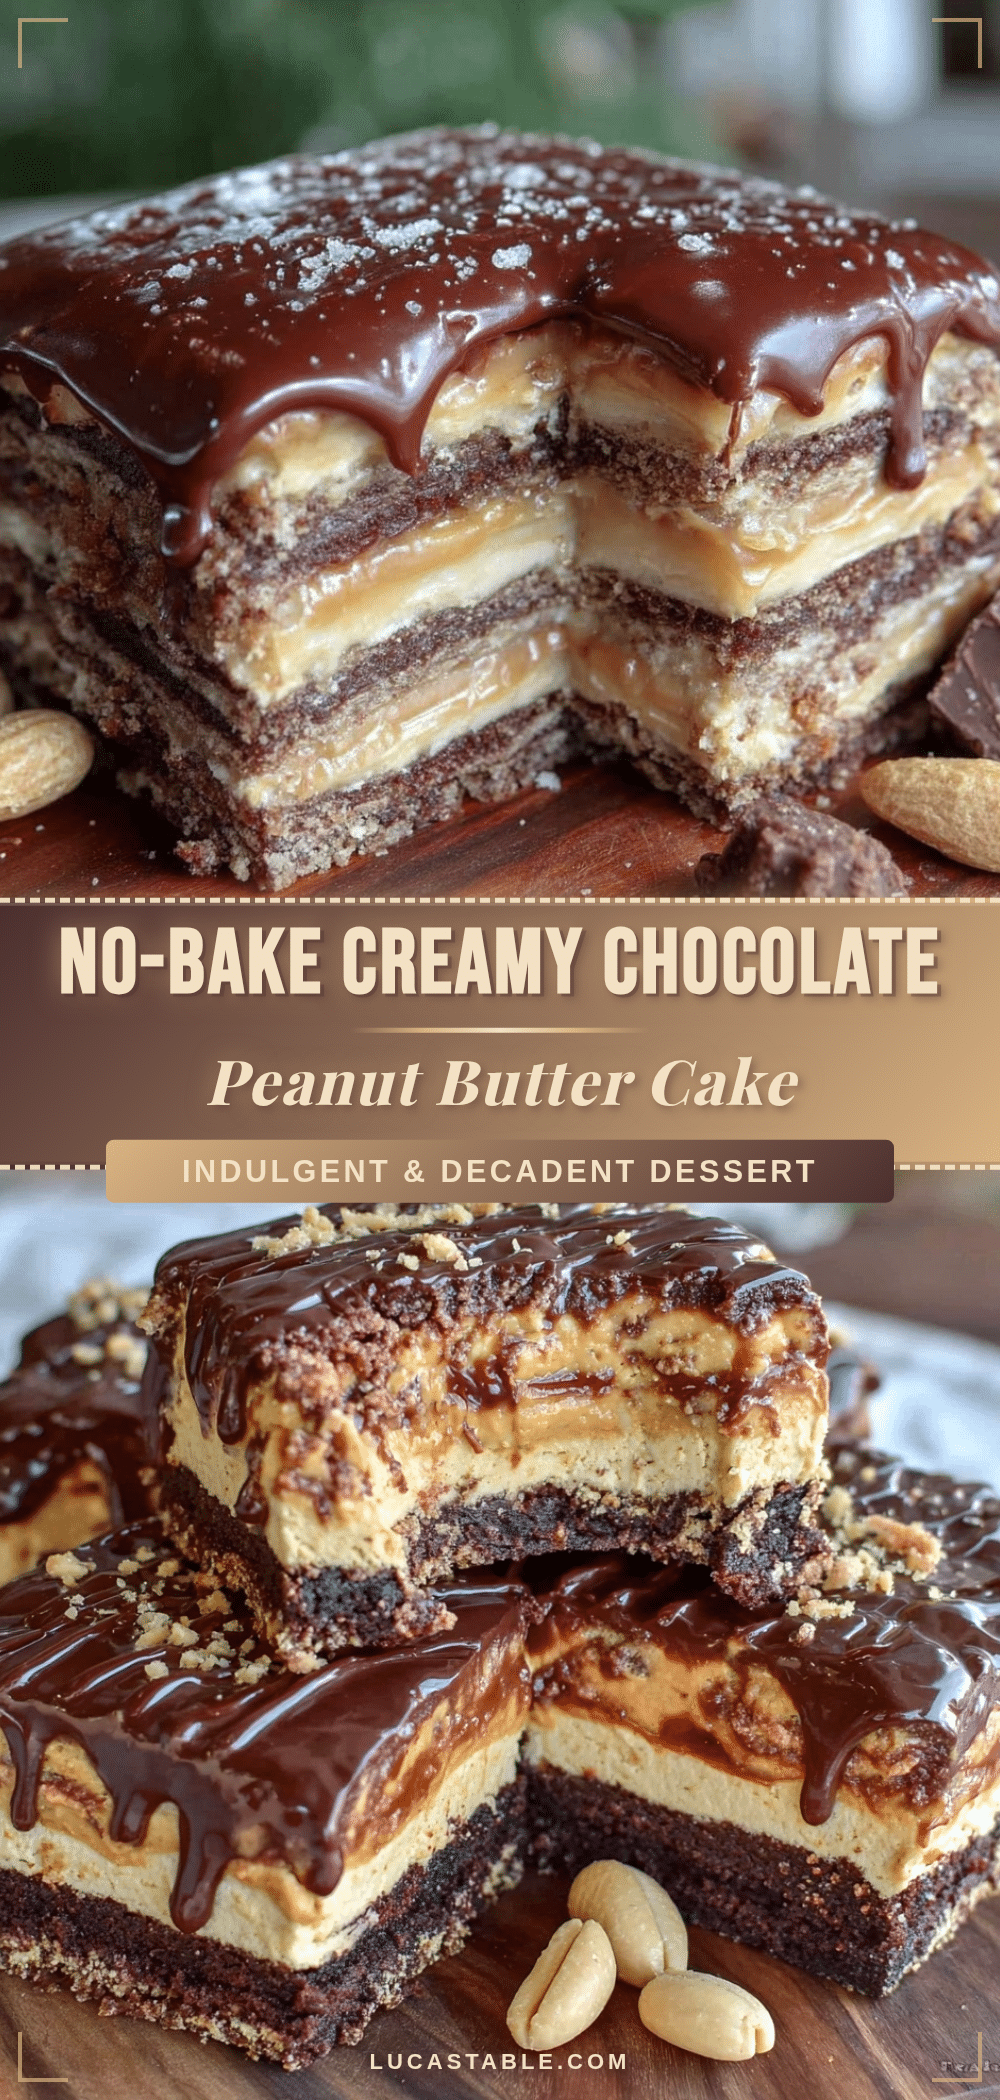
Creamy No-Bake Chocolate Peanut Butter Icebox Cake
A quick and easy no-bake dessert featuring layers of chocolate wafers, creamy peanut butter filling, and whipped cream, chilled to perfection for a rich and satisfying treat.
- Prep Time: 15 minutes
- Cook Time: 0 minutes
- Total Time: 4 hours 15 minutes
- Yield: 8 servings 1x
- Category: Dessert
- Cuisine: American
Ingredients
- 2 cups (150 g) chocolate wafers or graham crackers
- 1 cup (240 g) creamy peanut butter
- 1 ½ cups (360 ml) cold heavy whipping cream
- 4 oz (115 g) cream cheese, softened
- ¾ cup (90 g) powdered sugar, sifted
- 2 tbsp (10 g) unsweetened cocoa powder
- 1 tsp (5 ml) vanilla extract
- 2 oz (55 g) dark chocolate, finely chopped or grated
Instructions
- In a medium bowl, beat the softened cream cheese and peanut butter together until smooth and creamy, about 2-3 minutes.
- In a chilled large bowl, whip the cold heavy cream with an electric mixer on medium-high speed until it starts to thicken.
- Gradually add the powdered sugar, unsweetened cocoa powder, and vanilla extract to the whipping cream. Continue beating until soft peaks form.
- Carefully fold about half of the whipped cream into the peanut butter mixture to lighten it, then gently fold in the remaining whipped cream.
- Line the bottom of a 9×9 inch pan with a single layer of chocolate wafers or graham crackers.
- Spread about one-third of the peanut butter cream evenly over the cookies.
- Repeat layering two more times, ending with the cream layer.
- Sprinkle the finely chopped dark chocolate over the top layer.
- Cover the pan with plastic wrap and refrigerate for at least 4 hours, preferably overnight, to allow the cake to set.
Notes
Whip the cream to soft peaks to avoid graininess or turning it into butter. Fold gently to keep the cream fluffy. Press down thick or hard cookies gently to help soften. Chill at least 4 hours or overnight for best texture. Use creamy peanut butter for smooth texture, but crunchy can be used for variation. Substitute coconut cream and vegan cream cheese for a dairy-free version. Use gluten-free cookies for gluten-free option.
Nutrition
- Serving Size: 1 slice (1/8 of cake
- Calories: 320
- Sugar: 18
- Fat: 22
- Carbohydrates: 24
- Protein: 6
Keywords: no-bake, chocolate, peanut butter, icebox cake, easy dessert, creamy, quick dessert, layered cake


