Let me tell you, the scent of freshly boiled eggs, paired with that unmistakably creamy yolk texture, is enough to make anyone’s mouth water. The first time I nailed these easy perfect hard boiled eggs with creamy yolks, I was instantly hooked. You know that kind of moment where you pause, take a deep breath, and just smile because you realize you’re onto something truly special? Yeah, that was it.
When I was knee-high to a grasshopper, Sunday breakfasts often meant my grandma’s slightly overcooked, chalky hard boiled eggs. It wasn’t until years ago, on a rainy weekend, that I stumbled upon this foolproof method. Honestly, I wish I’d discovered it decades earlier—my mornings would have been so much better! My family couldn’t stop sneaking them off the cooling rack (and I can’t really blame them). This recipe is dangerously easy, offering pure, nostalgic comfort without the fuss.
Whether you need a quick protein boost, a sweet treat for your kids, or a bright addition to your Pinterest breakfast board, these easy perfect hard boiled eggs with creamy yolks fit the bill. I tested this recipe multiple times—in the name of research, of course—and now it’s a staple for family gatherings and quick snacks. It feels like a warm hug every time you bite in, and you’re going to want to bookmark this one.
Why You’ll Love This Recipe
Honestly, this easy perfect hard boiled eggs recipe stands out because it’s simple, reliable, and delivers exactly what you want: creamy yolks that never dry out. As someone who’s cooked and tested countless egg recipes, I can say this one checks all the boxes.
- Quick & Easy: Comes together in under 15 minutes, perfect for busy mornings or last-minute meal prep.
- Simple Ingredients: Just eggs and water—no fancy add-ons required, so no extra trips to the store.
- Perfect for Breakfast or Snacks: Great for brunch, packable lunches, or that mid-afternoon protein hit.
- Crowd-Pleaser: Kids, adults, picky eaters—everyone loves the smooth, creamy texture of these yolks.
- Unbelievably Delicious: The yolks come out rich and velvety, not chalky or rubbery, making each bite a little moment of joy.
This recipe isn’t just another take on hard boiled eggs. The trick lies in the timing and cooling method, which gently finishes cooking the eggs and locks in moisture. It’s comfort food, without the guilt or the guesswork, and a perfect way to impress guests or turn a simple snack into something memorable.
What Ingredients You Will Need
This recipe uses simple, wholesome ingredients to deliver bold flavor and satisfying texture without the fuss. Most of these are pantry staples, so you probably have them on hand already.
- Large Eggs: Use fresh eggs for best results. I usually go for free-range, organic when I can—[Brand name] eggs have never let me down.
- Water: Enough to cover the eggs by at least an inch in the pot. Fresh, cold water works best.
- Ice Cubes or Cold Water: For the ice bath to stop the cooking process and keep yolks creamy.
- Optional Salt or Vinegar: Some folks add a pinch of salt or a splash of vinegar to the boiling water to help with peeling, though I find it’s not absolutely necessary.
That’s it! You don’t need oils, seasonings, or any complicated extras. If you want to tweak the recipe, you can swap large eggs for medium or extra-large, adjusting cooking times slightly. For those avoiding animal products, well, the recipe’s all about eggs, so no easy substitutions there, but for egg lovers, this is perfection guaranteed.
Equipment Needed
- Medium to Large Saucepan or Pot: Big enough to hold all your eggs in a single layer with at least an inch of water above them.
- Slotted Spoon: Makes it easier to transfer eggs from boiling water to the ice bath without cracking.
- Mixing Bowl: For the ice bath to cool eggs quickly and stop cooking.
- Timer: Your phone or kitchen timer to keep precise track of cooking time (trust me, timing is everything here).
- Optional Egg Timer: Some folks swear by egg timers that change color, but I’ve found a standard timer works just fine and costs less.
Personally, I use a non-stick pot for easy cleanup. You can also use a stainless steel pot – just keep an eye on the water level to prevent scorching. If you’re on a budget, any sturdy pot will do; just avoid overcrowding the eggs to prevent cracking.
Preparation Method
- Place eggs in the pot: Arrange large eggs in a single layer at the bottom of your saucepan. Add cold water until eggs are covered by about 1 inch (2.5 cm). This helps them cook evenly without jostling around.
- Bring water to a boil: Place the pot over medium-high heat and bring water to a rolling boil (about 6-8 minutes). You’ll see big bubbles and steam—this is your cue.
- Remove from heat and cover: As soon as the water boils, turn off the heat and cover the pot with a tight-fitting lid to trap the steam. Let the eggs sit undisturbed for exactly 10 minutes for large eggs (adjust to 9 minutes for medium, 12 minutes for extra-large).
- Prepare the ice bath: While eggs sit, fill a large bowl with ice and cold water. This ice bath stops eggs from cooking further and locks in that creamy yolk texture.
- Transfer eggs to ice bath: Using a slotted spoon, gently move eggs from hot water to the ice bath. Let them chill for at least 5 minutes—this part is crucial for easy peeling and perfect yolks.
- Peeling time: Tap the eggs gently on a hard surface, then roll to crack the shell all over. Peel under running cold water to help separate the shell from the egg white.
- Serve or store: Enjoy immediately or refrigerate in a sealed container for up to one week.
Keep in mind: if your eggs are older, they’ll peel easier. Fresh eggs can be trickier but sticking to the ice bath method helps a lot. The yolk should be creamy, not chalky or greenish around the edges. If you notice that, try shortening the sit time by a minute next round.
Cooking Tips & Techniques
Cooking perfect hard boiled eggs is all about timing and temperature control. Here are some tips I’ve picked up from trial, error, and a few minor kitchen disasters:
- Don’t skip the ice bath: It’s the secret weapon for creamy yolks and easy peeling. Let the eggs chill long enough to stop cooking completely.
- Use room temperature eggs if possible: They cook more evenly and reduce cracking risk. I usually take them out of the fridge 15 minutes before cooking.
- Peeling trick: Crack the shell all over and peel under running water to loosen stubborn bits. Trust me, it saves time and frustration.
- Adjust time for altitude: If you live up high, water boils at a lower temp. You may need to add a minute or two to the resting time.
- Don’t overcrowd the pot: Eggs need room to cook evenly. Too many cramped eggs may crack or cook unevenly.
Pro tip: If you want to save time in the morning, boil a batch the night before and store them in the fridge. They peel just as nicely and are perfect for quick breakfasts or on-the-go snacks.
Variations & Adaptations
While this recipe nails the classic hard boiled egg, there’s room to get creative depending on your mood or dietary needs.
- Soft Boiled Variation: Reduce the resting time to 6 minutes for luscious, jammy yolks that are perfect with toast soldiers.
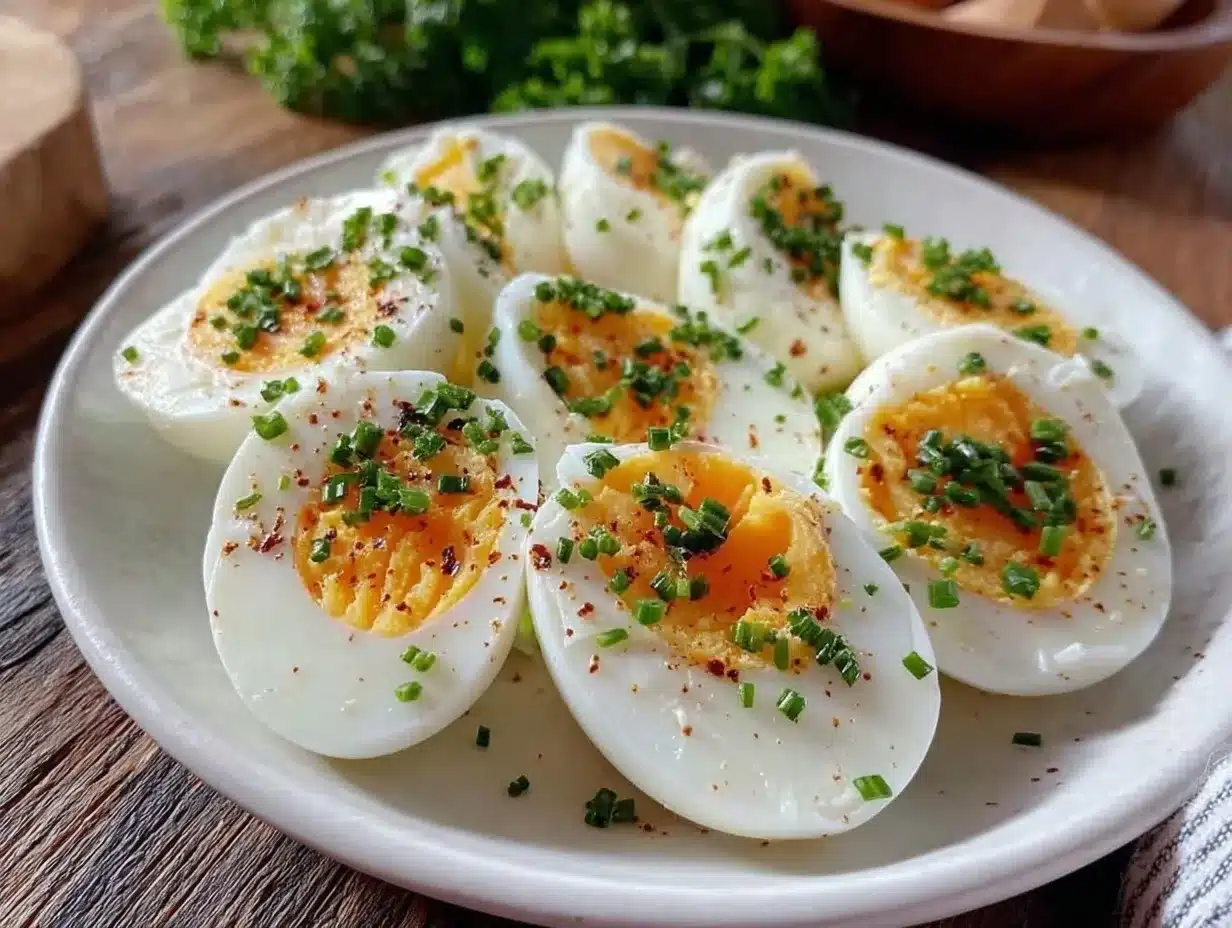
- Herbed Eggs: After peeling, sprinkle with a dash of smoked paprika, fresh chives, or everything bagel seasoning for a flavor boost.
- Pickled Eggs: Use this recipe as your base, then soak peeled eggs in a vinegar-spice brine for tangy, savory pickled eggs—great for snacking or salads.
- Allergen-Friendly Options: If you’re serving someone avoiding eggs, try swapping in tofu scramble as an alternative, but for this recipe, it’s all about the eggs!
- Cooking Method Swap: Tried the sous vide method? It’s great for precise yolk textures but requires special equipment. This stovetop recipe is perfect when you want fast, foolproof results.
Personally, I often add a sprinkle of flaky sea salt and cracked black pepper just before serving—it turns simple eggs into a little celebration.
Serving & Storage Suggestions
These easy perfect hard boiled eggs with creamy yolks are best served slightly chilled or at room temperature. They make a fantastic snack on their own or sliced over salads, toast, or grain bowls.
Pair them with a fresh green salad and a tangy vinaigrette, or chop them up for classic egg salad sandwiches. For brunch, they shine alongside avocado toast or smoked salmon.
Store peeled or unpeeled eggs in an airtight container in the refrigerator for up to one week. If you peel them in advance, keep them submerged in water with a lid to preserve moisture, changing the water daily. Reheat gently by soaking in warm water for a few minutes if you prefer them warm—microwaving tends to make them rubbery.
Flavors mellow and deepen slightly after a day, so prepping ahead for meal prep or parties works like a charm. Just don’t forget to label your container with the boil date!
Nutritional Information & Benefits
One large hard boiled egg contains approximately 70 calories, 6 grams of high-quality protein, 5 grams of fat, and less than 1 gram of carbohydrates. They’re also a great source of vitamins D, B12, and minerals like selenium and choline, which support brain health.
Eggs are naturally gluten-free and low-carb, making this recipe suitable for many dietary preferences. Just be aware that eggs are a common allergen, so keep that in mind if you’re serving a crowd.
From my perspective as someone who values balanced nutrition, hard boiled eggs are a quick, nourishing snack that keeps you full and satisfied. Plus, the creamy yolks offer healthy fats that support brain function and overall wellness.
Conclusion
In the end, this easy perfect hard boiled eggs recipe delivers creamy yolks every time with minimal effort. It’s a straightforward, no-nonsense approach to one of the most classic kitchen staples. You can customize it to your liking, from soft boiled to spiced toppings, making it your own.
Personally, I love how these eggs make me feel ready for the day—comforting yet energizing. If you try the recipe, don’t be shy about sharing your tweaks or questions in the comments. I’m always eager to hear how you make it your own!
Go ahead, give this recipe a whirl—you might just find your new favorite way to enjoy hard boiled eggs. Happy cooking!
FAQs
How long should I boil eggs for creamy yolks?
For large eggs, bring water to a boil, then remove from heat and let sit covered for 10 minutes. This yields creamy, fully set yolks.
Can I use older eggs for easier peeling?
Yes! Eggs that are about a week old peel more easily than very fresh eggs because the pH changes over time.
Why do my hard boiled eggs sometimes have a green ring around the yolk?
This happens when eggs are overcooked, causing a reaction between sulfur and iron. Using the ice bath method stops cooking and prevents this.
Is it better to peel eggs right after boiling or later?
Peeling right after cooling in an ice bath is easiest, but you can also peel them up to a day later if stored properly in water.
Can I cook hard boiled eggs in a microwave?
Microwaving whole eggs isn’t recommended as they can explode. Stick to stovetop or oven methods for safe, consistent results.
Pin This Recipe!
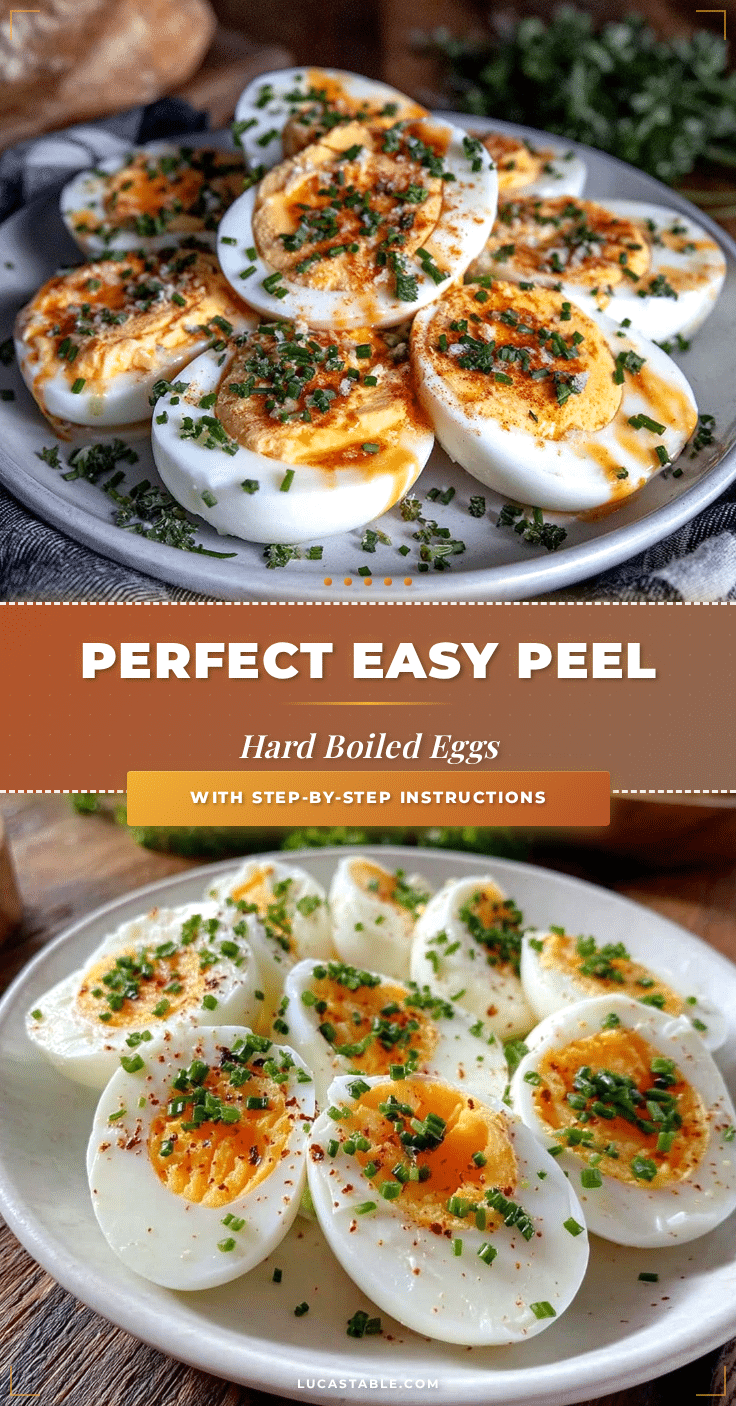
Easy Perfect Hard Boiled Eggs Recipe for Creamy Yolks Every Time

This easy perfect hard boiled eggs recipe delivers creamy yolks every time with minimal effort. It’s simple, reliable, and perfect for breakfast, snacks, or meal prep.
- Prep Time: 5 minutes
- Cook Time: 15 minutes
- Total Time: 20 minutes
- Yield: 6 servings
- Category: Breakfast
- Cuisine: American
Ingredients
- Large eggs (fresh, preferably free-range or organic)
- Cold water (enough to cover eggs by at least 1 inch)
- Ice cubes or cold water for ice bath
- Optional: pinch of salt or splash of vinegar for boiling water
Instructions
- Place large eggs in a single layer at the bottom of a medium to large saucepan.
- Add cold water until eggs are covered by about 1 inch (2.5 cm).
- Place the pot over medium-high heat and bring water to a rolling boil (about 6-8 minutes).
- Remove the pot from heat and cover with a tight-fitting lid.
- Let the eggs sit undisturbed for exactly 10 minutes for large eggs (adjust to 9 minutes for medium, 12 minutes for extra-large).
- While eggs sit, prepare an ice bath by filling a large bowl with ice and cold water.
- Using a slotted spoon, transfer eggs from hot water to the ice bath and chill for at least 5 minutes.
- Tap eggs gently on a hard surface, roll to crack the shell all over, and peel under running cold water.
- Serve immediately or refrigerate in a sealed container for up to one week.
Notes
Use room temperature eggs if possible to reduce cracking. Do not skip the ice bath to ensure creamy yolks and easy peeling. Adjust resting time for altitude. Older eggs peel easier than very fresh eggs.
Nutrition
- Serving Size: 1 large hard boiled
- Calories: 70
- Sugar: 0.6
- Sodium: 70
- Fat: 5
- Saturated Fat: 1.5
- Carbohydrates: 0.6
- Protein: 6
Keywords: hard boiled eggs, creamy yolks, easy eggs, breakfast, protein snack, egg recipe