“Wait—you put the dip *inside* the pepper?” My buddy Mark was staring at the baking dish like I’d just pulled off a magic trick.
Honestly, I hadn’t thought much about it until that moment. I was just trying to use up the last of the bell peppers from the farmers’ market and had a half-eaten bowl of buffalo chicken dip sitting in the fridge from game day. Two leftovers walk into a kitchen, right?
But that question—and the way he grabbed a second one before I could even sit down—made me realize I was onto something. This wasn’t just a way to use up leftovers. It was a whole new way to eat buffalo chicken dip without needing a chip in sight.
I’ve been making buffalo chicken dip for years. It’s one of those recipes that shows up at every party, every potluck, every Super Bowl Sunday. And don’t get me wrong—I love it. But let’s face it, after the third scoop, you’re kind of fishing for chip shards at the bottom of the bowl and wondering why you didn’t just eat it with a spoon.
So when I stuffed that creamy, spicy, tangy filling into a roasted bell pepper, something clicked. The pepper adds this sweet, smoky counterbalance to the heat. It gives you something to hold onto. And honestly? It makes the whole thing feel like an actual meal instead of just a dip that got out of hand.
I’ve made these Creamy Buffalo Chicken Dip Stuffed Bell Peppers about a dozen times since that first accidental batch. They’ve become my go-to for weeknights when I want something satisfying without a lot of fuss. They’re the kind of recipe that makes you look like you planned it all along.
Why You’ll Love This Recipe
Let me tell you why these stuffed peppers have earned a permanent spot in my dinner rotation. I’ve tested this recipe more times than I care to admit—some batches were too runny, some needed more heat, and a few were just absolutely perfect. What I’m sharing with you is the version that finally made me stop tweaking.
- Quick & Easy: From start to finish, these come together in about 35 minutes. That’s faster than ordering takeout in my neighborhood.
- Simple Ingredients: You probably have most of this stuff already. Cream cheese, hot sauce, chicken, cheese—nothing fancy required.
- Perfect for Game Day or Dinner: Seriously, these work for both. Serve them as a main dish with a side salad, or cut them in half for appetizers.
- Crowd-Pleaser: I’ve served these to spice lovers and spice wimps alike. Everyone finds something to love about them.
- Low-Carb Friendly: If you’re watching your carbs, these are a dream. All the flavor of buffalo chicken dip without the chips.
- Unbelievably Delicious: The creamy, spicy filling against the sweet roasted pepper is a combo that just works. It’s comfort food that doesn’t leave you feeling heavy.
What makes this recipe different from every other stuffed pepper out there is the texture. Most stuffed peppers use rice or quinoa as a base, which is fine, but the cream cheese and shredded chicken create this ultra-creamy, almost decadent filling that feels more like a loaded baked potato than a stuffed pepper. It’s buffalo chicken dip, reborn as a main course.
There’s something about pulling a baking dish of these out of the oven. The peppers are all blistered and tender, the filling is bubbling around the edges, and the melted cheddar on top is golden and crispy in spots. It’s the kind of meal that makes you close your eyes after the first bite. Not because it’s fancy—it’s not. But because it’s exactly what you wanted, even if you didn’t know it.
What Ingredients You Will Need
This recipe uses simple, everyday ingredients to create something that tastes way more complicated than it is. Most of these are pantry staples for anyone who loves buffalo chicken dip as much as I do.
For the Filling
- 2 cups cooked, shredded chicken – Rotisserie chicken is my go-to here. It saves so much time and adds great flavor. If you have leftover grilled chicken, that works beautifully too.
- 8 oz cream cheese, softened – Make sure it’s at room temperature. Cold cream cheese won’t blend smoothly and you’ll end up with lumpy filling. I use full-fat for the best texture, but Neufchâtel works if you want to cut a little fat.
- 1/2 cup buffalo wing sauce – Frank’s RedHot is my personal favorite. It has that perfect balance of heat and tang. Use more or less depending on your spice tolerance.
- 1/2 cup ranch dressing – I know, I know—blue cheese is traditional with buffalo wings. But ranch melts better and gives the filling a creamier texture. Use your favorite brand or homemade.
- 1 cup shredded cheddar cheese – Sharp cheddar adds the most flavor. You’ll use half in the filling and half on top.
- 1/4 cup crumbled blue cheese (optional) – For the purists out there. I add this when I’m feeling fancy or serving these to fellow blue cheese lovers.
For the Peppers
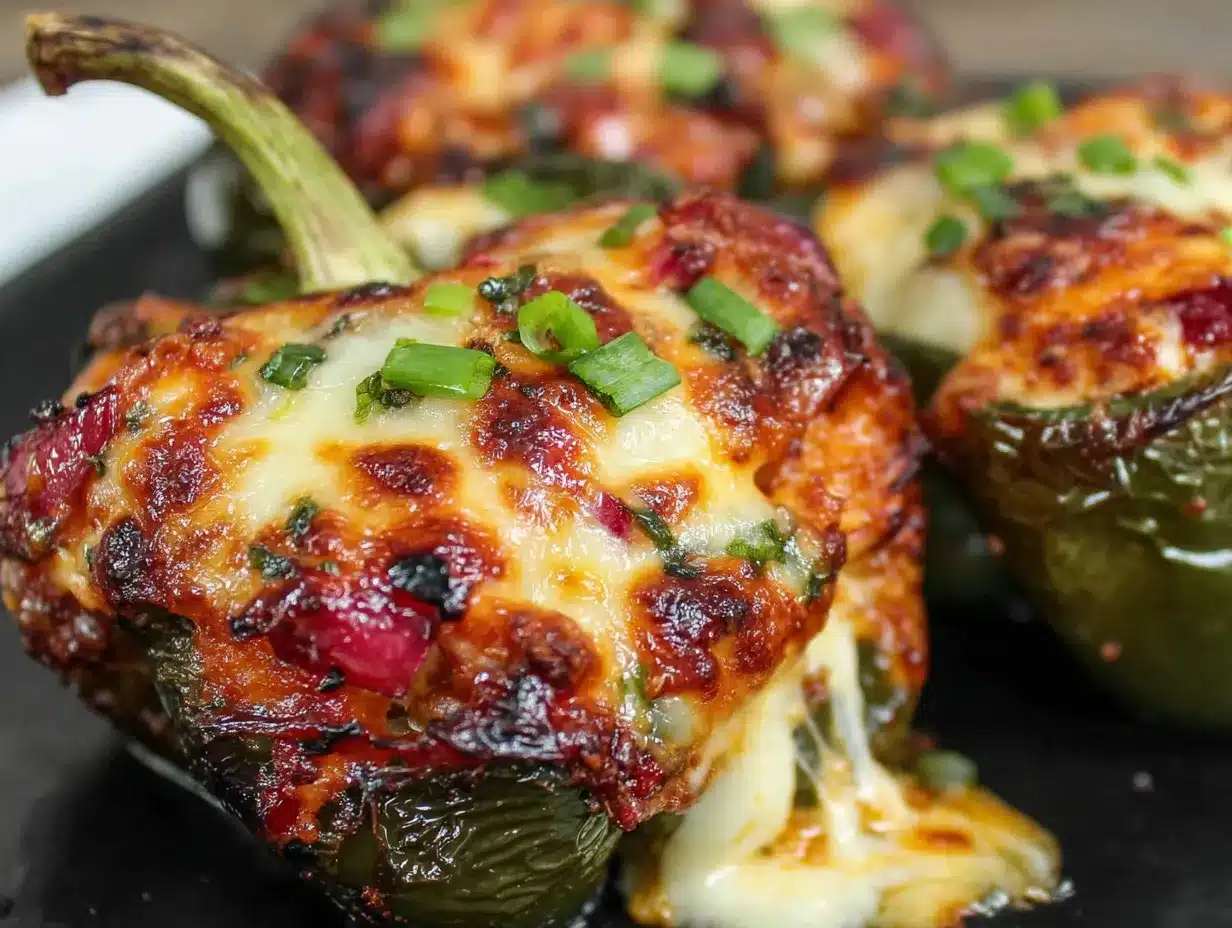
- 4 large bell peppers – Any color works, but I prefer red or orange for their sweetness. Green peppers are more bitter and can overpower the filling. Look for peppers that are squat and wide so they stand up nicely in the baking dish.
- 1 tablespoon olive oil – For brushing the peppers before roasting. Helps them soften and get those beautiful charred spots.
For Topping
- 1/2 cup shredded cheddar cheese – Reserved from the filling portion.
- 2 tablespoons chopped green onions – For freshness and color right before serving.
- Extra buffalo sauce for drizzling – Because why not?
One thing I learned the hard way—don’t skip softening the cream cheese. I was in a hurry once and tried to mix cold cream cheese into the warm chicken. It sort of worked, but the filling was grainy and not nearly as luxurious. Take the extra ten minutes. Your taste buds will thank you.
Equipment Needed
- 9×13 baking dish – Glass or ceramic works best. Metal can react with the acidic hot sauce.
- Mixing bowls – One large bowl for the filling, one small for any prep.
- Chef’s knife and cutting board – For prepping the peppers and green onions.
- Hand mixer or stand mixer – Makes combining the cream cheese and hot sauce effortless. A wooden spoon works too, but you’ll need some elbow grease.
- Measuring cups and spoons – For accuracy, especially with the hot sauce and ranch.
- Aluminum foil – For covering the dish during the first part of baking.
- Tongs – For handling the hot peppers after roasting.
If you don’t have a hand mixer, no worries. Just make sure your cream cheese is really soft and use a sturdy spoon. It’ll take a minute longer, but the result is the same. I’ve made these in a pinch with just a fork and it worked fine—just a little arm workout involved.
Preparation Method
- Preheat your oven to 375°F (190°C). While it’s heating, get your peppers ready. Slice each bell pepper in half from top to bottom, cutting right through the stem. Scoop out all the seeds and white membranes. I use a small spoon for this—it’s faster than fiddling with your fingers.
- Brush the pepper halves with olive oil on both the inside and outside. Place them cut-side down on a baking sheet. Roast for 15 minutes. This par-roasts them so they’re tender but still hold their shape. You’ll notice the skins starting to blister and the peppers smelling sweet and smoky.
- While the peppers roast, make the filling. In a large bowl, beat the softened cream cheese with the buffalo wing sauce until smooth. I use my hand mixer on medium speed for about a minute. The mixture should be pale orange and completely lump-free.
- Add the ranch dressing and beat again until combined. The mixture will get a little thinner—that’s perfect. Fold in the shredded chicken and half of the cheddar cheese (about 1/2 cup). If you’re using blue cheese crumbles, add them now too.
- Taste the filling. This is important. Dip a spoon in and see if it needs more heat, more tang, or more salt. Everyone’s buffalo sauce is different. Adjust now before it goes into the peppers.
- Flip the roasted peppers cut-side up in your 9×13 baking dish. They should fit snugly but not be crammed together. If they’re wobbling, you can nestle a crumpled piece of foil between them to keep them upright.
- Divide the filling evenly among the eight pepper halves. I use a large cookie scoop for this—it makes the portions neat and even. Pile the filling high; it will settle slightly as it bakes.
- Sprinkle the remaining 1/2 cup of cheddar cheese over the tops of the filled peppers. Don’t be shy—this cheese blanket is what makes the tops all golden and crispy.
- Bake uncovered for 20-22 minutes, until the filling is hot and bubbly and the cheese on top is melted and starting to brown in spots. If you want extra browning, switch the oven to broil for the last 2 minutes. Watch closely—broil can go from perfect to burnt in seconds.
- Let them rest for 5 minutes before serving. This is crucial. The filling needs that time to set up a little so it doesn’t run all over your plate. Sprinkle with chopped green onions and a drizzle of extra buffalo sauce if you’re feeling extra.
A quick note about a mistake I made the first time—I skipped the par-roasting step and just stuffed raw peppers. The peppers were still crunchy when the filling was done, and the texture was all wrong. That extra 15 minutes of roasting makes all the difference. Trust me on this one.
Cooking Tips & Techniques
After making these peppers more times than I can count, I’ve picked up a few tricks that make the process smoother and the results more consistent.
Use room temperature ingredients. I know I keep saying this, but it really matters. Cold cream cheese doesn’t blend evenly, and cold chicken can bring down the temperature of your filling. Let everything sit out for about 20 minutes before you start mixing.
Don’t overfill the peppers. I know it’s tempting to pile it high, but leave a little room at the top. The filling expands slightly as it bakes, and if you overfill, it’ll spill over into the dish and burn. A little spillage is fine—those crispy bits are delicious—but too much and you’ll have a mess.
Choose the right peppers. Look for peppers that are wide at the top and have flat bottoms. They’ll sit more steadily in the dish and hold more filling. I’ve made the mistake of using tall, narrow peppers, and they kept tipping over. Not a disaster, but annoying.
Make the filling ahead of time. This is a great meal prep option. You can make the filling up to two days in advance and keep it in the fridge. When you’re ready to eat, just stuff the peppers and bake. Add 5 minutes to the baking time if the filling is cold from the fridge.
Watch the broiler. If you’re broiling for that extra crispy cheese top, stay right there. Don’t walk away. I’ve burned more than one batch of these by getting distracted. Thirty seconds can be the difference between golden perfection and charcoal.
Use a meat thermometer if you’re unsure. The filling should reach 165°F (74°C) in the center. I don’t always check, but if you’re cooking for a crowd or if your chicken was refrigerated, it’s a good safety net.
One thing I learned from a particularly disastrous batch—if your filling seems too thin, don’t panic. Just add a little more shredded cheese or let it sit for a few minutes. The cream cheese will firm up as it cools slightly. I once added way too much hot sauce and thought I’d ruined the whole thing, but after a few minutes in the fridge, the filling was perfectly scoopable.
Variations & Adaptations
These stuffed peppers are incredibly forgiving. Here are some ways I’ve adapted them over the years:
Make it vegetarian. Swap the chicken for two cans of drained and rinsed black beans or a mixture of black beans and corn. The texture is different but just as satisfying. You might want to add an extra tablespoon of ranch to keep it creamy.
Turn up the heat. If you’re like me and love spicy food, add a teaspoon of cayenne pepper to the filling or use a hotter buffalo sauce. I’ve also added diced jalapeños to the filling for extra crunch and heat.
Go low-carb or keto. These are already pretty low-carb, but you can make them keto-friendly by using full-fat cream cheese and ranch, and skipping the blue cheese if you’re watching calories. Serve with a side of celery sticks for dipping into any extra filling that spills out.
Use different cheeses. Pepper jack adds a nice kick, while mozzarella gives a milder, stretchier texture. I’ve also used a Mexican blend when I was out of cheddar, and it worked great.
Try different proteins. Shredded pork or even ground turkey work beautifully here. If using ground meat, cook it first with some garlic and onion powder before mixing it into the filling. I once made these with leftover crispy BBQ chicken pizza toppings I had lying around, and while it wasn’t traditional, it was delicious.
Make it a meal prep dream. These reheat beautifully. I make a double batch on Sunday and have lunches for the week. Just store them in an airtight container in the fridge and reheat in the microwave or oven.
My personal favorite variation? I add a tablespoon of chopped pickled jalapeños to the filling and use pepper jack cheese on top. The extra tang and heat take these to another level. My husband calls them “danger peppers” because he can’t stop eating them.
Serving & Storage Suggestions
These peppers are best served hot, straight from the oven. Let them rest for those 5 minutes, then dig in. The filling will be molten and the peppers will be tender but still hold their shape.
What to serve with them:
- A simple green salad with ranch or blue cheese dressing
- Celery and carrot sticks (classic buffalo pairing)
- Extra buffalo sauce on the side for dipping
- Rice or cauliflower rice to soak up any extra sauce
If you’re serving these for a party or game day, cut each pepper half into two or three pieces and serve them as appetizers. They’re less messy than traditional buffalo chicken dip and way more impressive.
Storage: Leftover stuffed peppers keep in the refrigerator for up to 4 days. Store them in an airtight container. The flavors actually meld together overnight, so leftovers might taste even better than the fresh batch.
Reheating: The oven is your best bet for reheating. Pop them in a 350°F (175°C) oven for about 10-15 minutes, until heated through. The microwave works in a pinch, but the peppers will be softer and the cheese won’t be as crispy. If you’re in a hurry, microwave on high for 1-2 minutes per pepper.
Freezing: These freeze surprisingly well. Assemble the peppers completely but don’t bake them. Wrap each pepper half tightly in plastic wrap, then foil, and freeze for up to 3 months. To bake, unwrap and place frozen peppers in a baking dish. Add about 10-15 minutes to the baking time. I’ve done this for busy weeks and it’s a lifesaver.
One thing I’ve noticed—the peppers release a little liquid as they sit, so leftovers might be slightly more watery than fresh. It’s nothing to worry about, but if you’re meal prepping, you might want to store the filling and peppers separately and assemble them fresh.
Nutritional Information & Benefits
Here’s the approximate nutritional breakdown for one pepper half (based on using full-fat ingredients and 2% milk cheddar):
- Calories: 310
- Protein: 22g
- Fat: 22g
- Carbohydrates: 6g
- Fiber: 2g
- Sugar: 3g
These numbers will vary depending on your specific ingredients and portion sizes. If you’re using low-fat cream cheese and ranch, you can cut the calories and fat significantly.
Health benefits: Bell peppers are packed with vitamin C—actually, one red bell pepper has more vitamin C than an orange. They’re also rich in vitamin A and antioxidants. The chicken provides lean protein, and the calcium from the cheese is good for bone health. Plus, capsaicin from the hot sauce can boost metabolism. Not bad for a recipe that tastes this indulgent.
Dietary considerations: These peppers are naturally gluten-free and low-carb. They’re not dairy-free (obviously), but you could experiment with dairy-free cream cheese and cheese alternatives. If you’re watching sodium, use low-sodium hot sauce and ranch, and skip the added salt in the filling.
I’m not a nutritionist, but I’ve found that meals like this—where you’re getting protein, vegetables, and healthy fats—keep me full and satisfied for hours. It’s a far cry from the processed snacks I used to reach for.
Conclusion
These Creamy Buffalo Chicken Dip Stuffed Bell Peppers have become a staple in my kitchen for good reason. They take everything we love about game day dip and turn it into something you can eat with a fork—and feel pretty good about.
Whether you’re making them for a crowd, a family dinner, or just because you’re craving something spicy and creamy, these peppers deliver. They’re forgiving enough for beginners and impressive enough for experienced cooks. And honestly? They’re just fun to eat.
I’d love to hear how yours turn out. Did you add extra heat? Swap the cheese? Make them for a party? Drop a comment below and let me know. And if you’re looking for more quick and easy dinner ideas, you might enjoy this easy honey mustard chicken recipe or these quick beef tacos that I make on repeat. Also, if you love one-pan meals, this crispy lemon butter salmon is another weeknight winner.
Happy cooking, friends. Go make something delicious.
Frequently Asked Questions
Can I use pre-cooked rotisserie chicken for this recipe?
Absolutely. In fact, I recommend it. Rotisserie chicken adds great flavor and saves you a ton of time. Just shred it with two forks or your hands and you’re good to go.
Can I make these stuffed peppers ahead of time?
Yes. You can assemble the peppers completely (without baking) up to 24 hours in advance. Cover and refrigerate. When you’re ready to bake, add about 5-10 minutes to the baking time since the filling will be cold.
How do I keep the peppers from getting too soft?
The key is the par-roasting step. By roasting the peppers for 15 minutes before stuffing them, you get them tender but they still hold their shape during the final bake. Don’t skip this step.
Can I freeze these stuffed peppers?
Yes! Assemble them completely but don’t bake. Wrap each pepper half tightly in plastic wrap and foil, then freeze for up to 3 months. Bake from frozen, adding 10-15 minutes to the cooking time.
What’s the best hot sauce to use?
Frank’s RedHot is my go-to for its balanced heat and tangy flavor. But any buffalo-style hot sauce will work. Just avoid super-thin vinegary hot sauces like Tabasco—they’ll make the filling too runny.
Pin This Recipe!
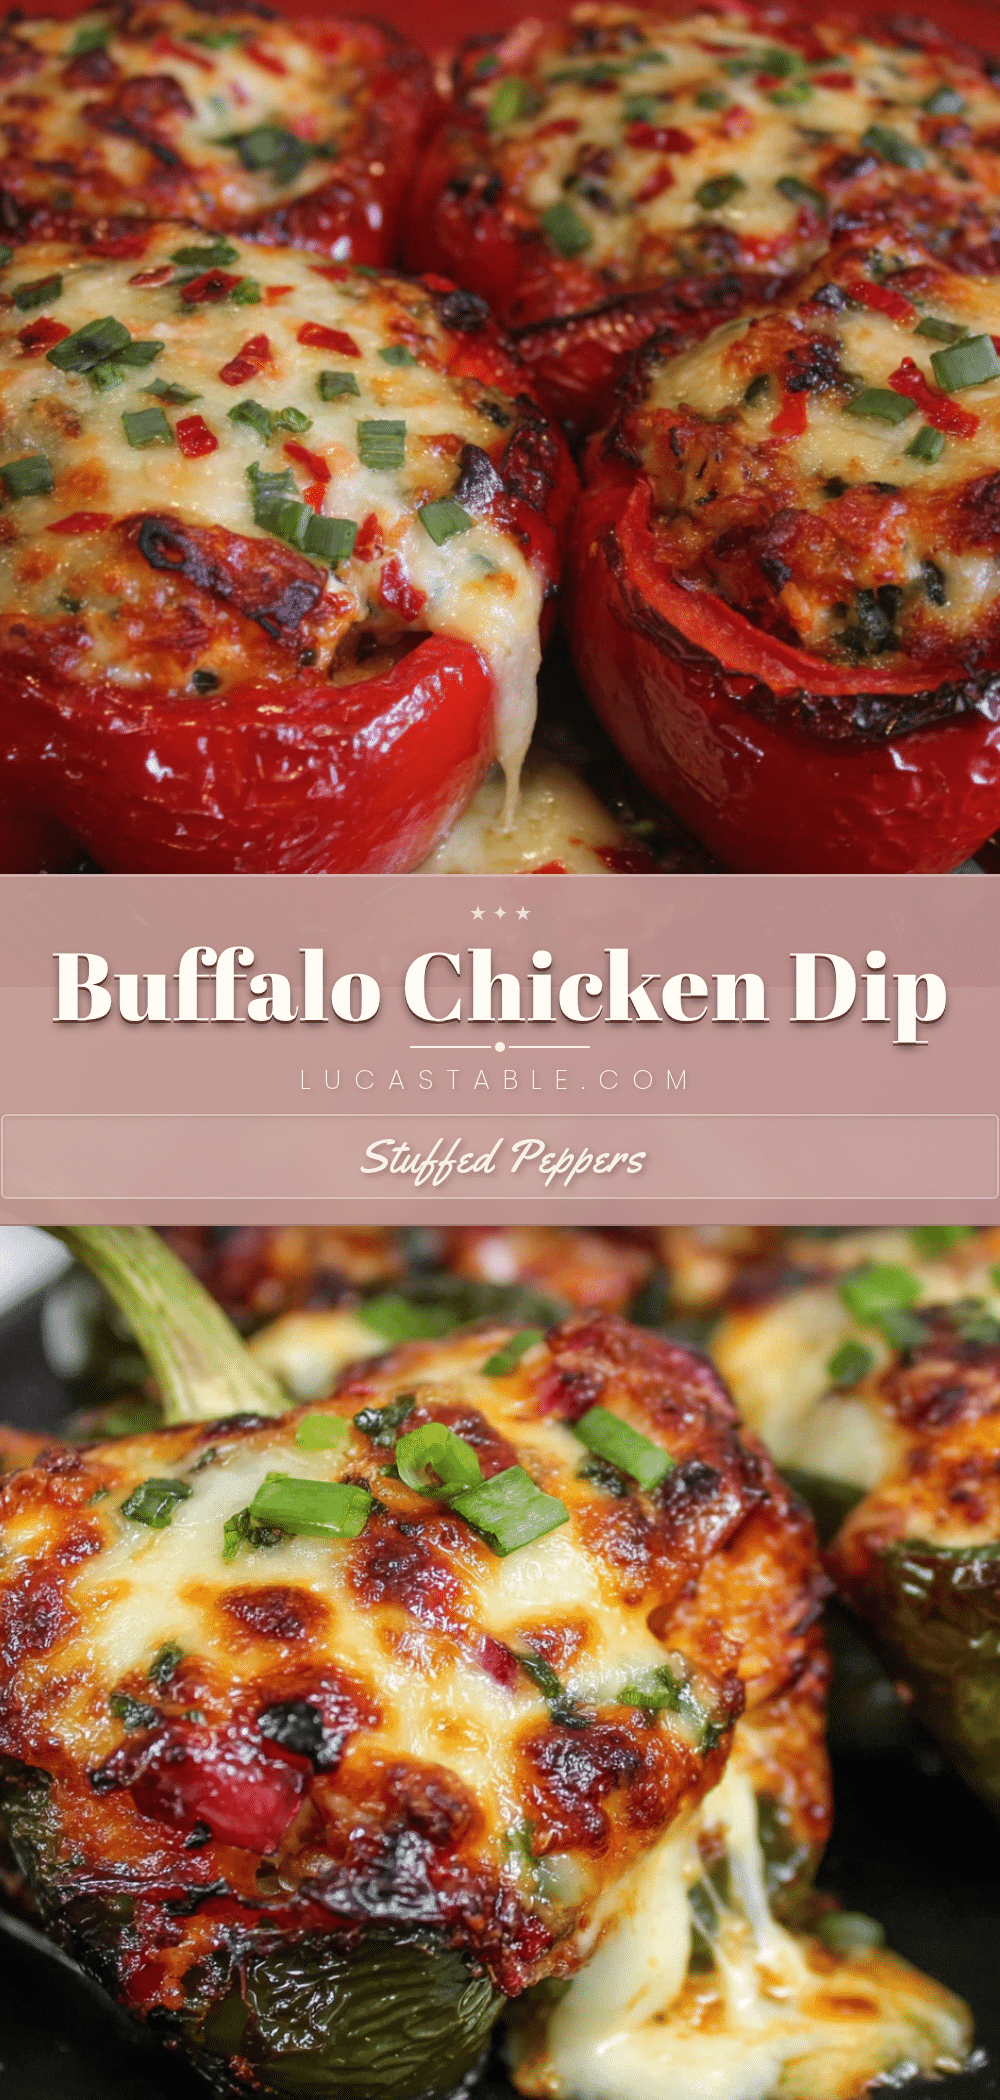
Creamy Buffalo Chicken Dip Stuffed Bell Peppers
Creamy, spicy buffalo chicken dip stuffed into roasted bell peppers for a low-carb, crowd-pleasing meal that works for game day or weeknight dinners.
- Prep Time: 15 minutes
- Cook Time: 35 minutes
- Total Time: 50 minutes
- Yield: 4 servings 1x
- Category: Main Course
- Cuisine: American
Ingredients
- 2 cups cooked, shredded chicken
- 8 oz cream cheese, softened
- 1/2 cup buffalo wing sauce
- 1/2 cup ranch dressing
- 1 cup shredded cheddar cheese
- 1/4 cup crumbled blue cheese (optional)
- 4 large bell peppers
- 1 tablespoon olive oil
- 1/2 cup shredded cheddar cheese (for topping)
- 2 tablespoons chopped green onions
- Extra buffalo sauce for drizzling
Instructions
- Preheat your oven to 375°F (190°C).
- Slice each bell pepper in half from top to bottom, cutting through the stem. Scoop out seeds and white membranes.
- Brush pepper halves with olive oil on both inside and outside. Place cut-side down on a baking sheet. Roast for 15 minutes.
- While peppers roast, make the filling: In a large bowl, beat softened cream cheese with buffalo wing sauce until smooth.
- Add ranch dressing and beat until combined. Fold in shredded chicken and half of the cheddar cheese (about 1/2 cup). Add blue cheese if using.
- Taste the filling and adjust seasoning if needed.
- Flip roasted peppers cut-side up in a 9×13 baking dish.
- Divide filling evenly among the eight pepper halves.
- Sprinkle remaining 1/2 cup cheddar cheese over the tops.
- Bake uncovered for 20-22 minutes, until hot and bubbly. For extra browning, broil for the last 2 minutes.
- Let rest for 5 minutes before serving. Sprinkle with chopped green onions and drizzle with extra buffalo sauce.
Notes
Don’t skip par-roasting the peppers—it ensures they are tender but still hold their shape. Use room temperature cream cheese for a smooth filling. For meal prep, assemble peppers without baking and refrigerate up to 24 hours ahead; add 5-10 minutes to baking time. Freeze unbaked peppers for up to 3 months.
Nutrition
- Serving Size: 1 pepper half
- Calories: 310
- Sugar: 3
- Sodium: 800
- Fat: 22
- Saturated Fat: 10
- Carbohydrates: 6
- Fiber: 2
- Protein: 22
Keywords: buffalo chicken dip, stuffed peppers, low-carb, game day, creamy, spicy, bell peppers, chicken, appetizer, dinner


