The quiet, insistent press of a thumb into the side of a ball – that slight give before the resistance – that’s the whole point. I wasn’t looking for a dessert or a snack. I was looking for something to hold onto between meetings, something that wouldn’t crumble in my bag or leave a sticky mess on my keyboard. These protein balls had to feel substantial, not dainty. They had to be dense enough to quiet the 3 p.m. growl but tender enough that you didn’t feel like you were gnawing on a hockey puck.
I’d been on a kick of making these easy high-protein peanut butter protein balls (no-bake) after a particularly brutal week of deadlines. Honestly, I needed something that required zero willpower to make. No oven preheating. No standing over a stove. Just a bowl, a spoon, and the kind of focused determination that comes from being really, really hungry.
The first batch I made was a disaster – too dry, they fell apart like sad, crumbly cookies. The second batch? Too wet. They were basically expensive, peanut-buttery mud. But the third batch? That was the one. The texture locked in. The sweetness hit just right. And the protein? It kept me going through two more hours of editing without a single thought about the vending machine downstairs.
These aren’t just energy balls. They’re a small, edible promise that you can feed yourself well even when you’re running on empty. And that’s a promise worth keeping.
Why You’ll Love This Recipe
Let’s be honest – most “healthy” snacks taste like cardboard covered in regret. These are not those snacks. These easy high-protein peanut butter protein balls (no-bake) are the real deal. I’ve tested this recipe about seven times (my coworkers were very happy test subjects) to get the texture and flavor just right.
Here’s what makes them stand out:
- No-Bake and Ready in 15 Minutes: No oven, no stovetop, no complicated steps. Just mix, roll, and eat. Perfect for those days when you need food now.
- Simple, Whole-Food Ingredients: You probably have most of these in your pantry right now. No weird protein powders or hard-to-find superfoods. Just real food that tastes good.
- Perfect for Meal Prep: Make a batch on Sunday, and you’ve got grab-and-go snacks for the whole week. They keep beautifully in the fridge or freezer.
- Naturally Sweetened: These get their sweetness from dates and a touch of honey or maple syrup. No refined sugar needed.
- Incredibly Satisfying: The combination of protein, healthy fats, and fiber means one or two balls actually keep you full. No reaching for another snack ten minutes later.
What makes this version different is the texture. I use a specific ratio of oats to peanut butter that gives you a soft, fudgy bite – not dry or chalky. And I add a pinch of sea salt on top because, honestly, that little crunch makes everything better. It’s the kind of snack that makes you feel good about eating it. And isn’t that the whole point?
What Ingredients You Will Need
This recipe uses simple, pantry-friendly ingredients that come together to create a snack that’s both satisfying and nourishing. Each one plays a specific role in getting that perfect texture and flavor.
- Rolled Oats (1 cup / 90g): The backbone of these balls. Rolled oats give you a chewier texture than quick oats. If all you have are quick oats, they’ll work, but the texture will be a bit softer. For a gluten-free version, use certified gluten-free oats.
- Creamy Peanut Butter (½ cup / 130g): The star of the show. Use a natural peanut butter that’s just peanuts and salt – no added sugar or hydrogenated oils. I prefer the kind where the oil separates and you stir it back in. It gives a much better texture. If your peanut butter is too stiff, microwave it for 15 seconds to make it easier to mix.
- Medjool Dates (½ cup, pitted / about 5-6 dates): These are the secret to natural sweetness and that fudgy, sticky texture. Medjool dates are softer and sweeter than regular dates. If your dates are dry, soak them in warm water for 10 minutes, then drain before using.
- Honey or Maple Syrup (2 tablespoons / 30ml): A little extra sweetness and helps bind everything together. Maple syrup adds a subtle caramel flavor that works beautifully with the peanut butter. Agave nectar also works in a pinch.
- Vanilla Extract (1 teaspoon): Pure vanilla extract rounds out the flavors and makes everything taste a little more special. Skip the imitation stuff if you can.
- Ground Flaxseed (2 tablespoons / 14g): This is my secret weapon for texture and nutrition. It helps bind the balls together and adds a boost of omega-3s and fiber. You can substitute chia seeds if that’s what you have.
- Mini Chocolate Chips (¼ cup / 45g): Because every good protein ball needs a little chocolate. Use dark chocolate chips for less sugar, or milk chocolate if you prefer. You can also skip them entirely, but why would you want to?
- Pinch of Sea Salt: Don’t skip this. A flaky sea salt on top (like Maldon) adds a lovely crunch and balances the sweetness perfectly.
Equipment Needed
You don’t need a fancy kitchen to make these easy high-protein peanut butter protein balls (no-bake). Here’s what you’ll need:
- Food Processor: This is the most important tool. A food processor breaks down the oats and dates into a cohesive dough. A high-speed blender can work in a pinch, but you’ll need to scrape down the sides more often.
- Mixing Bowl: For combining everything after the food processor does its job.
- Measuring Cups and Spoons: Accurate measurements are key to getting the texture right. Don’t eyeball it.
- Parchment Paper or Silicone Mat: For rolling the balls on. It makes cleanup a breeze.
- Small Cookie Scoop (Optional): If you want perfectly uniform balls, a 1-inch cookie scoop is your best friend. Otherwise, just use your hands.
- Airtight Container: For storing your finished protein balls in the fridge or freezer.
I’ve made these using a cheap food processor and a fancy one, and honestly, they both work fine. The key is to be patient and let the machine do its work. If your food processor struggles with the dates, pulse them first with a tablespoon of water to soften them up.
Preparation Method
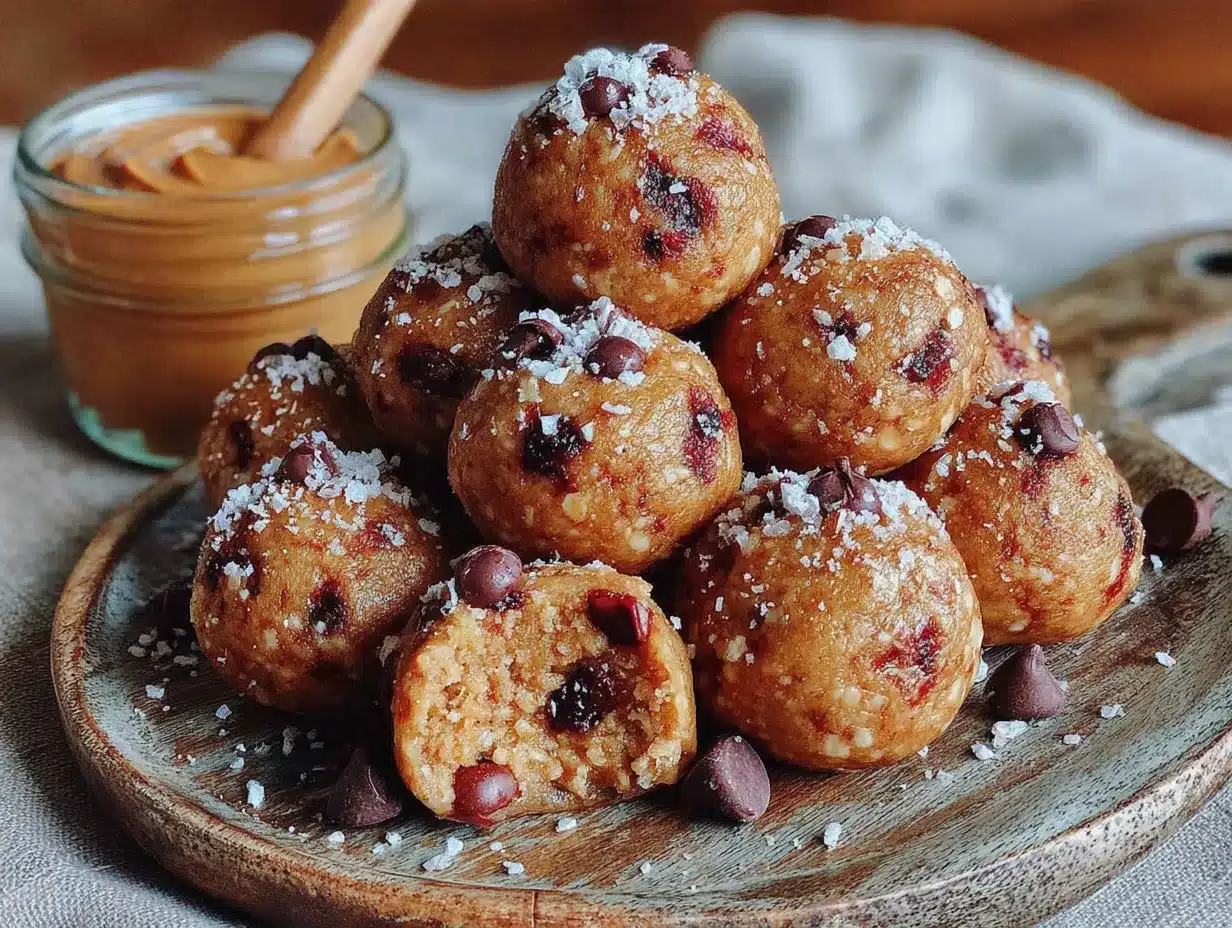
Making these easy high-protein peanut butter protein balls (no-bake) is almost embarrassingly simple. But a few small details make the difference between “okay” and “oh, these are good.”
- Prep Your Dates: If your Medjool dates feel a little dry, place them in a small bowl and cover with warm water. Let them soak for 5-10 minutes while you get everything else ready. Drain them well before using. This step is optional, but it guarantees a softer, stickier dough.
- Pulse the Oats: Add the rolled oats to your food processor. Pulse 5-6 times until they’re broken down into a coarse flour. You don’t want a fine powder – some texture is good. Transfer the oat flour to a mixing bowl and set aside.
- Blend the Wet Ingredients: In the same food processor (no need to wash it), add the pitted dates, peanut butter, honey or maple syrup, and vanilla extract. Process for 30-45 seconds until you have a smooth, sticky paste. Scrape down the sides of the bowl as needed.
- Combine Everything: Add the oat flour and ground flaxseed to the food processor with the peanut butter-date mixture. Pulse until everything is well combined. The dough should hold together when you squeeze a bit between your fingers. If it’s too dry, add a teaspoon of water and pulse again. If it’s too wet, add another tablespoon of oats.
- Fold in the Chocolate Chips: Transfer the dough to your mixing bowl. Add the mini chocolate chips and fold them in with a spatula or your hands. Make sure they’re evenly distributed.
- Chill the Dough (Optional but Recommended): Cover the bowl and pop it in the fridge for 15-20 minutes. This makes the dough much easier to handle and roll. If you’re impatient (I get it), you can skip this step – just expect slightly stickier fingers.
- Roll into Balls: Line a baking sheet or plate with parchment paper. Using a small cookie scoop or your hands, scoop out about 1 tablespoon of dough (roughly 20-25g) and roll it between your palms to form a smooth ball. Place it on the parchment paper. Repeat until all the dough is used. You should get about 16-18 balls.
- Add the Finishing Touch: Sprinkle a tiny pinch of flaky sea salt on top of each ball. Press it in gently so it sticks. This small step makes a huge difference.
- Set and Serve: Place the baking sheet in the fridge for at least 30 minutes to let the balls firm up. They’ll be much easier to handle after chilling. Once set, transfer them to an airtight container.
Cooking Tips & Techniques
I’ve made more batches of protein balls than I care to count, and I’ve learned a few things the hard way. Here’s what I wish someone had told me from the start.
The Dough Consistency Test
The biggest mistake people make is getting the moisture balance wrong. Here’s my test: pinch a small piece of dough and roll it between your fingers. If it holds together without cracking, you’re good. If it crumbles, add a teaspoon of water or a tiny bit more honey. If it’s too sticky to handle, add another tablespoon of oat flour.
Sticky Hands Solution
Rolling sticky dough can be frustrating. Lightly wet your hands with water before rolling each ball – the dough won’t stick as much. Alternatively, rub a tiny bit of coconut oil on your palms. This works like a charm and adds a subtle hint of coconut flavor.
Don’t Over-Process the Oats
You want a coarse oat flour, not a fine powder. Over-processing can make the balls gummy and dense. Pulse the oats in short bursts and stop when they look like a rough meal.
Room Temperature Ingredients Matter
If your peanut butter has been sitting in the fridge, it will be too stiff to mix properly. Let it sit at room temperature for 15 minutes, or microwave it for 10-15 seconds until it’s soft and stirrable.
Make-Ahead Strategy
I like to double this recipe and freeze half. The balls thaw in about 10 minutes at room temperature, so they’re perfect for grabbing on your way out the door. Just pop a few in a container and they’ll be ready by the time you get to work.
Variations & Adaptations
The beauty of these easy high-protein peanut butter protein balls (no-bake) is how customizable they are. Here are some of my favorite variations:
Chocolate Peanut Butter: Replace 2 tablespoons of the oat flour with unsweetened cocoa powder. You’ll get a rich, chocolatey version that tastes like dessert. Add an extra tablespoon of honey to balance the bitterness of the cocoa.
Almond Joy: Swap the peanut butter for almond butter. Add ¼ cup of unsweetened shredded coconut and ¼ cup of chopped dark chocolate. The coconut adds a lovely texture and a hint of tropical flavor.
Vegan Option: Use maple syrup instead of honey, and make sure your chocolate chips are vegan-friendly. Everything else is already plant-based. These are just as delicious and hold together perfectly.
Nut-Free Version: Substitute the peanut butter with sunflower seed butter or tahini. The flavor will be different (more earthy), but the texture works well. Add an extra tablespoon of honey to balance the savory notes.
Protein Boost: Add 2 tablespoons of your favorite protein powder. If you’re using a flavored powder (like vanilla or chocolate), reduce the honey by 1 tablespoon to keep the sweetness balanced. You may need to add a splash of water or milk to get the right consistency.
Spiced Version: Add ½ teaspoon of cinnamon, ¼ teaspoon of nutmeg, and a pinch of ginger to the dough. These warm spices pair beautifully with the peanut butter and make the balls taste like a cozy fall treat.
I once made a batch with a scoop of vanilla protein powder and a handful of dried cranberries. They were gone within two days. My husband didn’t even realize they were “healthy.”
Serving & Storage Suggestions
These protein balls are incredibly versatile when it comes to serving. Here’s how I like to enjoy them:
Serving Temperature: They’re best enjoyed cold straight from the fridge or at room temperature. If you take them out of the freezer, let them sit on the counter for 5-10 minutes before eating. They soften up just enough to be perfectly chewy.
Perfect Pairings: Serve them alongside a cup of coffee for a mid-morning pick-me-up. They also pair beautifully with a tall glass of cold milk (dairy or plant-based). For a quick breakfast, grab two balls and a piece of fruit. It’s a balanced meal in under a minute.
Storage Instructions: Store the protein balls in an airtight container in the refrigerator. They’ll stay fresh for up to 2 weeks. I like to place a piece of parchment paper between layers to prevent them from sticking together.
Freezer Instructions: These freeze beautifully. Place the rolled balls on a baking sheet and freeze for 1 hour until solid. Transfer them to a freezer-safe bag or container. They’ll keep for up to 3 months. To thaw, simply leave them in the fridge overnight or at room temperature for 10-15 minutes.
Flavor Development: Here’s a little secret – these actually taste better the next day. The flavors meld together as they sit, and the texture becomes more uniform. So don’t be afraid to make them a day ahead. They’re even better for it.
Nutritional Information & Benefits
These easy high-protein peanut butter protein balls (no-bake) aren’t just delicious – they’re genuinely good for you. Here’s the breakdown per ball (based on 16 balls):
- Calories: ~145
- Protein: 5g
- Fat: 8g (mostly healthy unsaturated fats from peanut butter)
- Carbohydrates: 16g
- Fiber: 3g
- Sugar: 9g (naturally occurring from dates and honey)
Health Benefits: The combination of oats, peanut butter, and flaxseed provides a steady release of energy. The protein and healthy fats keep you full and satisfied. Dates are packed with fiber and antioxidants. Flaxseed adds omega-3 fatty acids, which are great for heart health and brain function.
Dietary Considerations: This recipe is naturally vegetarian and can be made vegan, gluten-free (with certified gluten-free oats), and dairy-free. The only potential allergen is peanuts, but that’s easily substituted as noted above.
I love that I can feel good about reaching for one of these. It’s not about deprivation – it’s about nourishing your body with something that tastes like a treat but works like fuel. And honestly, that’s a win-win in my book.
Conclusion
These easy high-protein peanut butter protein balls (no-bake) have become a staple in my kitchen for good reason. They’re quick, they’re forgiving, and they deliver exactly what you need – a satisfying, protein-packed snack that actually tastes good. No complicated techniques, no obscure ingredients, no hours in the kitchen.
I love that I can customize them based on what I have in my pantry. Feeling adventurous? Add some shredded coconut. Need a chocolate fix? Throw in extra chips. The recipe is a starting point, not a rulebook.
I’d love to hear how yours turn out. Did you try a variation I haven’t thought of? Did you add a secret ingredient that made them even better? Drop a comment below and let me know. And if you share them on social media, tag me – I want to see your creations.
Go ahead, make a batch. Your future self (the one who’s hungry and short on time) will thank you.
Frequently Asked Questions
Can I make these without a food processor?
Yes, but it takes a bit more effort. Finely chop the dates by hand, then mash them with a fork. Mix everything in a bowl with a sturdy spoon. The texture won’t be as uniform, but they’ll still taste great.
Can I use quick oats instead of rolled oats?
Absolutely. Quick oats will give you a softer, more tender texture. They absorb moisture faster, so you might need to add a little less liquid. Start with the recipe as written and adjust if needed.
How long do these keep at room temperature?
They’re best stored in the fridge, but they’ll keep at room temperature for about 2-3 days. If it’s warm in your kitchen, the peanut butter can soften and the balls may become a bit sticky.
Can I use a different nut butter?
Definitely. Almond butter, cashew butter, or sunflower seed butter all work well. Keep in mind that different nut butters have different moisture levels. You may need to adjust the amount of oats or liquid to get the right consistency.
Are these safe for kids?
Yes, with one caveat – the balls are quite dense and can be a choking hazard for very young children. For toddlers, I recommend breaking them into smaller pieces or mashing them slightly. The ingredients are all kid-friendly and nutritious.
Pin This Recipe!
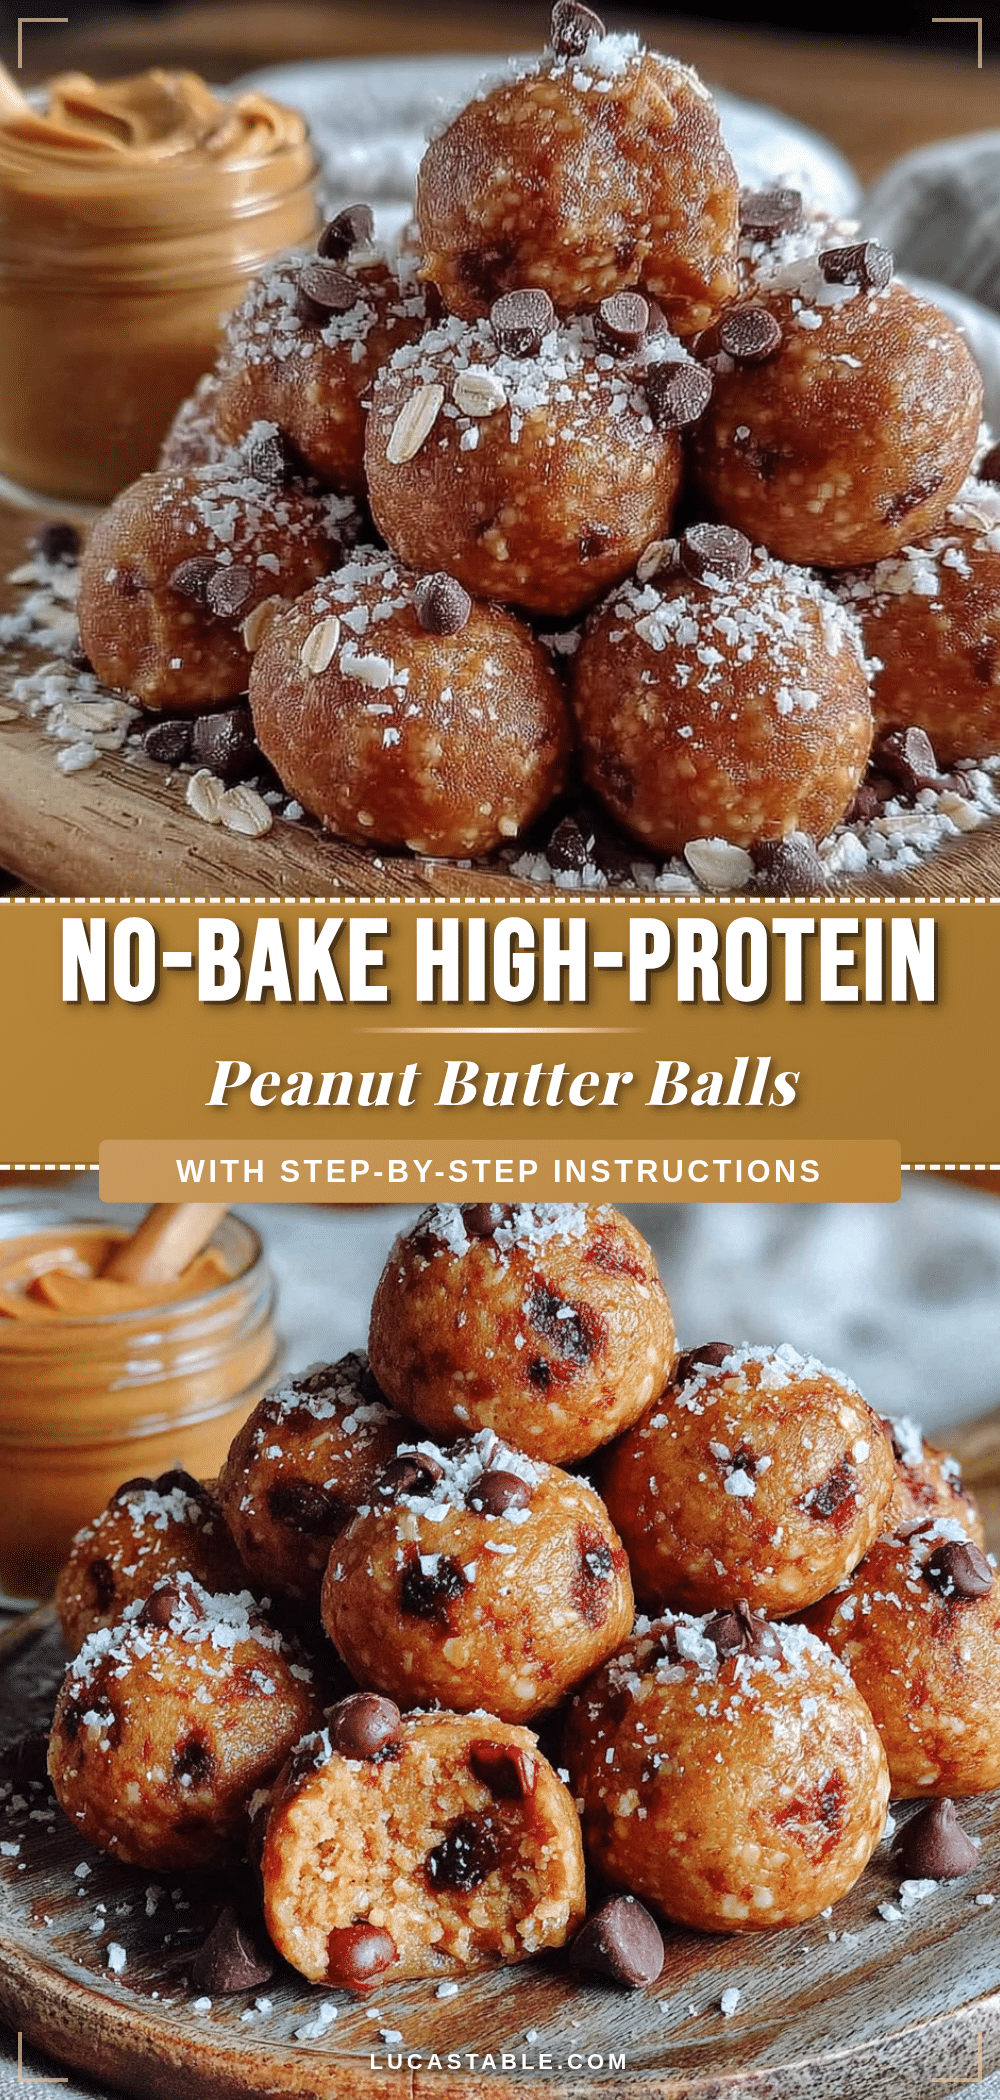
Easy High-Protein Peanut Butter Protein Balls (No-Bake)

These no-bake peanut butter protein balls are a quick, satisfying snack made with simple, whole-food ingredients. They’re naturally sweetened, packed with protein and fiber, and perfect for meal prep.
- Prep Time: 15 minutes
- Cook Time: 0 minutes
- Total Time: 45 minutes (includes chilling time)
- Yield: 16-18 balls 1x
- Category: Snack
- Cuisine: American
Ingredients
- 1 cup (90g) rolled oats
- ½ cup (130g) creamy peanut butter (natural, no added sugar)
- ½ cup pitted Medjool dates (about 5–6 dates)
- 2 tablespoons (30ml) honey or maple syrup
- 1 teaspoon vanilla extract
- 2 tablespoons (14g) ground flaxseed
- ¼ cup (45g) mini chocolate chips
- Pinch of sea salt (for topping)
Instructions
- If dates are dry, soak them in warm water for 5-10 minutes, then drain well.
- Pulse rolled oats in a food processor 5-6 times until they form a coarse flour. Transfer to a mixing bowl and set aside.
- In the same food processor, combine pitted dates, peanut butter, honey or maple syrup, and vanilla extract. Process for 30-45 seconds until smooth and sticky.
- Add the oat flour and ground flaxseed to the food processor. Pulse until well combined. The dough should hold together when squeezed. If too dry, add 1 teaspoon water; if too wet, add 1 tablespoon oats.
- Transfer dough to a mixing bowl and fold in mini chocolate chips until evenly distributed.
- Optional: Chill dough in the refrigerator for 15-20 minutes for easier handling.
- Line a baking sheet with parchment paper. Scoop about 1 tablespoon (20-25g) of dough and roll into smooth balls. Repeat to make 16-18 balls.
- Sprinkle a tiny pinch of flaky sea salt on top of each ball and press gently to adhere.
- Refrigerate for at least 30 minutes to firm up. Transfer to an airtight container for storage.
Notes
For best texture, use natural peanut butter (just peanuts and salt). If dough is too sticky, wet hands lightly with water or rub with coconut oil before rolling. These taste even better the next day as flavors meld. Store in fridge for up to 2 weeks or freeze for up to 3 months.
Nutrition
- Serving Size: 1 ball
- Calories: 145
- Sugar: 9
- Sodium: 60
- Fat: 8
- Saturated Fat: 2
- Carbohydrates: 16
- Fiber: 3
- Protein: 5
Keywords: protein balls, peanut butter, no-bake, healthy snack, high protein, energy balls, gluten-free option, vegan option


