My buddy Dave took one bite, looked me dead in the eye, and said, “You’re not allowed to bring anything else to game day ever again.” I just stood there in his kitchen, spatula in hand, watching him reach for a third wing before he’d even finished the first two. That’s when I knew these Crispy Parmesan Garlic Tailgate Wings were something special.
I’d been messing around with wing recipes for months, trying to crack that perfect combo—crunchy skin, sticky garlic, and that salty, nutty hit of Parmesan that doesn’t just sit on top but actually clings to every ridge and curve. Most recipes either give you soggy skin or a coating that slides off after the first bite. Not these.
The secret, honestly, is a two-step method I stumbled into on a random Tuesday night when I was too lazy to follow directions. I wanted wings that tasted like they came from a dive bar with a decades-old fryer, but made in my regular oven. And after burning through about four pounds of test wings (RIP, those early batches), I finally got there.
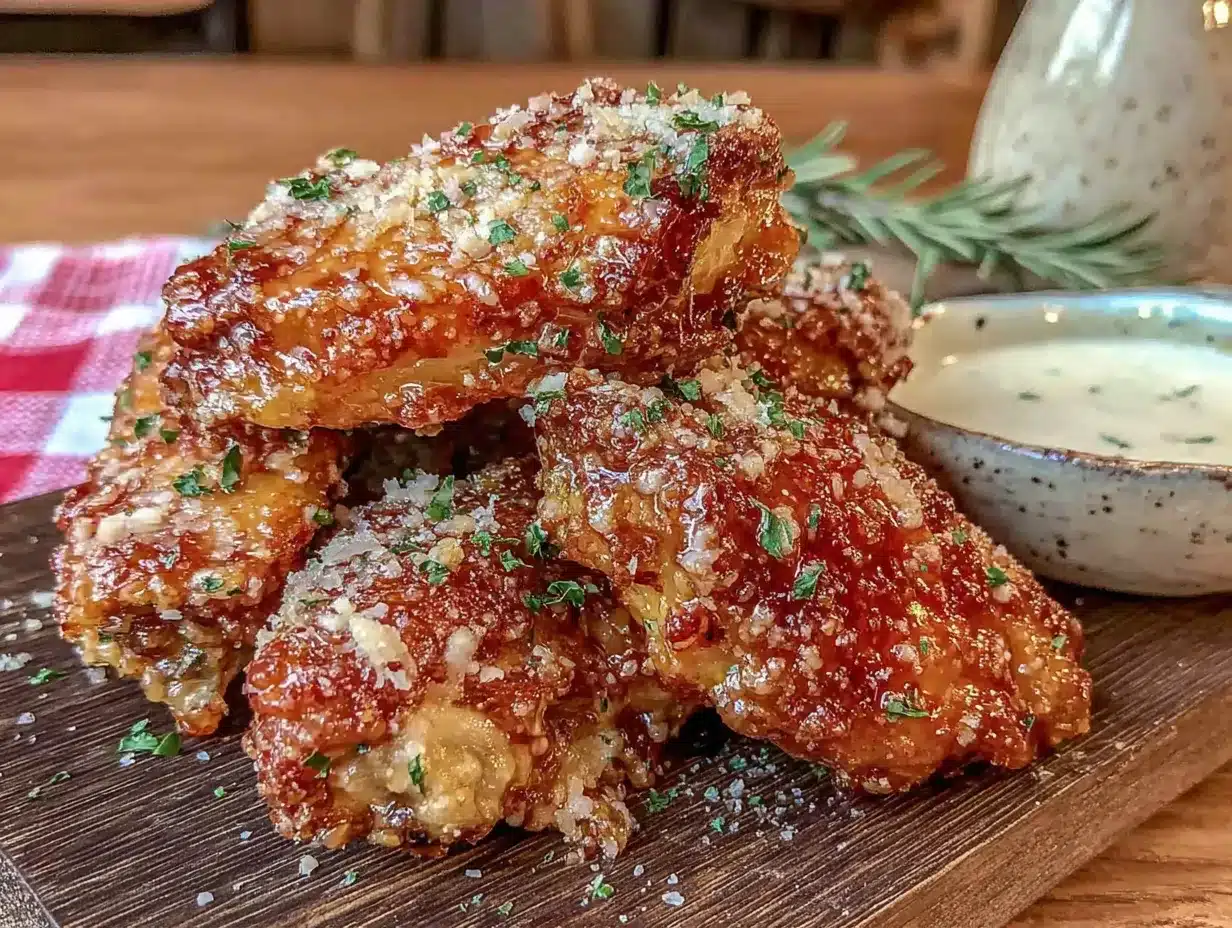
These wings come out shatteringly crisp, coated in a garlic-Parmesan crust that’s almost addictive. They’re the kind of thing that disappears before halftime, and people start hovering near the oven asking when the next batch is coming out. It’s a good problem to have.
Why You’ll Love These Crispy Parmesan Garlic Tailgate Wings
I’ve tested this recipe about a dozen times (my neighbors have been very patient), and every single batch confirmed what I suspected—these wings are different. Here’s why they work:
- Oven-Baked, Not Deep-Fried: You get that same shatteringly crisp skin without dealing with a pot of hot oil or a smelly kitchen for days. The baking powder trick does all the heavy lifting.
- Simple Pantry Ingredients: No weird specialty sauces or hard-to-find spices. You probably have almost everything already—chicken wings, garlic, Parmesan, butter, and a few pantry staples.
- Perfect for Game Day: These wings hold up beautifully on a buffet table. They stay crispy for a solid hour, which is basically a miracle in the wing world. They’re the star of any tailgate or watch party.
- Crowd-Pleasing Flavor: That combination of sharp Parmesan, toasty garlic, and buttery richness hits everyone’s sweet spot. Kids love them, adults inhale them, and nobody feels like they’re eating “healthy” baked wings.
- Foolproof Method: The two-step baking process (low and slow, then high and fast) guarantees crispy skin every single time. No guesswork, no soggy disasters.
I’ve made these for Super Bowl parties, casual Sunday gatherings, and even just a random weeknight when I needed something satisfying. They never disappoint. If you’ve tried making crispy chicken parmesan before, you’ll recognize that same golden crunch—but wings are somehow even more rewarding.
Ingredients You Will Need
This recipe keeps things simple. You don’t need a long grocery list or obscure ingredients. Everything pulls together from basics you probably already stock.
For the Wings
- 3 pounds chicken wings, separated into drums and flats (about 12-15 whole wings)
- 1 tablespoon baking powder (aluminum-free, for best results—this is non-negotiable for crispiness)
- 1 teaspoon salt
- 1/2 teaspoon black pepper
- 1/2 teaspoon garlic powder
For the Parmesan Garlic Coating
- 1/2 cup unsalted butter, melted
- 6 cloves garlic, minced (I use a microplane for the finest texture)
- 1 cup freshly grated Parmesan cheese (skip the pre-shredded stuff—it doesn’t melt right)
- 2 tablespoons fresh parsley, chopped (optional, but adds freshness)
- 1/4 teaspoon red pepper flakes (optional, for a little heat)
A quick note on the Parmesan: I really recommend grating it yourself from a block. The pre-shredded kind has anti-caking agents that stop it from melting smoothly into the butter. Freshly grated Parmesan creates that almost creamy, clingy coating that makes these wings unforgettable. For the wings themselves, look for meaty, fresh wings if you can find them. Frozen work too, just thaw them completely and pat them very dry before starting. If you’re a fan of that garlic-butter combo, you’d probably enjoy this quick shrimp scampi recipe too—same garlicky goodness, different protein.
Equipment Needed
You don’t need a fancy kitchen setup for these wings. Here’s what I use:
- Baking sheet (rimmed, to catch any drips)
- Wire rack that fits inside the baking sheet (crucial for air circulation and even crisping)
- Large mixing bowl
- Small saucepan for melting butter and garlic
- Microplane or fine grater for the garlic and Parmesan
- Tongs for flipping and tossing
- Paper towels (lots of them, for drying wings)
If you don’t have a wire rack, you can use a cooling rack set inside a baking sheet. That’s actually what I used for my first few batches. It works perfectly as long as it’s oven-safe (most metal ones are). The key is getting air underneath the wings so they crisp evenly instead of steaming in their own juices.
Preparation Method
This method looks like two steps, but there’s some waiting involved. Trust the process—it’s worth it.
- Prep the wings (15 minutes): Pat the wings completely dry with paper towels. This is the most important step. Any moisture left on the skin will steam instead of crisp. Place them in a large bowl.
- Season the wings (5 minutes): In a small bowl, mix the baking powder, salt, pepper, and garlic powder. Sprinkle this mixture over the wings and toss well to coat every piece evenly. The baking powder is what creates that shatteringly crisp skin—it raises the pH of the skin and helps it brown faster.
- First bake (30 minutes at 250°F): Arrange the wings in a single layer on the wire rack over the baking sheet. Don’t overcrowd—leave a little space between each wing. Bake for 30 minutes. This low temperature renders the fat slowly and dries out the skin without cooking the meat too fast. The kitchen will start smelling amazing.
- Second bake (40-45 minutes at 425°F): Increase the oven temperature to 425°F. Continue baking for another 40-45 minutes, flipping the wings halfway through. They should be deep golden brown and the skin should look bubbly and crisp. If they’re not brown enough, give them another 5 minutes.
- Make the garlic butter (during the last 10 minutes): While the wings finish baking, melt the butter in a small saucepan over low heat. Add the minced garlic and cook for 1-2 minutes until fragrant—don’t let it brown or it’ll turn bitter. Remove from heat and stir in the red pepper flakes if using.
- Coating time (5 minutes): Transfer the hot wings to a large bowl. Pour the garlic butter over them and toss gently to coat. Then add the grated Parmesan and parsley, and toss again until every wing is covered in that cheesy, garlicky goodness. Serve immediately.
A few things I’ve learned the hard way: Don’t skip the flipping step during the high-heat bake. The bottoms need that direct heat to crisp up too. And toss the wings in the Parmesan right after the butter—if you wait too long, the cheese won’t stick as well.
Cooking Tips & Techniques
I’ve made plenty of mistakes with wings, so you don’t have to. Here are the things I wish someone had told me:
- Dry those wings thoroughly: I cannot stress this enough. Wet skin = soggy wings. I pat them dry, then let them sit on paper towels for 5 minutes, then pat them dry again. It feels excessive, but it works.
- Don’t skip the low-temperature step: That first 30 minutes at 250°F is where the magic happens. It renders the fat slowly and dries out the skin without cooking the meat. If you go straight to high heat, the outside burns before the inside is done.
- Use a wire rack: Wings sitting directly on a baking sheet will steam on the bottom. The rack lets air circulate underneath, giving you even crispiness all around. I learned this after making a batch of sad, floppy wings.
- Watch the garlic: Minced garlic burns fast in hot butter. Keep the heat low and stir constantly. Burnt garlic tastes bitter and will ruin the whole batch. I’ve done it. It’s tragic.
- Grate your own Parmesan: I know, I sound like a broken record. But pre-shredded cheese has cellulose and anti-caking agents that prevent it from melting smoothly. Freshly grated Parmesan creates a creamy, clingy coating that’s infinitely better.
- Serve immediately: These wings are best fresh out of the oven. They hold up reasonably well for about an hour, but nothing beats that first-crisp bite. If you’re making them for a party, time the second bake so they come out right when guests arrive.
Variations & Adaptations
This recipe is a great base, and I’ve played around with it quite a bit. Here are some twists worth trying:
- Spicy Buffalo-Parmesan: Add 2 tablespoons of hot sauce (Frank’s is my go-to) to the melted butter along with the garlic. It gives you that buffalo tang with the Parmesan richness. My friend Mark requests this version every time.
- Lemon-Herb Parmesan: Add the zest of one lemon and 2 tablespoons of fresh lemon juice to the garlic butter. Swap the parsley for a mix of fresh thyme and oregano. It’s brighter and feels almost spring-like, even in winter.
- Air Fryer Version: Cook the seasoned wings in an air fryer at 400°F for 20-25 minutes, shaking the basket halfway through. Toss with the garlic butter and Parmesan afterward. The air fryer gets them even crispier, honestly, and cuts the cooking time in half.
- Dairy-Free Option: Use a high-quality vegan butter (I like Miyoko’s) and a dairy-free Parmesan alternative. The texture will be slightly different, but the crispy garlic flavor still shines through.
- Extra Garlic Lover’s: Roast a whole head of garlic (cut the top off, drizzle with oil, wrap in foil, and bake at 400°F for 40 minutes). Squeeze the soft roasted cloves into the butter instead of raw minced garlic. It’s sweeter, mellower, and absolutely divine.
I’ve tried the roasted garlic version for a small gathering, and it was gone before I could even grab one for myself. If you’re into bold flavors, you might also like this spicy Thai basil chicken for another night when you want something punchy.
Serving & Storage Suggestions
These wings are best served hot and fresh, right after coating. Here’s how I like to set them up:
- Serving temperature: Serve immediately while the Parmesan is still melty and the skin is shatteringly crisp. They’re fantastic at room temperature too, but that first hot bite is unbeatable.
- Presentation: Pile them on a large platter, sprinkle with extra fresh parsley and a little more grated Parmesan. Add lemon wedges on the side for squeezing, and a few celery and carrot sticks for crunch and color.
- Dipping sauces: Ranch dressing is the classic choice, but blue cheese dressing is also amazing. A simple garlic aioli or even a tangy yogurt dip works beautifully too. I sometimes serve them with a side of extra garlic butter for dipping—dangerous, but delicious.
- Storage: Leftover wings (if you have any) keep in an airtight container in the refrigerator for up to 3 days. The crispiness will fade, but the flavor stays strong.
- Reheating: The best way to bring back some crunch is in the oven or air fryer. Reheat at 375°F for 5-7 minutes. Skip the microwave—it makes them rubbery and sad.
- Freezing: You can freeze the baked (but uncoated) wings for up to 2 months. Thaw in the fridge overnight, then reheat and coat with the garlic butter and Parmesan. It’s a great make-ahead strategy for parties.
Nutritional Information & Benefits
These wings are indulgent, but they’re not without some redeeming qualities. Here’s a rough estimate per serving (about 5-6 wings):
- Calories: Approximately 450-500
- Protein: 32-35g (chicken wings are a solid protein source)
- Fat: 34-38g (mostly from the skin and butter, but chicken fat contains some healthy monounsaturated fats)
- Carbohydrates: 2-4g (very low carb, naturally gluten-free)
- Calcium: About 15% of daily value from the Parmesan
Chicken wings are a good source of B vitamins, particularly B6 and B12, which support energy metabolism and nervous system health. The garlic in this recipe is known for its anti-inflammatory and immune-supporting properties. And Parmesan cheese is packed with calcium and protein, so it’s not just empty calories.
These wings are naturally gluten-free and low-carb, making them suitable for keto and paleo diets (just skip the baking powder if you’re strict paleo, or use a compliant version). They’re also nut-free and egg-free, so they work for most allergen-friendly gatherings.
Conclusion
These Crispy Parmesan Garlic Tailgate Wings have become my go-to for any gathering, and I honestly think they’ll become yours too. There’s something about that combination—the crunch, the garlic, the salty Parmesan—that just hits different. It’s not fancy or complicated, but it’s deeply satisfying in a way that store-bought wings or complicated recipes just can’t match.
I love that this recipe proves you don’t need a deep fryer or professional skills to make restaurant-quality wings at home. It’s just good technique, simple ingredients, and a little patience. And the payoff? Wings that disappear before halftime and people asking for the recipe before the credits roll.
If you try these, I’d love to hear how they turn out. Drop a comment below and let me know if your friends demanded you bring them to every party too. And if you come up with your own twist—maybe a different cheese or a spicy variation—share that too. That’s how great recipes evolve.
Now go make some wings. Your game day spread is about to level up.
Frequently Asked Questions
Can I use frozen chicken wings for this recipe?
Yes, but thaw them completely in the refrigerator first. Then pat them very dry with paper towels before seasoning. Frozen wings release more moisture during cooking, so drying them thoroughly is even more important.
Why do I need baking powder for crispy wings?
Baking powder raises the pH of the chicken skin, which helps it brown faster and become crispier. It also creates tiny bubbles on the skin’s surface, giving it that shatteringly crunchy texture. Just make sure you use aluminum-free baking powder to avoid a metallic taste.
Can I make these wings ahead of time for a party?
You can bake the wings (without the garlic butter and Parmesan) up to a day ahead. Store them in the fridge, then reheat at 375°F for 10 minutes before tossing with the garlic butter and cheese. This saves time on game day and keeps the wings fresh.
How do I prevent the Parmesan from burning?
The Parmesan is added after baking, so burning isn’t an issue. Just toss the hot wings in the garlic butter first, then add the Parmesan. The residual heat melts the cheese slightly without burning it. If you add the cheese too early or put coated wings back in the oven, it can burn.
What’s the best way to reheat leftover wings?
The oven or air fryer is your best bet. Reheat at 375°F for 5-7 minutes until the skin crisps up again. Avoid the microwave—it makes the skin rubbery and the coating soggy. If the wings seem dry after reheating, drizzle a little extra melted garlic butter over them before serving.
Pin This Recipe!
Crispy Parmesan Garlic Tailgate Wings | Best Easy Game Day Recipe

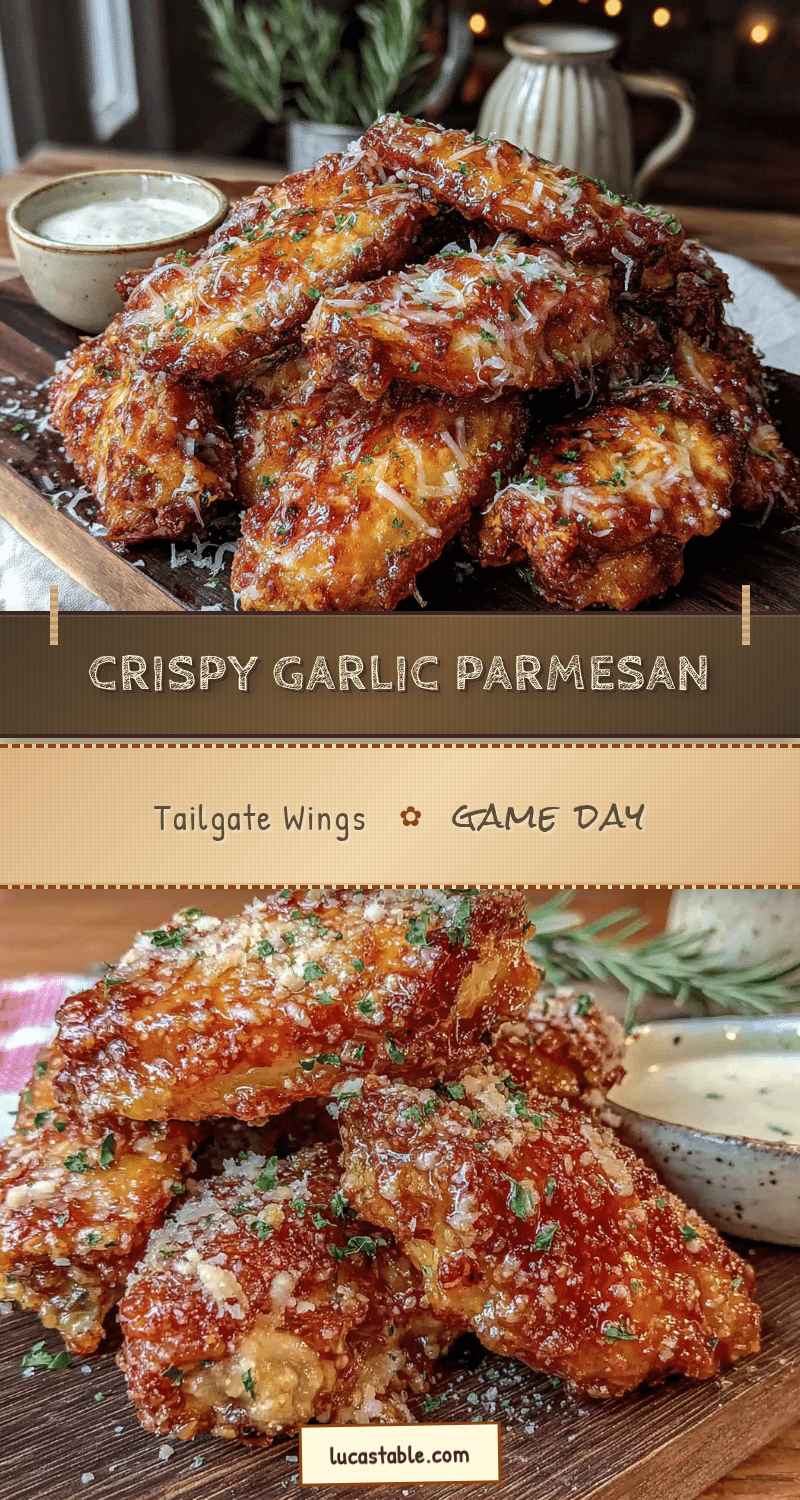
These oven-baked wings are shatteringly crisp, coated in a garlic-Parmesan crust that’s almost addictive. They’re the kind of thing that disappears before halftime, and people start hovering near the oven asking when the next batch is coming out.
- Prep Time: 20 minutes
- Cook Time: 75 minutes
- Total Time: 95 minutes
- Yield: 4 servings 1x
- Category: Appetizer
- Cuisine: American
Ingredients
- 3 pounds chicken wings, separated into drums and flats (about 12–15 whole wings)
- 1 tablespoon baking powder (aluminum-free)
- 1 teaspoon salt
- 1/2 teaspoon black pepper
- 1/2 teaspoon garlic powder
- 1/2 cup unsalted butter, melted
- 6 cloves garlic, minced
- 1 cup freshly grated Parmesan cheese
- 2 tablespoons fresh parsley, chopped (optional)
- 1/4 teaspoon red pepper flakes (optional)
Instructions
- Prep the wings (15 minutes): Pat the wings completely dry with paper towels. Place them in a large bowl.
- Season the wings (5 minutes): In a small bowl, mix the baking powder, salt, pepper, and garlic powder. Sprinkle this mixture over the wings and toss well to coat every piece evenly.
- First bake (30 minutes at 250°F): Arrange the wings in a single layer on a wire rack over a baking sheet. Bake for 30 minutes.
- Second bake (40-45 minutes at 425°F): Increase the oven temperature to 425°F. Continue baking for another 40-45 minutes, flipping the wings halfway through, until deep golden brown and crisp.
- Make the garlic butter (during the last 10 minutes): While the wings finish baking, melt the butter in a small saucepan over low heat. Add the minced garlic and cook for 1-2 minutes until fragrant. Remove from heat and stir in the red pepper flakes if using.
- Coating time (5 minutes): Transfer the hot wings to a large bowl. Pour the garlic butter over them and toss gently to coat. Then add the grated Parmesan and parsley, and toss again until every wing is covered. Serve immediately.
Notes
Don’t skip the low-temperature step; it renders fat and dries the skin. Use a wire rack for even crisping. Watch the garlic—it burns fast. Grate your own Parmesan for best results. Serve immediately for maximum crispiness.
Nutrition
- Serving Size: 5-6 wings
- Calories: 475
- Sugar: 1
- Sodium: 780
- Fat: 36
- Saturated Fat: 16
- Carbohydrates: 3
- Protein: 34
Keywords: crispy parmesan garlic wings, tailgate wings, game day wings, oven baked wings, easy wing recipe


