My nephew, Leo, took one look at the appetizer table, pointed straight at the cheese ball wrapped in phyllo strips, and said, “Auntie, that mummy needs to come to my room.” He wasn’t joking. He asked about the Easy Halloween Mummy Cheese Ball with Crackers for the rest of the night—how I made it, if it was alive, and whether it would fit in his backpack for show-and-tell. Honestly, I didn’t expect a cheese ball to become the star of a six-year-old’s imagination, but there it was, sitting on a platter with little olive eyes, wrapped up like a spooky snack.
That moment made me realize something. We spend so much time trying to make Halloween treats that are complicated or overly sweet, but sometimes the simplest things win. This mummy cheese ball isn’t just cute—it’s the kind of appetizer that disappears before the main course even hits the table. You get that creamy, savory bite of cheese balanced with crunchy crackers, and it looks like something straight out of a Halloween party Pinterest board. (I won’t lie, I felt pretty proud when someone asked if I bought it from a bakery.)
I’ve made this recipe for three Halloweens in a row now, and it never fails to get that same reaction. It’s one of those dishes that proves you don’t need a culinary degree to make something memorable. You just need cream cheese, a bit of patience with the phyllo strips, and a willingness to let a cheese ball be a little silly. Trust me, your guests will love it—and the kids will definitely try to adopt it.
Why You’ll Love This Recipe
I’ve tested this Easy Halloween Mummy Cheese Ball more times than I care to admit, and each batch taught me something new. First time, I used too much garlic powder and the mummy tasted like a pizza. Second time, I forgot to soften the cream cheese and ended up with lumpy monster bits. By the third attempt, I had it dialed in—and now I’m sharing all those hard-earned lessons with you.
- Quick & Easy: This comes together in about 20 minutes of active prep. You can even make it a day ahead, which is a lifesaver when you’re juggling costumes and candy bowls.
- Simple Ingredients: You probably already have cream cheese, shredded cheddar, and a few seasonings in your fridge. No weird specialty items—just real food.
- Perfect for Halloween Parties: Whether it’s a classroom celebration, a spooky dinner party, or just a fun snack for the family, this mummy fits right in.
- Crowd-Pleaser: Kids love the look, adults love the taste. I’ve seen people go back for thirds, and nobody complains about the “healthy” appetizer option.
- Unbelievably Delicious: The combo of creamy cheese, tangy cheddar, and a hint of garlic and herbs is pure comfort food. It’s rich without being heavy, and the crackers add that perfect crunch.
What makes this recipe different from the dozens of other cheese balls out there? It’s the texture. I use a trick I learned from a catering chef friend—blending a bit of cream cheese with sour cream to make the base extra smooth and spreadable. Plus, the phyllo strips aren’t just for looks; they add a subtle flaky texture that contrasts beautifully with the creamy center. This isn’t just another cheese ball—it’s the one that makes you close your eyes after the first bite.
And honestly? It’s the kind of recipe that makes you feel like a kitchen rockstar without breaking a sweat. Perfect for impressing guests who think you spent hours on it, or for turning a simple snack into something that sparks joy (and a few giggles).
What Ingredients You Will Need
This recipe uses straightforward, everyday ingredients to create something that looks anything but ordinary. The beauty of this Easy Halloween Mummy Cheese Ball is that you can find everything at your local grocery store without hunting down obscure items.
- Cream Cheese (16 oz, softened to room temperature): This is the backbone of your cheese ball. Make sure it’s truly softened—leave it on the counter for at least 30 minutes. Cold cream cheese creates lumps, and nobody wants a lumpy mummy. I prefer Philadelphia brand for its consistent texture, but any full-fat block works best.
- Shredded Sharp Cheddar Cheese (1 cup): Sharp cheddar gives the mummy some attitude. Pre-shredded is fine in a pinch, but freshly shredded melts and blends better. (Pro tip: shred it yourself if you have the energy—it makes a difference in creaminess.)
- Sour Cream (2 tablespoons): This is my secret weapon for extra smoothness. It also adds a slight tang that balances the richness. You can substitute Greek yogurt if you’re out, but sour cream gives a better texture.
- Garlic Powder (½ teaspoon): Don’t skip this—it adds that savory depth that makes people ask, “What’s in this?” Fresh garlic can be too strong and watery, so stick with the powdered version.
- Onion Powder (½ teaspoon): Works hand-in-hand with the garlic to build flavor without overpowering. If you’re feeling fancy, a tiny pinch of smoked paprika adds a subtle warmth.
- Salt (¼ teaspoon) and Black Pepper (⅛ teaspoon): Just enough to wake up the flavors. Go easy—the cheddar is already salty.
- Fresh Chives or Parsley (2 tablespoons, finely chopped): Optional but recommended. They add a pop of color and freshness that cuts through the richness. If you’re using dried herbs, cut the amount in half.
- Phyllo Dough Strips (about 10-12 strips, thawed): These are the mummy’s wrappings. You can buy pre-made phyllo sheets and cut them yourself, or look for pre-cut phyllo strips in the freezer aisle. I’ve tried both, and pre-cut strips save time without sacrificing quality. Keep them covered with a damp towel while you work so they don’t dry out.
- Olive Oil or Melted Butter (2 tablespoons, for brushing): Helps the phyllo turn golden and crispy. Butter adds more flavor, but olive oil works if you’re dairy-conscious.
- Candy Eyes or Olive Slices (for the mummy face): I use sliced black olives for a savory option, but candy eyes work great for a sweeter presentation. Just press them gently into the cheese ball before adding the phyllo strips.
- Crackers of Your Choice (for serving): Go with something sturdy—Ritz, water crackers, or even pretzel crisps. You want something that can hold up to a generous schmear without breaking. I’ve also served this with crispy chicken quesadillas on the side for a full party spread.
For the phyllo strips, I’ve learned to keep a spray bottle of water nearby. If you’re working slowly, the phyllo can dry out and crack. A light mist keeps them pliable. Also, if you’re gluten-free, you can substitute rice crackers or even cucumber slices for dipping—just skip the phyllo wrapping or use gluten-free phyllo if you can find it.
Equipment Needed
You don’t need a professional kitchen to make this Easy Halloween Mummy Cheese Ball. Here’s what you’ll want on hand:
- Mixing Bowl (medium-sized): For combining the cheese mixture. Glass or stainless steel works fine.
- Hand Mixer or Stand Mixer: A hand mixer makes blending the cream cheese effortless. A sturdy spatula works too, but expect a bit of arm workout.
- Plastic Wrap: Essential for shaping the cheese ball and keeping it neat in the fridge. I use the kind that sticks well without tearing.
- Baking Sheet: For baking the phyllo strips. Line it with parchment paper for easy cleanup.
- Pastry Brush: For brushing oil or butter onto the phyllo. A silicone brush is easier to clean than a natural-bristle one.
- Sharp Knife or Kitchen Scissors: For cutting phyllo sheets into strips if you’re using whole sheets. Scissors are actually easier—less tearing.
- Small Offset Spatula (optional): Helps spread the cheese mixture evenly if you’re shaping it into a log. Not necessary, but nice to have.
- Serving Platter: Something festive—a black slate board or a orange platter really makes the mummy pop.
If you don’t have a hand mixer, you can soften the cream cheese more thoroughly (leave it out for an hour) and mash it with a fork. It’s a bit messier, but it works. I’ve also used a food processor in a pinch—just pulse briefly so you don’t overmix.
Preparation Method
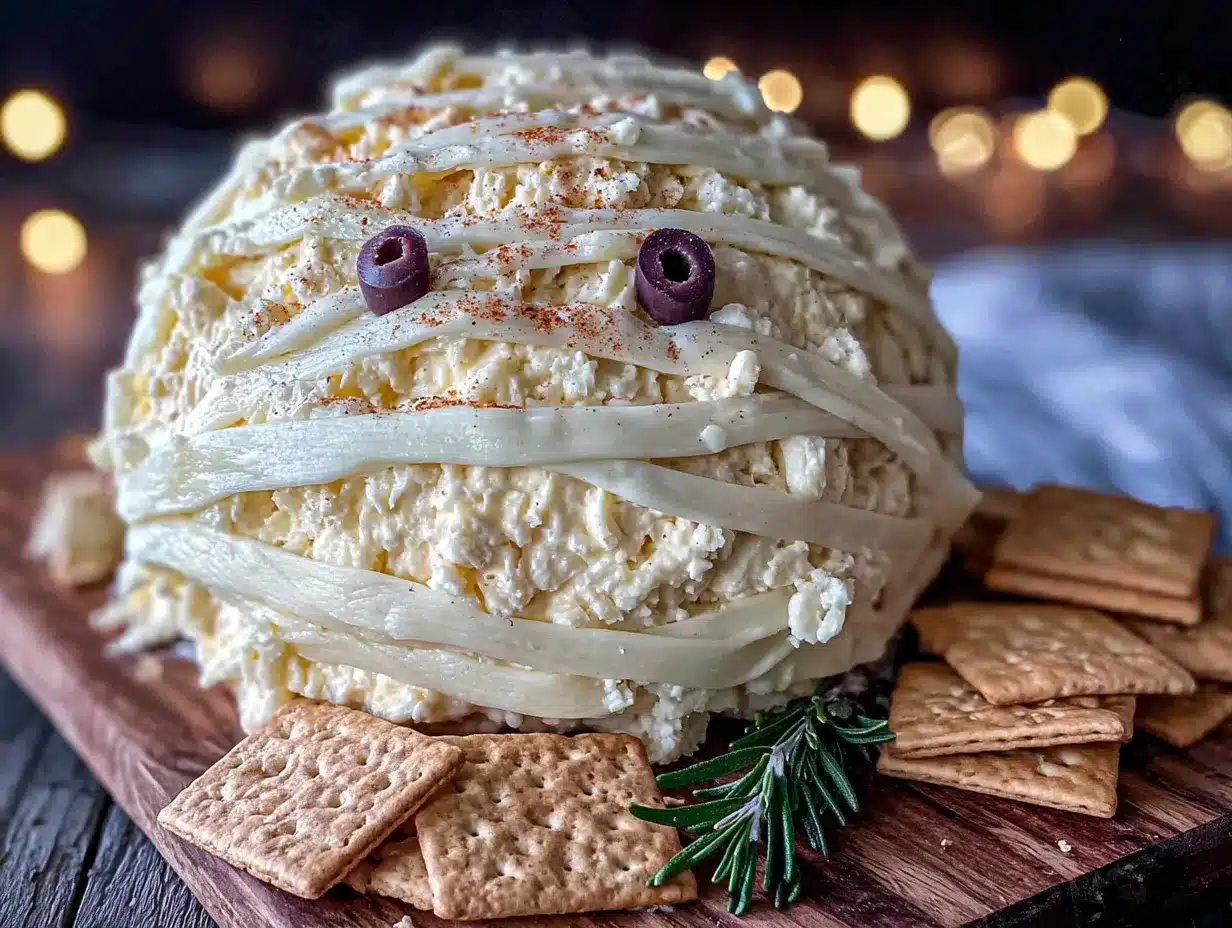
Let’s get into the step-by-step. I’ve broken this down so even a first-timer can nail it. The total active time is about 20 minutes, plus chilling time.
- Soften the Cream Cheese: Take your cream cheese out of the fridge at least 30 minutes before starting. If you’re in a rush, cut it into cubes and microwave on low power for 10-second intervals—but be careful not to melt it. You want it soft, not runny.
- Mix the Cheese Base: In a medium mixing bowl, combine the softened cream cheese, shredded cheddar, sour cream, garlic powder, onion powder, salt, and pepper. Use a hand mixer on low speed until everything is smooth and well combined. Scrape down the sides with a spatula. If you’re using fresh chives or parsley, fold them in now. The mixture should be thick but spreadable—like a very dense frosting.
- Shape the Mummy Body: Lay a large piece of plastic wrap on your counter. Scoop the cheese mixture onto the center and use the wrap to form it into a log shape about 6 inches long and 3 inches wide. (Think of a stubby sausage shape—that’s your mummy’s body.) Twist the ends of the wrap tightly and refrigerate for at least 1 hour, or up to 24 hours. This step is crucial—a chilled cheese ball holds its shape better when you add the phyllo.
- Prepare the Phyllo Strips: While the cheese ball chills, preheat your oven to 375°F (190°C). If you’re using whole phyllo sheets, lay them flat and cut them into 1-inch wide strips lengthwise. You’ll need about 10-12 strips total. Cover the strips with a slightly damp paper towel to prevent drying out. (I learned this the hard way after my first batch turned into brittle shards.)
- Bake the Phyllo Strips: Place the strips on a parchment-lined baking sheet. Brush each strip lightly with olive oil or melted butter. Bake for 5-7 minutes, or until golden brown and crispy. Watch them closely—phyllo burns fast. Let them cool completely on the sheet. They’ll crisp up more as they cool.
- Assemble the Mummy: Remove the chilled cheese ball from the fridge and unwrap it. Place it on your serving platter. Now comes the fun part—wrapping the mummy. Take the cooled phyllo strips and wrap them around the cheese log, leaving small gaps to mimic mummy bandages. You want it to look wrapped, not completely covered. Leave a small area at one end for the eyes.
- Add the Eyes: Press two candy eyes or olive slices into the exposed cheese at the “head” end. If using olives, use small slices for a more realistic look. For an extra spooky touch, add a tiny dab of cream cheese to hold them in place.
- Chill Again (Optional but Recommended): Pop the assembled mummy back in the fridge for 15-20 minutes to let everything set. This makes it easier to transfer without the phyllo slipping.
- Serve with Crackers: Arrange your crackers around the mummy on the platter. I like to fan them out in a circle, like a sunburst. For a Halloween vibe, add some pretzel sticks or veggie sticks around the edges.
One thing I’ve learned: don’t overwork the cheese mixture. Overmixing can make it greasy. Just blend until combined, then stop. Also, if the phyllo strips crack when you wrap them, don’t panic—just press them gently into the cheese. The imperfections add to the mummy look.
Cooking Tips & Techniques
I’ve made this Easy Halloween Mummy Cheese Ball enough times to know where things can go sideways. Here are my hard-won tips:
Don’t skip the chilling step. I once tried to wrap a room-temperature cheese ball, and the phyllo strips just slid off like a bad bandage. The cheese needs to be firm enough to hold its shape. One hour minimum, but overnight is even better. The flavors also meld beautifully after a full day in the fridge.
Keep phyllo covered at all times. Phyllo dough dries out faster than you think. I keep a damp (not wet) paper towel over the stack while I work. If a strip cracks, I lightly mist it with water and press it back together. It’s not perfect, but it works.
Use a light hand with the oil. You want the phyllo to be golden, not greasy. A thin coat of melted butter or olive oil is all you need. I use a pastry brush and apply just enough to see a sheen. Too much oil makes the strips soggy instead of crispy.
Multitask wisely. While the cheese ball chills, bake the phyllo strips. While the strips cool, set up your serving platter. This recipe is all about timing—if you plan ahead, you’ll have everything ready at the same time.
One mistake I’ll never make again: I once used pre-shredded cheddar that had anti-caking agents, and the cheese ball turned out grainy. Freshly shredded cheese melts into the cream cheese much better. It’s a small extra step, but it makes a noticeable difference in texture.
For a pro-level tip, try adding a pinch of cayenne pepper to the cheese mixture. It doesn’t make it spicy—just adds a subtle warmth that keeps people guessing. I discovered this by accident when I mistook cayenne for paprika, and now I do it on purpose.
Variations & Adaptations
This recipe is flexible, so don’t be afraid to make it your own. Here are some variations I’ve tried and loved:
- Spicy Mummy: Add ½ teaspoon of chipotle powder or a finely minced jalapeño to the cheese mixture. The heat pairs surprisingly well with the creamy base. I made this for a Halloween party last year, and it was the first thing to disappear.
- Herb & Garlic Mummy: Double the garlic powder and add 1 teaspoon of dried dill or rosemary. This version feels more sophisticated—perfect for an adult gathering. Serve it with crispy lemon butter salmon for a surf-and-turf Halloween dinner.
- Sweet Mummy (for dessert): Swap the cheddar and seasonings for ¼ cup of powdered sugar and ½ teaspoon of vanilla extract. Use the same phyllo wrapping technique, but serve with graham crackers or fruit slices. It’s a fun twist that kids go crazy for.
- Vegan Mummy: Use vegan cream cheese and shredded vegan cheddar (I like Miyoko’s brand). Add an extra tablespoon of nutritional yeast for cheesy flavor. The phyllo strips are already vegan if you use olive oil instead of butter.
- Gluten-Free Option: Skip the phyllo altogether and use gluten-free crackers or rice cakes. You can also wrap the cheese ball in prosciutto slices for a savory, gluten-free mummy look.
- Dairy-Free Adaptation: Use dairy-free cream cheese and omit the cheddar. Add ¼ cup of finely chopped sun-dried tomatoes for umami. It’s not exactly the same, but it’s still delicious.
I once made a “Frankenstein” version by shaping the cheese into a square block and using green food coloring in the mixture. It was a hit, but honestly, the mummy shape is easier and more recognizable. Stick with the classic for your first try.
Serving & Storage Suggestions
This Easy Halloween Mummy Cheese Ball is best served chilled or at room temperature—not straight from the fridge, but not warm either. Let it sit out for about 15 minutes before serving so the cheese softens slightly and becomes easier to spread.
Presentation ideas: Place the mummy on a black slate board or a dark platter to make the golden phyllo pop. Arrange crackers in a circular pattern around it, like a sunburst. Add some pretzel sticks for “bones” or carrot sticks for “fingers.” I also like to scatter a few candy corn pieces around for a pop of orange.
Complementary dishes: This cheese ball pairs beautifully with quick beef tacos for a full Halloween feast. Or serve it alongside a bowl of chili for a cozy, spooky dinner. For drinks, a crisp white wine or a cold beer balances the richness.
Storage: Leftover cheese ball (if there’s any) can be wrapped tightly in plastic wrap and refrigerated for up to 5 days. The phyllo strips will lose their crispness over time, so store them separately in an airtight container at room temperature. To re-crisp, pop them in a 350°F oven for 2-3 minutes.
Reheating tips: Don’t microwave the assembled mummy—the cheese will melt and the phyllo will get soggy. Instead, separate the strips and reheat them in the oven. The cheese ball itself is best served cold or at room temperature.
Flavors actually improve after a day in the fridge. The garlic and onion mellow out, and the cheese becomes more cohesive. I often make this a day ahead for parties—it’s one less thing to worry about on the day of.
Nutritional Information & Benefits
Here’s a rough estimate per serving (based on 12 servings, with crackers not included):
- Calories: 180-200
- Fat: 16g (mostly from cream cheese and cheddar)
- Protein: 6g
- Carbohydrates: 4g (from sour cream and trace amounts)
- Calcium: 15% of daily value
- Sodium: 250mg (varies by cheese brand)
Health benefits: Cream cheese provides a small amount of vitamin A, and cheddar is a good source of calcium for bone health. The sour cream adds probiotics (if using live cultures), which support gut health. That said, this is an indulgent appetizer—not a health food. I like to balance it out by serving it with veggie sticks alongside the crackers.
Dietary considerations: This recipe is naturally low-carb and keto-friendly if you skip the crackers and use cucumber slices or bell pepper strips for dipping. It’s not vegan or dairy-free, but I’ve included variations above for those needs. The phyllo strips contain gluten, so use the gluten-free option if needed.
Potential allergens: Dairy (cream cheese, cheddar, sour cream, butter), gluten (phyllo dough). If you’re serving a crowd, label the platter clearly so guests with allergies can make informed choices.
Personally, I see this as a “treat yourself” kind of dish. It’s perfect for special occasions when you want something indulgent without going overboard. One serving is plenty satisfying, and the protein helps keep you full.
Conclusion
This Easy Halloween Mummy Cheese Ball is proof that you don’t need complicated techniques or fancy ingredients to make something memorable. It’s fun, it’s delicious, and it brings a smile to everyone’s face—whether they’re six or sixty. I love how it turns a simple cheese ball into a conversation starter, and I love even more how easy it is to pull together when you’re short on time.
I encourage you to make this your own. Swap the seasonings, change the shape, or experiment with different crackers. The beauty of this recipe is that it’s forgiving—you can’t really mess it up. And if you do, just call it a “zombie mummy” and move on. (Trust me, I’ve done it.)
I’d love to hear how yours turns out. Did your kids try to name it? Did your guests fight over the last cracker? Drop a comment below and let me know—I read every single one. And if you share it on social media, tag me so I can see your spooky creation. Happy Halloween, and happy snacking!
Frequently Asked Questions
Can I make this cheese ball ahead of time?
Absolutely. You can prepare the cheese mixture and shape it into a log up to 24 hours in advance. Keep it wrapped tightly in plastic wrap in the fridge. Add the phyllo strips and eyes just before serving to keep the strips crispy.
How do I keep the phyllo strips from breaking?
Phyllo is fragile, but handling it gently helps. Keep the strips covered with a damp paper towel while you work. If they crack, press them into the cheese—the creaminess will hold them in place. You can also mist them lightly with water to make them more pliable.
Can I use a different type of cheese?
Yes! Sharp cheddar is classic, but you can substitute Monterey Jack, Gouda, or even pepper jack for a spicy kick. Just make sure it’s shredded finely so it blends evenly. Avoid soft cheeses like brie—they’re too spreadable and won’t hold the shape.
Is this recipe suitable for kids to help with?
Definitely. Kids can help mix the cheese, shape the log, and arrange the phyllo strips. Just supervise the oven part. My nephew loves placing the candy eyes—it’s like decorating a snowman, but spookier.
What if I don’t have phyllo dough?
No problem. You can use bacon strips (cooked and cooled) for a savory mummy, or even strips of prosciutto. For a sweeter version, use pretzel sticks or licorice strings. The look won’t be exactly the same, but it’ll still be fun and delicious.
Pin This Recipe!
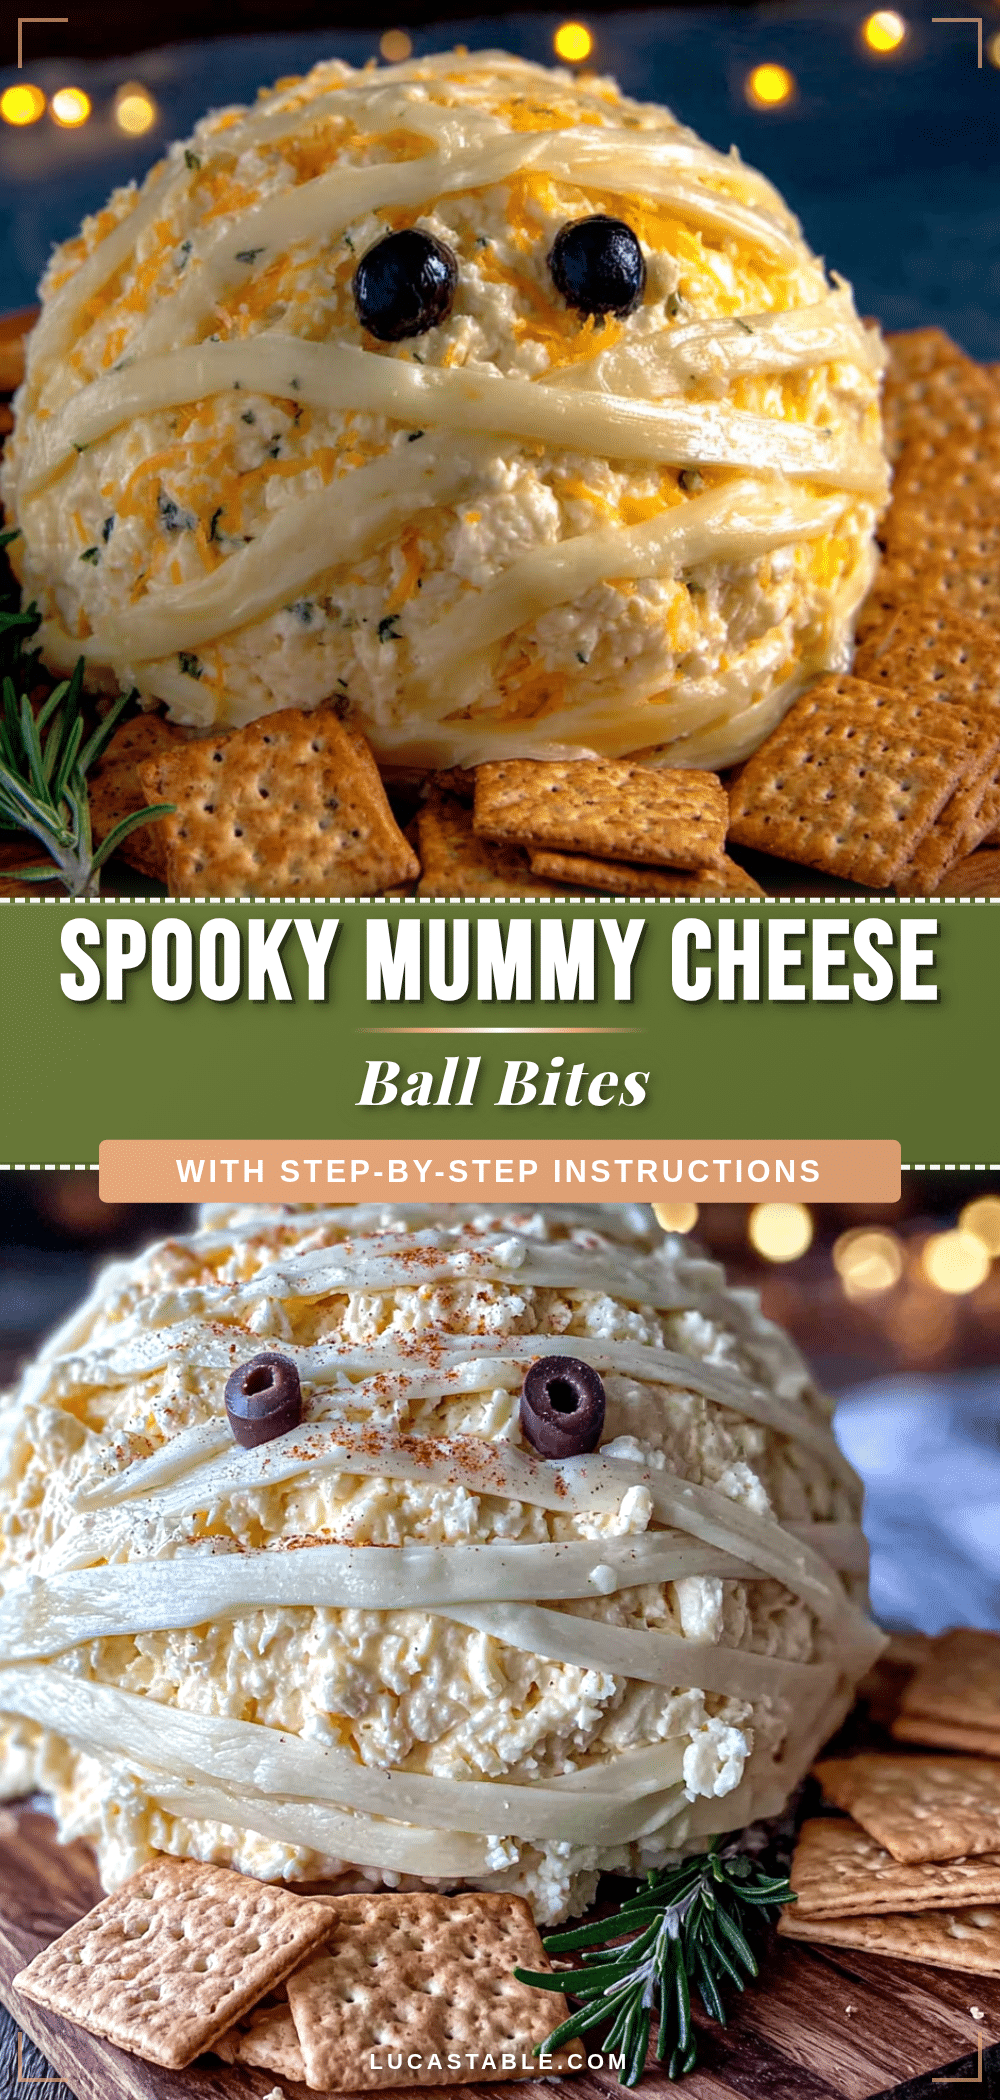
Easy Halloween Mummy Cheese Ball: Best Appetizer Snack

This Easy Halloween Mummy Cheese Ball is a creamy, savory appetizer wrapped in crispy phyllo strips, perfect for Halloween parties. It’s quick to make, uses simple ingredients, and is a crowd-pleaser that kids and adults love.
- Prep Time: 20 minutes
- Cook Time: 7 minutes
- Total Time: 1 hour 27 minutes (including chilling)
- Yield: 12 servings 1x
- Category: Appetizer
- Cuisine: American
Ingredients
- 16 oz cream cheese, softened to room temperature
- 1 cup shredded sharp cheddar cheese
- 2 tablespoons sour cream
- ½ teaspoon garlic powder
- ½ teaspoon onion powder
- ¼ teaspoon salt
- ⅛ teaspoon black pepper
- 2 tablespoons fresh chives or parsley, finely chopped (optional)
- 10–12 phyllo dough strips, thawed
- 2 tablespoons olive oil or melted butter
- Candy eyes or olive slices (for the mummy face)
- Crackers of your choice (for serving)
Instructions
- Soften the cream cheese: Take cream cheese out of fridge at least 30 minutes before starting. If in a rush, cut into cubes and microwave on low power for 10-second intervals until soft but not melted.
- Mix the cheese base: In a medium mixing bowl, combine softened cream cheese, shredded cheddar, sour cream, garlic powder, onion powder, salt, and pepper. Use a hand mixer on low speed until smooth and well combined. Fold in fresh chives or parsley if using.
- Shape the mummy body: Lay a large piece of plastic wrap on counter. Scoop cheese mixture onto center and use wrap to form into a log shape about 6 inches long and 3 inches wide. Twist ends tightly and refrigerate for at least 1 hour, or up to 24 hours.
- Prepare the phyllo strips: While cheese ball chills, preheat oven to 375°F (190°C). If using whole phyllo sheets, cut into 1-inch wide strips lengthwise. Cover strips with a slightly damp paper towel to prevent drying.
- Bake the phyllo strips: Place strips on a parchment-lined baking sheet. Brush each lightly with olive oil or melted butter. Bake for 5-7 minutes until golden brown and crispy. Let cool completely.
- Assemble the mummy: Remove chilled cheese ball from fridge and unwrap. Place on serving platter. Wrap cooled phyllo strips around cheese log, leaving small gaps to mimic mummy bandages. Leave a small area at one end for eyes.
- Add the eyes: Press two candy eyes or olive slices into exposed cheese at the ‘head’ end. If using olives, use small slices. Add a tiny dab of cream cheese to hold them in place if needed.
- Chill again (optional but recommended): Refrigerate assembled mummy for 15-20 minutes to let everything set.
- Serve with crackers: Arrange crackers around mummy on platter. For Halloween vibe, add pretzel sticks or veggie sticks around edges.
Notes
Don’t skip the chilling step—it helps the cheese ball hold its shape. Keep phyllo covered with a damp paper towel to prevent drying. Use a light hand with oil to avoid soggy strips. For best texture, shred cheddar cheese yourself instead of using pre-shredded. Flavors improve after a day in the fridge.
Nutrition
- Serving Size: 1 serving (about 2 t
- Calories: 190
- Sugar: 1
- Sodium: 250
- Fat: 16
- Saturated Fat: 9
- Carbohydrates: 4
- Protein: 6
Keywords: Halloween, mummy cheese ball, easy appetizer, Halloween party snack, cream cheese ball, phyllo dough, spooky snack


