Standing in front of my open freezer at 10 PM, spoon in hand, staring at a half-empty carton of heavy cream and a can of sweetened condensed milk. The craving hit me out of nowhere—that deep, salty-sweet pull for something cold and luscious that no store-bought pint was going to satisfy. I had no ice cream maker. No patience. And honestly? No business starting a recipe that late. But when your sweet tooth starts screaming, you learn to improvise.
I grabbed the hand mixer, crossed my fingers, and just went for it. Twenty minutes of whisking, folding, and praying later, I poured a gloriously thick, pale mixture into a loaf pan, sprinkled it with flaky sea salt, and tucked it into the freezer like a secret. The next afternoon? Pure magic. The texture was so creamy, so scoopable, you would have sworn I’d churned it for hours. That first bite—the way the caramel ribbons melted on my tongue, the little crunch of salt cutting through all that sweetness—I knew I had stumbled onto something special.
This creamy no-churn salted caramel ice cream has become my go-to summer obsession. No machine, no complicated steps, just five ingredients and a little patience. It is the kind of recipe that feels like cheating but tastes like you spent all day in the kitchen. And honestly? That is exactly my kind of dessert.
Why You Will Love This Recipe
Let me tell you why this creamy no-churn salted caramel ice cream has earned a permanent spot in my freezer. First off, it is ridiculously easy. We are talking about 15 minutes of active work. No custard base, no tempering eggs, no ice cream maker required. You just whip, fold, and freeze. That is it.
- No Special Equipment : You do not need an ice cream maker, a thermometer, or any fancy gadget. Just a mixing bowl, a hand mixer or stand mixer, and a freezer-safe container. I have made this in a tiny apartment kitchen with zero counter space.
- Five Simple Ingredients : Heavy cream, sweetened condensed milk, vanilla extract, store-bought or homemade caramel sauce, and flaky sea salt. That is the whole list. You probably have most of these in your pantry right now.
- Incredibly Creamy Texture : The magic here is in the sweetened condensed milk. It prevents ice crystals from forming, so you get that smooth, scoopable texture without any churning. Every bite tastes like premium gelato.
- Perfect for Hot Days : When the temperature climbs and you need something cold and satisfying, this hits every single note. It is rich but not heavy, sweet but balanced by that salty finish.
- Crowd-Pleaser Guaranteed : I have brought this to barbecues, potlucks, and family dinners. Every single time, someone asks for the recipe. Kids love it. Adults love it. It disappears fast.
What makes this version different from other no-churn recipes? It is the caramel-to-cream ratio. I tested this at least six times to get the balance just right—enough caramel swirl to taste in every spoonful, but not so much that it makes the ice cream icy or overly sweet. The salt is non-negotiable too. It is what transforms a simple vanilla-caramel base into something that tastes professionally made.
Honestly, this recipe feels like a little victory every time I make it. It is proof that you do not need complicated techniques to create something truly special. Just good ingredients, a little patience, and a willingness to trust the process.
What Ingredients You Will Need
This recipe relies on a handful of pantry-friendly ingredients that work together to create something truly luxurious. Each one plays a specific role, so here is what you need and why it matters.
- Heavy Cream (2 cups / 480 ml) : This is your base. You need heavy cream with at least 36% milk fat—do not substitute half-and-half or whipping cream with lower fat content. The high fat content is what gives the ice cream its rich, velvety texture. I prefer using organic cream from a local dairy when I can find it, but any good-quality heavy cream works beautifully.
- Sweetened Condensed Milk (14 oz / 397 g can) : This is the secret weapon of no-churn ice cream. It adds sweetness, prevents ice crystals, and creates that dense, creamy consistency without any churning. Do not confuse it with evaporated milk—they are not the same. I use Eagle Brand or Carnation, both work perfectly.
- Vanilla Extract (2 teaspoons) : Pure vanilla extract makes a noticeable difference here. It rounds out the caramel flavor and adds warmth. If you have vanilla bean paste, even better—those tiny specks look gorgeous in the finished ice cream. Avoid imitation vanilla if you can; it has a harsh, artificial taste that stands out in a simple recipe like this.
- Caramel Sauce (½ cup / 120 ml) : You can use homemade or store-bought. I have tested both, and honestly? Good-quality store-bought caramel works great. Look for one that is thick and rich, not watery. My personal favorite is Trader Joe’s Fleur de Sel Caramel Sauce—it is already salted, which adds an extra layer of flavor. If you are making your own, just cook sugar until deep amber, then stir in butter and cream. Easy.
- Flaky Sea Salt (1 teaspoon, plus more for finishing) : This is not optional. The salt crystals cut through the sweetness and make the caramel flavor pop. I love Maldon sea salt flakes for their delicate crunch. If you only have fine table salt, use half the amount—it dissolves more quickly and can make the ice cream taste overly salty if you are not careful.
- Optional Mix-Ins : Crushed pretzels, chopped toasted pecans, chocolate chunks, or even a swirl of peanut butter. I have added all of these at different times, and each version is delicious in its own way. Just fold them in right before transferring to the freezer.
One thing I have learned through trial and error: make sure your heavy cream is very cold. Like, straight-from-the-fridge cold. It whips up faster and holds its shape better. Warm cream will give you a flat, sad mixture that does not set properly.
Equipment Needed
You do not need much for this recipe, which is honestly my favorite part. Here is what you will need:
- Large Mixing Bowl : Glass or stainless steel works best. Make sure it is spotless—any trace of grease can prevent your cream from whipping properly. I keep a dedicated bowl just for whipping cream.
- Hand Mixer or Stand Mixer : A hand mixer is perfectly fine and easier to clean. If you are using a stand mixer, use the whisk attachment. You could technically whisk by hand, but your arm will thank you if you use an electric mixer.
- Rubber Spatula : For folding the condensed milk and caramel into the whipped cream. A flexible spatula helps you get every bit of that caramel goodness.
- 9×5 Loaf Pan or Freezer-Safe Container : A standard loaf pan is the perfect size for this recipe. If you do not have one, use an 8×8 square dish or any container that holds about 6 cups. Just make sure it has a tight-fitting lid or you can cover it tightly with plastic wrap and foil.
- Parchment Paper : Optional but helpful. Lining your pan with parchment paper makes it easier to lift the ice cream out for serving. Plus, less cleanup.
- Plastic Wrap : Pressing plastic wrap directly onto the surface of the ice cream prevents freezer burn and those annoying ice crystals from forming on top.
If you are new to no-churn recipes, do not overthink the equipment. I have made this in a cheap plastic mixing bowl with a hand mixer I bought for fifteen bucks. It worked perfectly. The recipe is forgiving, which is exactly what you want in a dessert.
Preparation Method
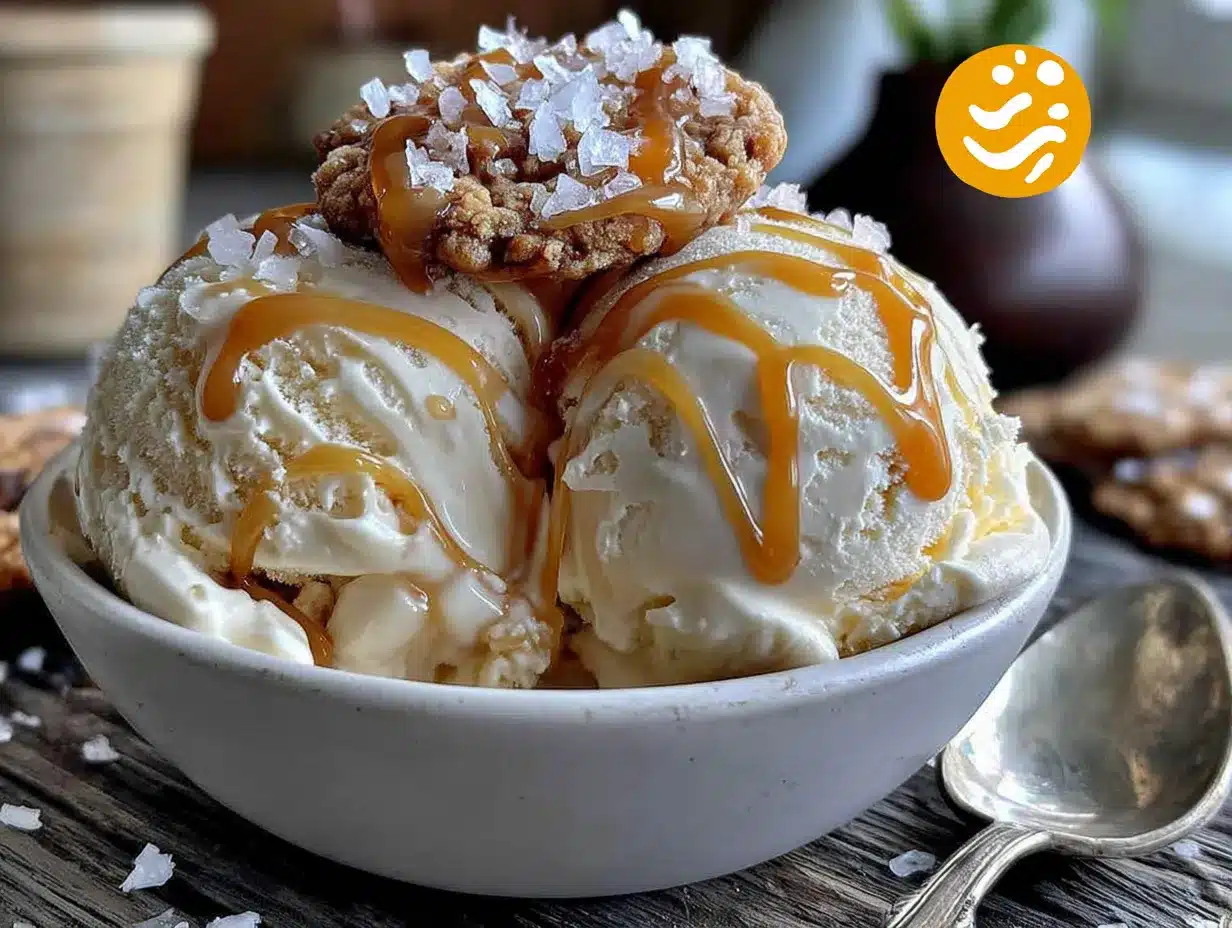
Alright, let us get to the fun part. Follow these steps carefully, and you will have the most creamy no-churn salted caramel ice cream you have ever made at home.
- Chill Your Bowl and Cream : Place your mixing bowl and beaters in the freezer for 10-15 minutes before you start. Cold equipment helps the cream whip faster and hold its peaks longer. While that is chilling, make sure your heavy cream is ice cold straight from the fridge.
- Whip the Heavy Cream : Pour the 2 cups of cold heavy cream into the chilled bowl. Beat on medium-high speed until soft peaks form—this usually takes about 3-4 minutes with a hand mixer. You are looking for peaks that hold their shape but still droop slightly when you lift the beaters. Do not over-whip; if it starts looking grainy or separates, you have gone too far and will need to start over.
- Add the Sweetened Condensed Milk and Vanilla : Pour the entire can of sweetened condensed milk and the 2 teaspoons of vanilla extract into the whipped cream. Gently fold everything together using your rubber spatula. Use a slow, sweeping motion—fold from the bottom up, then rotate the bowl. Do not stir vigorously or you will deflate all that air you just whipped in. The mixture should be thick, glossy, and uniform in color.
- Create the Caramel Swirl : Gently warm your ½ cup of caramel sauce for about 10-15 seconds in the microwave until it is loose and pourable. Do not make it hot—just warm enough to drizzle. Pour about two-thirds of the caramel sauce over the cream mixture. Use a knife or skewer to gently swirl it through. You want ribbons of caramel throughout, not fully incorporated. Over-swirling will muddy the color and lose those beautiful pockets of caramel.
- Layer in the Pan : Spoon about half of the mixture into your prepared loaf pan or container. Drizzle half of the remaining caramel sauce on top and sprinkle with half of the flaky sea salt. Add the rest of the cream mixture, then top with the remaining caramel sauce and sea salt. Use the knife again to create a few gentle swirls on top for presentation.
- Cover and Freeze : Press a piece of plastic wrap directly onto the surface of the ice cream. This step is crucial—it prevents ice crystals from forming on top. Then cover the pan with a lid or a layer of aluminum foil. Place it in the coldest part of your freezer, usually the back, not the door.
- Patience Time : Freeze for at least 6 hours, but overnight is best. The longer it freezes, the firmer and more scoopable it becomes. I know waiting is hard, but trust me—it is worth it. If you try to scoop it too early, you will end up with a soft, messy situation.
- Serve and Enjoy : When you are ready to serve, let the ice cream sit at room temperature for 5-10 minutes to soften slightly. This makes scooping much easier. Use a warm ice cream scoop (dip it in hot water first) for perfect, clean scoops. Sprinkle a little extra flaky sea salt on top right before serving—that final touch makes all the difference.
One thing I learned the hard way: do not skip the plastic wrap step. The first time I made this, I just put the lid on and called it done. Two days later, there was a thick layer of ice crystals on top. Tasted fine, but the texture was compromised. Now I always press plastic wrap directly onto the surface, and the ice cream stays perfectly smooth.
Cooking Tips & Techniques
Over the years, I have made this recipe more times than I can count, and I have picked up a few tricks that make a real difference. Here is what I wish someone had told me when I started making no-churn ice cream.
Temperature matters more than you think. Everything should be cold—the cream, the bowl, the beaters. If your kitchen is warm, consider working near an open window or turning on the air conditioning. Warm cream will not whip properly, and you will end up with a thin, soupy mixture that freezes into a block of ice rather than creamy ice cream.
Do not rush the whipping process. I once tried to speed things up by using the highest speed setting on my mixer. Big mistake. The cream whipped unevenly, and some parts were over-whipped while others were still liquid. Medium-high speed is your friend. Watch for those soft peaks and stop immediately. If you accidentally over-whip, do not try to fix it—just start over with fresh cream.
Fold, do not stir. This is the most common mistake I see. When you add the sweetened condensed milk, use a gentle folding motion. Stirring aggressively deflates all that air you worked so hard to incorporate. The air is what gives the ice cream its light, creamy texture. Deflate it, and you get a dense, icy mess.
Swirl strategically. Less is more when it comes to caramel swirls. I used to go crazy with the knife, creating elaborate patterns. But all that stirring just mixed the caramel into the base, and I lost those beautiful ribbons. Now I do just 4-5 gentle swirls, and the result is much prettier and more delicious.
Patience is a virtue. I know I keep saying this, but it is true. The hardest part of this recipe is waiting for it to freeze. If you are making this for a specific occasion, make it the day before. That way, it has plenty of time to set properly, and you are not rushing things at the last minute.
One more thing—if you are using homemade caramel sauce, make sure it has cooled completely before adding it to the cream mixture. Warm caramel will melt the whipped cream and ruin the texture. I learned this the hard way, standing in my kitchen staring at a puddle of sadness. Do not be me.
Variations & Adaptations
One of the best things about this creamy no-churn salted caramel ice cream is how easily it adapts to different tastes and dietary needs. Here are some of my favorite variations.
Salted Caramel Pretzel Crunch : Fold in 1 cup of crushed pretzels right before freezing. The salty, crunchy pretzels add incredible texture and contrast beautifully with the smooth, creamy ice cream. I made this for a summer barbecue and it was gone in minutes. The pretzels stay surprisingly crunchy even after freezing, as long as you do not crush them too fine.
Chocolate-Covered Caramel : Swirl in ½ cup of melted dark chocolate along with the caramel sauce. The combination of rich dark chocolate and sweet caramel is absolutely divine. Use good-quality chocolate—something around 60-70% cacao—for the best flavor. I like to chop up a dark chocolate bar and fold the chunks in at the end for little pockets of chocolate in every bite.
Vegan-Friendly Version : Replace the heavy cream with two cans of full-fat coconut cream (chilled overnight) and use a dairy-free sweetened condensed milk. The coconut cream whips up beautifully and creates a rich, creamy texture that rivals the original. Just be aware that it will have a subtle coconut flavor, which actually pairs wonderfully with caramel. I have served this to dairy-free friends and they could not believe it was vegan.
Boozy Caramel : Add 2 tablespoons of bourbon, rum, or Irish cream to the caramel sauce before swirling. The alcohol lowers the freezing point slightly, resulting in a softer, more scoopable ice cream. Plus, it adds a lovely warm note that complements the caramel. Just do not add too much—more than 3 tablespoons and the ice cream will not freeze properly.
Seasonal Twist : In the fall, I love adding 1 teaspoon of pumpkin pie spice or cinnamon to the cream mixture before folding. It gives the ice cream a cozy, autumnal flavor that is perfect for Thanksgiving or Halloween. In the summer, fold in fresh berries or chopped peaches for a fruity contrast.
Each variation brings something new to the table, but the base recipe is so solid that you can really experiment without fear. That is the beauty of no-churn ice cream—it is endlessly customizable.
Serving & Storage Suggestions
This creamy no-churn salted caramel ice cream is delicious on its own, but it also pairs beautifully with other desserts. Here is how I like to serve and store it.
Serving Temperature : Let the ice cream sit at room temperature for 5-10 minutes before scooping. This softens it just enough to make scooping easy without melting it. If you are serving it alongside a warm dessert like a brownie or apple crisp, the contrast in temperatures is absolutely heavenly.
Presentation Ideas : Serve in chilled bowls or glasses for a professional touch. Drizzle a little extra caramel sauce on top, sprinkle with flaky sea salt, and add a small wafer cookie or a piece of caramel candy. For an extra-special treat, serve it in a waffle cone with a sprinkle of sea salt on top. I have also used this ice cream to make milkshakes—just blend a few scoops with milk and extra caramel sauce. Incredible.
Complementary Dishes : This ice cream is amazing alongside a warm crispy BBQ chicken pizza for a sweet-and-savory dinner combo that surprises everyone. It also pairs beautifully with a slice of crispy General Tso’s chicken—the spicy, tangy chicken contrasts perfectly with the cool, sweet ice cream. For a simple dessert, serve it alongside a warm crispy chicken parmesan for an unexpected but delicious sweet-savory pairing.
Storage : Keep the ice cream tightly covered in the freezer. Press plastic wrap directly onto the surface before sealing to prevent ice crystals. Properly stored, it will stay fresh and creamy for up to 2 weeks. After that, it may start to develop ice crystals and lose some of its smooth texture. But honestly? It never lasts that long in my house.
Re-Freezing : If the ice cream melts slightly (say, you left it out too long while serving), do not re-freeze it. The texture will be icy and grainy. Better to eat it all in one sitting—which, let us be honest, is not that hard to do.
Flavor Development : Interestingly, the flavor actually improves after a day or two in the freezer. The caramel and salt have time to meld with the cream, creating a more complex, harmonious taste. So if you can resist digging in right away, your patience will be rewarded.
Nutritional Information & Benefits
Let us be real—this is a dessert, not a health food. But it does have a few redeeming qualities worth mentioning.
| Nutrient | Per Serving (½ cup) |
|---|---|
| Calories | 320 |
| Total Fat | 22g |
| Saturated Fat | 14g |
| Carbohydrates | 30g |
| Sugar | 28g |
| Protein | 3g |
| Sodium | 180mg |
| Calcium | 10% DV |
These values are estimates and will vary based on the specific brands and ingredients you use. The heavy cream provides some calcium and vitamin A, while the sweetened condensed milk adds a small amount of calcium and protein. The caramel sauce is mostly sugar, so go easy if you are watching your intake.
For those with dietary restrictions, this recipe contains dairy and gluten (if you use pretzels or cookies). It is naturally egg-free, which is great for anyone with egg allergies. If you need a dairy-free option, try the vegan variation I mentioned earlier—it works beautifully.
Honestly, I think the biggest benefit of this recipe is the joy it brings. There is something deeply satisfying about making your own ice cream from scratch, especially when it turns out this good. It is a small act of homemade happiness that makes any day feel a little more special.
Conclusion
This creamy no-churn salted caramel ice cream has become a staple in my kitchen for good reason. It is simple, forgiving, and absolutely delicious. No machine, no complicated steps, just five ingredients and a little patience. The result is a rich, velvety ice cream with ribbons of sweet caramel and a perfect salty finish that keeps you coming back for more.
I love that this recipe is so adaptable. Whether you keep it classic or experiment with mix-ins and variations, it always delivers. It is the kind of dessert that feels special enough for a party but easy enough for a random Tuesday night when you just need something sweet. And honestly? That is exactly what I want from a recipe.
I would love to hear how yours turns out. Did you add any fun mix-ins? Try a different variation? Leave a comment below and let me know—I read every single one. And if you share a photo on social media, tag me so I can see your creation. Happy scooping, friends!
Frequently Asked Questions
Can I use light cream or half-and-half instead of heavy cream?
I do not recommend it. Heavy cream with at least 36% milk fat is essential for the right texture. Lower-fat creams will not whip properly and will result in an icy, less creamy ice cream. Stick with heavy cream for the best results.
How long does this ice cream need to freeze?
At least 6 hours, but overnight is ideal. The longer it freezes, the firmer and more scoopable it becomes. If you are in a hurry, you can try freezing it for 4 hours, but the texture will be softer and more like soft-serve.
Can I make this without a hand mixer?
Yes, but it takes some elbow grease. You can whip the cream by hand using a whisk, but it will take 8-10 minutes of vigorous whisking. A hand mixer or stand mixer makes the process much faster and easier.
Why did my ice cream turn out icy?
Icy ice cream usually means one of three things: you over-whipped the cream, you did not fold in the sweetened condensed milk properly, or you did not press plastic wrap onto the surface before freezing. Make sure to follow the folding technique and always use plastic wrap directly on the surface.
Can I double this recipe?
Absolutely. Just double all the ingredients and use a larger container, like a 9×13 baking dish. The freezing time may increase slightly, so check after 8 hours and add more time if needed. Just make sure your bowl is large enough to hold all that whipped cream.
Pin This Recipe!
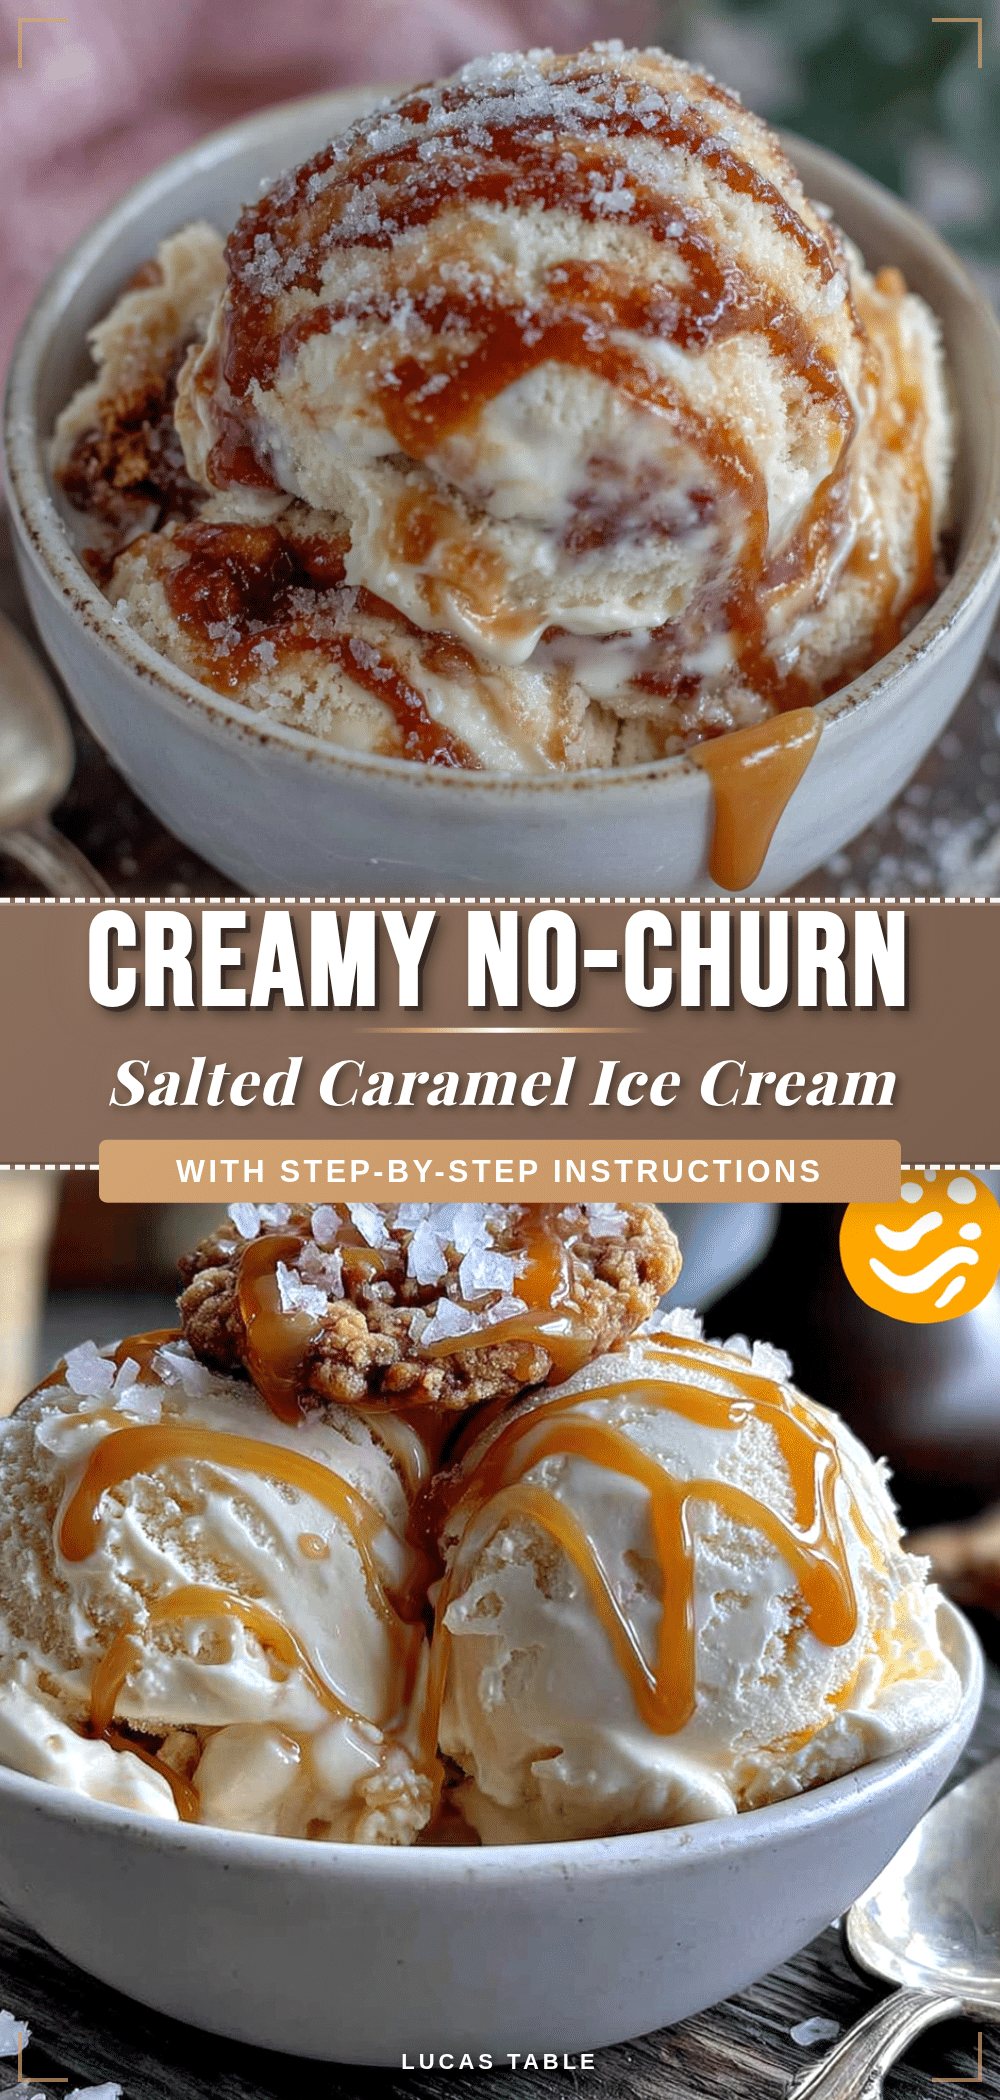
Best Homemade No-Churn Salted Caramel Ice Cream Recipe
This creamy no-churn salted caramel ice cream is incredibly easy to make with just five ingredients and no ice cream maker. It’s rich, velvety, and perfectly balanced with sweet caramel ribbons and a salty finish.
- Prep Time: 15 minutes
- Cook Time: 0 minutes
- Total Time: 6 hours 15 minutes (includes freezing)
- Yield: 8 servings 1x
- Category: Dessert
- Cuisine: American
Ingredients
- 2 cups (480 ml) heavy cream
- 14 oz (397 g) can sweetened condensed milk
- 2 teaspoons vanilla extract
- ½ cup (120 ml) caramel sauce
- 1 teaspoon flaky sea salt, plus more for finishing
- Optional mix-ins: crushed pretzels, chopped toasted pecans, chocolate chunks, or peanut butter
Instructions
- Chill your mixing bowl and beaters in the freezer for 10-15 minutes. Ensure heavy cream is ice cold.
- Pour cold heavy cream into the chilled bowl. Beat on medium-high speed until soft peaks form, about 3-4 minutes.
- Add sweetened condensed milk and vanilla extract. Gently fold together with a rubber spatula until thick, glossy, and uniform.
- Gently warm caramel sauce for 10-15 seconds until pourable. Pour about two-thirds over the cream mixture and gently swirl with a knife or skewer to create ribbons.
- Spoon half the mixture into a 9×5 loaf pan or freezer-safe container. Drizzle half the remaining caramel sauce and sprinkle half the sea salt. Add remaining cream mixture, then top with remaining caramel and sea salt. Create a few gentle swirls on top.
- Press plastic wrap directly onto the surface of the ice cream. Cover with lid or foil. Freeze in the coldest part of the freezer for at least 6 hours, preferably overnight.
- Before serving, let ice cream sit at room temperature for 5-10 minutes to soften. Scoop with a warm ice cream scoop and sprinkle with extra flaky sea salt.
Notes
Make sure heavy cream is very cold. Do not over-whip cream. Fold gently to keep air in. Press plastic wrap directly onto surface to prevent ice crystals. For best texture, freeze overnight. Flavor improves after a day or two.
Nutrition
- Serving Size: ½ cup
- Calories: 320
- Sugar: 28
- Sodium: 180
- Fat: 22
- Saturated Fat: 14
- Carbohydrates: 30
- Protein: 3
Keywords: no-churn ice cream, salted caramel, homemade ice cream, easy ice cream, no machine, summer dessert


