I was standing in the parking lot of a big-box craft store last October—waiting for my kid to finish a school project errand, honestly just zoning out—when the smell of someone’s pumpkin spice candle hit me from three cars away. And suddenly I was seven years old, sitting at my Aunt Rita’s kitchen table in Milwaukee, watching her scrape stringy orange pulp into a colander while she muttered about the football game on TV. She wasn’t a warm-and-fuzzy person, Aunt Rita. But every year, without fail, she’d save the seeds from her jack-o’-lantern and roast them until they were crackly and golden. She passed away a few years back, and I haven’t had her seeds since. But that parking lot moment? It hit me hard. I needed to make them myself. Not her exact recipe—I honestly don’t remember it—but a version that felt like mine. Something crunchy, a little sweet, with that salty finish she’d have probably rolled her eyes at but secretly loved. This crunchy maple roasted pumpkin seeds recipe is what came out of that afternoon. It’s sticky, it’s salty, it’s got that deep roasted flavor that makes you close your eyes after the first bite. And it’s the kind of thing you’ll make again and again, whether you’re carving pumpkins or just craving a snack that feels like fall in a bowl. Maybe you’ve been there too—chasing a taste you can almost but not quite hold onto. This is that taste.
Why You’ll Love This Recipe
Let’s be real—most roasted pumpkin seeds are either burnt, bland, or so salty they make your lips pucker. This crunchy maple roasted pumpkin seeds recipe is none of those things. It’s the Goldilocks of fall snacks: just sweet enough, just salty enough, and perfectly crisp every single time.
- Quick & Easy : You’re looking at about 10 minutes of hands-on time. The oven does the rest. Perfect for those evenings when you need a snack now.
- Simple Ingredients : Pumpkin seeds, maple syrup, butter, salt. That’s it. No weird extracts or hard-to-find spices. You probably have everything in your kitchen right now.
- Perfect for Fall Gatherings : Halloween parties, Thanksgiving snacking, cozy movie nights, or just because it’s October and you want to feel something. These seeds deliver.
- Crowd-Pleaser : I brought a batch to a neighbor’s bonfire last weekend, and three people asked for the recipe before the fire died down. Kids and adults alike go nuts for them.
- Unbelievably Delicious : The texture is what gets me. That initial crunch, followed by the sticky-sweet maple coating, then the sharp hit of flaky sea salt. It’s next-level comfort food in seed form.
What makes this version different? Most recipes tell you to boil the seeds first or dry them overnight. Not this one. I figured out that a quick rinse and a thorough pat-dry, combined with a hot oven and a butter-maple glaze, gives you that perfect crunch without the fuss. No overnight waits, no complicated steps. Just pure, addictive flavor.
This isn’t just another pumpkin seed recipe. It’s the one you’ll come back to year after year. The one that makes you look forward to carving pumpkins just so you can get to the seeds. And honestly? That’s the kind of recipe worth keeping.
What Ingredients You Will Need
This recipe relies on a handful of simple, wholesome ingredients that work together to create that signature sweet-salty crunch. Most of these are pantry staples, especially during fall, which makes this an easy last-minute snack to whip up.
For the Seeds
- 1 ½ cups fresh pumpkin seeds (from one medium pumpkin; rinsed well and patted very dry) — Fresh seeds straight from the pumpkin have the best texture. Avoid pre-packaged seeds if you can; they’re often too dry.
- 2 tablespoons unsalted butter, melted — Butter adds richness and helps the maple syrup cling to the seeds. I prefer unsalted so I can control the salt level. If you only have salted butter, just reduce the added salt slightly.
- 3 tablespoons pure maple syrup — Not pancake syrup! Real maple syrup (grade A or B both work) gives that deep, woodsy sweetness that makes these seeds so addictive. I like using a darker syrup for a more robust flavor.
- ½ teaspoon flaky sea salt, plus more for finishing — Flaky salt like Maldon or Jacobsen adds those little bursts of saltiness that make each bite interesting. Regular table salt will work in a pinch, but you’ll want to use less since it’s more concentrated.
- Optional: ¼ teaspoon cinnamon — Adds a warm, cozy note that pairs beautifully with the maple. I add it about half the time, depending on my mood.
Ingredient Tips & Substitutions
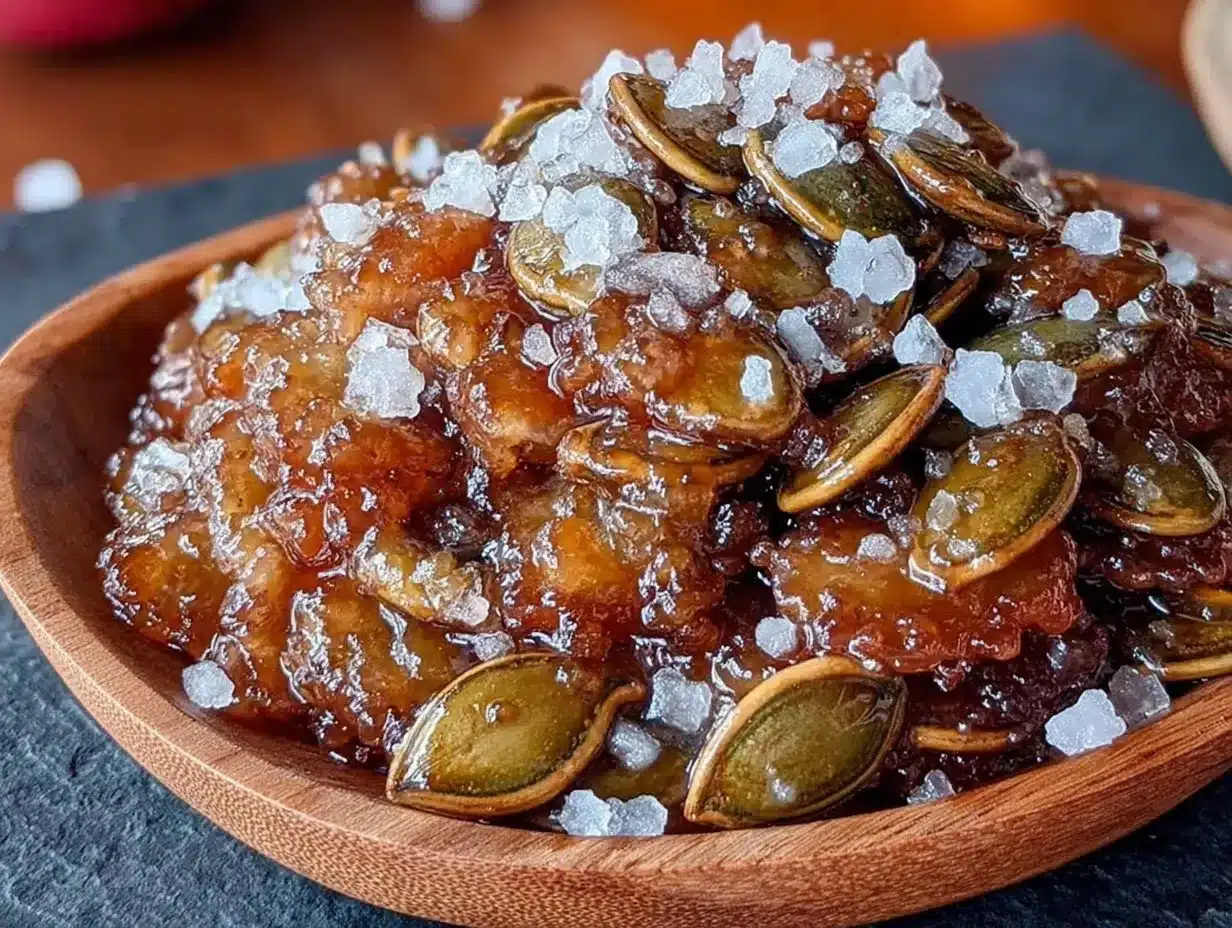
- For the pumpkin seeds: If you’re using seeds from a sugar pumpkin (the smaller, sweeter ones used for cooking), they’ll be a bit more tender. Jack-o’-lantern pumpkins yield larger, slightly tougher seeds—both work, just adjust roasting time by a minute or two.
- Butter swap: Coconut oil works beautifully here for a dairy-free version. Use refined coconut oil if you don’t want a coconut flavor, or unrefined if you enjoy that subtle tropical note with the maple.
- Maple syrup alternatives: Honey or agave nectar can substitute in a 1:1 ratio, but the flavor profile will shift. Honey gives a floral sweetness; agave is milder. Neither will taste exactly like maple, but they’re still delicious.
- Salt options: Smoked sea salt is a fantastic variation—it adds a subtle smokiness that complements the roasted flavor. Just go easy; smoked salt is potent.
I’ve tested this recipe with both fresh seeds and store-bought raw hulled pumpkin seeds (pepitas). Fresh seeds from a pumpkin yield a chewier, more substantial texture, while pepitas are thinner and get crunchier faster. Both are good, but for that classic fall experience, go fresh.
Equipment Needed
You don’t need much for this recipe, which is part of its charm. Here’s what you’ll want on hand:
- Baking sheet — A rimmed baking sheet is ideal to catch any sticky drips. I use a half-sheet pan (18×13 inches) for even roasting. If you don’t have a rimmed sheet, a standard cookie sheet works, just watch for spills.
- Parchment paper or silicone baking mat — Highly recommended. The maple syrup can caramelize and stick to the pan, making cleanup a pain. Parchment paper makes it effortless. Silicone mats work too, but the seeds might not get quite as crispy on the bottom.
- Mixing bowl — Any medium bowl will do for tossing the seeds with the butter-maple mixture.
- Colander — For rinsing the seeds thoroughly. A fine-mesh strainer works even better to catch all those tiny seeds.
- Clean kitchen towel or paper towels — For drying the seeds. This step is crucial for crunch, so don’t skip it.
- Spatula — For stirring the seeds halfway through roasting. A silicone spatula is great for scraping every bit of the glaze onto the seeds.
Budget-friendly tip: If you don’t have parchment paper, you can lightly grease your baking sheet with butter or oil. Just be prepared for a bit more scrubbing afterward. I’ve done it plenty of times—it’s not the end of the world, but parchment really does make life easier.
Preparation Method
Alright, let’s get to it. This method is straightforward, but a few small details make all the difference between okay seeds and absolutely irresistible ones.
- Preheat your oven to 325°F (163°C). Line a rimmed baking sheet with parchment paper or a silicone mat. Getting the oven to the right temperature before you start is key—you want the seeds to hit the heat immediately for maximum crunch.
- Clean the seeds. Separate the pumpkin seeds from the stringy pulp as best you can. Place them in a colander and rinse under cool running water, using your fingers to rub off any remaining pulp. Don’t stress about getting every last bit of fiber off—a little clingy pulp adds flavor and roasts up just fine. Drain well.
- Dry the seeds thoroughly. This is the most important step. Spread the rinsed seeds on a clean kitchen towel or a few layers of paper towels. Pat them dry, then let them sit for about 5 minutes to air-dry any remaining moisture. Wet seeds steam instead of roast, and you’ll end up with chewy, sad seeds. Nobody wants that.
- Make the glaze. In a medium mixing bowl, whisk together the melted butter and maple syrup until smooth. If you’re using cinnamon, whisk it in now. The mixture should look glossy and smell amazing already.
- Toss the seeds. Add the dried pumpkin seeds to the bowl and stir until every seed is coated in the butter-maple mixture. Use a spatula to scrape the sides and make sure nothing is wasted.
- Spread on the baking sheet. Pour the coated seeds onto the prepared baking sheet and spread them into a single, even layer. Try not to overlap them too much—crowding leads to steaming, and steaming leads to soft seeds. A little overlap is fine; they’ll shrink as they roast.
- Roast for 10 minutes. Place the sheet in the preheated oven and set a timer. After 10 minutes, pull the sheet out and give the seeds a good stir with your spatula. This ensures even browning and prevents the edges from burning while the center stays pale.
- Roast for another 8-12 minutes. Return the sheet to the oven and continue roasting. Start checking at the 8-minute mark. You’re looking for a deep golden-brown color and a fragrant, toasty smell. The seeds will also sound slightly hollow when you shake the pan. Watch carefully in the last few minutes—map syrup can burn quickly. My first batch ever went from perfect to charcoal in about 90 seconds. Learn from my mistake.
- Season immediately. As soon as the seeds come out of the oven, sprinkle them with the flaky sea salt while they’re still hot. The residual heat helps the salt stick. Don’t skip this step—the contrast between the sweet glaze and the salty finish is what makes these seeds unforgettable.
- Cool completely. Let the seeds cool on the baking sheet for at least 15-20 minutes without stirring. They’ll continue to crisp up as they cool. I know it’s tempting to dig in right away, but trust me—they get crunchier after they rest. If you can wait that long.
Cooking Tips & Techniques
After making this recipe more times than I care to count (and ruining a few batches along the way), I’ve picked up some tricks that make the process foolproof.
Don’t skip the drying step. I cannot stress this enough. The first time I made these, I was impatient and tossed the seeds into the oven while they were still damp. The result? Chewy, soggy seeds that never crisped up, even after an extra 10 minutes in the oven. Pat them dry, then let them sit for a few minutes. Your future self will thank you.
Use a lower temperature than you think. A lot of recipes call for 350°F or even 375°F, but I’ve found that 325°F is the sweet spot. It allows the seeds to dry out and become crunchy without burning the maple syrup. Higher temps might seem faster, but they often lead to burnt edges and raw centers.
Stir halfway through, but not more. I used to stir every 5 minutes because I was paranoid about burning. Turns out, opening the oven too often lets out heat and extends the cooking time, which can actually make the seeds less crispy. One good stir at the halfway point is all you need.
Test for doneness by sound. Here’s a trick I learned from a pastry chef friend: shake the baking sheet gently. If the seeds sound hollow and rattle against the pan, they’re done. If they sound dull or thud-like, they need more time. This works way better than relying solely on color, which can be misleading with maple syrup.
Cool completely before storing. I made the mistake of putting warm seeds into an airtight container once. The trapped steam softened them overnight, and I ended up with a batch of chewy, disappointing snacks. Let them cool completely on the sheet, then transfer to a container. They’ll stay crunchy for up to two weeks.
Variations & Adaptations
This base recipe is fantastic on its own, but sometimes you want to mix things up. Here are some variations I’ve tried and loved:
Spicy Maple Seeds
Add ¼ teaspoon cayenne pepper and ½ teaspoon smoked paprika to the butter-maple mixture. The heat sneaks up on you after the initial sweetness—it’s a wonderful surprise. I made these for a game-day snack, and they disappeared faster than the chips.
Pumpkin Pie Spice Version
Swap the cinnamon for ½ teaspoon pumpkin pie spice blend. This adds warming notes of nutmeg, ginger, and cloves that make the seeds taste like a mini pumpkin pie. Perfect for Thanksgiving snacking or adding to a charcuterie board.
Savory Herb Variation
Skip the maple syrup and increase the butter to 3 tablespoons. Add 1 teaspoon dried rosemary, ½ teaspoon garlic powder, and ½ teaspoon black pepper. Toss and roast as directed. These are incredible on salads or soups, or just eaten by the handful when you’re craving something savory.
Dietary Adaptations
- Vegan: Substitute coconut oil or vegan butter for the butter. The flavor changes slightly, but the texture remains perfect.
- Lower Sugar: Reduce the maple syrup to 2 tablespoons and add a pinch of stevia or monk fruit sweetener. The seeds won’t be as sticky, but they’ll still be deliciously crunchy.
- Nut-Free: This recipe is naturally nut-free, but double-check your maple syrup brand if you have severe allergies—some cheaper syrups are processed on shared equipment.
I’ve personally tried the spicy version at least five times now. It’s become my secret weapon for holiday parties. People expect sweet pumpkin seeds, so the heat catches them off guard in the best way.
Serving & Storage Suggestions
These crunchy maple roasted pumpkin seeds are incredibly versatile. Here’s how I like to serve and store them:
Serving: I serve them at room temperature, straight from the baking sheet into a bowl. They’re fantastic as a standalone snack, but they also shine as a topping. Sprinkle them over butternut squash soup for a sweet-salty crunch, add them to a fall salad with goat cheese and dried cranberries, or use them as a garnish for roasted vegetables. I’ve even crushed them up and used them as a crust for baked brie—absolutely decadent.
Pairing suggestions: These seeds pair beautifully with a crisp apple cider, a warm mug of chai, or even a dry hard cider for the adults. For a dessert board, arrange them alongside dark chocolate, dried figs, and sharp cheddar cheese. The sweet-salty combo works with so many flavors.
Storage: Once the seeds are completely cool, transfer them to an airtight container. They’ll stay fresh and crunchy at room temperature for up to 2 weeks—if they last that long. I’ve never had a batch survive past day 5 in my house.
Re-crisping tip: If your seeds lose their crunch after a few days (it happens, especially in humid weather), spread them on a baking sheet and pop them in a 300°F oven for 3-4 minutes. Let them cool, and they’ll be almost as good as fresh. Don’t microwave them—it makes them chewy.
Freezer option: You can freeze these seeds in a freezer-safe bag for up to 3 months. Thaw at room temperature, then re-crisp in the oven as described above. I often make a double batch and stash one in the freezer for unexpected guests or late-night cravings.
Nutritional Information & Benefits
While I’m not a nutritionist, I can share some general information about what makes these seeds a smarter snack choice. Per serving (about ¼ cup), you’re looking at approximately:
- Calories: 180-200
- Fat: 14g (mostly healthy unsaturated fats from the seeds)
- Protein: 7g
- Carbohydrates: 12g (including 8g sugar from maple syrup)
- Fiber: 2g
Health highlights: Pumpkin seeds are packed with magnesium, zinc, and healthy fats that support heart health and immune function. The magnesium content is particularly noteworthy—it helps with sleep quality and muscle recovery. The maple syrup adds antioxidants (yes, really!) and provides a more complex sweetness than refined sugar, meaning you get more flavor with less.
Dietary considerations: This recipe is naturally gluten-free and nut-free. For a lower-sugar option, reduce the maple syrup as noted in the variations. The seeds are also a good source of plant-based protein, making them a satisfying snack that won’t spike your blood sugar.
From a wellness perspective, I love that this recipe lets me enjoy a treat without the guilt. It’s not health food—let’s be honest—but it’s made with real ingredients, and that counts for something. A handful of these seeds feels like a reward, not a compromise.
FAQs
Can I use store-bought raw pumpkin seeds instead of fresh?
Absolutely. Raw, hulled pumpkin seeds (pepitas) work great. They’re thinner and smaller, so reduce the roasting time by 3-5 minutes and check frequently. They won’t have the same chewy texture as fresh seeds, but they’ll be wonderfully crunchy.
Why are my pumpkin seeds chewy instead of crunchy?
This usually happens for one of two reasons: the seeds weren’t dried thoroughly before roasting, or they were stored before fully cooling. Make sure to pat them very dry with a towel, and let them cool completely on the baking sheet before transferring to a container.
Can I make these in an air fryer?
Yes! Air fry at 300°F for 8-12 minutes, shaking the basket halfway through. Keep a close eye on them since air fryers run hot. The results are similar to oven-roasted, just slightly faster.
How do I prevent the maple syrup from burning?
Use a lower oven temperature (325°F) and watch the seeds carefully in the last few minutes of roasting. The maple syrup can go from golden to burnt very quickly. If you see dark spots forming, pull them out immediately.
Can I double this recipe?
Yes, but use two baking sheets instead of one. Crowding the seeds leads to steaming, which makes them soft. Rotate the sheets halfway through roasting for even browning.
Conclusion
This crunchy maple roasted pumpkin seeds recipe is more than just a snack—it’s a little piece of fall you can hold in your hand. The kind of thing that makes you slow down and actually taste what you’re eating. Sweet maple, salty crunch, that deep roasted flavor that fills your kitchen with the best kind of aroma. It’s simple enough for a Tuesday afternoon, special enough for a holiday table. And honestly? It’s the recipe I keep coming back to year after year, because it never gets old. Whether you’re making these from your Halloween pumpkin or just picking up seeds at the store, I hope they bring you the same quiet joy they bring me. Give them a try, and let me know how they turn out. Did you add a twist? Burn a batch like I did that first time? I’d love to hear about it in the comments. Happy snacking!
Pin This Recipe!
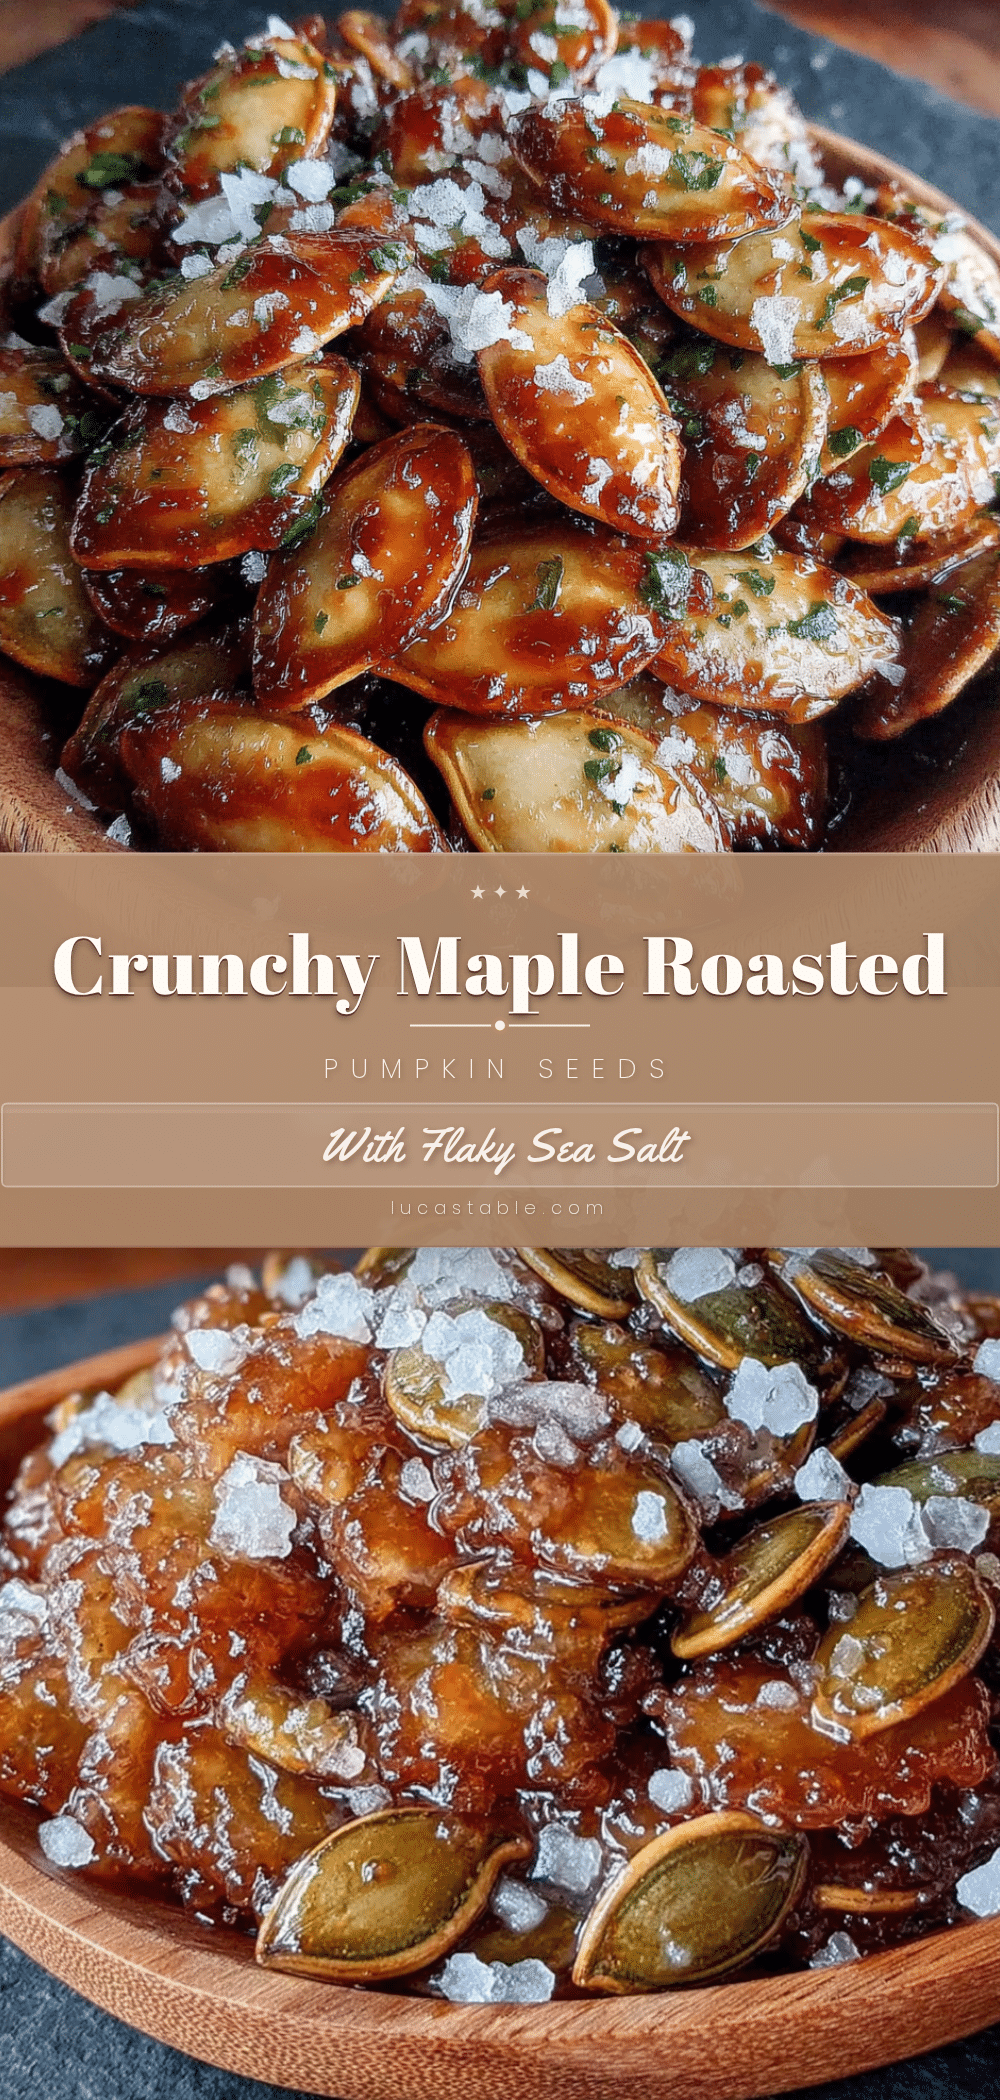
Best Easy Crunchy Maple Roasted Pumpkin Seeds

These crunchy maple roasted pumpkin seeds are sticky, salty, and perfectly crisp. Made with just a few simple ingredients, they’re the ultimate fall snack that’s quick to prepare and impossible to resist.
- Prep Time: 10 minutes
- Cook Time: 18-22 minutes
- Total Time: 28-32 minutes
- Yield: 4 servings 1x
- Category: Snack
- Cuisine: American
Ingredients
- 1 ½ cups fresh pumpkin seeds (from one medium pumpkin; rinsed well and patted very dry)
- 2 tablespoons unsalted butter, melted
- 3 tablespoons pure maple syrup
- ½ teaspoon flaky sea salt, plus more for finishing
- Optional: ¼ teaspoon cinnamon
Instructions
- Preheat your oven to 325°F (163°C). Line a rimmed baking sheet with parchment paper or a silicone mat.
- Clean the seeds: Separate the pumpkin seeds from the stringy pulp. Place them in a colander and rinse under cool running water, using your fingers to rub off any remaining pulp. Drain well.
- Dry the seeds thoroughly: Spread the rinsed seeds on a clean kitchen towel or paper towels. Pat them dry, then let them sit for about 5 minutes to air-dry any remaining moisture.
- Make the glaze: In a medium mixing bowl, whisk together the melted butter and maple syrup until smooth. If using cinnamon, whisk it in now.
- Toss the seeds: Add the dried pumpkin seeds to the bowl and stir until every seed is coated in the butter-maple mixture.
- Spread on the baking sheet: Pour the coated seeds onto the prepared baking sheet and spread them into a single, even layer.
- Roast for 10 minutes: Place the sheet in the preheated oven. After 10 minutes, pull the sheet out and give the seeds a good stir.
- Roast for another 8-12 minutes: Return the sheet to the oven and continue roasting until the seeds are deep golden-brown and fragrant. Watch carefully in the last few minutes to prevent burning.
- Season immediately: As soon as the seeds come out of the oven, sprinkle them with the flaky sea salt while they’re still hot.
- Cool completely: Let the seeds cool on the baking sheet for at least 15-20 minutes without stirring. They will continue to crisp up as they cool.
Notes
For best crunch, dry the seeds thoroughly before roasting. Use a lower oven temperature (325°F) to prevent the maple syrup from burning. Cool completely before storing to maintain crispness. If seeds lose crunch, re-crisp in a 300°F oven for 3-4 minutes.
Nutrition
- Serving Size: ¼ cup
- Calories: 180200
- Sugar: 8
- Sodium: 200
- Fat: 14
- Saturated Fat: 4
- Carbohydrates: 12
- Fiber: 2
- Protein: 7
Keywords: pumpkin seeds, maple roasted, fall snack, crunchy, easy, Halloween, Thanksgiving


