It was 11:47 PM on a Tuesday that felt like it had lasted a whole week, and I had a very specific, almost aggressive craving for chili. Not the kind with beans and a million vegetables—I wanted the real deal. The kind of thick, meaty, dark-red chili that warms you from the inside out and makes you forget about the rain tapping against the window. The problem was, I didn’t have any ground beef. I had a pack of chuck steak that was meant for Sunday pot roast, and an idea that felt a little reckless at that hour.
I figured, why not? I mean, it’s all beef in the end, right? So I chopped that steak into tiny, uneven cubes—honestly, my knife skills after 11 PM are questionable at best—and threw them into my heaviest pot with a glug of oil. I remember the sizzle was so loud it woke up my cat, who gave me a look that said, “You better be making something worth the noise.” The whole kitchen smelled like a diner in the best way possible, and I just stood there stirring, thinking about how this was probably the most impulsive cooking decision I’d made all week.
There was a moment when I thought I’d messed up—the meat released a lot of liquid, and I panicked for a second. But I just let it cook down, scraped the bottom of the pot, and kept going. That late-night experiment turned into what I now call my Cozy No-Bean Texas Chili Bowl. It’s the kind of recipe that feels like a secret you want to share. Maybe you’ve been there—standing in your kitchen at a ridiculous hour, craving something real, and just going for it with whatever you have. That’s this chili. It stayed with me because it proved that sometimes the best meals come from breaking the rules when no one is watching.
Why You’ll Love This Recipe
This isn’t just another chili recipe. I’ve tested this one through late-night cravings, cold afternoons, and even a few meal-prep Sundays, and it never disappoints. Here’s why you’re going to want this in your regular rotation:
- Quick & Easy : Comes together in under 30 minutes, perfect for those nights when you need comfort food fast. No simmering for hours required.
- Simple Ingredients : No fancy grocery trips needed. You likely already have everything in your kitchen, including that chuck steak or ground beef in your freezer.
- Perfect for Cozy Nights : Great for cold weather, a rough day that needs fixing, or a slow evening at home with a good movie.
- Crowd-Pleaser : Always gets rave reviews from everyone—even my neighbor who swore he didn’t like chili changed his mind after one bowl.
- Unbelievably Delicious : The texture and flavor combo is next-level comfort food. The meat is tender, the broth is rich, and every spoonful feels like a warm hug.
What makes this recipe different from the rest? It’s the technique. By cubing the beef instead of just browning ground meat, you get these incredible, tender chunks that soak up all the smoky, spicy flavors. No beans means the beef is the absolute star, and the seasoning blend is perfectly balanced—smoky, a little spicy, and deeply savory. This isn’t just another version of chili—it’s your best version.
This recipe isn’t just good—it is the kind that makes you close your eyes after the first bite. It’s comfort food reimagined: faster, richer, but with the same soul-soothing satisfaction. Perfect for impressing guests without stress, or turning a simple Tuesday night into something memorable.
What Ingredients You Will Need
This recipe uses simple, wholesome ingredients to deliver bold flavor and satisfying texture without the fuss. Most of these are pantry staples, and the ones that aren’t are easy to find at any grocery store.
- 1 ½ lbs beef chuck steak or ground beef (80/20 blend preferred for flavor; if using chuck, cut into ½-inch cubes)
- 2 tablespoons olive oil (for browning the meat)
- 1 large yellow onion, diced (about 1 ½ cups)
- 4 cloves garlic, minced (adds that savory depth)
- 1 jalapeño pepper, seeded and minced (optional, for heat lovers)
- 2 tablespoons tomato paste (I recommend Cento or Mutti for rich flavor)
- 1 can (14.5 oz) fire-roasted diced tomatoes (do not drain—the liquid adds flavor)
- 1 cup beef broth (use low-sodium so you can control the salt)
- 2 tablespoons chili powder (look for a blend with cumin and oregano already in it)
- 1 teaspoon smoked paprika (this is non-negotiable for that smoky depth)
- 1 teaspoon ground cumin
- ½ teaspoon cayenne pepper (adjust to your spice tolerance)
- 1 teaspoon dried oregano
- Salt and black pepper to taste
- Optional toppings: shredded cheddar cheese, sour cream, sliced green onions, fresh cilantro, pickled jalapeños
Ingredient Selection Tips: For the beef, I prefer chuck steak because it breaks down into incredibly tender chunks. If you’re using ground beef, go for 80/20—the fat is where the flavor lives. For the tomatoes, fire-roasted makes a huge difference. They add a subtle smokiness that you just can’t get from regular canned tomatoes. If you can’t find them, add an extra ½ teaspoon of smoked paprika to compensate.
Substitution Guidance: Use ground turkey or chicken for a leaner option, but add a tablespoon of olive oil to keep it moist. For a vegetarian version, swap the beef with 2 cans of drained black beans and use vegetable broth—but honestly, this recipe is built for meat lovers. For a gluten-free option, this chili is naturally gluten-free as long as your broth and chili powder are certified gluten-free.
Equipment Needed
You don’t need a fancy kitchen to make this chili. Here’s what you’ll need:
- Large heavy-bottomed pot or Dutch oven (I use my 5.5-quart Le Creuset, but any heavy pot works—it holds heat better and prevents burning)
- Sharp chef’s knife (for cubing the beef and chopping vegetables; a dull knife is more dangerous than a sharp one)
- Cutting board
- Wooden spoon or spatula (for scraping up all those browned bits from the bottom)
- Measuring spoons
- Can opener
- Ladle (for serving)
Budget-Friendly Options: Don’t have a Dutch oven? A large stainless steel pot or even a nonstick skillet will work. Just keep an eye on the heat to prevent sticking. If you don’t have a wooden spoon, a silicone spatula is fine—just make sure it’s heat-resistant.
Maintenance Tip: If you’re using a cast iron Dutch oven, avoid soaking it in water after cooking. Wipe it clean with a paper towel first, then wash with mild soap and dry immediately to prevent rust.
Preparation Method
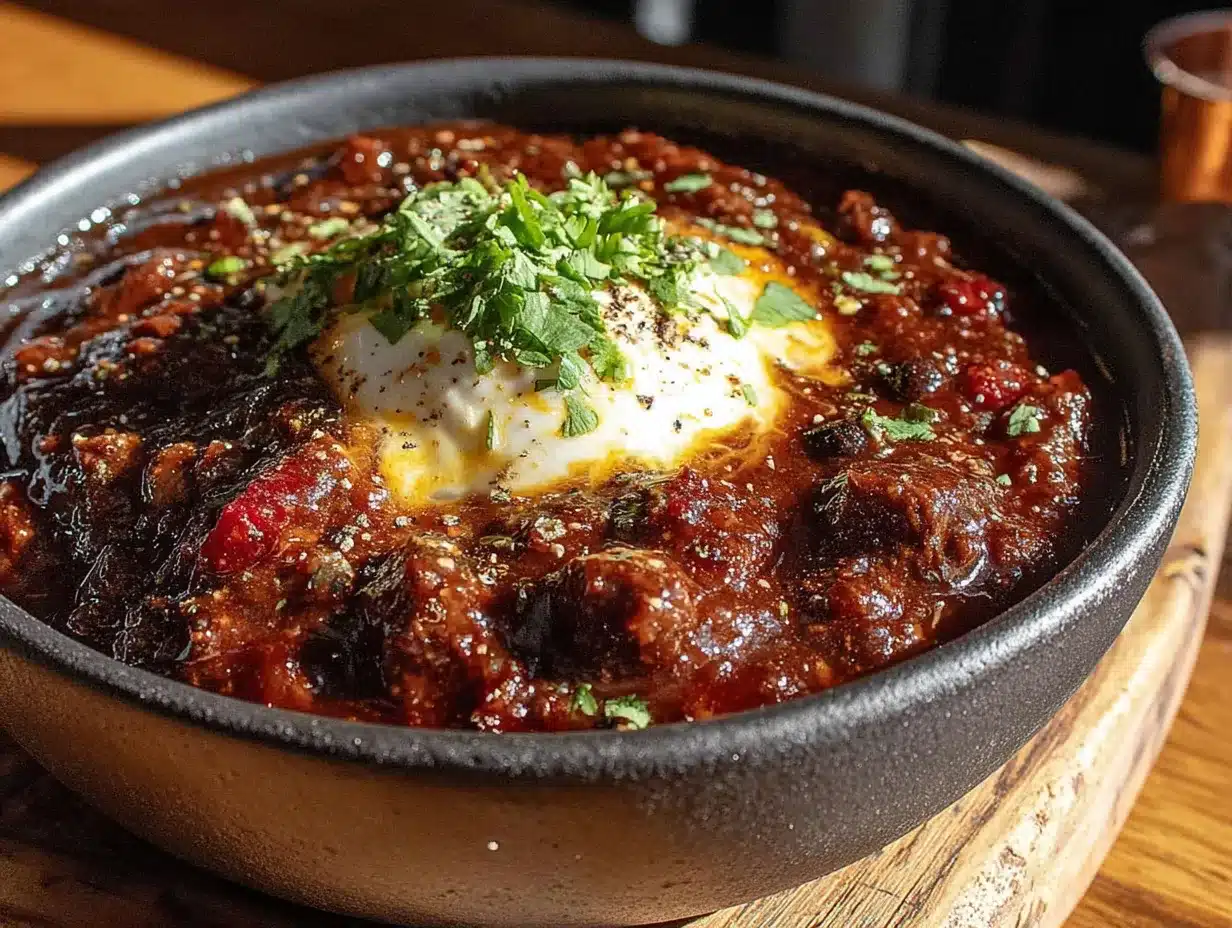
Let’s get cooking. This comes together faster than you think, so have all your ingredients prepped before you start.
- Prep the beef: If using chuck steak, pat it dry with paper towels and cut it into ½-inch cubes. Season generously with salt and pepper. If using ground beef, skip the cubing and just season the meat. (Pro tip: Drying the meat helps it brown better instead of steaming.)
- Brown the beef in batches: Heat 1 tablespoon of olive oil in your pot over medium-high heat. Add half the beef in a single layer—don’t overcrowd the pot. Let it cook undisturbed for 3-4 minutes until deeply browned. Flip and brown the other side. Transfer to a plate and repeat with the remaining beef and oil. (This step is crucial—crowding the pan steams the meat instead of browning it.)
- Sauté the aromatics: Reduce heat to medium. Add the diced onion to the pot and cook for 4-5 minutes, scraping up the browned bits from the bottom. Once the onion is translucent, add the garlic and jalapeño (if using) and cook for 1 minute until fragrant.
- Bloom the tomato paste and spices: Push the onions to the side and add the tomato paste to the center of the pot. Cook for 1-2 minutes, stirring constantly, until it darkens slightly. Add the chili powder, smoked paprika, cumin, cayenne, and oregano. Stir everything together for 30 seconds—this toasts the spices and makes them more flavorful.
- Deglaze the pot: Pour in about ¼ cup of the beef broth and scrape up any browned bits stuck to the bottom. This is where all the flavor lives, so don’t skip this step.
- Add the tomatoes and broth: Pour in the fire-roasted diced tomatoes (with their juices) and the remaining beef broth. Stir to combine.
- Return the beef to the pot: Add the browned beef back in, along with any accumulated juices on the plate. Stir everything together.
- Simmer: Bring the chili to a gentle boil, then reduce the heat to low. Cover and let it simmer for 20 minutes. (If you have more time, let it go for 30-40 minutes—the beef gets even more tender.)
- Taste and adjust: After simmering, taste the chili and adjust the seasoning. Need more salt? Add it now. Want more heat? Stir in an extra pinch of cayenne. The chili should be thick, dark, and deeply flavorful.
- Rest before serving: Let the chili sit off the heat for 5 minutes. This allows the flavors to meld and the sauce to thicken slightly.
Sensory Cues: At step 2, the beef should sizzle loudly and form a deep brown crust. At step 4, your kitchen should smell like a Tex-Mex restaurant—smoky, warm, and inviting. At step 8, the chili should be bubbling gently, and the liquid should be thick enough to coat the back of a spoon.
Cooking Tips & Techniques
I’ve made this chili more times than I can count, and I’ve learned a few things the hard way. Here are my best tips:
- Don’t rush the browning: I once tried to save time by browning all the meat at once. Big mistake. The meat released too much liquid and ended up steaming instead of browning. Take the extra 5 minutes to do it in batches—it makes a huge difference in flavor.
- Toast your spices: This is a game-changer. Blooming the spices in the hot oil and tomato paste wakes up their essential oils. I forgot to do this once, and the chili tasted flat and one-dimensional. Never again.
- Let it rest: Chili always tastes better the next day, but if you’re eating it right away, let it rest for 5-10 minutes after cooking. This gives the flavors time to settle and the sauce to thicken naturally.
- Watch your heat: If you’re sensitive to spice, start with half the cayenne and add more at the end. You can always add heat, but you can’t take it away.
- Scrape the bottom: When you deglaze the pot with broth, make sure you scrape up all those browned bits (called “fond”). That’s pure flavor. I once left them stuck to the pot and regretted it.
Timing and Multitasking: While the chili simmers, you can prep your toppings—shred cheese, slice green onions, chop cilantro. This way, everything is ready to go when the chili is done.
Variations & Adaptations
One of the best things about this chili is how easy it is to adapt. Here are some ways to make it your own:
- Spicy Kick: Add 2-3 chopped chipotle peppers in adobo sauce along with the tomatoes. The smoky heat is incredible. I tried this on a whim one night, and now it’s my go-to variation.
- Slow Cooker Version: Brown the beef and sauté the aromatics on the stovetop, then transfer everything to a slow cooker. Cook on low for 6-8 hours or high for 3-4 hours. The beef becomes melt-in-your-mouth tender.
- Smokier Flavor: Add ½ teaspoon of liquid smoke along with the broth. It gives the chili that “cooked all day over a campfire” taste without the effort.
- Dairy-Free/Keto-Friendly: Skip the cheese and sour cream toppings, and use avocado or coconut cream instead. This chili is naturally low-carb and keto-friendly as long as you skip the beans (which you already are!).
- Milder Version: Omit the jalapeño and cayenne pepper entirely. Use sweet paprika instead of smoked paprika for a gentler flavor that kids will love.
Serving & Storage Suggestions
Serving: Serve this chili piping hot in deep bowls. I love to top mine with a generous handful of shredded sharp cheddar, a dollop of sour cream, and a sprinkle of fresh cilantro. A few pickled jalapeños on the side add a nice tangy crunch. For a complete meal, serve with warm cornbread, crusty bread, or even tortilla chips for dipping.
Complementary Dishes: This chili pairs beautifully with a simple side salad dressed with lime vinaigrette. The acidity cuts through the richness of the chili. For drinks, a cold beer (like a lager or pale ale) or a glass of full-bodied red wine works perfectly.
Storage: Store leftovers in an airtight container in the refrigerator for up to 5 days. The flavors actually deepen and improve over time—this chili is even better on day two or three.
Freezing: This chili freezes beautifully. Let it cool completely, then transfer to freezer-safe bags or containers. It will keep for up to 3 months. To thaw, place it in the refrigerator overnight, then reheat gently on the stovetop.
Reheating: Reheat individual portions in the microwave for 2-3 minutes, stirring halfway through. For larger batches, reheat on the stovetop over medium-low heat, adding a splash of beef broth or water if the chili has thickened too much.
Flavor Development: I’ve noticed that this chili’s flavor peaks around day two. The spices meld together, and the beef absorbs more of the sauce. If you can, make it a day ahead—your future self will thank you.
Nutritional Information & Benefits
This Cozy No-Bean Texas Chili Bowl is not just delicious—it’s packed with nutritional benefits. Here’s an estimated breakdown per serving (based on 4 servings, without toppings):
| Nutrient | Amount per Serving |
|---|---|
| Calories | 420 |
| Protein | 35g |
| Fat | 22g |
| Carbohydrates | 12g |
| Fiber | 4g |
| Iron | 25% DV |
| Vitamin A | 30% DV |
| Vitamin C | 15% DV |
Health Benefits: Beef is an excellent source of high-quality protein, iron, and B vitamins, which support energy metabolism and red blood cell production. The tomatoes are rich in lycopene, a powerful antioxidant linked to heart health. Garlic and onions provide anti-inflammatory compounds that support immune function.
Dietary Considerations: This chili is naturally gluten-free, low-carb, and keto-friendly. It’s also paleo-friendly if you skip the cheese and sour cream. The only potential allergen is the beef itself, so if you’re sensitive to red meat, try the ground turkey variation mentioned above.
Personal Wellness Perspective: I love that this chili is both satisfying and nourishing. It’s the kind of meal that fills you up without weighing you down—perfect for those days when you need comfort food that actually supports your health goals.
Conclusion
This Cozy No-Bean Texas Chili Bowl is more than just a recipe—it’s proof that the best meals often come from late-night cravings and a willingness to improvise. It’s thick, meaty, deeply flavorful, and comes together in just 30 minutes. Whether you’re making it for a quiet night in or serving it to friends on game day, this chili delivers every single time.
I love this recipe because it reminds me that cooking doesn’t have to be complicated to be incredible. Sometimes the simplest ingredients, treated with a little care and a lot of love, create something truly special. So go ahead—make this chili your own. Add extra spice, skip the jalapeño, load it up with cheese, or keep it simple. There’s no wrong way to enjoy a bowl of this.
I’d love to hear how it turns out for you! Leave a comment below and let me know what toppings you used, or tag me in your photos on social media. Did you make any fun variations? Share them—I’m always looking for new ideas. Until next time, happy cooking!
Frequently Asked Questions
Can I use ground beef instead of chuck steak?
Absolutely! Ground beef (80/20 blend) works perfectly and actually makes the recipe even faster since you skip the cubing step. Just brown it the same way, breaking it up as it cooks.
How do I make this chili less spicy?
Omit the jalapeño and cayenne pepper entirely. Use sweet paprika instead of smoked paprika for a milder flavor. You can also serve it with a dollop of sour cream or Greek yogurt to cool things down.
Can I make this in a slow cooker?
Yes! Brown the beef and sauté the aromatics on the stovetop first, then transfer everything to a slow cooker. Cook on low for 6-8 hours or high for 3-4 hours. The beef will be incredibly tender.
How long does this chili last in the fridge?
Store it in an airtight container in the refrigerator for up to 5 days. The flavors actually get better over time, so don’t be afraid to make it ahead of time.
Can I freeze this chili?
Definitely! Let the chili cool completely, then transfer to freezer-safe bags or containers. It will keep for up to 3 months. Thaw overnight in the fridge and reheat gently on the stovetop.
Pin This Recipe!
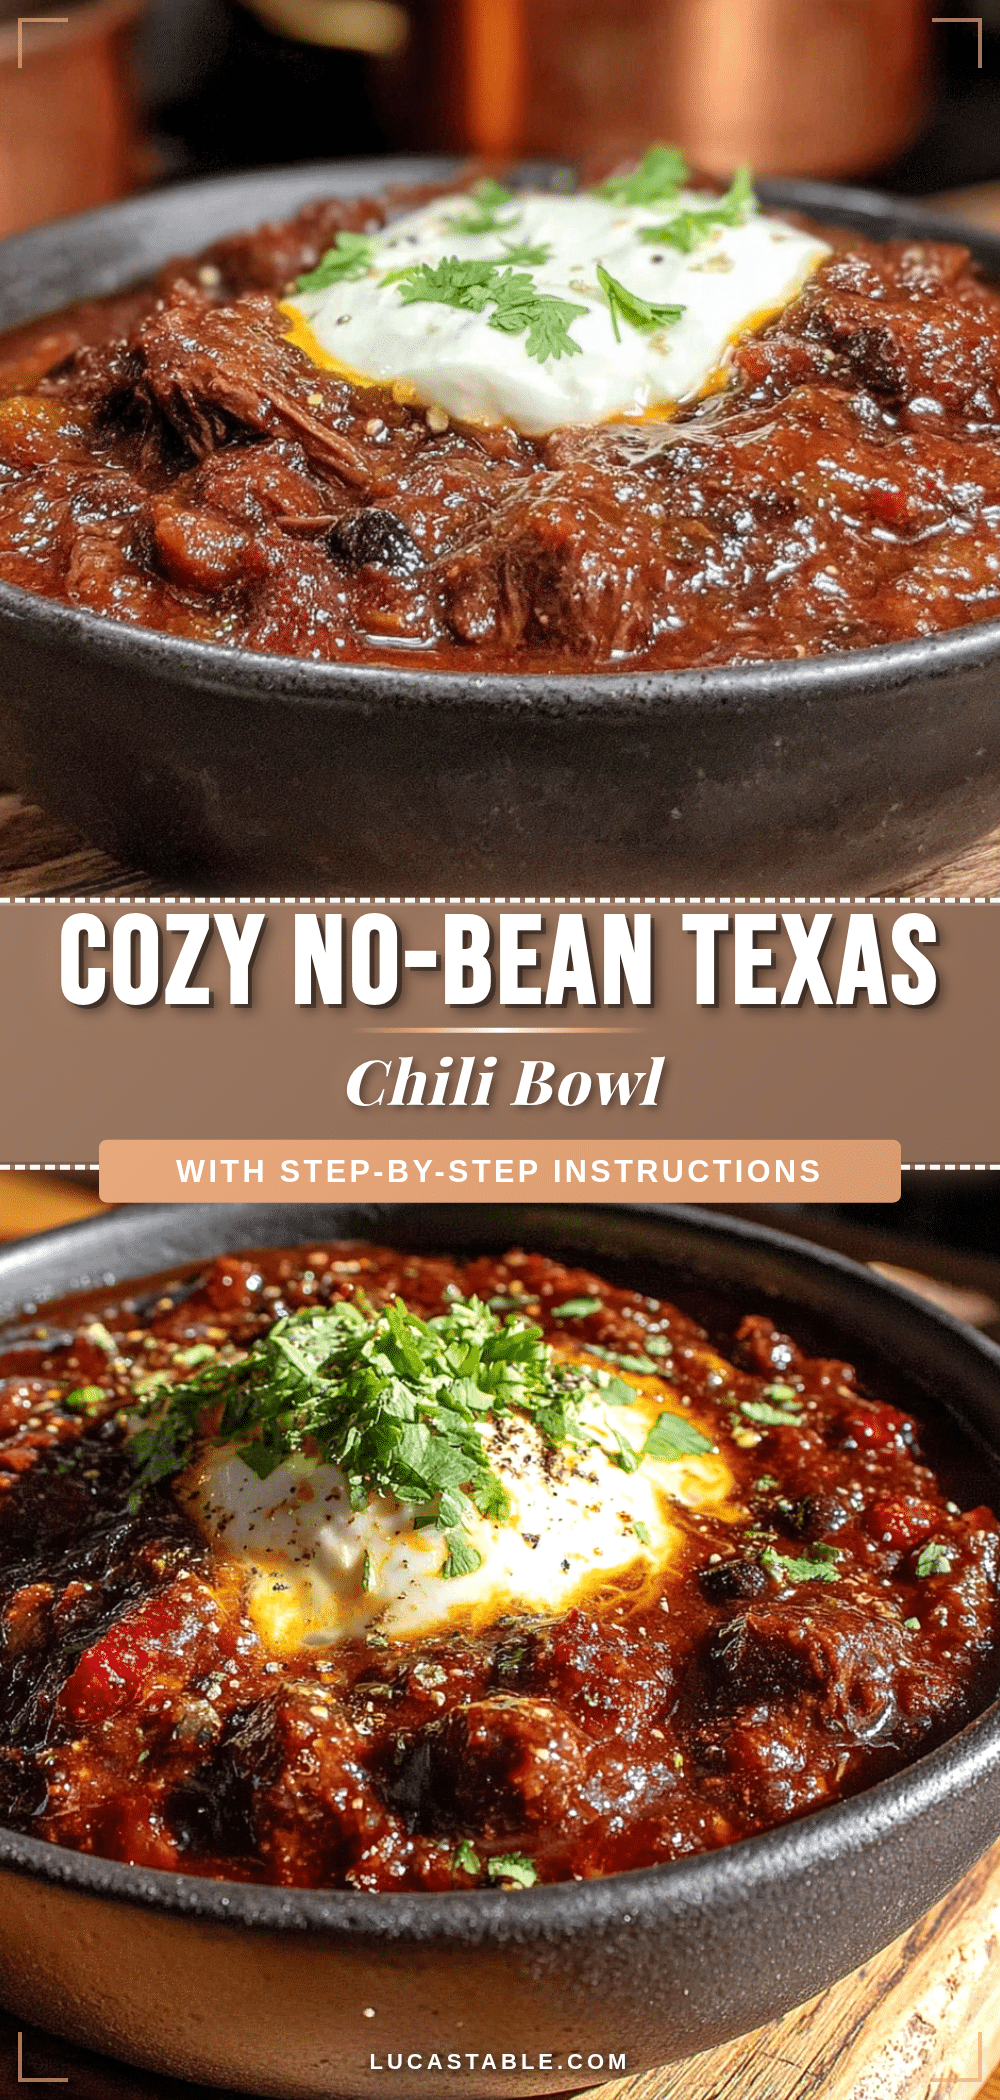
Cozy No-Bean Texas Chili Bowl – Easy 30-Minute Recipe

A thick, meaty, dark-red chili made with tender chunks of beef chuck steak, no beans, and a perfectly balanced smoky-spicy seasoning. Ready in just 30 minutes, it’s the ultimate comfort food for cozy nights.
- Prep Time: 10 minutes
- Cook Time: 20 minutes
- Total Time: 30 minutes
- Yield: 4 servings 1x
- Category: Main Course
- Cuisine: American (Texas-style)
Ingredients
- 1 ½ lbs beef chuck steak or ground beef (80/20 blend preferred)
- 2 tablespoons olive oil
- 1 large yellow onion, diced (about 1 ½ cups)
- 4 cloves garlic, minced
- 1 jalapeño pepper, seeded and minced (optional)
- 2 tablespoons tomato paste
- 1 can (14.5 oz) fire-roasted diced tomatoes, undrained
- 1 cup low-sodium beef broth
- 2 tablespoons chili powder
- 1 teaspoon smoked paprika
- 1 teaspoon ground cumin
- ½ teaspoon cayenne pepper (adjust to taste)
- 1 teaspoon dried oregano
- Salt and black pepper to taste
- Optional toppings: shredded cheddar cheese, sour cream, sliced green onions, fresh cilantro, pickled jalapeños
Instructions
- Prep the beef: If using chuck steak, pat it dry with paper towels and cut into ½-inch cubes. Season generously with salt and pepper. If using ground beef, skip cubing and just season.
- Brown the beef in batches: Heat 1 tablespoon olive oil in a large heavy-bottomed pot or Dutch oven over medium-high heat. Add half the beef in a single layer; cook undisturbed for 3-4 minutes until deeply browned. Flip and brown the other side. Transfer to a plate. Repeat with remaining beef and oil.
- Sauté the aromatics: Reduce heat to medium. Add diced onion to the pot and cook for 4-5 minutes, scraping up browned bits. Add garlic and jalapeño (if using) and cook for 1 minute until fragrant.
- Bloom the tomato paste and spices: Push onions to the side, add tomato paste to the center, and cook for 1-2 minutes, stirring constantly, until darkened. Add chili powder, smoked paprika, cumin, cayenne, and oregano. Stir for 30 seconds.
- Deglaze the pot: Pour in about ¼ cup of the beef broth and scrape up any browned bits from the bottom.
- Add the tomatoes and broth: Pour in the fire-roasted diced tomatoes (with juices) and remaining beef broth. Stir to combine.
- Return the beef to the pot: Add the browned beef back in, along with any accumulated juices. Stir.
- Simmer: Bring to a gentle boil, then reduce heat to low. Cover and simmer for 20 minutes (or up to 30-40 minutes for more tender beef).
- Taste and adjust: Taste the chili and adjust seasoning with salt, pepper, or extra cayenne as desired.
- Rest before serving: Let the chili sit off the heat for 5 minutes to allow flavors to meld and sauce to thicken.
Notes
For best flavor, brown the beef in batches to avoid steaming. Toast the spices in the hot oil and tomato paste to deepen their flavor. Let the chili rest for 5 minutes before serving. Chili tastes even better the next day.
Nutrition
- Serving Size: 1 bowl (about 1 ½ cu
- Calories: 420
- Sugar: 6
- Sodium: 800
- Fat: 22
- Saturated Fat: 8
- Carbohydrates: 12
- Fiber: 4
- Protein: 35
Keywords: Texas chili, no-bean chili, beef chili, easy chili recipe, 30-minute chili, comfort food, gluten-free chili, keto chili


