Seven o’clock on a Tuesday evening, and the last thing I wanted was another dry chicken breast. The air fryer sat on my counter like a plastic spaceship I barely trusted. I had four bone-in, skin-on chicken thighs defrosted in the fridge, a bottle of smoked paprika that was almost empty, and absolutely no patience for a complicated recipe. I remember staring at those thighs thinking, “You are either going to be the best thing I’ve made this week or a total disaster.” So I dried them with paper towels until my fingers were raw, seasoned them with whatever felt right, and placed them skin-side up in the basket. Twenty-five minutes later, I pulled out the most ridiculous chicken I had ever made at home. The skin was shatteringly crisp, the meat was so tender it practically fell off the bone, and I stood there eating one straight from the basket, burning my tongue, not caring one bit.
That was the night I became a believer. Not in the air fryer itself, but in the magic of crispy air fryer chicken thighs. They are forgiving, they are fast, and they deliver that golden-brown crunch you usually only get from deep frying—without the mess or the guilt. I have made them at least twice a week since then, tweaking the seasoning, testing different temperatures, and learning exactly what makes them work every single time. This is that recipe. The one I actually make, not the one I dream about making.
Why You Will Love This Recipe
Let me tell you why these crispy air fryer chicken thighs have become my go-to weeknight dinner. I have tested this recipe more times than I care to admit, and every single batch has delivered consistent, reliable results. No sad, soggy skin. No overcooked, dried-out meat. Just perfectly golden chicken that tastes like you spent an hour frying it.
- Quick & Easy: From start to finish, this takes about 30 minutes. The air fryer does all the heavy lifting while you throw together a quick side dish.
- Simple Ingredients: You probably have everything in your pantry right now. No weird marinades, no obscure spices, no specialty oils.
- Perfect for Busy Weeknights: This is the kind of dinner you can make after a long day when you are tired and hungry and just want something good.
- Crowd-Pleaser: I have served these to picky eaters, to friends who “don’t like dark meat,” and to my own skeptical self. Everyone loves them.
- Unbelievably Crispy: The air fryer creates that deep-fried crunch using barely any oil. The skin turns golden and crackly while the meat stays juicy and tender.
What makes this recipe different from all the others? It comes down to two things: proper drying technique and the right temperature. Most people skip the drying step or rush through it, and that is exactly why their chicken turns out steamed instead of crispy. I also tested four different temperature combinations before landing on this one. Trust me, 400°F is the sweet spot. Any lower and the skin takes too long to crisp. Any higher and you risk burning the seasoning before the meat cooks through.
This is the recipe that makes you close your eyes after the first bite. It is comfort food that comes together faster than takeout delivery, and it tastes like something you would pay good money for at a restaurant. Honestly, it is the kind of dinner that makes you look forward to Tuesday nights.
What Ingredients You Will Need
The beauty of this recipe is that it relies on simple, everyday ingredients. You do not need to hunt down anything fancy or expensive. Here is everything you need to make the best crispy air fryer chicken thighs of your life.
- Chicken Thighs (bone-in, skin-on): About 4 to 6 thighs, depending on how many people you are feeding. Bone-in thighs are more forgiving than boneless—they stay juicier and have better flavor. Look for thighs with the skin still attached and intact. If the skin is torn, it will shrink and expose the meat during cooking.
- Olive Oil (1 tablespoon): Just enough to help the seasoning stick and encourage browning. You can use avocado oil if you prefer a higher smoke point, but olive oil works beautifully here.
- Smoked Paprika (1 teaspoon): This is my secret weapon. Smoked paprika adds a deep, earthy flavor that regular paprika just cannot match. I use the brand from my local spice shop, but any good-quality smoked paprika will do.
- Garlic Powder (1 teaspoon): Not garlic salt. Garlic powder distributes evenly and gives you that savory punch without adding extra sodium.
- Onion Powder (½ teaspoon): Rounds out the flavor and adds a subtle sweetness that balances the smokiness of the paprika.
- Salt (1 teaspoon): Use fine sea salt or kosher salt. If you use table salt, reduce to ¾ teaspoon since it is more concentrated.
- Black Pepper (½ teaspoon): Freshly ground is always better, but pre-ground works in a pinch.
- Dried Thyme (½ teaspoon): Optional, but I love the little herbal notes it adds. You can substitute dried oregano or rosemary if that is what you have.
- Cayenne Pepper (¼ teaspoon): Completely optional. I add this when I want a tiny kick of heat. Leave it out if you are cooking for kids or spice-sensitive folks.
That is it. Seven ingredients, plus the chicken. No buttermilk brine, no complicated spice blends, no marinating overnight. Just straightforward, honest cooking that delivers every single time.
One quick note about the chicken: try to get thighs that are roughly the same size so they cook evenly. If some are much larger than others, you might need to add a few extra minutes of cooking time for the bigger pieces. I usually buy a pack of four to six thighs and pick out the ones that look most uniform.
Equipment Needed
The air fryer is obviously the star here, but you do not need much else. Here is what you will need to make these crispy air fryer chicken thighs.
- Air Fryer: Any brand works. I use a 6-quart basket-style air fryer, and it fits four to six thighs comfortably without overcrowding. If you have a smaller air fryer, just cook in batches. Overcrowding is the number one reason chicken does not get crispy.
- Paper Towels: You will need a lot of these. Patting the chicken dry is the most important step, and you want to be generous with the paper towels.
- Mixing Bowl: For tossing the chicken with oil and seasonings. A medium-sized bowl works perfectly.
- Tongs: For flipping the chicken halfway through cooking. Metal tongs are fine, just be careful not to scratch the non-stick coating on your air fryer basket.
- Instant-Read Thermometer: This is not strictly necessary, but it takes the guesswork out of cooking. Chicken thighs are safe at 165°F, but I prefer pulling them at 175°F to 185°F for the most tender, shreddable meat.
- Cutting Board: For resting the chicken after cooking. Let it rest for at least 5 minutes so the juices redistribute.
If you do not have an air fryer yet, I honestly think this recipe is worth buying one for. But if you have an oven with a convection setting, you can use that instead. Just increase the cooking time and keep an eye on the internal temperature.
Preparation Method
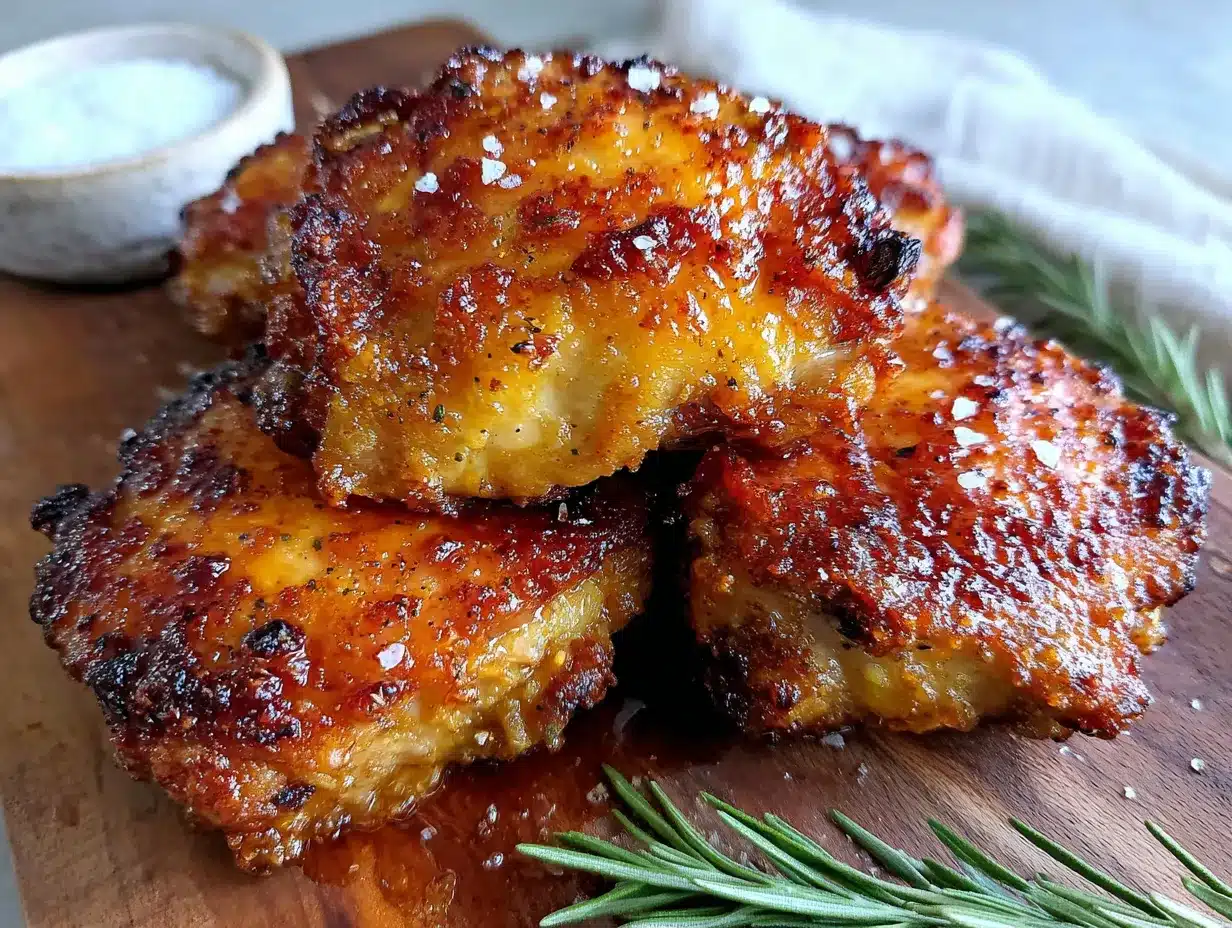
Now for the actual cooking. Follow these steps carefully, and you will have the crispiest, juiciest chicken thighs of your life.
- Pat the Chicken Completely Dry: This is non-negotiable. Take your chicken thighs out of the package and pat them dry with paper towels. Get every surface, especially the skin. Moisture is the enemy of crispiness. If the skin is even slightly damp, it will steam instead of crisping. I go through at least three or four paper towels per batch. Do not rush this step.
- Season the Chicken: In a medium mixing bowl, combine the olive oil, smoked paprika, garlic powder, onion powder, salt, black pepper, dried thyme, and cayenne pepper if using. Whisk everything together until it forms a paste. Add the chicken thighs to the bowl and toss them with your hands until each piece is evenly coated. Make sure to get seasoning under the skin too—just gently lift the skin with your fingers and rub a little seasoning directly onto the meat.
- Preheat the Air Fryer: Set your air fryer to 400°F and let it preheat for 3 to 5 minutes. Preheating ensures the chicken starts cooking immediately, which helps the skin crisp up faster.
- Arrange the Chicken in the Basket: Place the seasoned chicken thighs in the air fryer basket, skin-side up. Make sure they are in a single layer with a little space between each piece. If they are touching, they will not crisp evenly. If your air fryer is small, cook in batches. It is better to cook two batches of perfectly crispy chicken than one batch of sad, soggy chicken.
- Cook at 400°F for 12 Minutes: Set the timer and let the chicken cook undisturbed. The high heat will start rendering the fat and crisping the skin.
- Flip and Cook for Another 10 to 15 Minutes: After 12 minutes, open the air fryer and carefully flip each thigh using tongs. The skin side should be starting to turn golden. Cook for another 10 to 15 minutes, depending on the size of your thighs. The chicken is done when the internal temperature reaches 175°F to 185°F. If you do not have a thermometer, look for golden-brown skin and juices that run clear when you pierce the thickest part of the meat.
- Let the Chicken Rest: Remove the chicken from the air fryer and place it on a cutting board or plate. Let it rest for at least 5 minutes before serving. This allows the juices to redistribute throughout the meat, making every bite tender and flavorful.
A few notes: if your air fryer runs hot, check the chicken at the 20-minute mark. Every air fryer is a little different, and you might need to adjust the timing slightly. Also, do not be afraid to let the skin get dark. Deep golden-brown is what you are aiming for. Pale chicken means it is not crispy enough.
Cooking Tips & Techniques
Over the dozens of times I have made these crispy air fryer chicken thighs, I have learned a few things the hard way. Here are my best tips so you can skip the mistakes.
Dry the skin twice. I know I already said this, but it is worth repeating. After you pat the chicken dry, let it sit on a paper towel-lined plate for five minutes, then pat it dry again. You will be surprised how much moisture comes out the second time. This extra step makes a noticeable difference in crispiness.
Do not overcrowd the basket. This is the most common mistake people make. If the chicken thighs are touching each other, the steam gets trapped between them and the skin never gets truly crispy. Leave at least half an inch of space between each piece. If you have to cook in batches, do it. The extra ten minutes is worth it.
Let the chicken come to room temperature. If your chicken is straight from the fridge, the cold meat will lower the air fryer temperature and increase cooking time. Let the seasoned chicken sit on the counter for 15 to 20 minutes before cooking. This helps it cook more evenly.
Use the right oil. Olive oil works great, but if you have avocado oil, use it. It has a higher smoke point and handles the high heat of the air fryer even better. Avoid using too much oil—you only need a thin coating to help the seasoning stick.
Flip carefully. When you flip the chicken halfway through, be gentle. The skin is fragile at this stage and can tear easily. Use tongs and lift from the edges, not the center of the skin.
Let it rest. I know you will be tempted to eat immediately, but resting is crucial. If you cut into the chicken right away, all the juices will run out onto the plate, leaving you with dry meat. Five minutes is all it takes.
I once forgot to preheat the air fryer and ended up with chicken that took almost 35 minutes to cook. The skin was okay, but the meat was a little dry. Now I always preheat. It makes a real difference.
Variations & Adaptations
This recipe is incredibly versatile. Here are some of my favorite ways to change it up.
Spicy Honey Glaze: After the chicken is cooked, brush it with a mixture of two tablespoons of honey and half a teaspoon of cayenne pepper. Return it to the air fryer for two minutes to caramelize the glaze. The sweet heat combo is addictive.
Lemon Herb: Replace the smoked paprika with dried oregano and add the zest of one lemon to the seasoning mix. Squeeze fresh lemon juice over the chicken after cooking. This version is bright and fresh, perfect for spring.
BBQ Style: Skip the paprika and thyme, and use a store-bought or homemade BBQ rub instead. After cooking, brush the thighs with your favorite BBQ sauce and cook for another two minutes. This is my go-to when I am craving something smoky and sweet.
Boneless Thighs: If you only have boneless, skinless thighs, you can still make this recipe. Reduce the cooking time to 8 minutes per side, and watch the internal temperature closely. Boneless thighs cook faster and can dry out if overcooked.
Gluten-Free: This recipe is naturally gluten-free, so no adjustments needed. Just double-check your spice blends to make sure they do not contain any hidden gluten.
Dairy-Free: Same here. This recipe is completely dairy-free as written.
I once made a batch with a jerk seasoning blend instead of the smoked paprika, and it was incredible. The allspice and scotch bonnet flavors paired beautifully with the crispy skin. Feel free to experiment with your favorite spice blends—this recipe is forgiving enough to handle almost any flavor profile.
Serving & Storage Suggestions
These crispy air fryer chicken thighs are best served fresh, right after cooking. The skin stays crispy for about 30 minutes, so try to eat them soon after they come out of the air fryer.
Serving Suggestions: I love serving these with a simple side salad dressed with lemon vinaigrette, roasted vegetables like broccoli or asparagus, or creamy mashed potatoes. They also pair beautifully with rice pilaf or crusty bread to soak up the juices. For a low-carb option, serve them with cauliflower rice or a big pile of sautéed greens.
Storage: If you have leftovers, store them in an airtight container in the refrigerator for up to 4 days. The skin will lose its crispiness, but the meat will stay flavorful and tender.
Reheating: The air fryer is actually the best way to reheat these. Place the chicken in the air fryer at 375°F for 3 to 4 minutes. The skin will crisp back up almost like it was freshly cooked. You can also reheat them in a 400°F oven for about 10 minutes, but the air fryer gives better results. Avoid the microwave—it will turn the skin rubbery and sad.
Freezing: You can freeze the cooked chicken thighs for up to 3 months. Wrap each piece individually in plastic wrap, then place them in a freezer-safe bag. To reheat, thaw in the refrigerator overnight, then crisp them up in the air fryer at 375°F for 5 to 6 minutes.
Honestly, the flavors actually deepen after a day in the fridge. I sometimes make an extra batch just for leftovers because they are so good cold, sliced over a salad for lunch the next day.
Nutritional Information & Benefits
Here is the estimated nutritional breakdown for one serving of crispy air fryer chicken thighs (based on one thigh with skin).
| Nutrient | Amount per Serving |
|---|---|
| Calories | 280-320 |
| Protein | 25-28g |
| Fat | 18-22g |
| Saturated Fat | 5-6g |
| Carbohydrates | 1-2g |
| Fiber | 0g |
| Sugar | 0g |
| Sodium | 500-600mg |
Chicken thighs are a great source of high-quality protein, which supports muscle repair and keeps you feeling full. They are also rich in B vitamins, particularly niacin and vitamin B6, which help with energy metabolism. The skin provides some healthy fats, and by using the air fryer instead of deep frying, you significantly reduce the overall fat and calorie content.
If you are watching your sodium intake, you can reduce the salt to ¾ teaspoon or use a salt-free seasoning blend. This recipe is naturally low in carbohydrates and can fit into most dietary patterns, including keto and paleo diets.
Conclusion
These crispy air fryer chicken thighs have become a staple in my kitchen for good reason. They are fast, they are forgiving, and they deliver that perfect combination of crunchy skin and juicy meat that makes weeknight dinners feel special. No complicated techniques, no fancy ingredients—just honest cooking that works.
I hope you give this recipe a try and make it your own. Maybe you will add a little more cayenne for heat, or swap in your favorite spice blend. Maybe you will serve them with rice one night and a salad the next. That is the beauty of a simple, reliable recipe. It becomes yours.
If you make these, I would love to hear how they turned out. Drop a comment below or tag me in your photos. And if you are looking for more quick and easy chicken dinners, check out my zesty lemon chicken or this honey mustard chicken for another weeknight winner. Happy cooking!
Frequently Asked Questions
Can I use boneless, skinless chicken thighs for this recipe?
Yes, you can. Reduce the cooking time to about 8 minutes per side at 400°F, and use an instant-read thermometer to check for doneness. Boneless thighs cook faster and can dry out, so watch them closely.
Why is my chicken skin not getting crispy?
The most common reason is moisture. Make sure you pat the chicken extremely dry before seasoning. Also, do not overcrowd the air fryer basket. If the pieces are touching, they will steam instead of crisp. Finally, make sure your air fryer is fully preheated before adding the chicken.
Can I cook frozen chicken thighs in the air fryer?
You can, but the results will not be as good. Frozen chicken releases a lot of moisture as it thaws, which makes it harder to get crispy skin. If you must use frozen thighs, thaw them completely in the refrigerator first, then pat them dry thoroughly before cooking.
How do I know when the chicken is fully cooked?
The safest way is to use an instant-read thermometer. Insert it into the thickest part of the thigh without touching the bone. Chicken is safe to eat at 165°F, but for the most tender texture, cook to 175°F to 185°F. If you do not have a thermometer, look for golden-brown skin and clear juices when you pierce the meat.
Can I reheat these in the microwave?
I do not recommend it. The microwave will make the skin rubbery and soft. Instead, reheat them in the air fryer at 375°F for 3 to 4 minutes, or in a 400°F oven for about 10 minutes. The skin will crisp right back up.
Pin This Recipe!
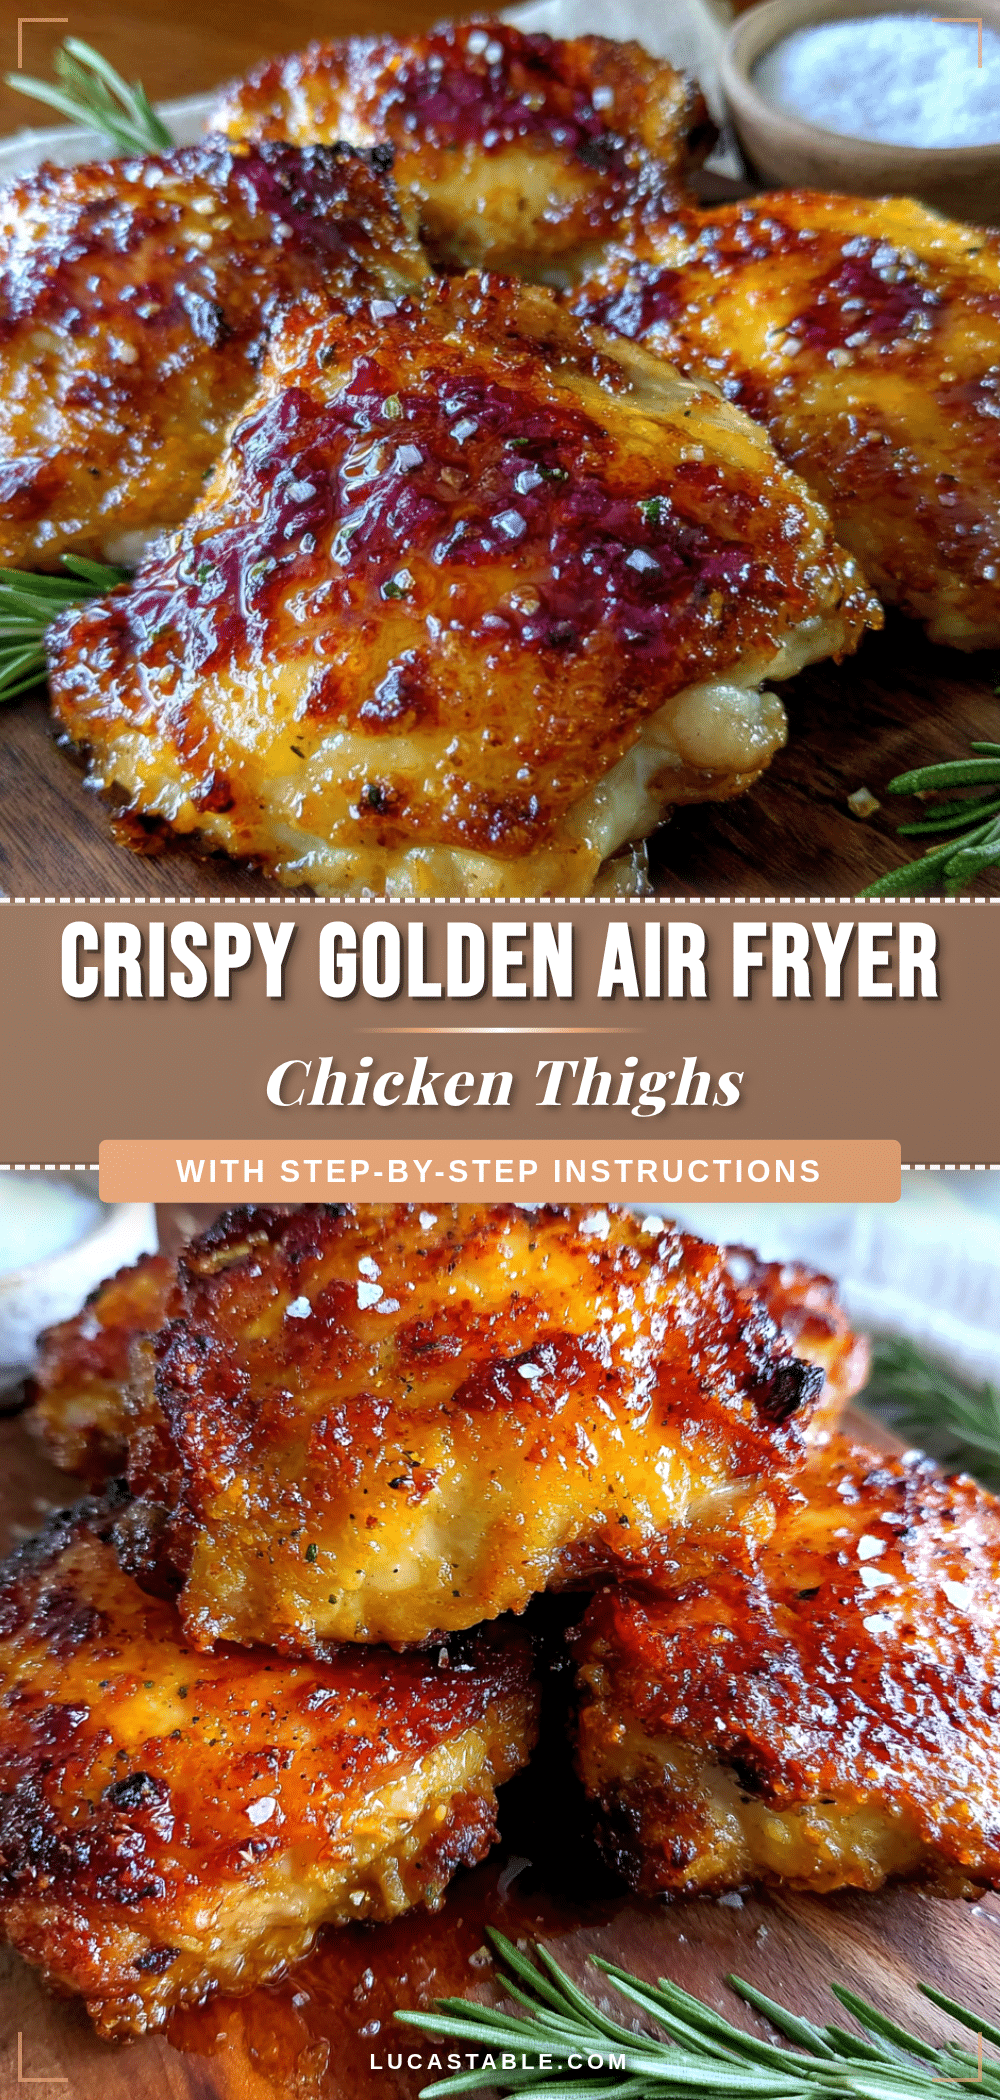
Crispy Air Fryer Chicken Thighs – Easy Best Recipe

These crispy air fryer chicken thighs are fast, forgiving, and deliver shatteringly crisp skin with tender, juicy meat. Made with simple pantry ingredients, they are the perfect weeknight dinner that tastes like deep-fried comfort without the mess or guilt.
- Prep Time: 10 minutes
- Cook Time: 22 to 27 minutes
- Total Time: 32 to 37 minutes
- Yield: 4 servings 1x
- Category: Main Course
- Cuisine: American
Ingredients
- 4 to 6 bone-in, skin-on chicken thighs
- 1 tablespoon olive oil
- 1 teaspoon smoked paprika
- 1 teaspoon garlic powder
- ½ teaspoon onion powder
- 1 teaspoon fine sea salt or kosher salt (reduce to ¾ teaspoon if using table salt)
- ½ teaspoon black pepper (freshly ground preferred)
- ½ teaspoon dried thyme (optional)
- ¼ teaspoon cayenne pepper (optional)
Instructions
- Pat the chicken thighs completely dry with paper towels. Use at least three or four paper towels to remove all moisture from the skin and surfaces.
- In a medium mixing bowl, combine olive oil, smoked paprika, garlic powder, onion powder, salt, black pepper, dried thyme, and cayenne pepper (if using). Whisk into a paste.
- Add the chicken thighs to the bowl and toss with your hands until each piece is evenly coated. Gently lift the skin and rub some seasoning directly onto the meat.
- Preheat the air fryer to 400°F for 3 to 5 minutes.
- Arrange the seasoned chicken thighs in the air fryer basket, skin-side up, in a single layer with at least half an inch of space between each piece. Do not overcrowd; cook in batches if necessary.
- Cook at 400°F for 12 minutes undisturbed.
- Carefully flip each thigh using tongs. Cook for another 10 to 15 minutes, until the internal temperature reaches 175°F to 185°F (or until skin is deep golden-brown and juices run clear).
- Remove chicken from the air fryer and let rest on a cutting board or plate for at least 5 minutes before serving.
Notes
Pat the chicken dry twice for extra crispiness. Let the seasoned chicken sit at room temperature for 15-20 minutes before cooking for even cooking. Do not overcrowd the basket. For the most tender meat, cook to 175°F-185°F internal temperature. Let the chicken rest for 5 minutes before serving. Reheat leftovers in the air fryer at 375°F for 3-4 minutes to restore crispiness.
Nutrition
- Serving Size: 1 chicken thigh
- Calories: 300
- Sodium: 550
- Fat: 20
- Saturated Fat: 5.5
- Carbohydrates: 1.5
- Protein: 26.5
Keywords: air fryer chicken thighs, crispy chicken thighs, easy chicken recipe, weeknight dinner, bone-in chicken thighs, air fryer recipe


