Pulling a baking sheet out of the oven and realizing the breadsticks looked exactly like tiny witchy fingers, not bones at all. That was my first attempt at these. My kids were already in costume, the front doorbell was ringing every five minutes, and I had exactly one shot to make something that looked spooky but actually tasted good enough to eat for dinner, not just decorate. I’d seen those frozen breadsticks at the store, you know, the ones shaped like skeletons—but they were always so dry, and honestly, the ingredient list read like a chemistry experiment. So I grabbed my go-to pizza dough recipe, a stupid amount of garlic, and just started twisting.
The first batch came out looking more like twisted pretzels than bones. But the second batch? Something clicked. I realized the trick was in the cutting—long strips, a slight pinch in the middle for the joint, and a little slit at each end to fan out like knobby bone ends. Once they hit that hot garlic butter bath after baking, they turned into something else entirely. My neighbor, who’s a total food snob, actually asked for the recipe between handing out candy. That’s when I knew I had something worth keeping. These Crispy Garlic Butter Skeleton Bone Breadsticks are now a Halloween tradition in our house, but honestly? We make them all fall long.
They’ve got that perfect crunch on the outside from the butter wash, but they’re still soft and chewy on the inside—like the best garlic knots you’ve ever had, just shaped to look like they belong in a graveyard. And the best part? They’re way easier than they look. No fancy equipment, no weird ingredients, just a little patience and some creative twisting. So whether you’re throwing a Halloween party or just want a fun dinner that makes the kids actually excited to eat bread, these are your ticket. Trust me on this one.
Why You’ll Love This Recipe
I’ve tested this recipe about six times now, and each batch taught me something new. The first time, I didn’t brush them with enough butter—they came out pale and sad. The second time, I used salted butter and the garlic burned. By batch three, I had it dialed in. Here’s why this version is the one you need:
- Quick & Easy : From start to finish, you’re looking at about 30 minutes. Perfect for those chaotic Halloween evenings when you need something fun but fast.
- Simple Ingredients : You probably already have flour, butter, garlic, and yeast in your pantry. No weird specialty items required.
- Perfect for Halloween Parties : These are the showstopper on any snack table. They look creepy but taste irresistible—kids and adults both go crazy for them.
- Crowd-Pleaser : I’ve served these at two different Halloween gatherings now, and they disappear faster than the candy bowl.
- Unbelievably Delicious : That garlic butter soak creates a crispy, golden exterior with a soft, pull-apart center. It’s comfort food with a spooky twist.
What really sets these apart is the double butter treatment. Most recipes just brush the tops before baking, but I do a pre-bake butter bath and a post-bake soak. It sounds extra, but it makes all the difference. The breadsticks come out shatteringly crisp on the outside while staying pillowy inside—exactly what you want from a garlic breadstick, whether it looks like a femur or not.
This isn’t just another shaped bread recipe. It’s the one that makes people stop and say, “Wait, you made these?” And honestly, that feeling never gets old.
What Ingredients You Will Need
This recipe uses straightforward ingredients, but a few specific choices make a big difference in the final texture and flavor. Here’s what you’ll need and why each one matters:
For the Dough
- 2 ¼ teaspoons active dry yeast (one standard packet) — This gives the breadsticks their light, airy texture. I prefer Red Star or Fleischmann’s for consistent results.
- 1 cup warm water (110°F to 115°F) — Too hot kills the yeast, too cold and it won’t activate. Think warm bathwater temperature.
- 1 tablespoon granulated sugar — Feeds the yeast and adds a touch of sweetness to balance the garlic.
- 3 cups all-purpose flour (plus extra for dusting) — King Arthur Flour is my go-to for consistent protein content. Bread flour works too if you want extra chew.
- 1 teaspoon salt — Don’t skip this. It controls the yeast activity and adds flavor.
- 2 tablespoons olive oil — Adds moisture and helps the dough stay soft.
For the Garlic Butter Coating
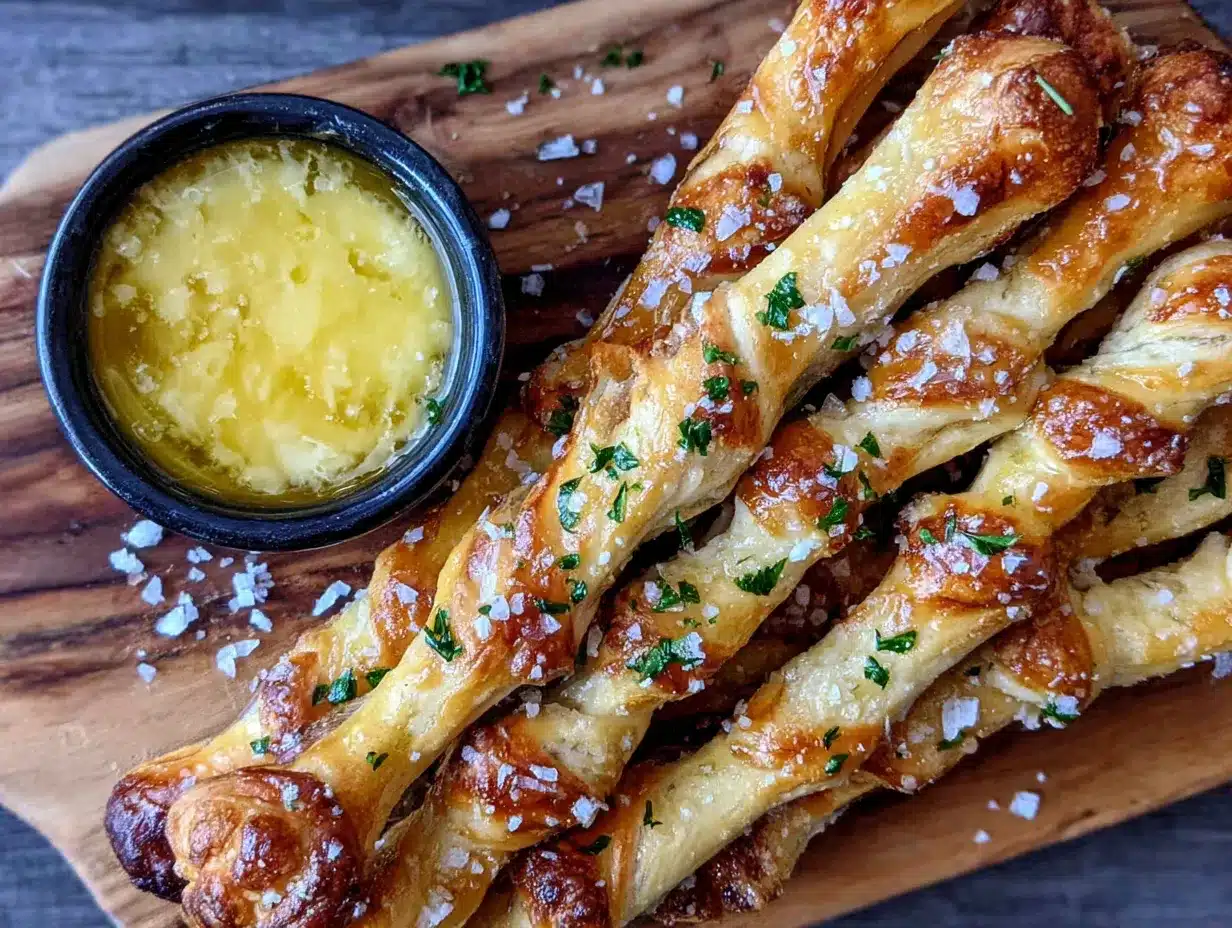
- 6 tablespoons unsalted butter (melted) — Unsalted is key here because you’ll add salt separately. Salted butter can make the garlic taste bitter when heated.
- 5 cloves garlic (minced finely) — Fresh garlic only. The jarred stuff burns too easily. I use a microplane for the finest mince.
- ½ teaspoon salt (flaky sea salt preferred) — Maldon salt is my favorite for finishing, but kosher salt works fine too.
- 1 tablespoon fresh parsley (chopped, optional but recommended) — Adds color and a fresh note that cuts through the butter richness.
For the Egg Wash (Optional but Recommended)
- 1 large egg — Beaten with a splash of water. This helps the breadsticks get that deep golden color.
Substitution Notes: If you’re gluten-sensitive, use a 1:1 gluten-free flour blend with xanthan gum. The texture will be slightly denser, but still delicious. For a dairy-free version, swap the butter with vegan butter sticks—I’ve used Miyoko’s with good results. And if you don’t have fresh parsley, dried parsley works in a pinch (use about 1 teaspoon).
I’ve also made these with whole wheat flour, and honestly? They’re fine, but they lose that light, airy quality. Stick with all-purpose for the best texture. Trust me on this one.
Equipment Needed
You don’t need much for this recipe, which is part of why I love it. Here’s what you’ll want to have handy:
- Large mixing bowl — Glass or ceramic works best. Metal can react with the yeast over time, though it’s usually fine for quick rises.
- Baking sheet (half-sheet size, 18×13 inches) — Line it with parchment paper for easy cleanup. Silpat mats work great too.
- Pastry brush — For applying the garlic butter. A silicone brush is ideal because it doesn’t absorb the butter like natural bristles do.
- Rolling pin — Even a wine bottle works in a pinch. I’ve done that more times than I’d like to admit.
- Pizza cutter or sharp knife — For cutting the dough into strips. A pizza cutter gives cleaner edges.
- Small saucepan — For melting the butter and infusing the garlic.
- Microplane or garlic press — For mincing the garlic super fine. A knife works too, but the microplane gives you that almost-paste texture that coats the breadsticks better.
Budget-Friendly Alternatives: No pastry brush? Use a spoon to drizzle the butter. No rolling pin? Press the dough out with your hands. No pizza cutter? A sharp knife does the job—just work slowly. I’ve made these in a friend’s kitchen with zero equipment, and they still turned out great.
Maintenance Tip: If you use a silicone pastry brush, wash it by hand. Dishwasher heat can warp the silicone over time. And keep your microplane dry to prevent rust—I learned that one the hard way.
Preparation Method
Alright, let’s make some spooky breadsticks. This process is straightforward, but I’ll walk you through every step so you don’t end up with witch fingers like I did the first time.
Step 1: Activate the Yeast (5 minutes)
In your large mixing bowl, combine the warm water (110°F to 115°F) and sugar. Sprinkle the yeast on top and let it sit for 5 minutes. It should get foamy and smell like bread—that’s how you know it’s alive. If nothing happens after 10 minutes, your yeast might be dead. Start over with fresh yeast.
Step 2: Make the Dough (10 minutes)
Add the olive oil, salt, and 2 ½ cups of flour to the yeast mixture. Stir with a wooden spoon until a shaggy dough forms. Turn it out onto a floured surface and knead for about 6 to 8 minutes, adding the remaining ½ cup flour a little at a time as needed. The dough should be smooth and slightly tacky, not sticky. If it’s sticking to your hands like crazy, add a little more flour.
Step 3: First Rise (20 minutes)
Place the dough in a lightly oiled bowl, cover with a clean kitchen towel, and let it rise in a warm spot for 20 minutes. It should double in size. I usually put mine in the microwave (turned off) with a cup of hot water next to it—it creates the perfect warm environment.
Step 4: Shape the Bones (15 minutes)
Preheat your oven to 400°F (200°C). Punch down the dough and roll it out on a floured surface into a rectangle about 12×8 inches. Use a pizza cutter to cut the dough into 12 strips, each about 1 inch wide and 8 inches long. Take each strip and gently roll it into a rope shape. Pinch the center slightly to create the “joint” of the bone. Then, use a small knife to cut a slit about ½ inch deep at each end, fanning them out slightly to look like knobby bone ends. Place them on your parchment-lined baking sheet, spacing them about 1 inch apart.
Step 5: Second Rise & Egg Wash (10 minutes)
Cover the shaped breadsticks with a towel and let them rest for 10 minutes. This second rise makes them lighter. Brush each breadstick with the beaten egg wash—this gives them that deep golden color.
Step 6: Bake (12 to 15 minutes)
Bake for 12 to 15 minutes, or until they’re golden brown and puffed up. Rotate the pan halfway through for even baking. While they bake, make your garlic butter.
Step 7: Make the Garlic Butter (5 minutes)
In a small saucepan over low heat, melt the unsalted butter. Add the minced garlic and cook for 1 to 2 minutes, stirring constantly, until fragrant. Don’t let the garlic brown—it turns bitter. Remove from heat and stir in the salt and parsley.
Step 8: Final Butter Bath (2 minutes)
As soon as the breadsticks come out of the oven, brush them generously with the garlic butter. I mean really soak them. The hot breadsticks will absorb the butter like a sponge, creating that crispy, flavorful exterior. Let them cool on the baking sheet for 5 minutes before serving.
Sensory Cue: When they’re done, the breadsticks should be golden brown on top and sound slightly hollow when tapped on the bottom. The garlic butter should sizzle slightly when it hits the hot bread—that’s how you know it’s working.
Cooking Tips & Techniques
I’ve made enough mistakes with these breadsticks to fill a cookbook. Here’s what I learned so you don’t have to repeat my failures:
Don’t Overwork the Dough. The first time I made these, I kneaded the dough for 15 minutes because I thought more kneading meant better texture. It didn’t. The breadsticks came out tough and dense. Knead just until the dough is smooth—about 6 to 8 minutes—and stop. Over-kneading develops too much gluten, and you want these to be light and airy.
Watch the Garlic. Garlic burns fast. I learned this the hard way when I walked away from the saucepan for “just a second” to check on the kids. The garlic turned dark brown, and the butter tasted bitter. Keep the heat on low and stir constantly. You want the garlic to soften and release its flavor, not fry.
Shape Strategically. The bone shape is fun, but it’s also practical. The pinched center creates a thinner spot that bakes faster, giving you that contrast between the crispy ends and the softer middle. Make sure your slits at the ends are deep enough to fan out—shallow cuts won’t open up during baking. And if the dough springs back when you try to shape it, let it rest for 5 minutes. Relaxed dough is easier to work with.
Timing is Everything. I like to make the dough first, let it rise while I set up the rest of the kitchen, then shape and bake. It flows nicely. If you’re making these for a party, you can prep the dough a day ahead and keep it in the fridge. Just let it come to room temperature for 30 minutes before shaping.
Butter Temperature Matters. Cold butter won’t absorb into the hot breadsticks the same way. Make sure your garlic butter is warm (not boiling) when you brush it on. The heat from the fresh-baked breadsticks helps the butter soak in, creating that crispy shell.
Variations & Adaptations
One of the best things about this recipe is how flexible it is. Here are some ways to make it your own:
Spicy Buffalo Bones
Add 1 tablespoon of hot sauce (Frank’s RedHot is my go-to) to the melted butter along with the garlic. The heat cuts through the richness beautifully. I made these for a game day party, and they disappeared in minutes.
Cheesy Skeleton Breadsticks
Sprinkle ½ cup of shredded Parmesan or mozzarella over the breadsticks right after the egg wash, before baking. The cheese melts into a crispy, golden crust that’s absolutely addictive. Just watch the baking time—cheese can burn fast.
Herb & Garlic Version
Add 1 teaspoon each of dried oregano and thyme to the garlic butter. It gives the breadsticks an Italian restaurant vibe that pairs perfectly with marinara sauce. I serve these alongside a bowl of spaghetti aglio e olio for a complete meal.
Gluten-Free Adaptation
Use a 1:1 gluten-free flour blend (I like Bob’s Red Mill). The dough will be stickier and harder to shape, so wet your hands slightly when forming the bones. The texture won’t be exactly the same, but they’re still delicious.
Vegan Version
Swap the butter with vegan butter (Miyoko’s works great) and skip the egg wash. Brush the breadsticks with a mixture of plant milk and maple syrup instead—it gives them a nice golden color. I’ve tested this, and honestly, most people can’t tell the difference.
Sweet Cinnamon Bones
This one’s wild, but trust me. Skip the garlic and parsley, and add 2 tablespoons of sugar and 1 teaspoon of cinnamon to the melted butter. Brush it on after baking, then sprinkle with extra cinnamon sugar. They’re like churros shaped like bones—perfect for a Halloween dessert table.
Serving & Storage Suggestions
These breadsticks are best served warm, straight from the oven, when the garlic butter is still glossy and the exterior is perfectly crispy. But they’re pretty great at room temperature too—I’ve been known to eat them cold straight from the fridge the next morning.
Serving Temperature: Serve them warm, ideally within 10 minutes of coming out of the oven. If you’re making them ahead, reheat them in a 350°F oven for 5 minutes—the microwave makes them soggy.
Presentation Ideas: Arrange the breadsticks on a platter in a fan shape, like they’re reaching out of a grave. Serve with a bowl of warm marinara sauce or garlic aioli for dipping. For a full Halloween spread, pair them with crispy chicken quesadillas cut into spooky shapes or a bowl of beef and broccoli for a savory contrast.
Storage: Store leftover breadsticks in an airtight container at room temperature for up to 2 days. They’ll lose some of their crispiness, but they’re still tasty. For longer storage, freeze them on a baking sheet until solid, then transfer to a freezer bag. They’ll keep for up to 3 months.
Reheating: To bring back the crispiness, reheat frozen breadsticks directly in a 375°F oven for 8 to 10 minutes. Brush with a little extra melted butter if you’re feeling fancy. The microwave works in a pinch, but the texture won’t be the same.
Flavor Development: Honestly, these are best the day they’re made. The garlic butter flavor is brightest right after baking. But if you have leftovers, they make excellent croutons—just chop them up and toast them in the oven.
Nutritional Information & Benefits
Let’s be real—these are not health food. They’re buttery, garlicky breadsticks shaped like bones. But here’s the nutritional breakdown if you’re curious:
| Nutrient | Per Breadstick (approx.) |
|---|---|
| Calories | 180 |
| Total Fat | 9g |
| Saturated Fat | 5g |
| Carbohydrates | 21g |
| Protein | 4g |
| Fiber | 1g |
| Sodium | 210mg |
Health Highlights: Garlic is actually packed with health benefits—it’s known for supporting immune function and heart health. And olive oil provides healthy monounsaturated fats. So while these breadsticks are an indulgence, they’re not completely devoid of redeeming qualities. Plus, making them from scratch means no preservatives or artificial ingredients.
Dietary Considerations: These are vegetarian-friendly. For vegan or gluten-free options, check the variations section above. They contain dairy (butter) and gluten (flour), so they’re not suitable for those with allergies to those ingredients.
My Take: I’m a firm believer in balance. These breadsticks are for celebrations—Halloween parties, game days, or just a fun dinner. They’re not an everyday food, and that’s okay. Sometimes you need a little butter and garlic in your life.
Conclusion
These Crispy Garlic Butter Skeleton Bone Breadsticks are more than just a Halloween novelty—they’re genuinely good breadsticks that happen to look like they belong in a haunted house. The garlic butter creates that perfect crispy exterior, the inside stays soft and chewy, and the shape is just fun enough to make everyone smile.
I love that they’re approachable. You don’t need to be a professional baker or have fancy equipment. Just a little patience, some basic ingredients, and a willingness to get a little silly with your dough. That’s the spirit of Halloween, right? Having fun and sharing good food with the people you love.
So go ahead—give these a try. Shape them, bake them, brush them with that glorious garlic butter, and watch them disappear. And if you come up with your own twist on the recipe, I’d love to hear about it. Drop a comment below or tag me in your photos. Let’s make this Halloween a little more delicious, one bone-shaped breadstick at a time.
Frequently Asked Questions
Can I use store-bought pizza dough instead of making my own?
Absolutely. Store-bought pizza dough works great for this recipe. Just let it come to room temperature for easier shaping, and skip the first rise step. You’ll save about 30 minutes.
Why did my breadsticks come out dense and tough?
This usually happens from over-kneading the dough or not letting it rise enough. Knead just until smooth (6 to 8 minutes) and make sure the dough doubles in size during the first rise. Also, check that your yeast is fresh—old yeast won’t give you that light texture.
Can I freeze these before baking?
Yes! Shape the breadsticks, place them on a baking sheet, and freeze until solid. Transfer to a freezer bag and store for up to 3 months. When ready to bake, let them thaw and rise at room temperature for about 30 minutes, then bake as directed.
How do I prevent the garlic from burning in the butter?
Keep the heat on low and stir constantly. The garlic should soften and become fragrant, not brown. If it starts to brown, remove the pan from the heat immediately. Burnt garlic tastes bitter and can ruin the whole batch.
Can I make these ahead for a party?
You can prep the dough a day ahead and keep it in the fridge. Shape and bake them fresh on the day of the party for the best texture. If you need to reheat, use a 350°F oven for 5 minutes—the microwave will make them soggy.
Pin This Recipe!
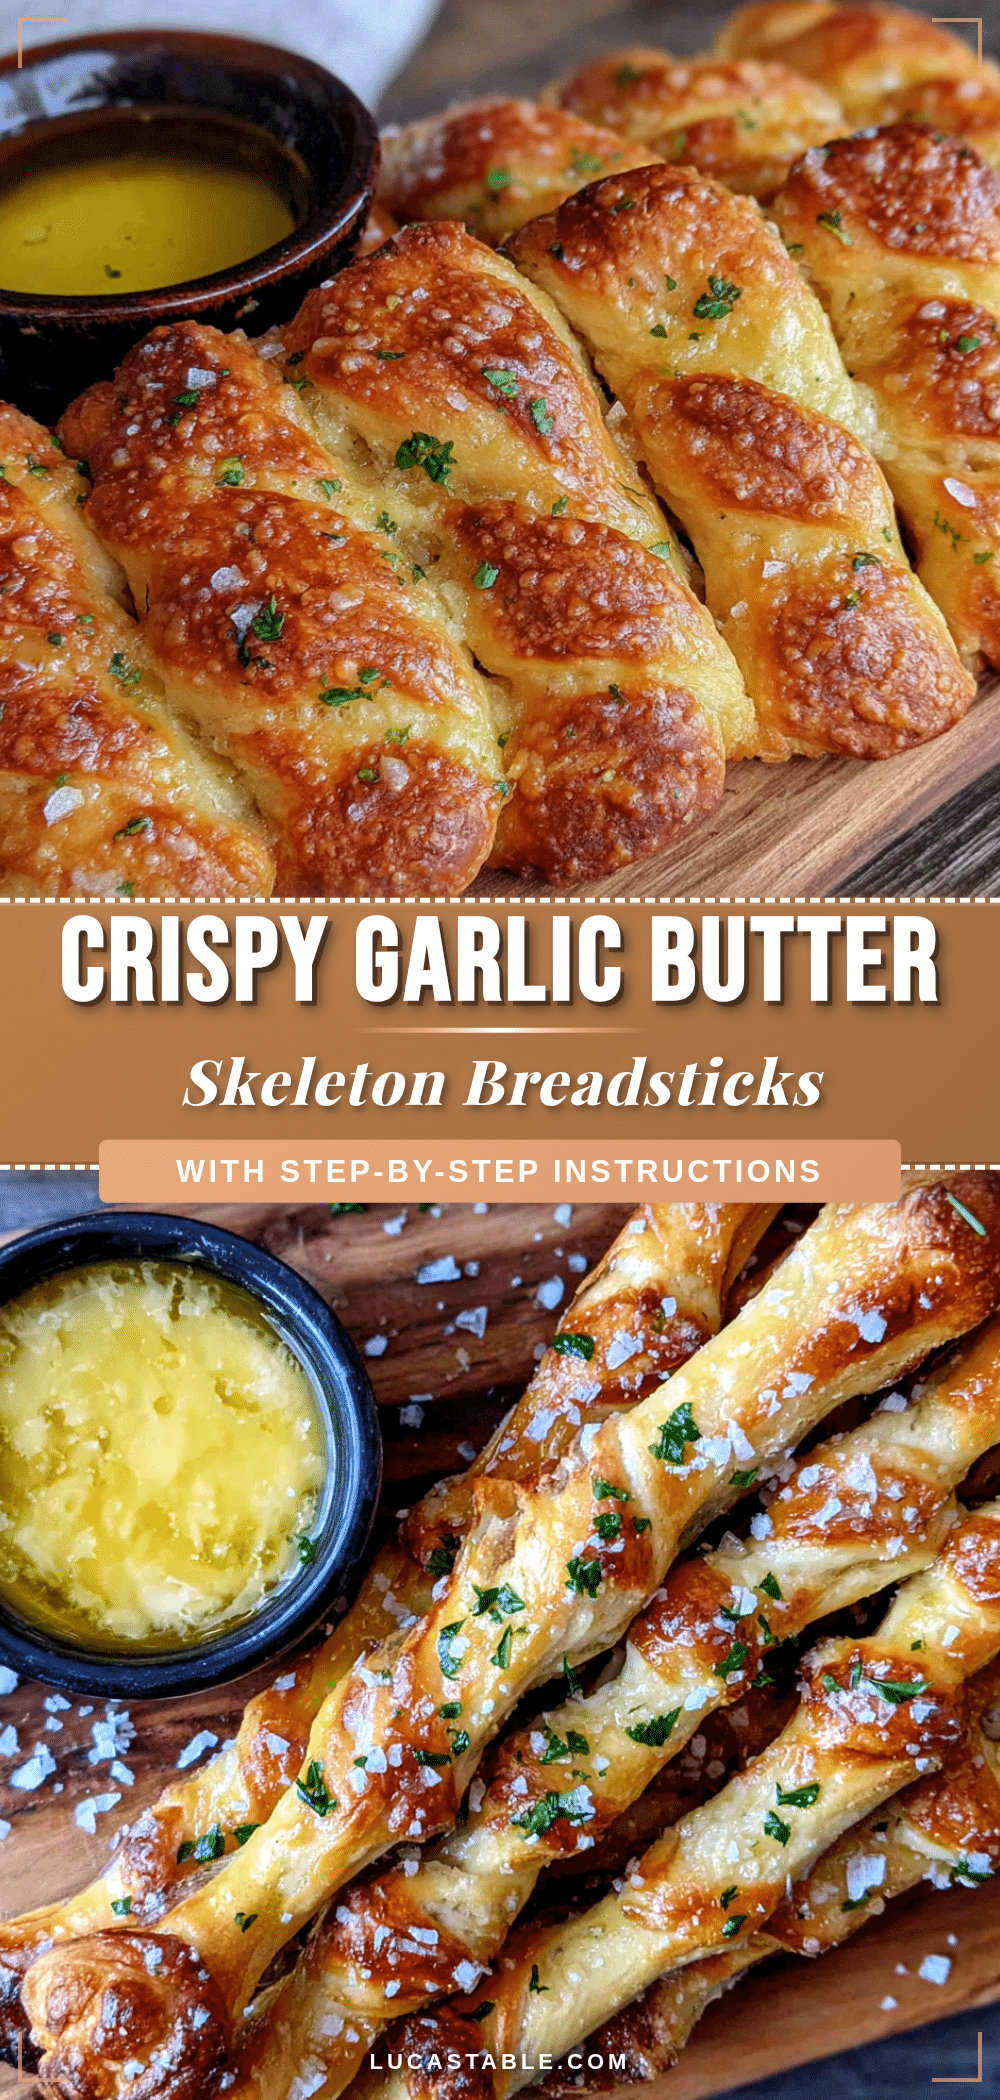
Crispy Garlic Butter Skeleton Bone Breadsticks
These spooky yet delicious breadsticks are shaped like skeleton bones, brushed with a garlic butter bath for a crispy exterior and soft, chewy interior. Perfect for Halloween parties or a fun fall dinner.
- Prep Time: 20 minutes
- Cook Time: 15 minutes
- Total Time: 35 minutes
- Yield: 12 breadsticks 1x
- Category: Appetizer
- Cuisine: American
Ingredients
- 2 ¼ teaspoons active dry yeast (one standard packet)
- 1 cup warm water (110°F to 115°F)
- 1 tablespoon granulated sugar
- 3 cups all-purpose flour (plus extra for dusting)
- 1 teaspoon salt
- 2 tablespoons olive oil
- 6 tablespoons unsalted butter (melted)
- 5 cloves garlic (minced finely)
- ½ teaspoon salt (flaky sea salt preferred)
- 1 tablespoon fresh parsley (chopped, optional)
- 1 large egg (for egg wash, optional)
Instructions
- In a large mixing bowl, combine warm water (110°F to 115°F) and sugar. Sprinkle yeast on top and let sit for 5 minutes until foamy.
- Add olive oil, salt, and 2 ½ cups flour to the yeast mixture. Stir until a shaggy dough forms. Turn out onto a floured surface and knead for 6 to 8 minutes, adding remaining ½ cup flour as needed, until smooth and slightly tacky.
- Place dough in a lightly oiled bowl, cover with a towel, and let rise in a warm spot for 20 minutes until doubled in size.
- Preheat oven to 400°F (200°C). Punch down dough and roll out on a floured surface into a 12×8 inch rectangle. Cut into 12 strips (1 inch wide, 8 inches long).
- Roll each strip into a rope. Pinch the center slightly to create a joint. Cut a ½-inch slit at each end and fan out to look like bone ends. Place on a parchment-lined baking sheet, spacing 1 inch apart.
- Cover shaped breadsticks with a towel and let rest for 10 minutes. Brush with beaten egg wash.
- Bake for 12 to 15 minutes, rotating pan halfway through, until golden brown and puffed.
- While baking, melt unsalted butter in a small saucepan over low heat. Add minced garlic and cook for 1 to 2 minutes, stirring constantly, until fragrant. Remove from heat and stir in salt and parsley.
- As soon as breadsticks come out of the oven, brush generously with garlic butter. Let cool on baking sheet for 5 minutes before serving.
Notes
For best results, use unsalted butter to prevent garlic from burning. The double butter treatment (pre-bake and post-bake) creates a crispy exterior. If dough springs back when shaping, let it rest for 5 minutes. Store leftovers in an airtight container at room temperature for up to 2 days. Reheat in a 350°F oven for 5 minutes.
Nutrition
- Serving Size: 1 breadstick
- Calories: 180
- Sugar: 1
- Sodium: 210
- Fat: 9
- Saturated Fat: 5
- Carbohydrates: 21
- Fiber: 1
- Protein: 4
Keywords: Halloween breadsticks, garlic butter breadsticks, skeleton breadsticks, spooky breadsticks, bone breadsticks, easy Halloween recipe


