The plate came back empty. Not just licked clean — empty. My neighbor, a grown woman with zero shame about it, stood at my door holding the platter and said, “I need the recipe for those black cat things. My kids won’t stop asking.” That was the moment I knew these Easy Black Cat Oreo Truffles weren’t just cute. They were dangerous.
I’d made them on a whim, honestly. A last-minute addition to our Halloween block party spread. I was skeptical at first — truffles can be finicky, and anything that requires dipping can go sideways fast. But these? They came together in under an hour, and I spent most of that time laughing at how ridiculously simple the whole process was.
The thing is, I’m not a big dessert person. I’m the cook who gets more excited about a perfectly seared piece of chicken than a triple-layer cake. But there’s something about Halloween that makes me want to lean into the silly, the cute, the slightly ridiculous. And these little cats — with their candy corn ears and licorice whiskers — they deliver on that front. They’re the kind of treat that makes people stop and smile before they even take a bite.
I’ve made them three times since that block party. Twice for Halloween get-togethers, once just because my niece saw a photo and wouldn’t stop talking about them. Every single time, someone asks for the recipe. So here it is — the Easy Black Cat Oreo Truffles that somehow became my most-requested Halloween recipe. Trust me, if I can pull these off without any special equipment or pastry skills, you absolutely can too.
Why You’ll Love This Recipe
These aren’t your average Oreo truffles. I’ve tested this recipe through multiple Halloweens and a few random Tuesday afternoons, and here’s what I’ve learned — they hit that perfect sweet spot between impressive and effortless.
- No-Bake & Quick : You don’t need to turn on the oven. From start to finish, these come together in about 45 minutes (plus chilling time). Perfect for those last-minute Halloween cravings or when you forgot about the school party — again.
- Simple Ingredients : Oreos, cream cheese, melting chocolate, and a few candies for decoration. That’s it. No fancy baking supplies, no specialty stores. You probably have most of this in your kitchen right now.
- Perfect for Halloween : Let’s face it — Halloween treats need to be cute. These black cat truffles deliver on the adorable factor without requiring any artistic talent. If you can stick candy corn on a ball, you can make these.
- Crowd-Pleaser : Kids go crazy for them. Adults pretend they’re above it, then eat three. They’re the first thing to disappear from any dessert table, and I’m not exaggerating — I’ve watched it happen.
- Unbelievably Delicious : The texture is what gets you. That creamy, Oreo-studded center with the snap of dark chocolate coating? It’s dangerously addictive. These are rich without being heavy, sweet without being cloying.
What makes these different from every other Oreo truffle recipe out there is the technique. I figured out that letting the cream cheese come to room temperature before mixing makes the filling infinitely smoother. And using a toothpick to help with the dipping? Game changer. No more chocolate-covered fingers or lopsided truffles.
These Easy Black Cat Oreo Truffles are the kind of treat that makes you close your eyes after the first bite. They’re Halloween fun without the Halloween stress. Perfect for impressing a crowd without breaking a sweat, or turning a simple dessert into something memorable.
What Ingredients You Will Need
This recipe relies on simple, everyday ingredients to create something that looks way more complicated than it actually is. Here’s what you’ll need to bring these little black cats to life.
For the Truffle Base:
- 1 package (14.3 oz) Oreo cookies — Regular Oreos work best. Don’t use the Double Stuf ones — they throw off the texture. You want that ratio of cookie to cream to stay balanced. I’ve tried it with generic chocolate sandwich cookies too, and honestly, they work fine in a pinch.
- 8 oz cream cheese, softened — This is crucial. Cold cream cheese won’t mix properly and you’ll end up with lumps. Let it sit on the counter for at least 30 minutes before you start. Full-fat cream cheese gives the best texture, but Neufchâtel (the lower-fat version) works if that’s what you have.
For the Coating:
- 12 oz dark or semi-sweet melting chocolate — I prefer Ghirardelli dark chocolate melting wafers for the smoothest finish. They melt evenly and set with a nice shine. You can also use chocolate chips, but add a teaspoon of coconut oil to help them thin out.
- 1 tsp coconut oil (optional) — If your chocolate seems thick after melting, a little coconut oil helps it flow better for dipping.
For the Cat Decorations:
- Candy corn — These become the ears. You’ll need two pieces per truffle. Look for the classic candy corn, not the pumpkin-shaped ones.
- Black licorice strings — These make the whiskers. Cut them into small pieces, about 1 inch long. You’ll need about 4-6 pieces per truffle. If you hate licorice (I get it), you can use black decorating gel instead.
- Mini chocolate chips — These become the eyes. Regular size works fine, but mini ones look more proportional on the truffles.
- Pink or red candy melts (optional) — A tiny dot for the nose makes them extra cute. I’ve also used a small dab of red decorating gel.
Ingredient Tips I Learned the Hard Way:
Don’t skimp on the cream cheese quality. I once used a store-brand cream cheese that was too soft, and the truffle filling turned out greasy. Stick with Philadelphia or your preferred brand — it makes a difference.
For the chocolate coating, melting wafers are worth the extra dollar or two. Regular chocolate chips have stabilizers that make them harder to melt smoothly. If you’re using chips, add that coconut oil — it really helps.
And here’s something nobody tells you — let your Oreo truffle balls chill in the freezer for 15 minutes before dipping. It makes the coating process so much easier. I learned this after my first batch fell apart in the warm chocolate.
Equipment Needed
You don’t need a professional pastry kitchen for these Easy Black Cat Oreo Truffles. Here’s what you’ll actually use:
- Food processor — For crushing the Oreos into fine crumbs. A blender works too, but a food processor is faster. If you don’t have either, put the cookies in a zip-top bag and crush them with a rolling pin. It’s a little arm workout, but it works.
- Mixing bowl — A medium-sized bowl for combining the Oreo crumbs and cream cheese.
- Baking sheet — For holding the truffles while they chill. Line it with parchment paper or wax paper for easy removal.
- Microwave-safe bowl — For melting the chocolate. Glass works best. Don’t use plastic — it can warp.
- Toothpicks — These are your secret weapon for dipping. Stick one into each truffle ball before dipping, and you’ll have way less mess.
- Fork — For drizzling or helping with the dipping process if you skip the toothpick method.
- Small piping bag or zip-top bag — For adding any decorating details. A zip-top bag with a tiny corner snipped off works perfectly.
Budget-Friendly Alternatives:
If you’re just starting out in the kitchen, don’t run out and buy a fancy food processor. A manual chopper or even a sturdy rolling pin will get the job done. I used a coffee mug as a rolling pin for years — it’s not pretty, but it works.
For the melting chocolate, Wilton candy melts are affordable and widely available at craft stores. They come in dark chocolate flavor and melt beautifully. Just avoid the colored candy melts for the coating — you want that classic black cat look.
Preparation Method
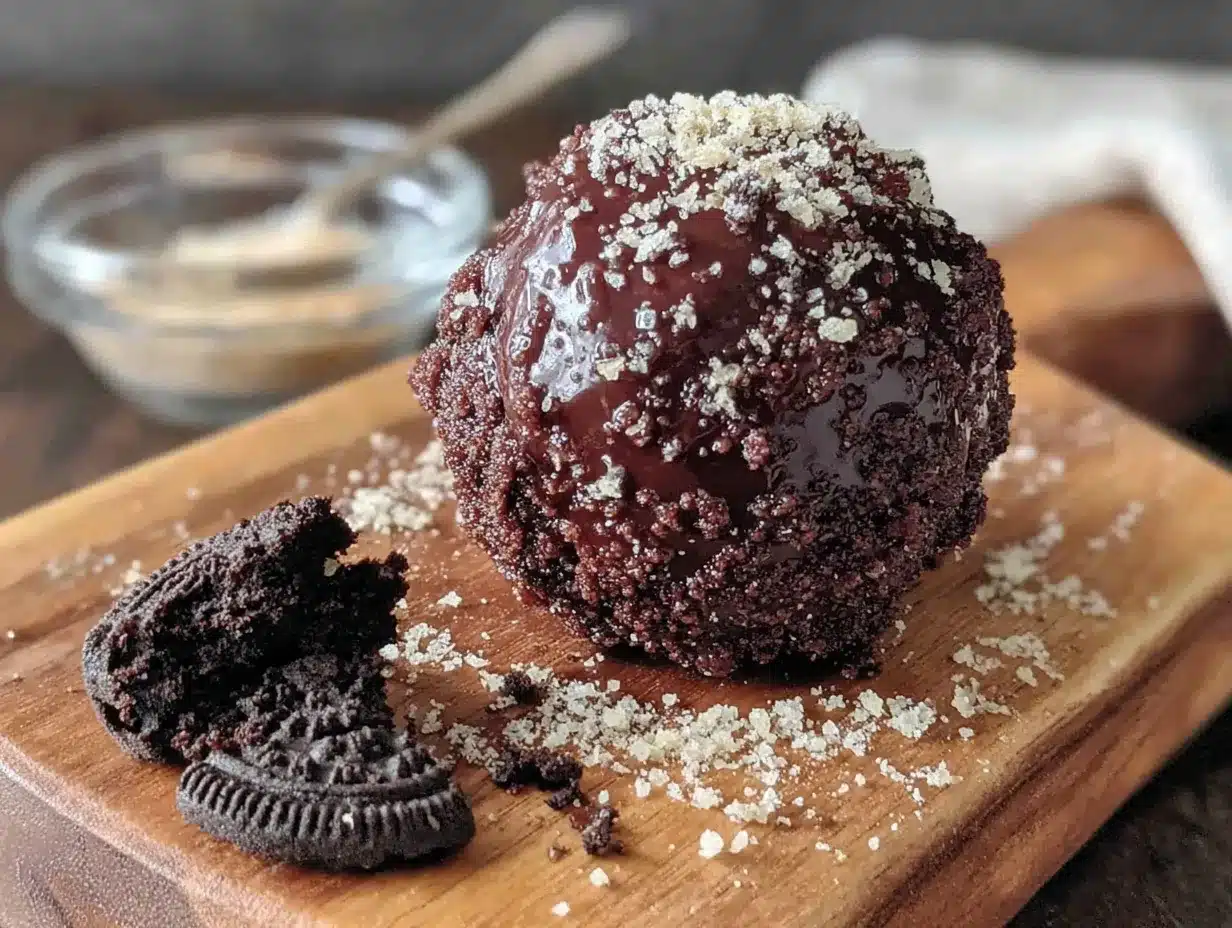
Let’s get to the fun part. Here’s how to make these Easy Black Cat Oreo Truffles step by step.
Step 1: Crush the Oreos
Place the entire package of Oreos (cream and all) into your food processor. Pulse until you get fine crumbs. You’re looking for a texture similar to wet sand. Don’t over-process — you don’t want it turning into paste. This takes about 15-20 seconds. If you’re using the bag-and-rolling-pin method, give it a good 5 minutes of solid crushing.
Step 2: Mix the Filling
In a medium mixing bowl, combine the Oreo crumbs with the softened cream cheese. Use a spatula or your hands to mix them together. Yes, your hands are better for this — the warmth helps the cream cheese incorporate evenly. Mix until you can’t see any white streaks of cream cheese. The mixture should hold together when you squeeze it in your fist.
Step 3: Form the Truffle Balls
Scoop out about 1 tablespoon of the mixture and roll it between your palms into a smooth ball. You should get about 20-24 truffles from this batch. Place them on your parchment-lined baking sheet. If the mixture sticks to your hands, lightly dampen your palms with water. Don’t over-roll — you want them smooth, not greasy.
Step 4: Chill the Truffles
Pop the baking sheet into the freezer for 15 minutes. This step is non-negotiable. Cold truffles hold their shape when you dip them in warm chocolate. If you skip this, you’ll end up with chocolate soup and sad little crumbs floating in it. Trust me on this one.
Step 5: Melt the Chocolate
While the truffles chill, melt your chocolate. Place the melting wafers in a microwave-safe bowl and heat in 30-second intervals, stirring between each. It usually takes about 1-2 minutes total. Don’t overheat — chocolate burns easily and gets grainy. Stir until smooth. If it seems too thick, add the coconut oil and stir.
Step 6: Dip the Truffles
Here’s where the toothpick trick comes in. Stick a toothpick into the top of a frozen truffle ball. Dip it into the melted chocolate, using a spoon to help coat it if needed. Let the excess drip off, then gently scrape the bottom against the rim of the bowl. Place it back on the parchment paper and carefully slide the toothpick out. The chocolate will seal the hole as it sets.
Work in batches of 4-5 truffles at a time. If the chocolate starts to thicken, pop it back in the microwave for 10 seconds.
Step 7: Add the Cat Features
This is where the magic happens. While the chocolate is still wet, press two candy corn pieces into the top of each truffle for ears. The wide end should stick out — that’s the cat ear shape. Then add two mini chocolate chips for eyes, and 4-6 small pieces of black licorice for whiskers. If you’re adding a nose, use a tiny dab of pink candy melt or decorating gel.
Work quickly — the chocolate sets fast. If it hardens before you finish decorating, the pieces won’t stick. I usually do the ears first, then the eyes, then the whiskers.
Step 8: Let Them Set
Place the decorated truffles back in the refrigerator for at least 30 minutes to let the chocolate fully harden. Once set, you can transfer them to an airtight container or arrange them on a serving platter.
Cooking Tips & Techniques
I’ve made these Easy Black Cat Oreo Truffles more times than I care to count, and I’ve messed up just about every step at least once. Here’s what I’ve learned.
The Cream Cheese Temperature Trap
Cold cream cheese is the enemy of smooth truffles. I learned this the hard way when my first batch looked like cottage cheese mixed with Oreo crumbs. Let it sit out for 30-45 minutes before you start. If you forgot to plan ahead, microwave it for 10 seconds at 50% power — but watch it carefully. You want it soft, not melted.
The Chocolate Thinning Trick
If your melted chocolate seems too thick for smooth dipping, add a teaspoon of coconut oil or vegetable shortening. Don’t use butter — it contains water and can seize the chocolate. A little oil goes a long way. Stir it in gradually until you get that perfect dipping consistency.
Why Your Truffles Might Crack
If the chocolate coating cracks after it sets, it usually means the truffle ball was too cold when you dipped it. The extreme temperature difference causes the chocolate to contract and crack. Let the frozen truffles sit at room temperature for 2-3 minutes before dipping. That little window makes a big difference.
The Multitasking Strategy
Here’s how I time this recipe to avoid chaos: I crush the Oreos and mix the filling while the cream cheese is still softening. Then I form the balls and pop them in the freezer. While they’re chilling, I prep the decorations — cutting the licorice strings, sorting the candy corn, getting the chocolate chips ready. By the time the truffles are cold, everything is ready to go. No scrambling mid-dip.
My Biggest Failure
I once tried to speed things up by dipping the truffles straight from the freezer without letting them sit. The chocolate seized up almost immediately, and I ended up with these lumpy, cracked monstrosities that looked more like swamp creatures than black cats. They still tasted good, but the presentation was a disaster. Lesson learned: patience pays off.
Variations & Adaptations
These truffles are surprisingly flexible. Here are some ways to make them your own.
Gluten-Free Version
Swap the regular Oreos for gluten-free chocolate sandwich cookies. Glutino makes a good one. The texture will be slightly different, but the taste is still fantastic. Everything else in the recipe is naturally gluten-free, so you’re good to go.
White Chocolate Cats
Use white candy melts instead of dark chocolate for a ghostly white cat look. Add pink candy melts for the ears and nose, and use mini chocolate chips for the eyes. They look like little ghosts with cat features — perfect for a more whimsical Halloween spread.
Peanut Butter Twist
Add 2 tablespoons of creamy peanut butter to the filling mixture. It gives the truffles a subtle peanut butter flavor that pairs beautifully with the chocolate. Just reduce the cream cheese slightly to compensate. I tried this for a party once, and they disappeared faster than the originals.
Mint Chocolate Cats
Crush a package of Mint Oreos instead of regular ones. The mint flavor adds a refreshing twist that’s perfect for fall. Top with a tiny piece of green candy melt for a collar or bow tie. These are my personal favorite variation.
Vegan Adaptation
Use vegan cream cheese (Tofutti or Kite Hill work well) and vegan chocolate sandwich cookies. For the coating, use dairy-free dark chocolate chips. The texture might be slightly softer, so freeze the truffles for an extra 5 minutes before dipping.
Serving & Storage Suggestions
These Easy Black Cat Oreo Truffles are best served chilled, straight from the refrigerator. The cold temperature keeps the chocolate coating firm and the filling creamy. Arrange them on a black or orange platter for maximum Halloween vibes. A bed of shredded coconut tinted green (for grass) adds a fun touch.
What to Serve With Them:
These truffles pair beautifully with a cup of hot coffee or a glass of cold milk. For a Halloween dessert table, arrange them alongside other no-bake treats like pumpkin cheesecake dip or chocolate-covered pretzel broomsticks. They’re rich enough to stand alone, so you don’t need much else.
Storage Instructions:
Store the truffles in an airtight container in the refrigerator for up to 1 week. Layer them between sheets of parchment paper to prevent sticking. If you’re stacking them, make sure the chocolate is fully set before you layer them — otherwise, the decorations might smudge.
Freezer Instructions:
These freeze beautifully. Place the fully decorated truffles on a baking sheet and freeze until solid (about 1 hour). Transfer them to a freezer-safe container or zip-top bag, separating layers with parchment paper. They’ll keep for up to 3 months. To thaw, transfer them to the refrigerator overnight. Don’t thaw at room temperature — condensation can make the chocolate coating sweat.
How Flavors Develop:
These truffles actually taste better the next day. The flavors meld together as they sit, and the filling becomes even creamier. If you can resist eating them all on day one, you’ll be rewarded on day two. I’ve never managed to keep them around long enough to test day three, but I hear they’re still great.
Nutritional Information & Benefits
Let’s be real — these are a treat, not a health food. But here’s what you’re looking at per truffle (based on 24 servings):
- Calories: Approximately 180-200
- Fat: 11g
- Carbohydrates: 22g
- Sugar: 16g
- Protein: 2g
- Fiber: 1g
Health Highlights:
Dark chocolate contains antioxidants called flavonoids, which can support heart health when consumed in moderation. The cream cheese provides a small amount of calcium and protein. And the Oreos? Well, they provide joy — and that counts for something.
Dietary Considerations:
These truffles are not gluten-free (unless you use gluten-free cookies), not vegan (unless adapted), and not low-sugar. They contain dairy, gluten, and soy. If you have allergies, the variations section above has options for you.
My Wellness Perspective:
I believe in balance. Halloween comes once a year, and these truffles are part of the fun. I don’t stress about the sugar content when it’s a special occasion treat. Enjoy them, share them, and don’t overthink it. Life’s too short to count calories on candy corn cat ears.
Conclusion
These Easy Black Cat Oreo Truffles have become my Halloween signature for a reason. They’re cute enough to impress, simple enough to make with kids, and delicious enough that nobody cares if the ears are slightly crooked or the whiskers are uneven. That’s the beauty of handmade treats — the imperfections are part of the charm.
I love that this recipe lets me be creative without requiring any real artistic skill. I can make a batch in under an hour, and they always, always get compliments. There’s something deeply satisfying about watching someone’s face light up when they see these little cats staring up at them from a dessert table.
So go ahead and make these your own. Add extra candy corn ears. Use different colored candy melts. Make them with your kids and let their cat faces be gloriously lopsided. The recipe is just a starting point — what matters is the joy you create along the way.
If you make these Easy Black Cat Oreo Truffles, I’d love to hear about it. Drop a comment below and tell me how your cats turned out. Did your kids help? Did you try a fun variation? Share a photo if you can — I always love seeing your creations. And if you’re looking for more quick and easy treats, check out my crispy fish tacos for a savory Halloween dinner option, or my quick shrimp scampi for a fast weeknight meal before the trick-or-treating starts.
Happy Halloween, and happy truffle-making!
Frequently Asked Questions
Can I use Double Stuf Oreos for this recipe?
I don’t recommend it. The extra cream filling throws off the ratio of cookie to cream cheese, and the truffles end up too soft and sticky. Regular Oreos are the way to go for the perfect texture.
How do I keep the candy corn ears from falling off?
Press them into the chocolate while it’s still wet. If the chocolate starts to set before you add the ears, the candy corn won’t stick. Work in small batches of 4-5 truffles at a time so the chocolate stays workable.
Can I make these ahead of time for a party?
Absolutely. You can make them up to 3 days in advance and store them in the refrigerator. They actually taste better the next day. Just keep them in an airtight container so they don’t absorb any fridge odors.
Why did my chocolate coating crack?
This usually happens when the truffle balls are too cold when you dip them. Let the frozen truffles sit at room temperature for 2-3 minutes before dipping. The less extreme temperature difference helps the chocolate set smoothly.
Can I freeze these truffles?
Yes! Freeze them on a baking sheet until solid, then transfer to a freezer-safe container. They’ll keep for up to 3 months. Thaw in the refrigerator overnight before serving.
Pin This Recipe!
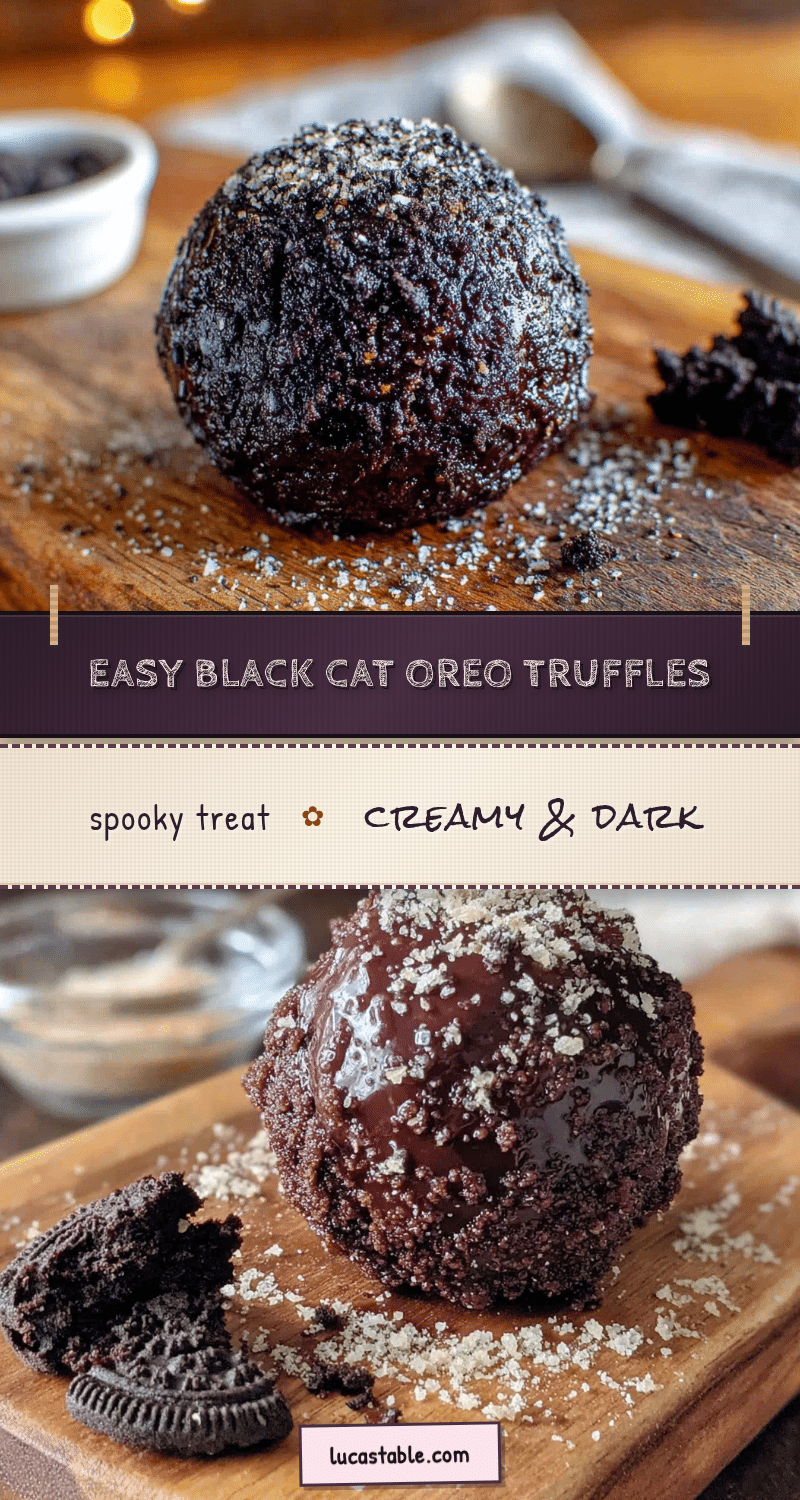
Easy Black Cat Oreo Truffles: Best Halloween Treat

These no-bake Oreo truffles are shaped like adorable black cats with candy corn ears and licorice whiskers. They’re quick to make, require simple ingredients, and are always a hit at Halloween parties.
- Prep Time: 15 minutes
- Cook Time: 0 minutes
- Total Time: 45 minutes (plus 45 minutes chilling)
- Yield: 20-24 truffles 1x
- Category: Dessert
- Cuisine: American
Ingredients
- 1 package (14.3 oz) Oreo cookies (regular, not Double Stuf)
- 8 oz cream cheese, softened
- 12 oz dark or semi-sweet melting chocolate (e.g., Ghirardelli dark chocolate melting wafers)
- 1 tsp coconut oil (optional, for thinning chocolate)
- Candy corn (2 per truffle for ears)
- Black licorice strings (cut into 1-inch pieces, 4-6 per truffle for whiskers)
- Mini chocolate chips (2 per truffle for eyes)
- Pink or red candy melts (optional, for nose)
Instructions
- Crush the entire package of Oreos (cream and all) in a food processor until you get fine crumbs (about 15-20 seconds). Alternatively, place cookies in a zip-top bag and crush with a rolling pin.
- In a medium mixing bowl, combine the Oreo crumbs with the softened cream cheese. Mix with a spatula or your hands until no white streaks remain and the mixture holds together when squeezed.
- Scoop about 1 tablespoon of the mixture and roll into a smooth ball. Place on a parchment-lined baking sheet. Repeat to make 20-24 truffles.
- Place the baking sheet in the freezer for 15 minutes to chill the truffles.
- While truffles chill, melt the chocolate in a microwave-safe bowl in 30-second intervals, stirring between each, until smooth (about 1-2 minutes total). Add coconut oil if needed to thin.
- Remove truffles from freezer. Stick a toothpick into the top of a frozen truffle, dip it into the melted chocolate, let excess drip off, and place back on parchment. Slide out the toothpick. Work in batches of 4-5.
- While the chocolate is still wet, press two candy corn pieces into the top for ears (wide end out), two mini chocolate chips for eyes, and 4-6 licorice pieces for whiskers. Add a tiny dot of pink candy melt for the nose if desired.
- Refrigerate the decorated truffles for at least 30 minutes to let the chocolate fully harden. Store in an airtight container in the refrigerator for up to 1 week.
Notes
Let cream cheese come to room temperature for 30-45 minutes before mixing for a smooth filling. Freeze truffle balls for 15 minutes before dipping to prevent them from falling apart. Let frozen truffles sit at room temperature for 2-3 minutes before dipping to prevent chocolate cracking. Work in small batches when decorating so the chocolate stays wet enough for the candy to stick. These taste even better the next day.
Nutrition
- Serving Size: 1 truffle
- Calories: 190
- Sugar: 16
- Sodium: 120
- Fat: 11
- Saturated Fat: 6
- Carbohydrates: 22
- Fiber: 1
- Protein: 2
Keywords: Halloween treats, Oreo truffles, black cat truffles, no-bake dessert, easy Halloween recipe, chocolate truffles, candy corn, kid-friendly


