My sister-in-law asked why I couldn’t just throw the M&Ms in before the marshmallows melted. We were standing in her kitchen last December, the counter littered with red and green sprinkles, a half-melted stick of butter pooling in a saucepan. I started to explain why that wouldn’t work—then stopped. Honestly, I had no good reason. Every Christmas Rice Krispie Treats recipe I’d ever made followed the same script: melt butter, melt marshmallows, stir in cereal, press, cool, then decorate. The idea of mixing candy into the hot marshmallow goo felt like a disaster waiting to happen. But she’d just had a baby, her patience was thin, and she wanted one less step. So I shrugged and let her dump the whole bag in.
The kitchen went quiet as I stirred. The M&Ms started to bleed—tiny streaks of red and green swirling through the white fluff like a watercolor painting. I was sure I’d ruined them. Then I pressed the mixture into the pan and watched the colors set into a confetti-studded block of pure Christmas chaos. When I cut into them later, the chocolate had stayed intact, the candy shells had softened just enough, and every single bite had a little pocket of melted milk chocolate. I’ve been making them her way ever since. Maybe you’ve been there—sticking to a method so long you forget to ask if it even makes sense.
These Easy Christmas Rice Krispie Treats with M&Ms are proof that sometimes the laziest shortcut is actually the best technique. They come together in under fifteen minutes, require zero decorating skills, and taste like the holiday aisle exploded in the best possible way. No dipping, no drizzling, no arranging candy into little snowman faces. Just one pot, one spatula, and a bag of Christmas M&Ms dumped in at exactly the wrong—or right—moment.
Why You’ll Love This Recipe
Let me tell you why this version of a classic treat is about to become your new holiday MVP.
- Quick & Easy: From start to finish, you’re looking at about 12 minutes of active work. No baking, no chilling, no complicated steps. Perfect for when the kids are bouncing off the walls and you need a win.
- Simple Ingredients: You need exactly five things: butter, marshmallows, Rice Krispies cereal, vanilla extract, and a bag of Christmas M&Ms. That’s it. No weird specialty items, no last-minute store runs.
- Perfect for Holiday Parties: These are the kind of treat that disappears at cookie swaps, classroom parties, and office potlucks. They’re colorful, festive, and everyone already knows they’re delicious.
- Crowd-Pleaser: I’ve watched grown adults fight over the corner pieces. Kids love the candy-studded crunch, and adults love the nostalgic hit of childhood without the fuss of decorating sugar cookies.
- Unbelievably Delicious: The M&Ms melt slightly into the marshmallow mixture, creating little pockets of chocolate in every bite. The candy shells stay crunchy enough to give texture, but soft enough that you don’t break a tooth.
What makes this recipe different from every other Rice Krispie treat out there is the timing. Most recipes tell you to stir in mix-ins after the marshmallows have melted and cooled slightly. But by adding the M&Ms while the mixture is still piping hot, you get that gentle melt that distributes chocolate throughout every square. It’s not just a topping—it’s integrated. I’ve tested this method side by side with the traditional approach, and honestly, the flavor is more cohesive. You get chocolate in every single bite, not just the ones lucky enough to have a candy on top.
This recipe is the kind that makes you close your eyes after the first bite. It’s comfort food reimagined—faster, simpler, but with the same soul-soothing satisfaction. Perfect for impressing guests without stress, or turning a Tuesday afternoon into something special.
What Ingredients You Will Need
This recipe uses simple, pantry-friendly ingredients to deliver maximum holiday cheer. Here’s what you’ll need to grab:
For the Base:
- 6 tablespoons unsalted butter (I use Land O’Lakes—it has the right water content for marshmallow melting)
- 1 package (10 ounces, about 40 large) marshmallows, standard size (Jet-Puffed works beautifully, but any brand is fine)
- 6 cups Rice Krispies cereal (the original brand gives the best crunch, but generic crisp rice cereal works too)
- 1 teaspoon vanilla extract (pure is better, but imitation works—just use a little less)
- 1/4 teaspoon salt (this balances the sweetness and makes the chocolate pop)
For the Festive Touch:
- 1 cup Christmas M&Ms (the red, green, and white variety is perfect—look for the “Holiday” blend at any grocery store from November through January)
- Extra M&Ms for pressing on top (about 1/4 cup, optional but pretty)
Ingredient Tips: Use salted butter if that’s what you have—just skip the added salt. For a richer flavor, brown butter works beautifully (melt it slowly until it smells nutty and turns amber, then proceed). If you’re feeding a crowd with nut allergies, check your M&Ms packaging—some holiday blends are processed on shared equipment.
Substitution Guidance: Need a dairy-free version? Use vegan butter (Miyoko’s or Country Crock Plant Butter) and check that your marshmallows are vegan—Dandies makes excellent ones. For a gluten-free option, Rice Krispies are naturally gluten-free, but double-check the box because some generic brands add malt flavoring. If you can’t find Christmas M&Ms, use regular M&Ms and add red and green sprinkles after pressing. The flavor is identical—you’re just missing the color.
Sourcing Note: I buy my Christmas M&Ms in early December because they sell out fast. If you’re making these in January, check the clearance aisle—you can often find them half-off. They taste exactly the same, and your wallet will thank you.
Equipment Needed
You don’t need fancy tools for this recipe, which is part of the beauty. Here’s what you’ll need:
- Large saucepan or Dutch oven: At least 4-quart capacity. The marshmallows expand as they melt, so you need room to stir without making a mess. I use my 5.5-quart Le Creuset, but a nonstick pot works great too—just avoid aluminum, which can react with the marshmallows.
- Wooden spoon or silicone spatula: Wood is traditional and doesn’t scratch your pan. Silicone is easier to clean. Both work—just make sure it’s sturdy enough to stir thick marshmallow goo.
- 9×13-inch baking pan: Standard size. Glass gives you clean edges, metal conducts heat faster. Either works.
- Parchment paper: This is non-negotiable. Line your pan with two sheets overlapping in opposite directions, leaving overhang on all sides. It makes lifting the entire block out effortless.
- Butter or cooking spray: For greasing your spatula and your hands. Marshmallow mixture sticks to everything, so be generous.
- Sharp knife: A chef’s knife works better than a serrated one—clean cuts without tearing. Run it under hot water between slices for perfect edges.
Budget-Friendly Tip: If you don’t have parchment paper, grease the pan thoroughly with butter and press the mixture in with greased hands. It’s messier, but it works. I’ve done it in a pinch at a friend’s cabin, and the treats turned out just fine.
Preparation Method
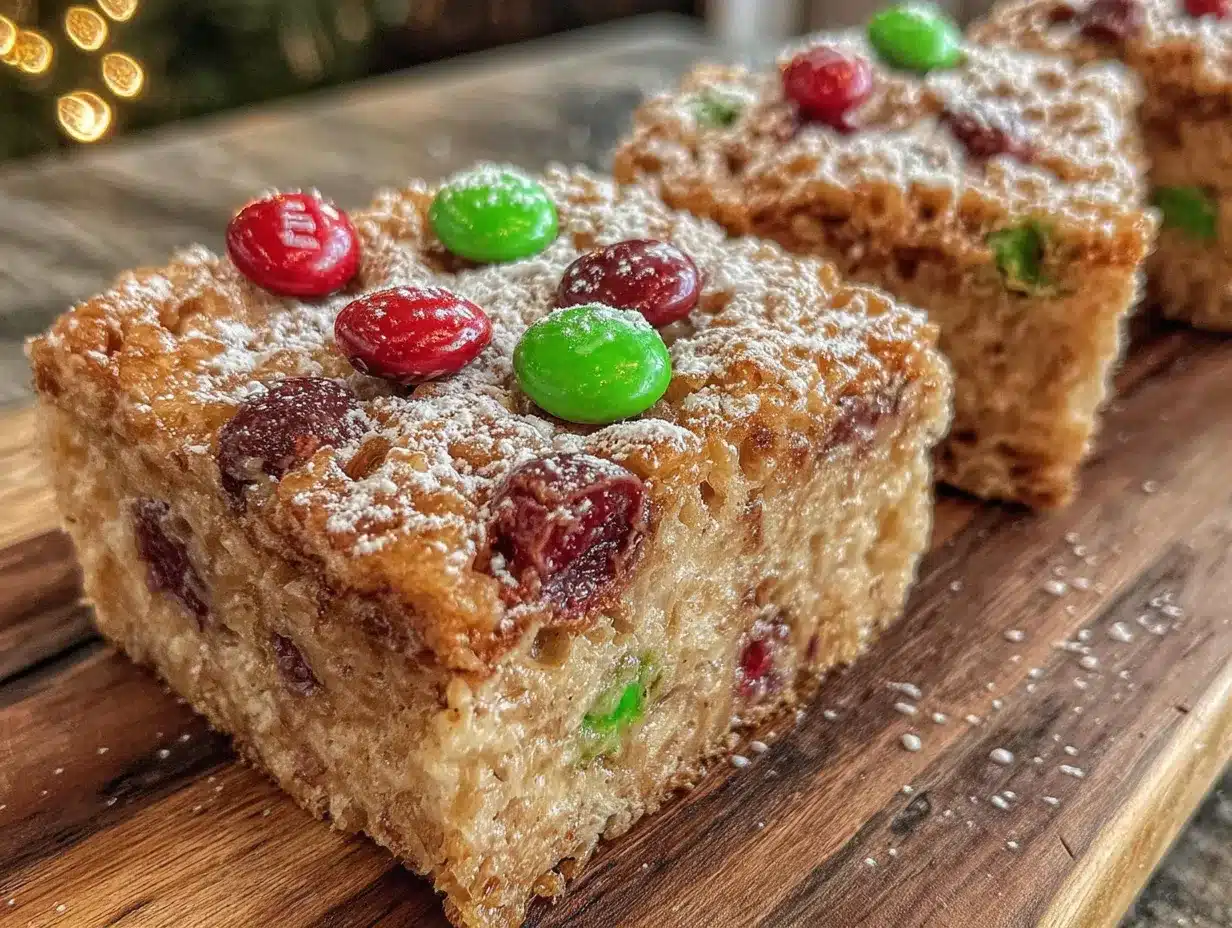
This recipe moves fast, so have everything measured and ready before you start. Trust me—you don’t want to be hunting for the vanilla while marshmallows are scorching.
- Prep your pan. Line a 9×13-inch baking pan with parchment paper, leaving about 2 inches of overhang on the long sides. Lightly grease the parchment with butter or cooking spray. Set aside.
- Melt the butter. Place 6 tablespoons unsalted butter in a large saucepan over medium-low heat. Let it melt slowly, swirling the pan occasionally. You want it fully liquid but not bubbling aggressively. This takes about 2 minutes.
- Add the marshmallows. Dump in the entire 10-ounce bag of marshmallows. Stir constantly with your wooden spoon or spatula. The marshmallows will start to puff up and collapse—that’s normal. Keep stirring until they’re completely smooth and melted, about 4-5 minutes. The mixture should be glossy and stretchy when you lift the spoon.
- Remove from heat and add vanilla and salt. Take the pan off the burner immediately. Stir in 1 teaspoon vanilla extract and 1/4 teaspoon salt. The mixture will bubble briefly—that’s the alcohol in the vanilla evaporating. Stir until combined.
- Add the M&Ms. Here’s the magic part. While the marshmallow mixture is still very hot, dump in 1 cup Christmas M&Ms. Stir vigorously for about 30 seconds. The candy shells will start to soften and the chocolate will begin to melt, creating streaks of color. Don’t overmix—you want some whole M&Ms visible, not a completely uniform pink mess.
- Fold in the cereal. Add 6 cups Rice Krispies cereal all at once. Fold gently with a silicone spatula, scraping from the bottom and folding over the top. Work quickly but gently—you want to coat every piece of cereal without crushing it into dust. Stop folding when you no longer see white marshmallow streaks. This takes about 1 minute.
- Press into the pan. Scrape the mixture into your prepared pan. Lightly grease your spatula (or your hands) with butter or cooking spray. Gently press the mixture into an even layer. Don’t smash it flat—you want some texture. If you’re adding extra M&Ms on top, press them in now while the surface is still warm.
- Cool completely. Let the treats sit at room temperature for at least 1 hour. Don’t rush this—warm treats will fall apart when you cut them. If you’re in a hurry, pop the pan in the refrigerator for 20 minutes.
- Cut and serve. Lift the entire block out using the parchment overhang. Place on a cutting board. Use a sharp knife to cut into squares—I do 6 rows by 4 rows for 24 generous pieces. Run the knife under hot water and wipe clean between cuts for the cleanest edges.
Sensory Cue: When you stir in the M&Ms, listen for the faint crackling sound as the candy shells hit the hot marshmallow. That’s the sound of the chocolate starting to melt. The mixture should smell like buttered toast with a hint of vanilla—if it smells burnt, your heat was too high.
Troubleshooting: If the mixture seems too dry and crumbly, you overcooked the marshmallows. Next time, take them off the heat a few seconds earlier. If it’s too sticky to press, grease your hands more generously. If the treats are rock-hard the next day, you pressed them too firmly—gentle is better.
Cooking Tips & Techniques
After making these treats approximately forty-seven times (I stopped counting after Thanksgiving), here’s what I’ve learned the hard way:
Low and slow wins the race. The biggest mistake people make is cranking up the heat to melt marshmallows faster. Medium-low heat is your friend. High heat scorches the sugar, leaving you with bitter, grainy treats that taste like regret. I burned my first batch so badly I had to open all the windows in December. Learn from my failure.
Don’t overmix the cereal. I know it’s tempting to keep stirring until everything looks perfect, but every fold after the cereal is fully coated just crushes the Krispies. You want some air pockets, some texture, some crunch. The treats should look a little rustic—that’s character.
The M&M timing is everything. If you add the M&Ms too late (after the mixture has cooled), they stay completely whole and you get hard candy chunks. Too early (while the marshmallows are still on the heat), and the shells fully dissolve into a muddy brown mess. The sweet spot is immediately after removing from heat, while the marshmallow is still bubbling hot but not actively cooking.
Use a wet knife for clean cuts. Run your knife under hot water, shake off the excess, and slice. Wipe the blade clean between cuts. This gives you those beautiful, Instagram-worthy squares with sharp edges and visible M&M cross-sections.
Let them cool completely. I know the smell is intoxicating. I know you want to eat one warm. But warm Rice Krispie treats are structural disasters—they’ll squish, crumble, and leave marshmallow strings everywhere. Patience pays off. Set a timer for 60 minutes and walk away.
Variations & Adaptations
Once you’ve mastered the basic recipe, here are some ways to make it your own:
Peppermint Crunch: Swap half the M&Ms for crushed candy canes. Add them after the cereal is folded in to keep the stripes visible. The minty crunch pairs beautifully with the chocolate. I made this version for a cookie exchange and got three requests for the recipe.
White Chocolate Dream: Use white chocolate M&Ms (the “Snow” blend) and add 1/2 cup white chocolate chips along with the butter. The extra white chocolate makes the treats richer and gives them a snow-white backdrop for the colorful candies.
Dark Chocolate Upgrade: Use dark chocolate M&Ms and add 1 tablespoon cocoa powder to the marshmallow mixture. The bitterness cuts the sweetness perfectly. This is my personal favorite for adult gatherings—it feels more sophisticated without losing the nostalgic charm.
Vegan Version: Use vegan butter, vegan marshmallows (Dandies are the best), and double-check that your M&Ms are vegan (they are in most countries, but US versions contain milk). The texture is slightly chewier, but the flavor is spot-on.
Gluten-Free Adaptation: Rice Krispies are naturally gluten-free, but some store brands add malt flavoring. Look for the certified gluten-free box, or use a generic crisp rice cereal that’s labeled GF. Everything else in the recipe is naturally gluten-free.
Spiced Holiday Twist: Add 1/2 teaspoon cinnamon and 1/4 teaspoon nutmeg along with the vanilla. The warm spices make the treats taste like Christmas morning. I tried this on a whim and now I can’t go back to plain.
Serving & Storage Suggestions
How to Serve: These treats are best at room temperature. Arrange them on a festive platter, maybe with a dusting of powdered sugar for snow effect. They’re perfect alongside a cup of hot cocoa, a mug of eggnog, or a glass of cold milk. For a party, stack them on a tiered stand—the colors look gorgeous from every angle.
Storage Instructions: Place treats in an airtight container at room temperature. Layer them with parchment paper between each layer to prevent sticking. They’ll stay fresh for up to 5 days—though in my house, they’re gone in 2. Do NOT refrigerate them, unless you like your treats hard and sad. The fridge dries out marshmallow-based treats and makes them stale.
Freezer Instructions: Yes, you can freeze these! Wrap individual squares in plastic wrap, then place in a freezer bag. They’ll keep for up to 3 months. Thaw at room temperature for about 30 minutes before serving. The texture is slightly softer after freezing, but the flavor is unchanged. I make a double batch in December and pull them out for last-minute visitors.
Flavor Development: These treats actually taste better on day two. The marshmallow firms up slightly, the M&Ms settle into the texture, and the flavors meld together. If you can resist eating them all on day one, you’ll be rewarded with even better treats on day two.
Nutritional Information & Benefits
Let’s be real—these are a treat, not a health food. But here’s what you’re working with per square (based on 24 servings):
Estimated Nutrition Per Square:
- Calories: 185
- Fat: 7g
- Carbohydrates: 30g
- Protein: 2g
- Sugar: 18g
- Sodium: 95mg
Health Highlights: The butter contains vitamin A, the marshmallows are fat-free (surprise!), and the Rice Krispies provide a small amount of iron and B vitamins. The M&Ms contain antioxidants from the cocoa—though, let’s be honest, you’re not eating these for the health benefits.
Dietary Considerations: This recipe contains dairy (butter, milk chocolate) and gluten (cereal). For dairy-free or gluten-free versions, see the variations section above. These treats are nut-free if you use standard M&Ms, but always check packaging for cross-contamination warnings.
My Perspective: I believe in balance. These treats are part of a joyful holiday season, not a daily staple. One square with your morning coffee on Christmas Eve? Absolutely. The whole pan in one sitting? Maybe not. But I’m not here to judge—I’ve definitely eaten three in a row while wrapping presents.
Conclusion
These Easy Christmas Rice Krispie Treats with M&Ms are the kind of recipe that proves simple doesn’t mean boring. They’re festive without being fussy, delicious without being complicated, and forgiving enough that even a burned-batch veteran like me can nail them every time. The M&Ms melted right into the marshmallow create this beautiful marbled effect that looks intentional even when it’s accidental—and that’s exactly the kind of energy I want for the holidays.
I’d love to hear how yours turn out. Did you try the peppermint version? Did your kids fight over the corner pieces? Drop a comment below and let me know—I read every single one. And if you’re looking for more no-fuss holiday treats, check out our easy Christmas cookies or the hot chocolate bombs that everyone’s been raving about. They’re both made with the same low-stress philosophy: good food doesn’t have to be hard.
Happy holidays, and may your marshmallows never burn. Now go make some memories—and some treats.
Frequently Asked Questions
Can I use mini marshmallows instead of regular?
Absolutely. Use about 6 cups of mini marshmallows instead of the 10-ounce bag. They melt faster, so keep an eye on the pot and stir constantly to prevent scorching.
Why are my Rice Krispie treats hard?
You probably pressed them too firmly into the pan or overcooked the marshmallows. Next time, use a gentle hand when pressing and remove the marshmallows from heat as soon as they’re smooth.
Can I make these ahead of time?
Yes! They actually taste better on day two. Make them up to 3 days ahead and store in an airtight container at room temperature. For longer storage, freeze for up to 3 months.
Do I have to use Christmas M&Ms?
Not at all. Use any color M&Ms you like—red and pink for Valentine’s Day, pastels for Easter, or just plain for any day. The technique stays the same regardless of the holiday.
Can I double this recipe?
Yes, but use a larger pan (a half-sheet pan works great) and a very large pot. Don’t try to double it in the same 9×13 pan—you’ll end up with treats that are too thick and won’t set properly.
Pin This Recipe!
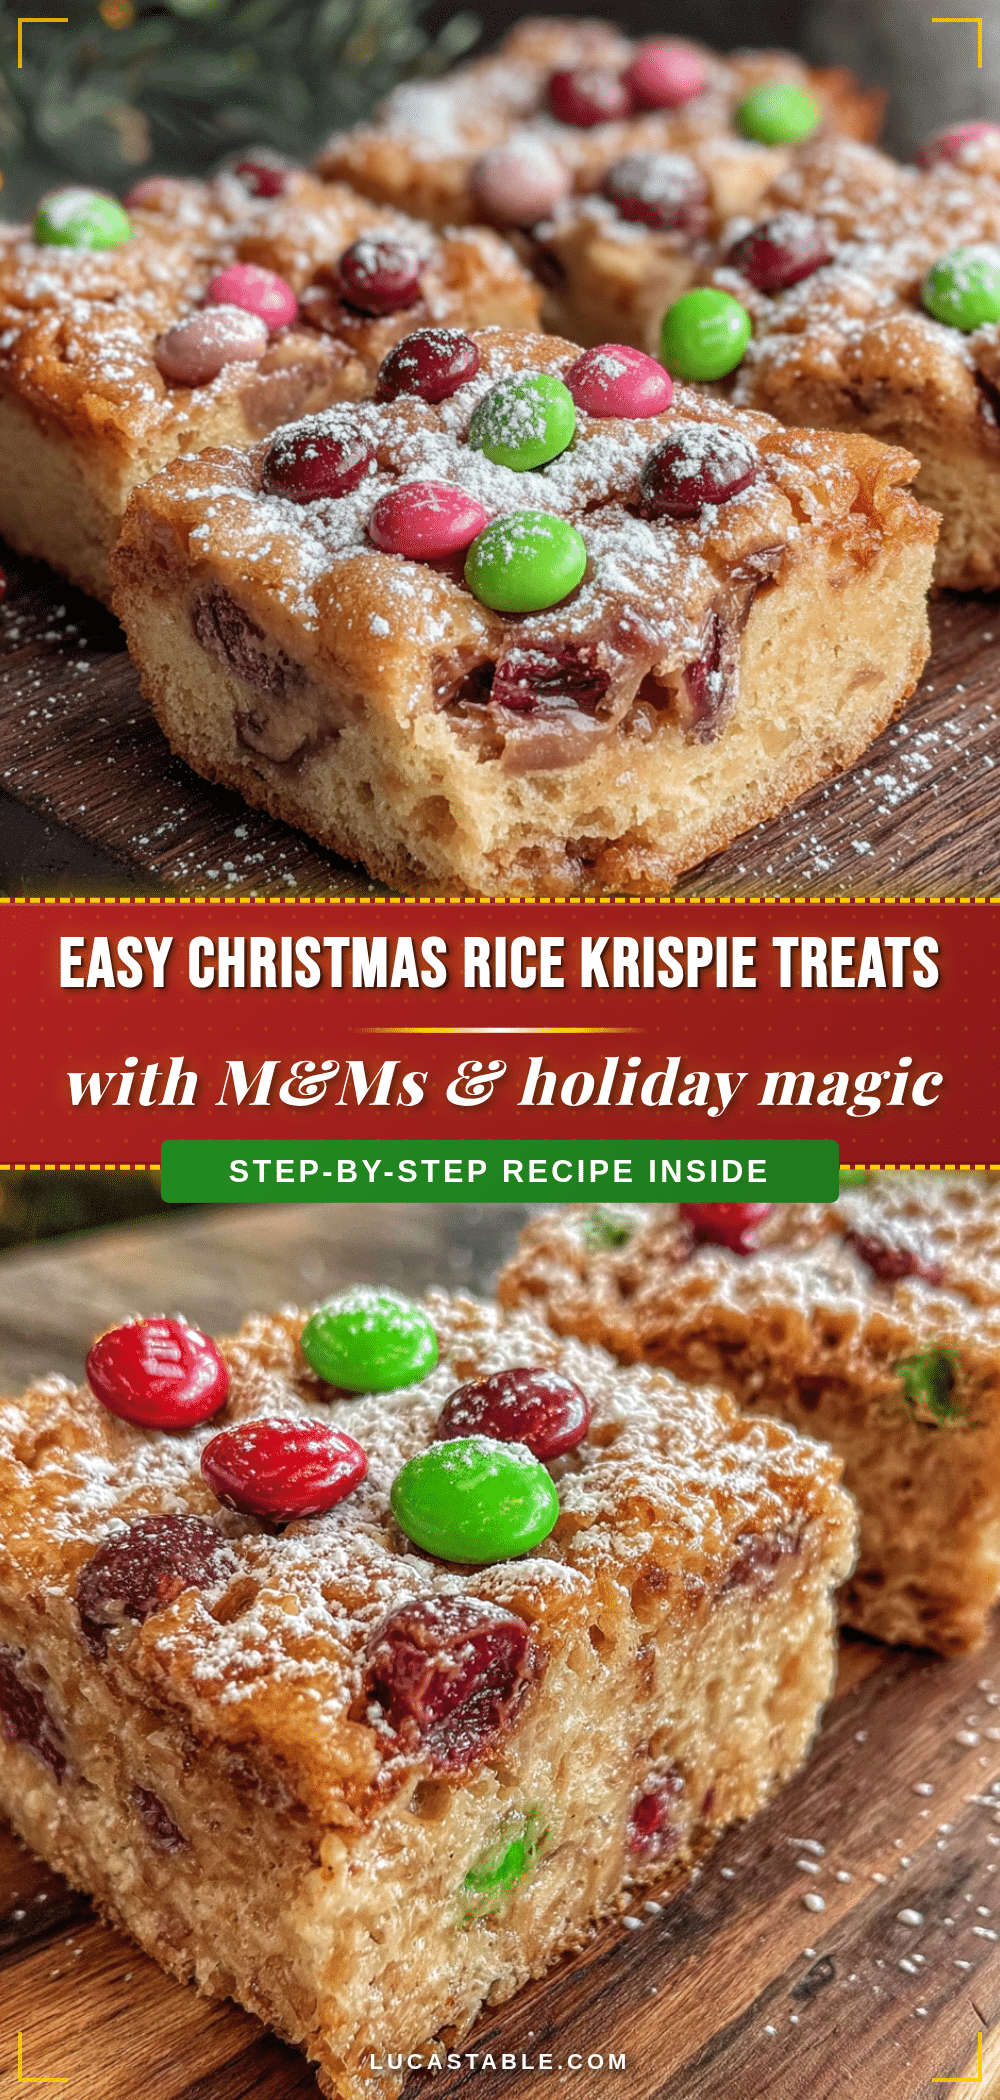
Easy Christmas Rice Krispie Treats Recipe

These Easy Christmas Rice Krispie Treats with M&Ms come together in under fifteen minutes, require zero decorating skills, and taste like the holiday aisle exploded in the best possible way. No dipping, no drizzling, no arranging candy into little snowman faces.
- Prep Time: 12 minutes
- Cook Time: 5 minutes
- Total Time: 17 minutes
- Yield: 24 servings 1x
- Category: Dessert
- Cuisine: American
Ingredients
- 6 tablespoons unsalted butter
- 1 package (10 ounces, about 40 large) marshmallows, standard size
- 6 cups Rice Krispies cereal
- 1 teaspoon vanilla extract
- 1/4 teaspoon salt
- 1 cup Christmas M&Ms
- Extra M&Ms for pressing on top (about 1/4 cup, optional)
Instructions
- Prep your pan. Line a 9×13-inch baking pan with parchment paper, leaving about 2 inches of overhang on the long sides. Lightly grease the parchment with butter or cooking spray. Set aside.
- Melt the butter. Place 6 tablespoons unsalted butter in a large saucepan over medium-low heat. Let it melt slowly, swirling the pan occasionally. You want it fully liquid but not bubbling aggressively. This takes about 2 minutes.
- Add the marshmallows. Dump in the entire 10-ounce bag of marshmallows. Stir constantly with your wooden spoon or spatula. The marshmallows will start to puff up and collapse—that’s normal. Keep stirring until they’re completely smooth and melted, about 4-5 minutes. The mixture should be glossy and stretchy when you lift the spoon.
- Remove from heat and add vanilla and salt. Take the pan off the burner immediately. Stir in 1 teaspoon vanilla extract and 1/4 teaspoon salt. The mixture will bubble briefly—that’s the alcohol in the vanilla evaporating. Stir until combined.
- Add the M&Ms. Here’s the magic part. While the marshmallow mixture is still very hot, dump in 1 cup Christmas M&Ms. Stir vigorously for about 30 seconds. The candy shells will start to soften and the chocolate will begin to melt, creating streaks of color. Don’t overmix—you want some whole M&Ms visible, not a completely uniform pink mess.
- Fold in the cereal. Add 6 cups Rice Krispies cereal all at once. Fold gently with a silicone spatula, scraping from the bottom and folding over the top. Work quickly but gently—you want to coat every piece of cereal without crushing it into dust. Stop folding when you no longer see white marshmallow streaks. This takes about 1 minute.
- Press into the pan. Scrape the mixture into your prepared pan. Lightly grease your spatula (or your hands) with butter or cooking spray. Gently press the mixture into an even layer. Don’t smash it flat—you want some texture. If you’re adding extra M&Ms on top, press them in now while the surface is still warm.
- Cool completely. Let the treats sit at room temperature for at least 1 hour. Don’t rush this—warm treats will fall apart when you cut them. If you’re in a hurry, pop the pan in the refrigerator for 20 minutes.
- Cut and serve. Lift the entire block out using the parchment overhang. Place on a cutting board. Use a sharp knife to cut into squares—I do 6 rows by 4 rows for 24 generous pieces. Run the knife under hot water and wipe clean between cuts for the cleanest edges.
Notes
Add M&Ms immediately after removing from heat while marshmallow is still bubbling hot for best results. Don’t overmix the cereal to maintain texture. Let treats cool completely before cutting for clean edges. These taste even better on day two.
Nutrition
- Serving Size: 1 square
- Calories: 185
- Sugar: 18
- Sodium: 95
- Fat: 7
- Saturated Fat: 4
- Carbohydrates: 30
- Protein: 2
Keywords: Christmas Rice Krispie Treats, M&Ms, easy holiday treats, no-bake dessert, Christmas dessert, Rice Krispie treats with M&Ms


