“Are you bringing the snacks?” That text popped up just as I was about to crash after a long, exhausting Monday. Honestly, Halloween parties always feel like a last-minute scramble, and that year I was staring at my kitchen wondering how to pull something together without turning to store-bought junk. Then, as I rummaged through the pantry, I stumbled on a bunch of random ingredients—cream cheese, pretzels, candy eyeballs—and the idea for easy Halloween snacks to impress your guests was born right there. No fancy props or hours spent crafting, just simple bites that somehow ended up stealing the show.
What surprised me most was how even the pickiest eaters—my skeptical nephew included—were hooked. These snacks had that perfect mix of spooky fun and homemade charm without the stress. I found myself making them repeatedly over the week, each time tweaking a little here and there. There’s something about Halloween that invites creativity without pressure, and these snacks perfectly capture that vibe. So, if you want to impress your friends without sweating over complicated recipes, this collection of easy Halloween snacks will feel like your secret weapon.
By the end, you’ll see why these treats aren’t just cute—they’re downright crave-worthy. And honestly, once you try them, you might find yourself reaching for them every year, no matter the occasion.
Why You’ll Love This Recipe
After testing these easy Halloween snacks over multiple gatherings, I’m convinced they’re some of the best quick bites you can whip up for spooky season. Here’s why they stand out:
- Quick & Easy: Most recipes come together in under 30 minutes, perfect for last-minute party prep or those unexpected guests.
- Simple Ingredients: No need to hunt down specialty stores—these use everyday pantry staples you probably already have.
- Perfect for Parties: Whether it’s a casual get-together or a kid-friendly bash, these snacks fit the bill with playful yet delicious flavors.
- Crowd-Pleaser: From adults to kids, everyone loves them—often disappearing before you get a second plate.
- Unbelievably Delicious: They balance spooky themes with real taste—think creamy, crunchy, sweet, and savory all at once.
What sets these snacks apart is the little details—like blending cream cheese for an ultra-smooth dip or using pretzels as “witch fingers” for that perfect crunch. They aren’t just gimmicks; these touches make the flavors better and the textures more satisfying. Honestly, these easy Halloween snacks are the kind that get you closing your eyes after the first bite, savoring the mix of fun and flavor.
They’re also super flexible, so you can swap ingredients based on what you have, making them stress-free to prepare. If you like simple, tasty recipes like my quick zesty lemon chicken, you’ll appreciate how these snacks fit right into your kitchen routine without complication.
What Ingredients You Will Need
This collection of easy Halloween snacks uses simple, wholesome ingredients that deliver bold flavor and playful presentation without the fuss. Most are pantry staples, with a few seasonal touches you can swap depending on your mood or what’s on hand.
- For the Base & Crunch:
- Mini pretzel sticks (great for “witch fingers” with a salty crunch)
- Plain or flavored tortilla chips (for scooping dips)
- Rice cakes or crackers (easy to dress up and gluten-friendly)
- Dips & Spreads:
- Cream cheese, softened (I like Philadelphia brand for smoothness)
- Sour cream or Greek yogurt (adds tang and creaminess)
- Guacamole or mashed avocado (for a fresh, green twist)
- Salsa or marinara (for a spooky “blood” effect)
- Flavor Boosters & Mix-ins:
- Shredded cheddar or mozzarella cheese (melts nicely on baked snacks)
- Chopped olives or capers (perfect for “eyeballs” or “bugs”)
- Green onions or chives (fresh sharpness)
- Mini pepperoni slices or cooked bacon bits (smoky, savory punch)
- Decorative & Fun Elements:
- Candy eyeballs (available at most grocery stores around Halloween)
- Black sesame seeds or poppy seeds (for texture and spooky look)
- Orange and black food coloring (optional for extra flair)
- Honey or maple syrup (for subtle sweetness in some recipes)
For substitutions, almond flour works well if you want a gluten-free base for baked snacks, and dairy-free cream cheese or coconut yogurt can replace dairy in dips. If you prefer a seasonal twist, swapping black olives for sliced black grapes or using fresh pumpkin puree in dips adds a nice autumn touch.
Equipment Needed
These easy Halloween snacks don’t require fancy kitchen gear, which is a relief when you’re juggling party prep. Here’s what you’ll want handy:
- Mixing bowls: A couple of medium bowls for dips and spreads.
- Measuring cups and spoons: For accuracy, especially in seasoning.
- Spatula or wooden spoon: For mixing and spreading.
- Baking sheet lined with parchment paper: If you’re making baked “witch fingers” or cheesy bites.
- Sharp knife and cutting board: To chop olives, veggies, or slice snacks.
- Serving platters or small bowls: Presentation is half the fun, so having a few options helps.
For budget-friendly options, you can skip the parchment paper by greasing your baking sheet well. And if you don’t have measuring spoons, a regular teaspoon and tablespoon can work just fine—no need for specialty tools here.
Preparation Method
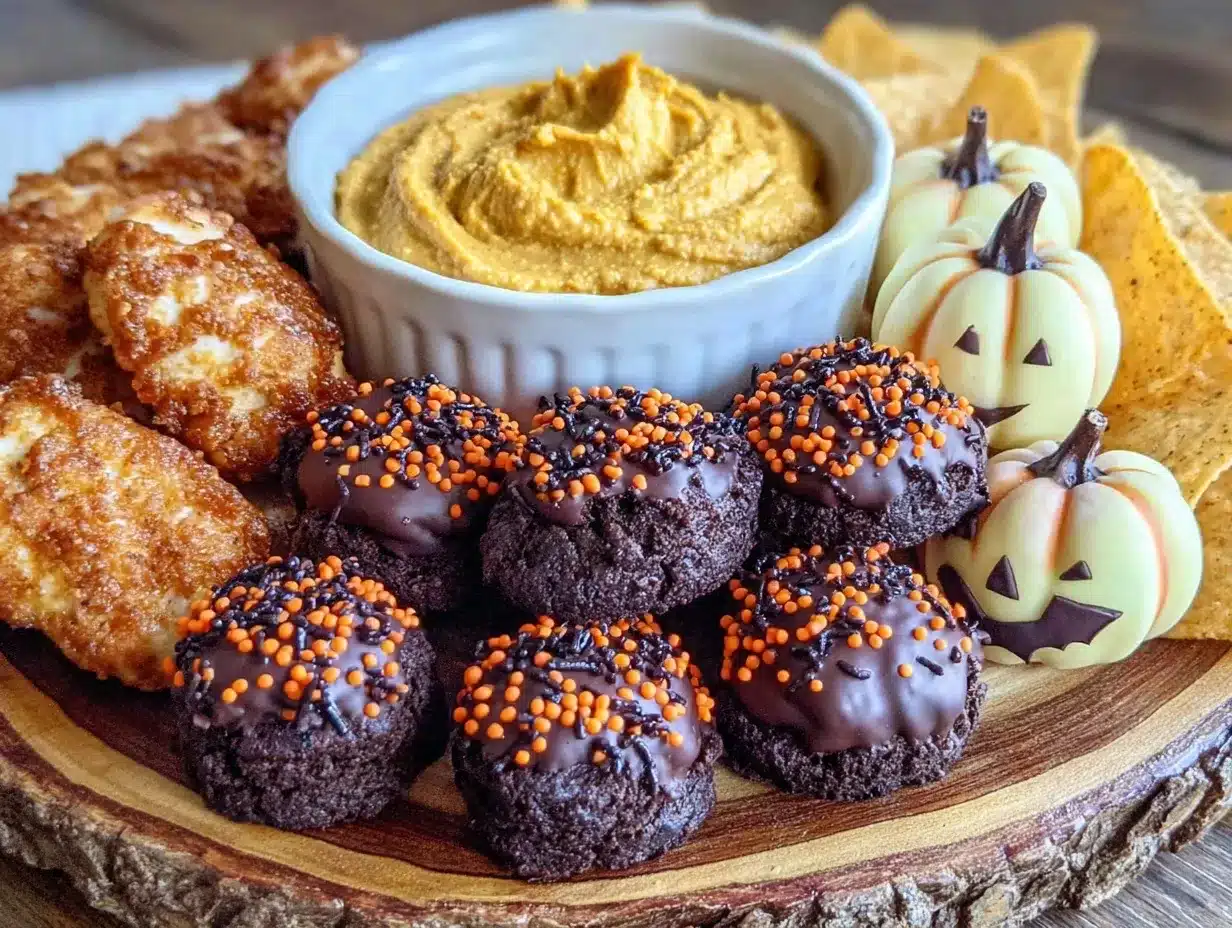
- Prepare Your “Witch Fingers” (Approx. 20 minutes)
In a mixing bowl, combine 1 cup (225 g) softened cream cheese with 1/2 cup (50 g) shredded cheddar cheese. Add 1/4 teaspoon garlic powder and a pinch of salt. Mix until smooth but still spreadable. Spread the mixture evenly over mini pretzel sticks that resemble fingers. Press a sliced almond or a candy eyeball at one end to mimic a fingernail. Arrange on a parchment-lined baking sheet.
Tip: If the mixture is too soft, chill for 5 minutes before spreading to make the process easier. - Spooky Eyeball Dip (Approx. 15 minutes)
Blend 1 cup (240 ml) sour cream with 1/2 cup (120 g) mashed avocado. Season with salt, pepper, and a squeeze of lime juice. Spoon into a small bowl. Top each serving with sliced black olives arranged as “eyeballs.” Add candy eyeballs on top for extra fun.
Note: The lime juice prevents the avocado from browning while adding a fresh zing. - Monster Mummy Meatballs (Approx. 30 minutes)
Mix 1 pound (450 g) ground beef with 1/4 cup (25 g) breadcrumbs, 1 beaten egg, 1 teaspoon onion powder, and salt and pepper. Shape into small meatballs and bake at 375°F (190°C) for 15-20 minutes until cooked through.
While warm, wrap each meatball with thin strips of pre-made puff pastry to look like mummies. Bake for another 10 minutes until the pastry is golden. Use dots of sour cream or mayonnaise for eyes and place candy eyeballs on top.
Tip: You can swap ground beef for turkey or chicken for a leaner option. - Spooky Stuffed Mini Peppers (Approx. 20 minutes)
Cut mini sweet peppers in half lengthwise and remove seeds. Fill each half with cream cheese mixed with chopped green onions and shredded cheese. Top with a slice of olive for the “eye.” Bake at 350°F (175°C) for 10 minutes until cheese melts.
Advice: These are fantastic warm but also tasty at room temperature, making them party-friendly. - Final Touches and Presentation
Arrange all snacks on a large platter with some festive napkins or Halloween-themed toothpicks. Drizzle a little salsa or hot sauce around the edges for a “bloody” effect. Don’t forget to add some fresh herbs or green onions for color contrast.
Pro tip: Having a couple of simple dips like guacamole or marinara alongside these treats gives guests options and keeps things exciting.
Cooking Tips & Techniques
One thing I learned making these easy Halloween snacks is that texture and presentation are just as important as flavor. For example, when spreading cream cheese mixtures, chilling the bowl briefly makes it easier to handle and less messy. Also, when baking “witch fingers,” watch closely during the last 5 minutes so they get golden but don’t burn.
Another trick is to prep components ahead of time—like chopping olives and slicing almonds—so assembly goes smoothly when guests arrive. It’s tempting to get everything done last minute, but a little prep saves stress and keeps the kitchen calm.
For dips, balancing acidity with creaminess is key. If your dip feels too thick, a splash of milk or lime juice can loosen it up without losing flavor. And when wrapping meatballs with puff pastry, make sure the pastry isn’t too warm or it will be sticky and hard to handle.
Finally, don’t be afraid to mix sweet and savory elements—like a drizzle of honey on spicy peppers or a sprinkle of black sesame seeds on creamy dips—which adds dimension and unexpected delight.
Variations & Adaptations
These easy Halloween snacks can be customized to suit different diets and tastes. Here are a few ideas:
- Vegetarian Version: Swap meatballs for baked falafel balls wrapped in pastry or use stuffed mushrooms with cheese and herbs.
- Gluten-Free Option: Use gluten-free crackers or rice cakes instead of pretzels, and choose gluten-free breadcrumbs for meatballs.
- Spicy Kick: Add a pinch of cayenne pepper or hot sauce to the cream cheese mixture or spicy salsa for an extra zing.
- Sweet Treat: Replace savory fillings with cream cheese mixed with pumpkin puree and cinnamon, topped with crushed graham crackers or candy pieces.
- Kid-Friendly Twist: Use mild cheese and simple flavors, and let kids decorate their own “mummy” wraps or dip their own veggie sticks.
I once swapped the mini peppers for cucumber boats filled with hummus and topped with olive “spiders” for a fresh, crunchy alternative that was a hit at a friend’s party. Feel free to get creative based on what your guests like or what you have on hand.
Serving & Storage Suggestions
These snacks are best served fresh or slightly warm, depending on the recipe. For example, the mummy meatballs are fantastic warm straight from the oven, while the creamy dips and stuffed peppers hold up well at room temperature for a party spread.
Pairing these snacks with a simple drink like sparkling apple cider or a chilled punch makes the table feel festive without extra fuss. Also, some light sides like a crisp green salad balance out the richness of the creamy dips and cheese-filled bites.
If you have leftovers, store them in airtight containers in the refrigerator. Most dips last up to 3 days, while baked snacks like mummy meatballs are best eaten within 1-2 days to avoid sogginess. Reheat baked items gently in a low oven or microwave to keep textures intact.
Flavors often mellow and blend nicely after a day, especially in dips and spreads—so don’t worry if you want to make them a day ahead. Just keep any crunchy toppings separate until serving.
Nutritional Information & Benefits
While these snacks are definitely about fun and flavor, many ingredients offer nutritional perks. For instance, cream cheese provides calcium and some protein, while avocado adds heart-healthy fats and fiber. Using Greek yogurt in dips boosts protein and adds probiotics for gut health.
Most of these recipes can be adapted to be gluten-free or dairy-free depending on your needs, making them accessible for various diets. Just swap ingredients like dairy-free cream cheese or gluten-free crackers as needed.
Remember, these are treats meant to be enjoyed in moderation, especially during the festive season. They bring people together and add joy to celebrations, which is a kind of nourishment all on its own.
Conclusion
Easy Halloween snacks like these prove that you don’t need complicated recipes to make a memorable party spread. They combine simple ingredients, playful themes, and real flavor that your guests will ask about again and again. What started as a last-minute scramble became a favorite tradition, and I hope you find the same joy and ease in making them.
Feel free to adjust these recipes to fit your style or dietary needs. Whether you go classic spooky or add your own twist, the most important ingredient is having fun in the kitchen. And if you’re ever looking for quick dinner ideas to pair with your festive snacks, recipes like quick creamy tuna pasta or easy spaghetti aglio olio are perfect for keeping things stress-free after the party.
Happy Halloween snacking!
FAQs
- Can I prepare these Halloween snacks in advance?
Yes, dips and spreads can often be made a day ahead and stored in the fridge. Baked items like mummy meatballs are best assembled and baked close to serving time for freshness. - What if I don’t have candy eyeballs?
You can use sliced olives, nuts, or raisins as alternatives to candy eyeballs to create a spooky look without the sugar. - Are these snacks kid-friendly?
Absolutely! Most recipes are mild and easy to eat. You can always reduce spices and let kids help with decorating for extra fun. - How can I make these snacks gluten-free?
Substitute pretzels and breadcrumbs with gluten-free options, and ensure all other ingredients are gluten-free certified. - What drinks pair well with these snacks?
Sparkling cider, light punch, or even simple iced tea complement the flavors nicely without overpowering the festive bites.
Pin This Recipe!
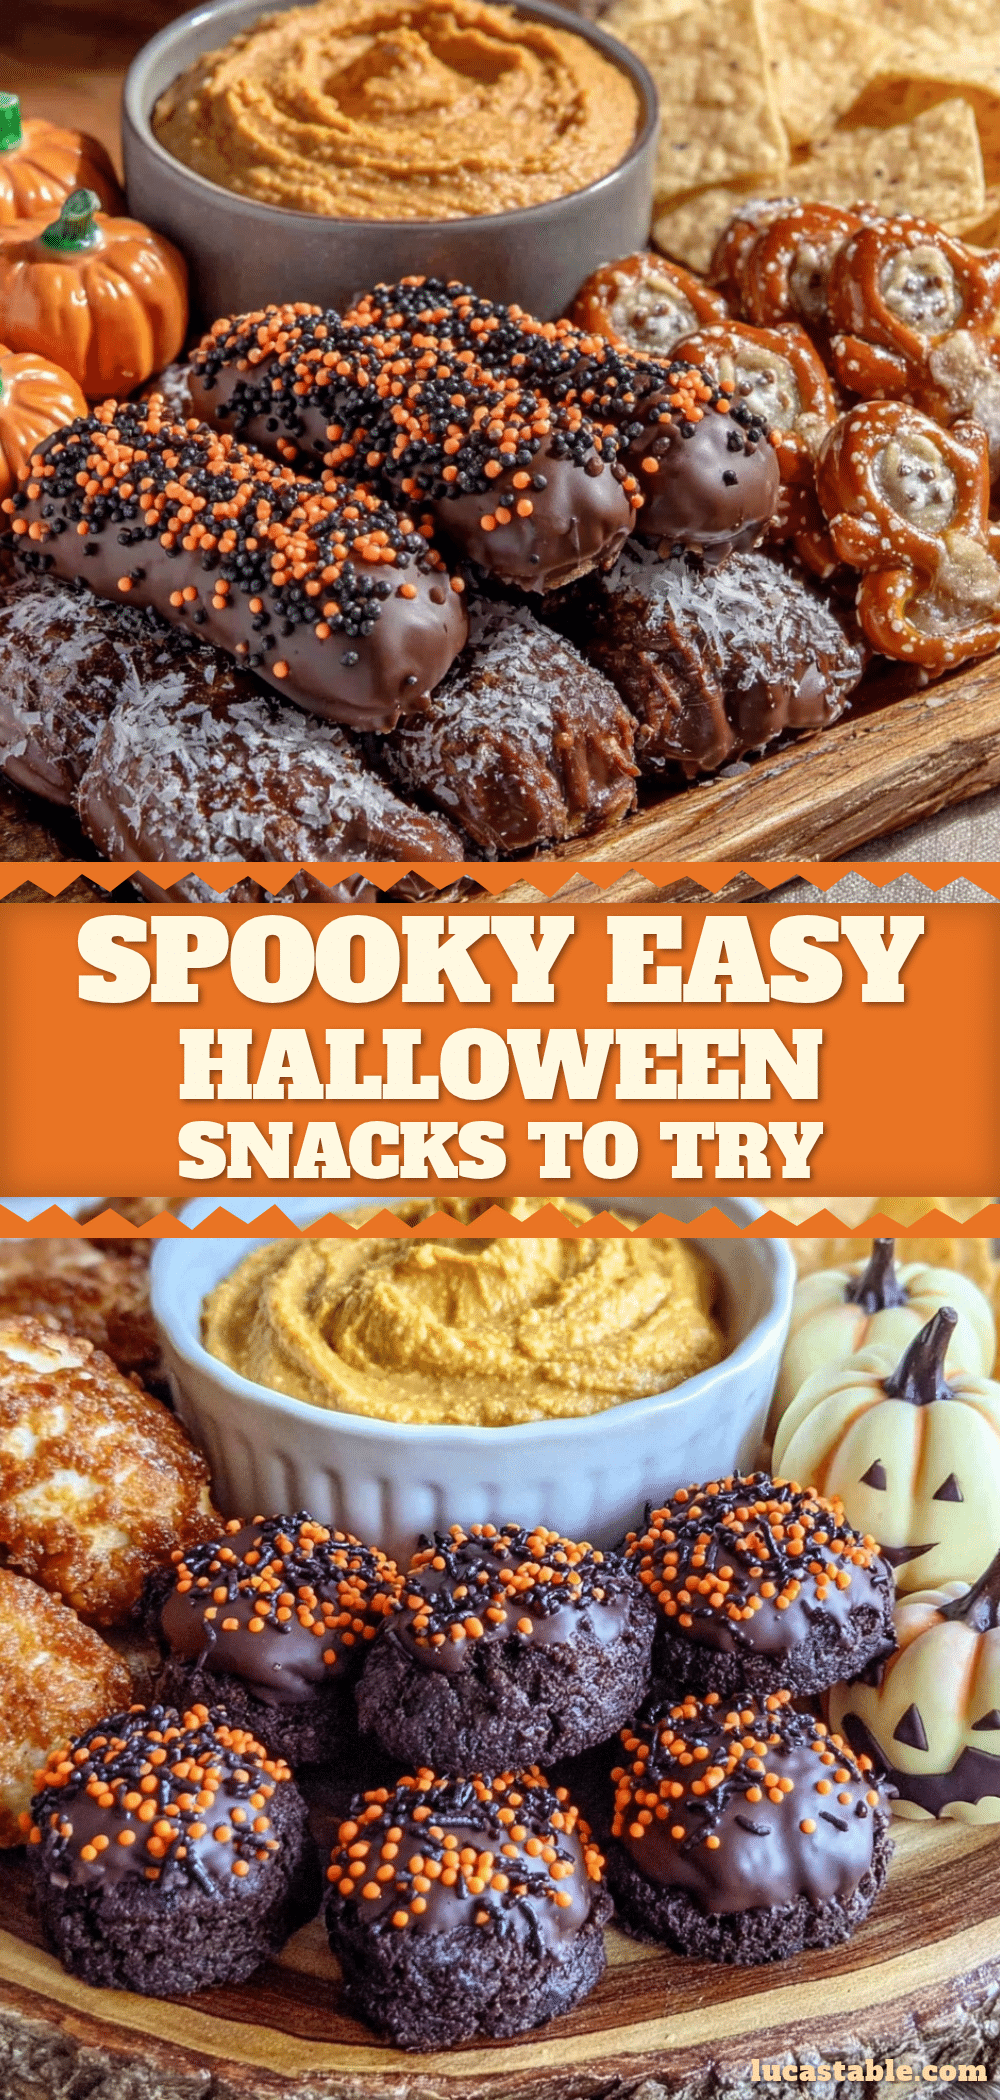
Easy Halloween Snacks 10 Homemade Recipes to Impress Your Guests

A collection of quick, simple, and playful Halloween snacks using everyday pantry staples that are perfect for parties and last-minute gatherings.
- Prep Time: 15 minutes
- Cook Time: 30 minutes
- Total Time: 45 minutes
- Yield: 6-8 servings
- Category: Appetizer
- Cuisine: American
Ingredients
- Mini pretzel sticks
- Plain or flavored tortilla chips
- Rice cakes or crackers
- Cream cheese, softened
- Sour cream or Greek yogurt
- Guacamole or mashed avocado
- Salsa or marinara
- Shredded cheddar or mozzarella cheese
- Chopped olives or capers
- Green onions or chives
- Mini pepperoni slices or cooked bacon bits
- Candy eyeballs
- Black sesame seeds or poppy seeds
- Orange and black food coloring (optional)
- Honey or maple syrup
- Almond flour (for gluten-free baked snacks)
- Dairy-free cream cheese or coconut yogurt (for dairy-free dips)
- Ground beef (or turkey/chicken for leaner option)
- Breadcrumbs (gluten-free if needed)
- Egg
- Garlic powder
- Salt
- Pepper
- Lime juice
- Mini sweet peppers
- Pre-made puff pastry
Instructions
- Prepare Witch Fingers: Mix 1 cup softened cream cheese with 1/2 cup shredded cheddar cheese, 1/4 tsp garlic powder, and a pinch of salt until smooth. Spread over mini pretzel sticks. Press a sliced almond or candy eyeball at one end to mimic a fingernail. Arrange on parchment-lined baking sheet. Chill 5 minutes if mixture is too soft.
- Make Spooky Eyeball Dip: Blend 1 cup sour cream with 1/2 cup mashed avocado. Season with salt, pepper, and lime juice. Spoon into a bowl and top with sliced black olives arranged as eyeballs and candy eyeballs.
- Prepare Monster Mummy Meatballs: Mix 1 lb ground beef with 1/4 cup breadcrumbs, 1 beaten egg, 1 tsp onion powder, salt, and pepper. Shape into small meatballs and bake at 375°F for 15-20 minutes. Wrap warm meatballs with thin strips of puff pastry to look like mummies. Bake another 10 minutes until pastry is golden. Use sour cream or mayonnaise dots for eyes and place candy eyeballs on top.
- Make Spooky Stuffed Mini Peppers: Cut mini sweet peppers in half lengthwise and remove seeds. Fill with cream cheese mixed with chopped green onions and shredded cheese. Top with a slice of olive for the eye. Bake at 350°F for 10 minutes until cheese melts.
- Final Presentation: Arrange all snacks on a large platter with festive napkins or Halloween-themed toothpicks. Drizzle salsa or hot sauce around edges for a bloody effect. Add fresh herbs or green onions for color contrast. Serve with dips like guacamole or marinara.
Notes
Chill cream cheese mixtures briefly to make spreading easier. Watch baked items closely in last 5 minutes to avoid burning. Prep components like chopping olives and slicing almonds ahead of time for smooth assembly. Mix sweet and savory elements for added flavor dimension. Store dips up to 3 days refrigerated; baked snacks best eaten within 1-2 days. Reheat baked items gently.
Nutrition
- Serving Size: Approximately 3-4 pi
- Calories: 0.18022
- Sugar: 2
- Sodium: 320
- Fat: 14
- Saturated Fat: 6
- Carbohydrates: 10
- Fiber: 2
- Protein: 6
Keywords: Halloween snacks, easy Halloween recipes, party snacks, spooky snacks, homemade Halloween treats, quick appetizers, kid-friendly snacks


