It was 10:47 PM on a rainy Tuesday, and I had a very specific vision of a perfectly spooky Halloween cookie. I didn’t have the fancy, pre-made chocolate mint wafers the fancy blogs use, but I had a box of brownie mix, a half-eaten bag of Andes mints from my movie stash, and the wild idea that maybe, just maybe, a little chaos could create something magic. Honestly, I was too tired to overthink it. I just started mixing, hoping the kids wouldn’t wake up and catch me making a mess of the kitchen for the third time that week.
The first batch came out looking a little lopsided—okay, a lot lopsided—but the smell? That rich chocolate with a cool hint of mint was enough to pull my husband out of his office. He grabbed one before I could even get a spatula under it, and the look on his face told me I was onto something. These aren’t just cookies; they are little pockets of Halloween joy that taste like a candy bar decided to become a homemade treat. Maybe you’ve been there, standing in the kitchen at an ungodly hour, just hoping for a win.
These Kid-Approved Chocolate Mint Halloween Sandwich Cookies are the result of that late-night, rule-breaking session. They are easy enough for a Tuesday afternoon with the kids but impressive enough for a spooky party spread. The best part? They use simple ingredients you probably already have, and the minty surprise inside makes everyone feel like they got something special. I keep making them because they are the kind of cookie that disappears before you can even say “trick or treat,” and honestly, that’s the highest compliment a home cook can get.
Why You’ll Love This Recipe
I have tested this recipe more times than I care to admit, and I can tell you with confidence that it is a total winner for busy families. These cookies are built for real life—not a photo shoot. Here is why they will become your new Halloween go-to:
- Quick & Easy: From start to finish, you are looking at about 25 minutes. No chilling the dough, no fancy piping bags—just mix, scoop, and bake. Perfect for those after-school “I need a treat” moments.
- Simple Ingredients: You likely have everything in your pantry right now. A box of brownie mix, butter, an egg, and some mint candies. No weird extracts or specialty flours that cost a fortune.
- Perfect for Halloween Fun: These are great for classroom parties, Halloween playdates, or a cozy movie night. They look festive without requiring any artistic talent—my five-year-old helped decorate the last batch!
- Crowd-Pleaser: I have yet to meet a kid (or adult) who can eat just one. The chocolate and mint combo is a classic for a reason, and the sandwich format makes them feel extra special.
- Unbelievably Delicious: The texture is the real star here. You get a soft, fudgy cookie on the outside with a cool, creamy mint center. It is like eating a Thin Mint, but better and homemade.
What makes this recipe different from the rest is the technique. Instead of trying to make a perfect, uniform cookie, we embrace the rustic look. The slight crackle on top of the brownie-based cookie holds the buttercream perfectly, and the Andes mint melts just enough to create a gooey, dreamy center. This isn’t just another chocolate cookie recipe—it is the one that will earn you “favorite parent” status for the whole month of October. It is comfort food reimagined for a spooky season, and it delivers that soul-soothing satisfaction without any stress.
What Ingredients You Will Need
This recipe uses simple, honest ingredients to create a cookie that tastes like a million bucks. Most of these are pantry staples, so you can whip up a batch whenever the mood strikes.
- For the Cookies:
- 1 box (15.25 oz) chocolate fudge brownie mix (I prefer Duncan Hines or Betty Crocker for the best fudgy texture)
- 1/2 cup (1 stick) unsalted butter, melted and slightly cooled (this is key—don’t use hot butter or the cookies will spread too much)
- 1 large egg, room temperature (helps create a uniform dough)
- 1 teaspoon vanilla extract (a good quality one makes a difference)
- 1/2 cup semi-sweet chocolate chips (optional, but adds extra chocolate chunks in every bite)
- For the Mint Buttercream Filling:
- 1/2 cup (1 stick) unsalted butter, softened to room temperature
- 2 cups powdered sugar, sifted (sifting prevents lumps)
- 2 tablespoons heavy cream or whole milk (cream makes it richer)
- 1/2 teaspoon mint extract (start with less and taste—some brands are stronger than others)
- A tiny drop of green food coloring (optional, but makes them look so festive for Halloween!)
- For the Decoration (Optional but Fun):
- 1/4 cup crushed Andes mints or other chocolate mint candies (for rolling the edges)
- Orange and black sprinkles (let the kids go wild!)
Ingredient Selection Tips: For the best flavor, use a high-quality mint extract. I have tried the cheap stuff, and it can taste a little artificial. Look for one that lists “peppermint oil” as an ingredient. If you are making these for a nut-free classroom party, double-check your brownie mix label to ensure it was processed in a nut-free facility. For a dairy-free version, you can use a plant-based butter stick and coconut cream in the filling—just know the texture will be slightly softer.
Equipment Needed
You don’t need a fancy bakery setup to make these cookies shine. Here is what you will need:
- Large mixing bowls: One for the cookie dough, one for the filling. I use my old Pyrex bowls—they have held up for years.
- Electric hand mixer or stand mixer: The filling needs a good whip to get light and fluffy. A whisk and some elbow grease will work, but your arm will thank you for the mixer.
- Baking sheets: Two standard half-sheet pans work best. Line them with parchment paper for easy cleanup.
- Cookie scoop: A 1.5-tablespoon scoop makes uniform cookies that bake evenly. If you don’t have one, just use a spoon and try to make them the same size.
- Cooling rack: Essential for getting the cookies to cool completely before filling. A hot cookie will melt your buttercream into a puddle.
- Spatula: A small offset spatula is perfect for spreading the filling, but a butter knife works in a pinch.
- Piping bag (optional): Makes filling the cookies look neat, but you can just spoon the buttercream on and spread it.
Budget-Friendly Tip: If you are new to baking, don’t run out and buy a fancy piping bag. A sturdy zip-top bag with the corner snipped off works just as well for this recipe.
Preparation Method
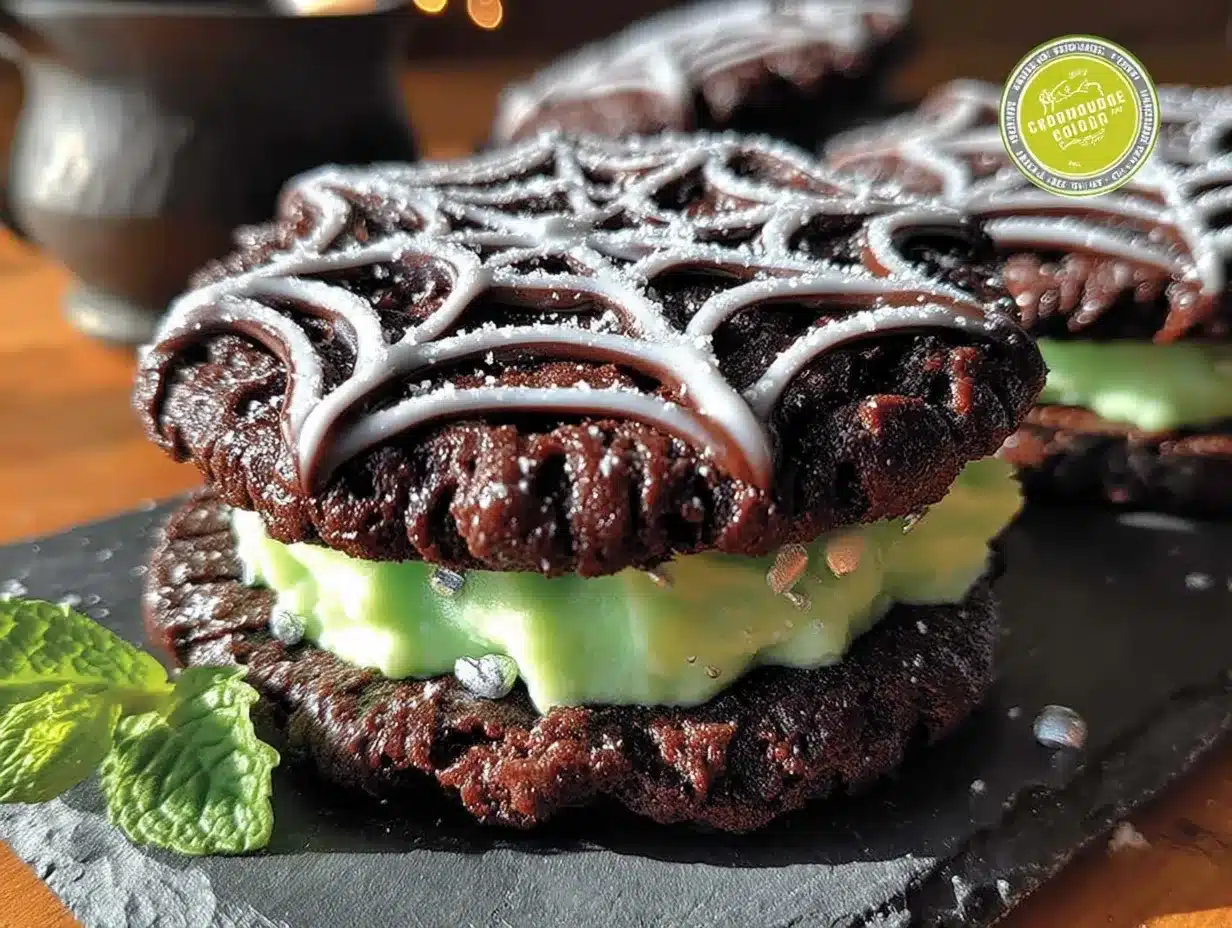
Let’s get to the fun part—making these spooky, delicious cookies! Follow these steps, and you will have a batch of perfect sandwich cookies in no time.
- Preheat and Prep: Preheat your oven to 350°F (175°C). Line two baking sheets with parchment paper. This is non-negotiable for easy cleanup and perfectly baked cookies.
- Make the Cookie Dough: In a large bowl, whisk together the brownie mix, melted butter, egg, and vanilla extract. Stir until just combined—do not overmix, or the cookies will be tough. If you are using chocolate chips, fold them in now. The dough will be thick and a little sticky, which is exactly what you want.
- Scoop and Bake: Using your cookie scoop, drop rounded tablespoons of dough onto the prepared baking sheets, spacing them about 2 inches apart. You should get about 24 cookies (12 sandwiches). Bake for 8-10 minutes. The cookies will look puffy and slightly crackled on top. A good test is to touch the edge lightly—it should be set but still soft in the center. Do not overbake! They will continue to cook on the hot pan.
- Cool Completely: Let the cookies cool on the baking sheet for 5 minutes. This allows them to set up. Then, transfer them to a wire rack to cool completely. This is the hardest part—waiting. But trust me, warm cookies will turn your buttercream into soup.
- Make the Mint Buttercream: While the cookies cool, make the filling. In a medium bowl, beat the softened butter with an electric mixer until it is smooth and creamy, about 1 minute. Gradually add the sifted powdered sugar, beating on low speed until it starts to come together. Add the heavy cream, mint extract, and a tiny drop of green food coloring. Increase the speed to medium-high and beat for 2-3 minutes, until the filling is light, fluffy, and spreadable. Taste it! Adjust the mint to your liking.
- Assemble the Sandwiches: Pair up your cooled cookies by size. Using a small spatula or piping bag, spread or pipe about 1 tablespoon of mint buttercream onto the flat side of one cookie. Gently press the second cookie on top to create a sandwich. Don’t press too hard, or the filling will squish out the sides.
- Decorate (The Fun Part!): Roll the edges of the filled cookies in crushed Andes mints or Halloween sprinkles. This step is totally optional, but it makes them look like they came from a fancy bakery. My kids love this part—just be prepared for sprinkles to end up everywhere!
Pro Tip for Efficiency: While the first batch of cookies is baking, scoop the second batch onto the other prepared sheet. This way, you can pop them in the oven as soon as the first batch comes out, keeping the assembly line moving.
Cooking Tips & Techniques
I have made these cookies at least a dozen times, and I have learned a few things the hard way. Let me save you some trouble.
The Melted Butter Mistake: The first time I made these, I used butter straight from the microwave—hot and bubbly. The cookies spread into flat, greasy pucks. Let your melted butter cool for 5 minutes before mixing it into the dough. It makes a world of difference in the texture.
The Chilling Debate: Some cookie recipes demand you chill the dough for hours. Not this one. The brownie mix base is forgiving, but if your kitchen is very warm (like a hot October day), you can pop the scooped dough in the fridge for 15 minutes before baking. This helps them hold their shape.
Timing is Everything: These cookies go from perfectly fudgy to overbaked in about 60 seconds. I start checking at the 8-minute mark. You want the edges to look set and the tops to have a nice crackle, but the center should still look a little soft. They will firm up as they cool.
The Filling Consistency: If your buttercream is too thick, add a splash more cream. If it is too thin (usually because the butter was too soft), pop it in the fridge for 10 minutes to firm up. A perfect filling should hold its shape but be soft enough to spread easily without tearing the cookie.
Variations & Adaptations
One of the best things about this recipe is how easy it is to change it up. Here are a few ways I have made it my own:
- Spooky Ghost Cookies: Skip the mint filling and use a simple vanilla buttercream. Pipe ghost shapes on top of the cookies using a round tip, then add two mini chocolate chips for eyes. My daughter’s class went crazy for these.
- Peppermint Crunch: Swap the Andes mints for crushed candy canes or starlight mints. Roll the edges of the filled cookies in the crushed candy for a festive, crunchy finish. This is perfect for a Christmas cookie exchange.
- Gluten-Free Option: Use a gluten-free brownie mix (I like King Arthur Flour’s version). The rest of the ingredients are naturally gluten-free, so you are good to go. Just make sure your mint extract is also certified gluten-free.
- Extra Chocolatey: For the true chocoholics in your life, add 1/4 cup of unsweetened cocoa powder to the buttercream. You will get a double-chocolate mint cookie that is dangerously good.
- Vegan Adaptation: Use a vegan butter stick (like Earth Balance) and a flax egg (1 tablespoon ground flaxseed mixed with 3 tablespoons water). For the filling, use a plant-based heavy cream. The texture will be a little softer, but the flavor is still spot-on.
Serving & Storage Suggestions
These cookies are best served at room temperature, which allows the filling to soften to a perfect, creamy texture. Arrange them on a festive Halloween platter—I love using a black or orange plate to make the green filling pop. They are fantastic on their own, but they also pair beautifully with a tall glass of cold milk or a warm mug of hot chocolate.
For storage, place the filled cookies in an airtight container. They will keep at room temperature for up to 3 days. I have found that the flavors actually meld together beautifully overnight, making day-two cookies even better. If you need to store them longer, you can pop the container in the fridge for up to a week. Just let them sit out for 10 minutes before serving to soften the filling.
These cookies also freeze like a dream. Place the unfilled cookies in a single layer in a freezer-safe bag or container. They will keep for up to 3 months. When you are ready to enjoy them, thaw the cookies at room temperature, then make the filling fresh. Alternatively, you can freeze the filled cookies, but I find the texture of the filling is best when it is freshly made.
Nutritional Information & Benefits
Let’s be honest—these are a treat, not a health food. But knowing what is in them helps you enjoy them mindfully. Here is the estimated nutritional breakdown per sandwich cookie:
| Nutrient | Amount per Cookie |
|---|---|
| Calories | 285 |
| Total Fat | 15g |
| Saturated Fat | 9g |
| Cholesterol | 45mg |
| Sodium | 180mg |
| Total Carbohydrates | 37g |
| Sugars | 25g |
| Protein | 2g |
Health Benefits: On the bright side, cocoa is rich in antioxidants, and mint can aid digestion. If you use dark chocolate chips, you will get a little extra flavonoid boost. For a slightly lighter option, you can reduce the sugar in the buttercream by using a sugar substitute like Swerve, but I find the texture is best with real powdered sugar. These cookies are not gluten-free by default, but as noted above, they are easy to adapt.
Allergen Warning: This recipe contains dairy (butter, cream) and gluten (brownie mix). It also may contain traces of nuts depending on the brand of chocolate you use. Always check labels if you are serving guests with allergies.
Conclusion
These Kid-Approved Chocolate Mint Halloween Sandwich Cookies are the kind of recipe that makes you feel like a kitchen rockstar without any of the stress. They are quick, forgiving, and absolutely delicious—everything a busy parent needs during the chaotic Halloween season. I love that they bring my family together, from the messy decorating session to the quiet moment when we all grab a cookie and watch a spooky movie.
I encourage you to make this recipe your own. Swap the mint for orange extract for a creamsicle vibe, or use white chocolate chips for a different look. The beauty is in the flexibility. Once you have the basic technique down, the possibilities are endless. So grab your kids, preheat that oven, and get ready to make some memories that taste amazing.
Have you tried these cookies? I would love to hear how they turned out! Drop a comment below with your favorite variation, or share a photo of your spooky creations. And if you loved this recipe, don’t forget to share it with a friend who needs a little Halloween magic in their kitchen. Happy baking, and happy Halloween!
Frequently Asked Questions
Can I use a different brownie mix?
Absolutely! Any standard 15.25 oz box of chocolate fudge brownie mix will work. I have tried generic store brands, and they work fine, though the texture might be slightly less fudgy.
Why did my cookies spread too much?
This usually happens if the butter was too hot or if the dough was overmixed. Make sure your melted butter is cooled to room temperature, and stir the dough only until the dry ingredients are incorporated.
Can I make the dough ahead of time?
Yes! You can scoop the dough into balls and freeze them on a baking sheet. Once frozen, transfer to a freezer bag. Bake from frozen, adding 1-2 minutes to the baking time.
How do I get the perfect green color for the filling?
Start with just a tiny drop of food coloring—you can always add more. I use gel food coloring because it is more concentrated and doesn’t thin out the buttercream. For a natural option, you can use a bit of spirulina powder, but it will give a more muted green.
My filling is too runny. What did I do wrong?
The butter was likely too soft. Pop the bowl of filling in the refrigerator for 10-15 minutes to firm it up, then try again. If it is still too soft, beat in an extra 1/4 cup of powdered sugar.
Pin This Recipe!
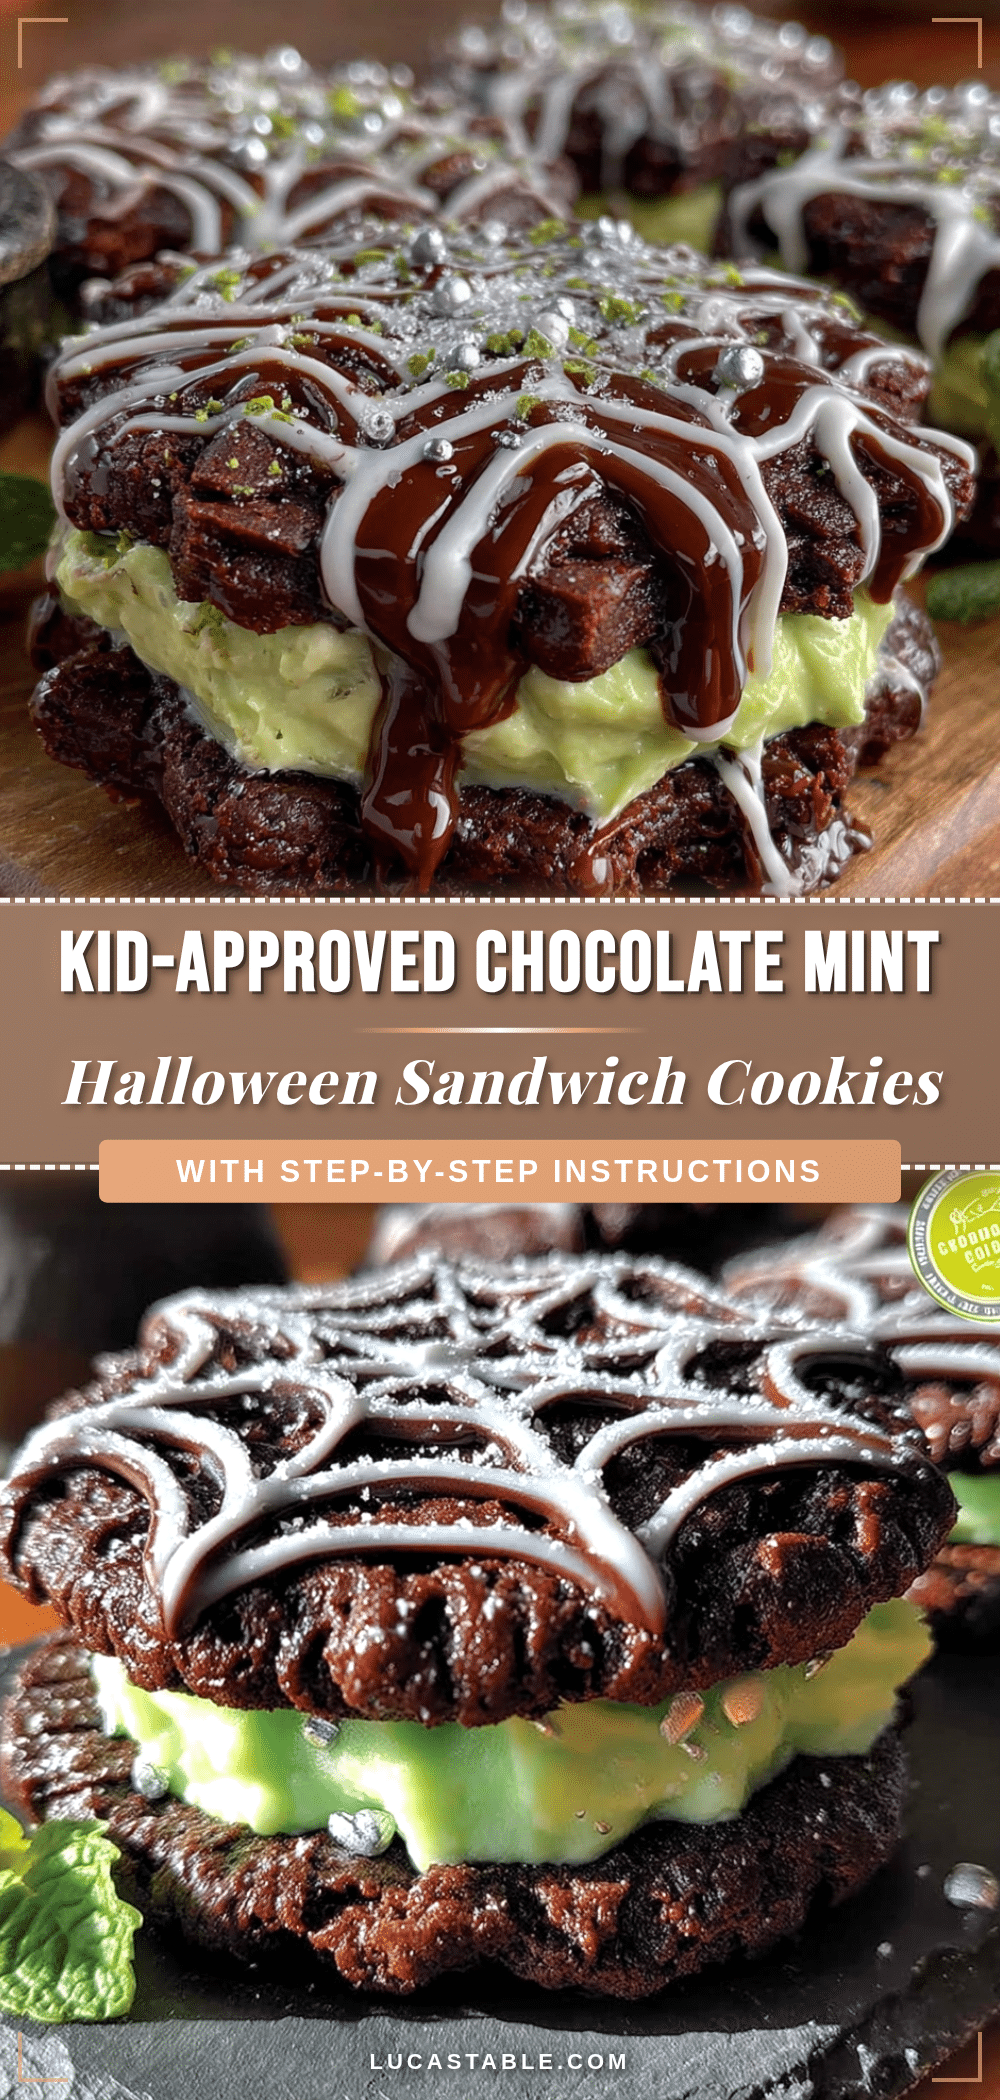
Easy Kids Chocolate Mint Halloween Sandwich Cookies

These Kid-Approved Chocolate Mint Halloween Sandwich Cookies are quick, forgiving, and absolutely delicious—everything a busy parent needs during the chaotic Halloween season. They use simple ingredients you probably already have, and the minty surprise inside makes everyone feel like they got something special.
- Prep Time: 15 minutes
- Cook Time: 10 minutes
- Total Time: 25 minutes
- Yield: 12 servings 1x
- Category: Dessert
- Cuisine: American
Ingredients
- 1 box (15.25 oz) chocolate fudge brownie mix (e.g., Duncan Hines or Betty Crocker)
- 1/2 cup (1 stick) unsalted butter, melted and slightly cooled
- 1 large egg, room temperature
- 1 teaspoon vanilla extract
- 1/2 cup semi-sweet chocolate chips (optional)
- 1/2 cup (1 stick) unsalted butter, softened to room temperature
- 2 cups powdered sugar, sifted
- 2 tablespoons heavy cream or whole milk
- 1/2 teaspoon mint extract
- A tiny drop of green food coloring (optional)
- 1/4 cup crushed Andes mints or other chocolate mint candies (optional, for decoration)
- Orange and black sprinkles (optional, for decoration)
Instructions
- Preheat your oven to 350°F (175°C). Line two baking sheets with parchment paper.
- In a large bowl, whisk together the brownie mix, melted butter, egg, and vanilla extract until just combined. Do not overmix. If using chocolate chips, fold them in now.
- Using a cookie scoop, drop rounded tablespoons of dough onto the prepared baking sheets, spacing them about 2 inches apart. You should get about 24 cookies (12 sandwiches).
- Bake for 8-10 minutes. The cookies should look puffy and slightly crackled on top. Do not overbake.
- Let the cookies cool on the baking sheet for 5 minutes, then transfer them to a wire rack to cool completely.
- While the cookies cool, make the mint buttercream: In a medium bowl, beat the softened butter with an electric mixer until smooth and creamy, about 1 minute. Gradually add the sifted powdered sugar, beating on low speed. Add the heavy cream, mint extract, and a tiny drop of green food coloring. Increase speed to medium-high and beat for 2-3 minutes until light, fluffy, and spreadable.
- Pair up the cooled cookies by size. Spread or pipe about 1 tablespoon of mint buttercream onto the flat side of one cookie. Gently press the second cookie on top to create a sandwich.
- Optional: Roll the edges of the filled cookies in crushed Andes mints or Halloween sprinkles.
Notes
Let melted butter cool for 5 minutes before mixing to prevent cookies from spreading. Start checking cookies at 8 minutes; they go from fudgy to overbaked quickly. For a warm kitchen, chill scooped dough for 15 minutes before baking. If buttercream is too thick, add more cream; if too thin, refrigerate for 10 minutes. Cookies keep at room temperature for up to 3 days in an airtight container, or refrigerate for up to a week. Unfilled cookies can be frozen for up to 3 months.
Nutrition
- Serving Size: 1 sandwich cookie
- Calories: 285
- Sugar: 25
- Sodium: 180
- Fat: 15
- Saturated Fat: 9
- Carbohydrates: 37
- Fiber: 1
- Protein: 2
Keywords: Halloween cookies, chocolate mint cookies, sandwich cookies, easy cookies, kid-friendly, brownie mix cookies, mint buttercream


