I was standing in the frozen food aisle last Tuesday, staring at a box of sad-looking skillet dinners, when a specific smell hit me — not from the freezer, but from my memory. It was the sharp, sweet scent of a green bell pepper hitting a hot, oily cast iron pan, and suddenly I was seven years old at my neighbor Mrs. Kowalski’s kitchen table, watching her stir a bubbling, cheesy skillet that looked like pure gold under her fluorescent kitchen light.
Honestly, I couldn’t tell you what I was doing in her kitchen that day. Maybe my mom was running late. Maybe I just smelled something good from the driveway and wandered in. But I remember the way she let me sprinkle the shredded cheddar on top myself — my little kid hands dropping half of it on the floor — and the way she just laughed and said, “More for the floor mice, I guess.” She’s been gone for years now, and I haven’t thought about that afternoon in maybe a decade. But there I was, leaning on my shopping cart, trying to chase that feeling with a frozen meal that I knew wouldn’t deliver.
That’s the thing about comfort food, right? You can’t really buy it in a box. You have to make it yourself, with real ingredients and a little bit of patience. This Cheesy Ground Beef Skillet is my attempt to recreate that exact feeling — the warmth, the gooey cheese, the way the rice soaks up all the savory beef juice. Maybe you’ve been there too, standing in a grocery store aisle, hoping a plastic package will give you something it just can’t. Let’s make the real thing instead.
Why You’ll Love This Recipe
Let me tell you why this one-pan meal has become a permanent fixture in my weekly rotation. I’ve tested this recipe about six times now — twice I ended up with mushy rice, and once I accidentally used smoked paprika instead of regular and it tasted like a campfire. But the version I’m sharing today? It’s the one my family fights over.
- Quick & Easy: From stove to table in under 35 minutes. I mean it — this is a weeknight lifesaver when you have zero energy left to chop things.
- Simple Ingredients: No trips to a fancy grocery store. Ground beef, rice, cheese, a bell pepper, some pantry spices. You probably have most of this already.
- Perfect for Cozy Nights: Cold weather, a rough day, or just one of those evenings when you need something warm and uncomplicated. This skillet delivers every time.
- Crowd-Pleaser: My picky nephew ate two servings last month. Two. He usually eats the cheese off his pizza and leaves the rest.
- Unbelievably Delicious: The combination of savory beef, tender rice, and melty cheddar is pure comfort. It’s the kind of meal that makes you close your eyes after the first bite.
What makes this recipe different from the rest? It’s the technique — browning the beef just right so you get those little crispy bits, then letting the rice simmer directly in the seasoned broth so it absorbs every drop of flavor. No separate pots. No draining. Just one pan and a whole lot of cheesy goodness.
This isn’t just another ground beef recipe. It’s the one you’ll come back to when you need dinner to feel like a hug.
What Ingredients You Will Need
This recipe uses simple, honest ingredients to build layers of flavor without any fuss. Most of these are pantry staples, which is exactly what you want on a busy weeknight.
- 1 lb ground beef (80/20 works best — the fat adds flavor; drain excess if needed)
- 1 medium yellow onion, diced (adds sweetness and depth)
- 1 green bell pepper, diced (that classic savory aroma I mentioned earlier)
- 3 cloves garlic, minced (fresh is best, but jarred works in a pinch)
- 1 cup long-grain white rice, uncooked (I recommend Jasmine or basmati for fluffiness)
- 2 cups beef broth (low-sodium so you can control the salt; I prefer Swanson brand)
- 1 can (14.5 oz) diced tomatoes, undrained (fire-roasted adds a nice smoky note)
- 1 teaspoon smoked paprika (not the campfire version I used that one time!)
- 1 teaspoon chili powder (mild or hot, depending on your mood)
- 1/2 teaspoon cumin (adds warmth and earthiness)
- 1/2 teaspoon salt (plus more to taste)
- 1/4 teaspoon black pepper
- 1 1/2 cups shredded sharp cheddar cheese (shred it yourself for better melt — pre-shredded has anti-caking agents)
- 2 tablespoons olive oil (for sautéing)
- Optional: fresh parsley or green onions for garnish
Substitution guidance: If you’re out of rice, try 2 cups of cooked cauliflower rice for a low-carb option (reduce broth to 1 cup). You can swap ground beef with ground turkey or chicken, but add a tablespoon of olive oil to keep it moist. For a dairy-free version, use your favorite plant-based shredded cheese — just know it won’t melt quite the same way.
I always grab my cheddar from a block and shred it myself. It takes two extra minutes, and the difference in meltiness is honestly worth it. Also, if you can find fire-roasted diced tomatoes, grab them. That little bit of char adds something special.
Equipment Needed
The beauty of this recipe is that you really don’t need much. Here’s what you’ll want to have on hand:
- Large skillet or Dutch oven (12-inch with a tight-fitting lid is ideal; I use my old cast iron skillet that my neighbor gave me before she moved away)
- Wooden spoon or spatula (for breaking up the beef)
- Cutting board and sharp knife (dull knives are a recipe for frustration — trust me)
- Measuring cups and spoons (eyeballing works for some things, but rice-to-liquid ratio is important here)
- Cheese grater (if you’re shredding your own cheddar, which you should)
- Lid for your skillet (if yours doesn’t have one, a baking sheet works as a makeshift cover)
If you don’t have a cast iron skillet, a non-stick pan works just fine. I’ve made this in an old stainless steel pot when my kitchen was being renovated, and it turned out great. The key is having a lid that fits snugly so the rice steams properly. A tight seal makes all the difference.
Preparation Method
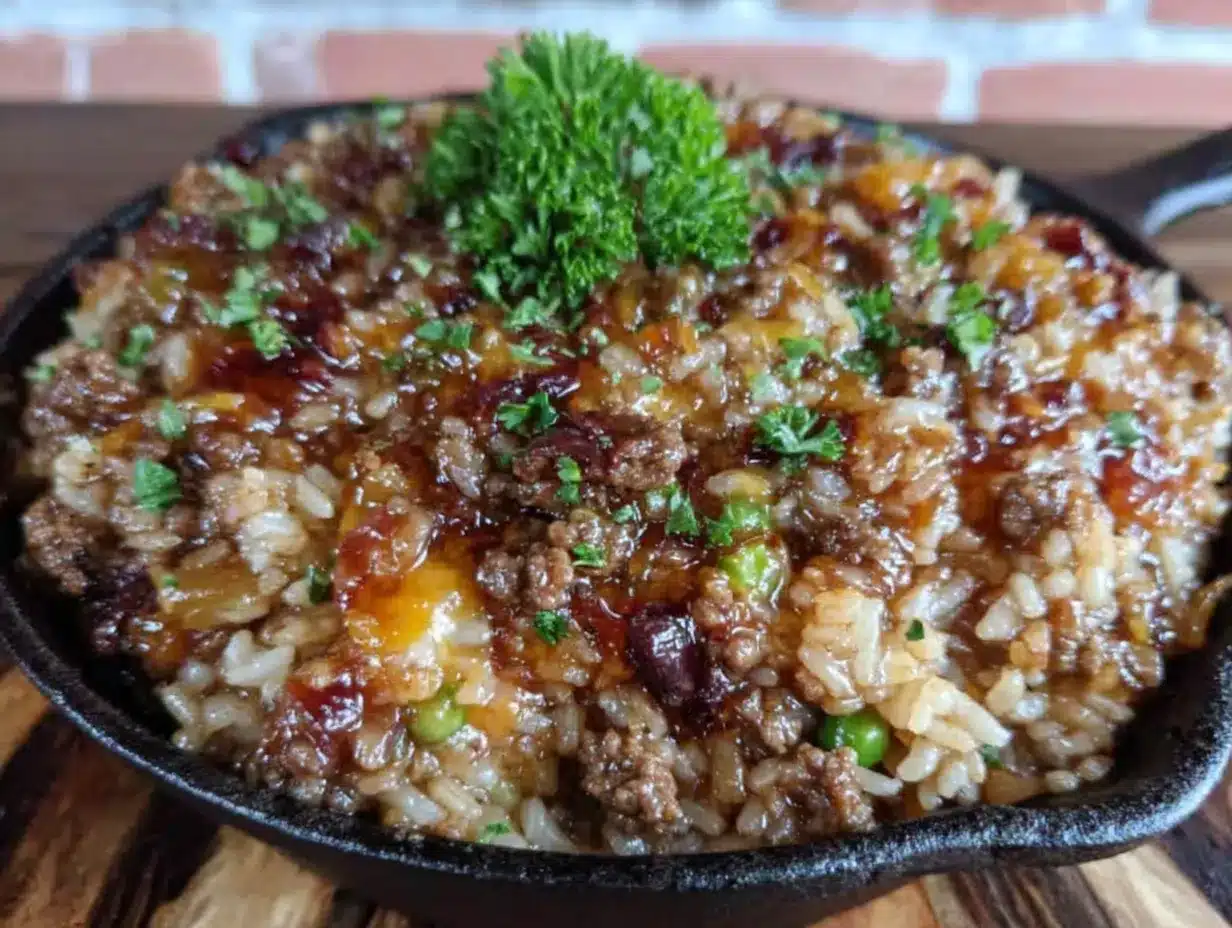
Alright, let’s get cooking. This comes together in one pan, so there’s minimal cleanup — exactly what you want on a cozy night in.
- Heat the olive oil in your large skillet over medium-high heat. Swirl it around so it coats the bottom. You want it shimmering but not smoking.
- Add the ground beef and break it apart with your wooden spoon. Let it cook undisturbed for about 3 minutes to get a nice brown crust — this is where the flavor lives. Then stir and continue cooking until no pink remains, about 5-6 minutes total. If there’s a lot of excess fat, spoon most of it out, leaving about a tablespoon behind for flavor.
- Toss in the diced onion and bell pepper. Stir everything together and let them cook for 3-4 minutes until the onion turns translucent and the pepper softens. That smell? That’s the one that got me in the frozen food aisle. The garlic goes in last — add it and stir for about 30 seconds until fragrant. Don’t let it burn, or it’ll turn bitter.
- Sprinkle in the paprika, chili powder, cumin, salt, and pepper. Stir to coat the beef and vegetables evenly. Let the spices toast for about 30 seconds — this wakes up their flavors.
- Pour in the uncooked rice and stir it around for a minute. This little step toasts the rice grains slightly, which helps them stay separate and fluffy instead of turning into mush.
- Add the diced tomatoes (with their juices) and the beef broth. Stir everything together, scraping up any browned bits from the bottom of the pan. Those bits are pure gold — don’t leave them behind.
- Bring the mixture to a boil, then reduce the heat to low. Cover the skillet with your lid and let it simmer gently for 18-20 minutes. Do not lift the lid to peek! I know it’s tempting, but the steam is what cooks the rice. Peeking lets it escape and you’ll end up with crunchy rice.
- After 18 minutes, remove the lid carefully (steam is hot — watch your face). Check the rice: it should be tender and have absorbed most of the liquid. If it’s still a bit soupy, let it cook uncovered for 2-3 more minutes. If it looks dry but the rice is still hard, add 2 tablespoons of water, cover, and cook for 3 more minutes.
- Sprinkle the shredded cheddar cheese evenly over the top. Cover the skillet again and let it sit off the heat for 2-3 minutes. The residual heat will melt the cheese into a glorious, gooey blanket.
- Garnish with fresh parsley or green onions if you’re feeling fancy. Scoop it straight from the pan — that’s the whole point of a one-pan meal.
Pro tip from my kitchen disasters: The first time I made this, I used short-grain rice because that’s all I had. It turned into a sticky, mushy mess — still tasty, but not the texture I wanted. Stick with long-grain rice for the best results.
Cooking Tips & Techniques
I’ve made this recipe enough times to know where things can go wrong. Let me save you some trouble.
Don’t rush the browning. I know you’re hungry. I know it smells good. But if you keep stirring the beef every 30 seconds, it’ll steam instead of brown. Let it sit in the pan for a few minutes to develop that deep, savory crust. That crust is the backbone of this whole dish.
Watch your heat. When you add the broth and tomatoes and bring it to a boil, make sure you reduce it to a gentle simmer before covering. If it’s boiling too hard, the liquid will evaporate too quickly and your rice will be undercooked. A gentle bubble is what you’re after — just a few lazy bubbles breaking the surface.
Rice matters more than you think. I learned this the hard way. Long-grain white rice (like Jasmine or basmati) gives you those separate, fluffy grains. Brown rice takes longer to cook and needs more liquid. Instant rice will turn to mush. Trust me on this one — I’ve made all three mistakes so you don’t have to.
Cheese strategy. Add the cheese after you turn off the heat. If you add it while the pan is still boiling, the cheese can separate and turn greasy. Letting it melt gently off the heat gives you that beautiful, stretchy, gooey finish that makes you want to dive in face-first.
Multitasking tip: While the skillet simmers, wash your cutting board and knife. Maybe wipe down the counter. By the time the cheese melts, your kitchen is basically clean. That’s the kind of adulting I can get behind.
Variations & Adaptations
One of the best things about this skillet is how flexible it is. Here are a few ways I’ve changed it up over the years:
- Spicy Southwestern Version: Swap the green bell pepper for a poblano pepper, add a drained can of black beans and corn, and use pepper jack cheese instead of cheddar. Top with a dollop of sour cream and some pickled jalapeños. My brother-in-law requests this version every time he visits.
- Low-Carb / Keto Adaptation: Replace the rice with 2 cups of riced cauliflower. Reduce the broth to 1 cup and cook covered for only 10 minutes. It won’t have the same fluffy texture, but the flavors are still spot-on. I’ve made this for my aunt who’s on keto, and she asked for the recipe.
- Italian-Inspired Twist: Use Italian sausage instead of ground beef, swap the chili powder and cumin for dried oregano and basil, and use mozzarella on top. Serve it with a sprinkle of Parmesan and some crusty bread on the side. It’s like a deconstructed stuffed pepper situation.
- Vegetarian Option: Swap the beef for two cans of drained and rinsed black beans or a bag of frozen meatless crumbles. Use vegetable broth instead of beef broth. The cooking time stays the same. I tried this once when I was cooking for a vegetarian friend, and honestly, I didn’t miss the meat.
Each variation keeps the same one-pan, cozy comfort vibe while letting you play with flavors. Don’t be afraid to experiment — that’s how new favorites are born.
Serving & Storage Suggestions
Serving: This skillet is a meal in itself, but I love serving it with a simple side salad dressed with lemon and olive oil. The freshness cuts through the richness of the cheese. A few slices of crusty bread or warm tortillas on the side are great for sopping up any extra saucy bits. If you’re feeling extra cozy, serve it in big bowls with a spoon — that’s how I eat it when I’m having a rough day.
Storage: Let the skillet cool completely before transferring leftovers to an airtight container. It will keep in the refrigerator for up to 4 days. The flavors actually get better overnight as everything melds together — I often make a double batch just for the leftovers.
Reheating: The microwave works in a pinch, but the stovetop is better. Add a splash of water or broth to a skillet, reheat over medium-low heat, and stir occasionally until warmed through. Sprinkle a little extra cheese on top if you’re feeling indulgent. For the freezer, portion it into freezer-safe containers and freeze for up to 3 months. Thaw overnight in the fridge before reheating.
Flavor development note: This is one of those rare recipes that tastes even better the next day. The rice absorbs more of the seasoned broth overnight, and the flavors become deeper and more cohesive. Don’t be surprised if you find yourself looking forward to lunch the next day.
Nutritional Information & Benefits
Here’s an approximate breakdown per serving (based on 6 servings):
- Calories: ~485
- Protein: 28g
- Fat: 22g
- Carbohydrates: 42g
- Fiber: 3g
- Iron: 4.5mg (25% DV)
This meal provides a solid balance of protein, carbs, and fat to keep you satisfied. The ground beef is an excellent source of iron and B vitamins, which support energy levels. The bell peppers add a good dose of vitamin C — ironic, since the vitamin C actually helps your body absorb the iron from the beef. That’s a win-win right there.
Dietary considerations: This recipe is naturally gluten-free (just double-check your broth label). It’s also nut-free and egg-free. For a lower-sodium version, use no-salt-added diced tomatoes and low-sodium broth, and skip the added salt until the end so you can taste and adjust.
I’m not a nutritionist, but I do know that meals like this — made from scratch with real ingredients — are better for you than anything that comes in a box with a cartoon character on it. Plus, you control the salt and fat. That counts for a lot.
Conclusion
This Cheesy Ground Beef Skillet is more than just a quick dinner — it’s the kind of meal that wraps around you like a warm blanket on a cold evening. It’s the taste of Mrs. Kowalski’s kitchen, recreated in my own home, and now hopefully in yours too.
I love this recipe because it doesn’t ask for much. A few pantry staples, one pan, and about half an hour. In return, it gives you a dinner that feels like comfort, tastes like effort (without the actual effort), and leaves you with only one pan to wash. That’s a deal I’ll take any day of the week.
Try it this week. Customize it with whatever you have in your fridge. Make a mess. Drop some cheese on the floor. It’s okay — more for the floor mice. And when you make it, come back and tell me how it turned out. I’d love to hear about your version, your tweaks, and the memories it stirs up for you.
What’s your favorite one-pan comfort meal? Drop a comment below — I’m always looking for new ideas to try in my own kitchen.
Frequently Asked Questions
Can I use ground turkey instead of ground beef?
Absolutely. Ground turkey works well, but it’s leaner, so add an extra tablespoon of olive oil when browning. You might also want to season it a bit more since turkey is milder than beef.
Why is my rice still crunchy after 20 minutes?
This usually happens if the heat was too high and the liquid evaporated too quickly, or if you lifted the lid too often during cooking. Next time, make sure you reduce the heat to a gentle simmer and resist the urge to peek. If it’s already crunchy, add 2-3 tablespoons of hot water, cover, and cook for 5 more minutes.
Can I make this ahead of time?
Yes! This recipe is great for meal prep. Make it up to 2 days in advance and reheat on the stovetop with a splash of broth. The flavors actually get better overnight. I sometimes double the recipe just for leftovers.
Can I freeze this skillet meal?
You can. Let it cool completely, then portion it into freezer-safe containers. It will keep for up to 3 months. Thaw overnight in the fridge and reheat on the stovetop. The texture of the rice will soften slightly after freezing, but the flavor remains delicious.
What can I use instead of rice?
Try quinoa, farro, or cauliflower rice. Quinoa cooks in about the same time with the same liquid ratio. Farro needs more liquid and a longer simmer. Cauliflower rice only needs about 10 minutes. Adjust your cooking time and liquid accordingly, and you’ll have a whole new dish.
Pin This Recipe!
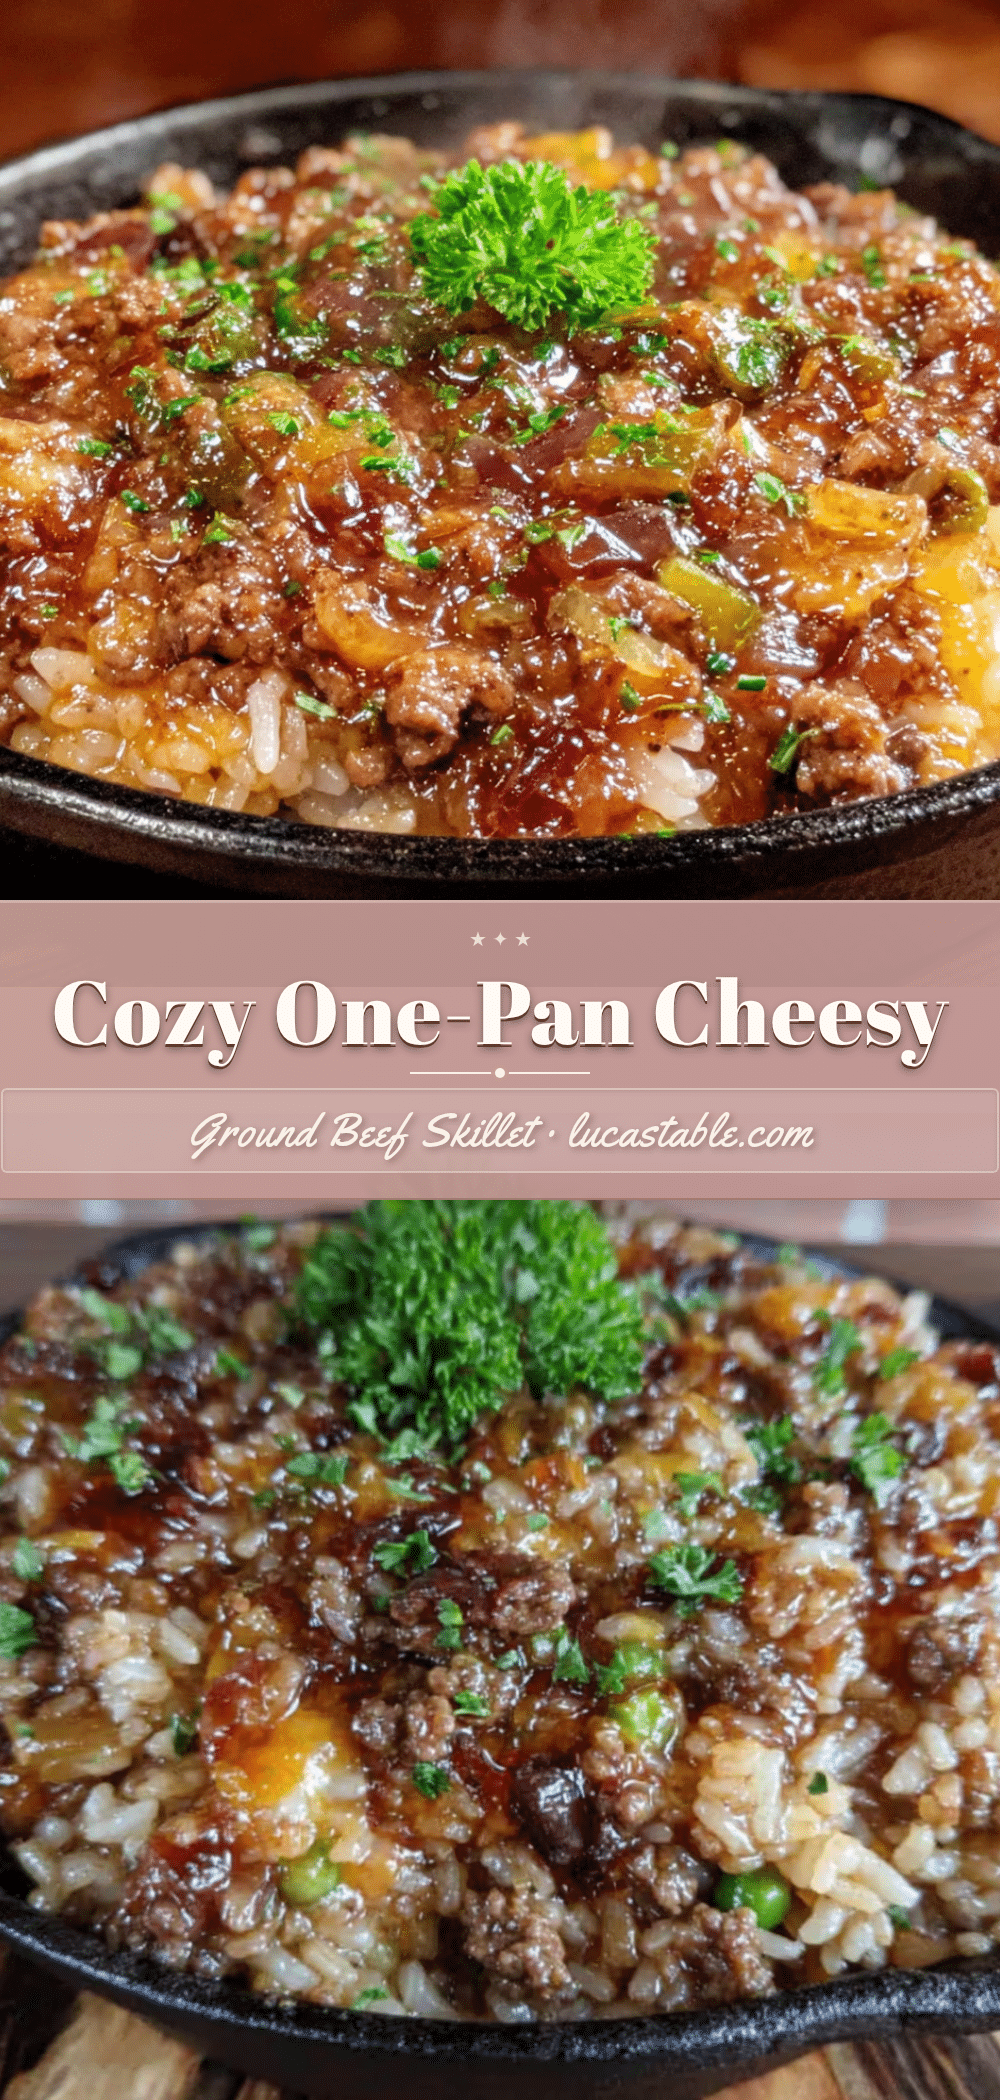
Easy One-Pan Cheesy Ground Beef Skillet Recipe

A quick and comforting one-pan meal featuring seasoned ground beef, tender rice, and melted cheddar cheese. Perfect for busy weeknights when you need a warm, satisfying dinner with minimal cleanup.
- Prep Time: 10 minutes
- Cook Time: 25 minutes
- Total Time: 35 minutes
- Yield: 6 servings 1x
- Category: Main Course
- Cuisine: American
Ingredients
- 1 lb ground beef (80/20 works best)
- 1 medium yellow onion, diced
- 1 green bell pepper, diced
- 3 cloves garlic, minced
- 1 cup long-grain white rice, uncooked (Jasmine or basmati recommended)
- 2 cups beef broth (low-sodium)
- 1 can (14.5 oz) diced tomatoes, undrained (fire-roasted preferred)
- 1 teaspoon smoked paprika
- 1 teaspoon chili powder
- 1/2 teaspoon cumin
- 1/2 teaspoon salt (plus more to taste)
- 1/4 teaspoon black pepper
- 1 1/2 cups shredded sharp cheddar cheese (shredded from block)
- 2 tablespoons olive oil
- Optional: fresh parsley or green onions for garnish
Instructions
- Heat the olive oil in a large skillet over medium-high heat until shimmering.
- Add the ground beef and break it apart with a wooden spoon. Cook undisturbed for 3 minutes to brown, then stir and continue cooking until no pink remains, about 5-6 minutes. Drain excess fat, leaving about 1 tablespoon.
- Add the diced onion and bell pepper. Cook for 3-4 minutes until onion is translucent and pepper softens. Add garlic and stir for 30 seconds until fragrant.
- Sprinkle in paprika, chili powder, cumin, salt, and pepper. Stir to coat and let spices toast for 30 seconds.
- Add the uncooked rice and stir for 1 minute to lightly toast the grains.
- Add the diced tomatoes (with juices) and beef broth. Stir, scraping up any browned bits from the bottom of the pan.
- Bring to a boil, then reduce heat to low. Cover and simmer gently for 18-20 minutes. Do not lift the lid.
- After 18 minutes, remove the lid carefully. Check rice: it should be tender and liquid mostly absorbed. If still soupy, cook uncovered 2-3 minutes. If dry but rice hard, add 2 tablespoons water, cover, and cook 3 more minutes.
- Sprinkle shredded cheddar cheese evenly over the top. Cover and let sit off heat for 2-3 minutes until cheese melts.
- Garnish with fresh parsley or green onions if desired. Serve directly from the pan.
Notes
Use long-grain white rice for best texture; short-grain or instant rice will not work well. For a low-carb option, substitute cauliflower rice and reduce broth to 1 cup. Leftovers keep in the refrigerator for up to 4 days and can be frozen for up to 3 months. Reheat on the stovetop with a splash of broth for best results.
Nutrition
- Serving Size: 1 serving (about 1.5
- Calories: 485
- Sugar: 5
- Sodium: 680
- Fat: 22
- Saturated Fat: 10
- Carbohydrates: 42
- Fiber: 3
- Protein: 28
Keywords: cheesy ground beef skillet, one-pan meal, easy weeknight dinner, ground beef and rice, comfort food


