The neat little spiral of turkey and cream cheese peeking out from the cut side of a pinwheel—that’s the whole reason I make them. Honestly, everything else about my morning is chaos, but that perfect, tight coil of filling? It’s a tiny victory. I first made these on a Tuesday when my son looked at his lunchbox and sighed like I had packed him a live squid. I needed something that felt like a treat but didn’t require me to turn on the oven or, you know, use a knife for more than thirty seconds.
These easy turkey pinwheel wraps were born from that specific brand of desperation. They are the lunchbox hero you didn’t know you needed. They come together in about five minutes, which is less time than it takes to find a matching pair of socks in my house. The beauty is in the simplicity—soft flour tortillas, a schmear of herbed cream cheese, and layers of deli turkey and crisp lettuce. That’s it. But when you roll them tight and slice them, they look like you actually tried.
I’ve made these for school lunches, road trips, and even as a quick snack before soccer practice. They disappear fast. There’s something satisfying about that spiral, you know? It feels intentional, even when the rest of your day is a mess. That’s the quiet promise of this recipe: you can make something that looks and tastes great without any stress. Trust me on this one.
Why You’ll Love This Recipe
I’ve tested a lot of lunchbox ideas over the years, and these pinwheels are the undisputed champion. They are the kind of recipe that makes you look like a rockstar parent or a super-organized meal prepper, even if you just threw them together between coffee sips. Here’s why they’ve earned a permanent spot in my weekly rotation.
- Quick & Easy: From start to finish, these take about five minutes. No cooking, no complicated steps. Perfect for those mornings when you’re running on fumes.
- Simple Ingredients: You probably have everything in your fridge right now. Tortillas, deli meat, cream cheese, and some veggies. No fancy grocery trips required.
- Perfect for Lunchboxes: These are a crowd-pleaser for kids and adults. They’re portable, mess-free, and fun to eat. Plus, they hold up well in a lunch bag until noon.
- Crowd-Pleaser: I’ve brought these to potlucks and playdates, and they always vanish. The spiral look is just fancy enough to impress, but the taste is pure comfort.
- Unbelievably Delicious: The creamy, savory filling with the soft tortilla and crunch of fresh veggies is a winning combo. It’s simple food done right.
What makes this version different from the rest? It’s the technique. I’ll show you how to roll them tight so they don’t fall apart, and how to slice them cleanly for that perfect pinwheel shape. It’s not just another turkey wrap—it’s your best version of a no-cook lunch.
This recipe is the kind that makes you feel good. It’s a small win on a busy day. It’s comfort food reimagined—faster, simpler, but with the same satisfying crunch and creamy bite. Perfect for impressing your kids without any stress, or turning a simple lunch into something memorable.
What Ingredients You Will Need
This recipe uses simple, wholesome ingredients to deliver a satisfying crunch and creamy texture without any fuss. Most of these are pantry and fridge staples, which is exactly what you want for a quick lunch fix.
- Flour Tortillas (8-inch) – Soft and pliable, these are the perfect base for rolling. I prefer Mission or Guerrero brands for their flexibility. Whole wheat or spinach tortillas work great too.
- Cream Cheese (8 oz), softened – This is the glue that holds everything together. Make sure it’s at room temperature so it spreads easily. (Adds richness and a tangy base.)
- Sliced Deli Turkey (about 8-10 slices) – Use your favorite kind. Oven-roasted, smoked, or honey turkey all work. I like Boar’s Head or Hillshire Farm for consistent quality.
- Shredded Lettuce (1 cup) – Adds that essential crunch. Romaine or iceberg works best because they’re sturdy and won’t get soggy quickly.
- Shredded Cheddar Cheese (1/2 cup) – Optional, but highly recommended for extra flavor. Use sharp cheddar for a bolder taste.
- Ranch Dressing or Mayo (2 tablespoons) – A thin layer adds moisture and flavor. You can use plain Greek yogurt for a lighter option.
- Salt and Pepper (to taste) – A pinch enhances all the flavors. Don’t skip this small step.
Ingredient Selection Tips: Look for tortillas that are fresh and not cracked. If they’re a bit dry, microwave them for 10 seconds to make them more pliable. For the cream cheese, the full-fat version gives the best texture, but Neufchâtel (reduced-fat) works in a pinch. If you’re using a flavored cream cheese like chive and onion, you can skip the ranch dressing entirely.
Substitution Guidance: For a gluten-free option, use large gluten-free tortillas or lettuce wraps. Swap the turkey with ham, roast beef, or even grilled chicken strips. You can also make these vegetarian by using hummus or mashed avocado instead of cream cheese, and adding roasted red peppers or cucumber strips for crunch. Dairy-free? Use a plant-based cream cheese and skip the shredded cheese.
Equipment Needed
You don’t need much for this recipe, which is part of its charm. Here’s what you’ll want to have on hand:
- Cutting Board – A large, flat surface for assembling and rolling. I use a wooden board, but plastic works fine too.
- Sharp Knife – A serrated bread knife works best for clean slices without squishing the pinwheels. A chef’s knife is a good second option.
- Butter Knife or Offset Spatula – For spreading the cream cheese evenly. A regular butter knife is totally fine.
- Plastic Wrap – This is my secret weapon. Wrapping the rolled tortillas tightly in plastic helps them hold their shape and makes slicing much easier.
- Toothpicks (optional) – If you’re making these ahead, toothpicks help keep them from unrolling in the fridge.
Personal Tip: I’ve tried rolling these without plastic wrap, and honestly, it’s a mess. The plastic wrap is worth the extra 30 seconds. Also, a dull knife will crush your pinwheels—keep that blade sharp!
Budget-Friendly Options: Don’t have an offset spatula? A regular butter knife is fine. No plastic wrap? You can use a damp paper towel to hold the roll together while you slice, but it’s less effective. A good knife is the only tool I’d really recommend investing in.
Preparation Method
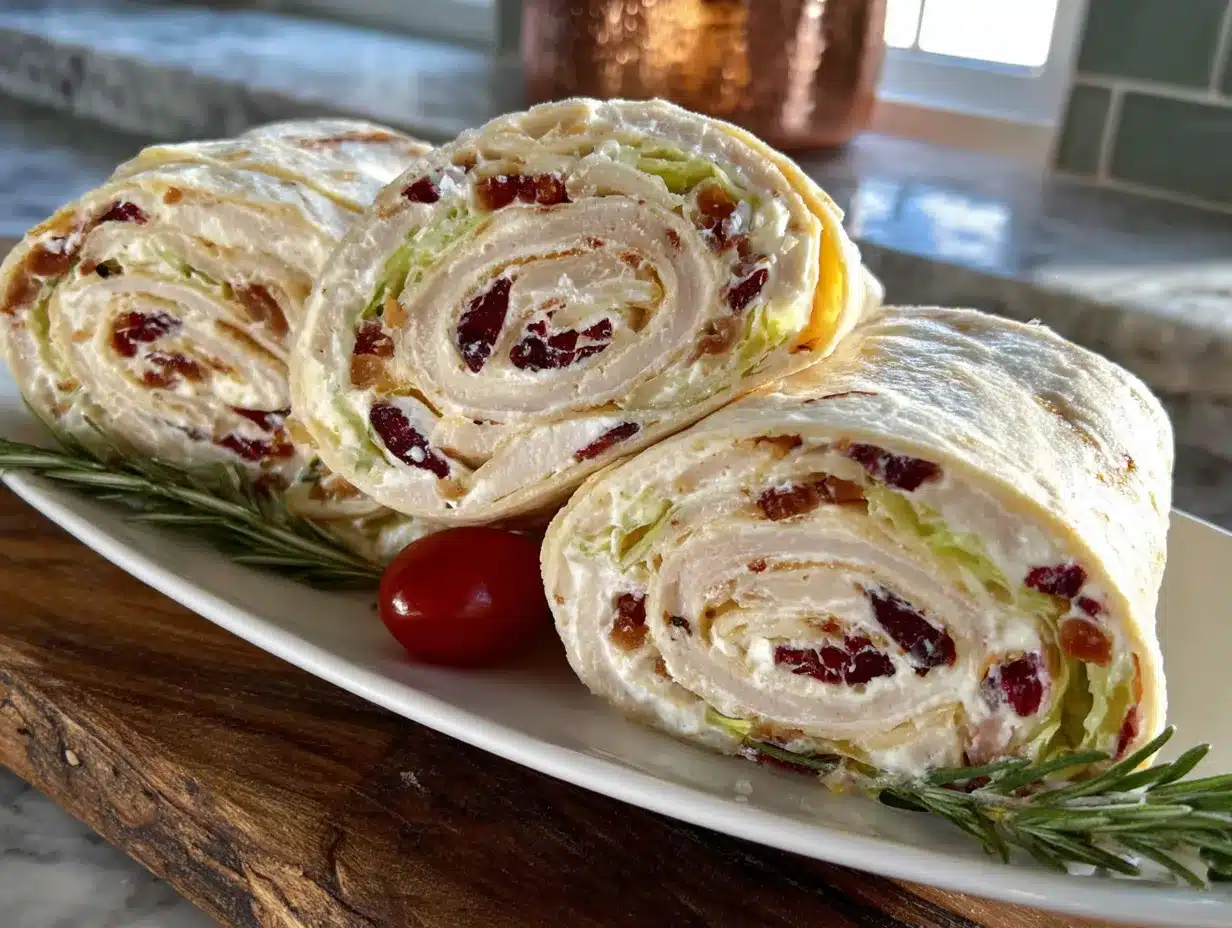
Making these easy turkey pinwheel wraps is almost too simple. But there are a few tricks to getting that perfect spiral without ending up with a squished mess. Follow these steps, and you’ll be a pinwheel pro in no time.
- Soften the Cream Cheese: Take your cream cheese out of the fridge about 20 minutes before you start. If you’re in a rush (and who isn’t?), microwave it for 10-15 seconds. You want it spreadable, not melted. (Sensory cue: It should look like thick frosting.)
- Lay Out the Tortilla: Place one flour tortilla flat on your cutting board. If it feels a bit stiff, microwave it for 10 seconds to make it more flexible. This prevents cracking when you roll it tight.
- Spread the Base: Using your butter knife or offset spatula, spread a thin, even layer of softened cream cheese over the entire surface of the tortilla. Leave about a half-inch border around the edges. (Sensory cue: The cream cheese should glide smoothly, not tear the tortilla.)
- Add the Ranch Dressing (Optional): Drizzle a little ranch dressing or mayo over the cream cheese and spread it gently. This adds moisture and flavor, but don’t overdo it or the wrap will get soggy.
- Layer the Turkey: Place 2-3 slices of deli turkey flat on top of the cream cheese. Overlap them slightly to cover the whole tortilla. Don’t pile them too thick, or the roll will be bulky and hard to cut.
- Add the Veggies and Cheese: Sprinkle a generous handful of shredded lettuce over the turkey. Add a thin layer of shredded cheddar cheese. Add a pinch of salt and pepper. (Personal note: I like to add a few thin slices of red bell pepper for extra crunch and color.)
- Roll It Tight: Starting at one edge, roll the tortilla tightly. Use your fingers to keep the filling tucked in as you go. Roll it like a sleeping bag, not a loose blanket. The tighter the roll, the neater the pinwheels. (Time estimate: 30 seconds per roll.)
- Wrap in Plastic: Place the rolled tortilla seam-side down on a piece of plastic wrap. Wrap it tightly, twisting the ends like a candy wrapper. This is the most important step for clean slices. Refrigerate for at least 15-20 minutes. (Troubleshooting tip: If you skip this, the pinwheels will unroll and look messy.)
- Slice the Pinwheels: Using a sharp serrated knife, slice the rolled tortilla into 1-inch thick rounds. Use a gentle sawing motion—don’t press down hard or you’ll squish them. (Sensory cue: The knife should glide through the tortilla and filling without resistance.)
- Serve or Store: Arrange the pinwheels on a plate or pack them directly into lunchboxes. They’re ready to eat immediately or can be stored in the fridge for up to 3 days.
Personal Efficiency Tip: I make a batch of 4-5 rolls at a time on Sunday night. I wrap them all in plastic and keep them in the fridge. In the morning, I just slice what I need and pack them. It saves so much time during the week.
Cooking Tips & Techniques
I’ve made these pinwheels dozens of times, and I’ve learned a few things the hard way. Here are my best tips to make sure yours turn out perfectly every single time.
The Damp Tortilla Trick: If your tortillas are a bit dry or prone to cracking, place them between two damp paper towels and microwave for 15 seconds. The steam makes them super pliable and easy to roll without tearing. This is a game-changer for whole wheat tortillas, which can be stiff.
Don’t Overfill: I know it’s tempting to pile on the fillings, but less is more here. A thick layer of turkey and veggies will make the roll bulky and hard to slice. The pinwheels will also fall apart more easily. Stick to a thin, even layer of each ingredient.
The Chill Factor: This is non-negotiable. Letting the rolled tortillas rest in the fridge for at least 15 minutes allows the cream cheese to firm up again. This “sets” the roll and makes slicing clean and easy. If you try to slice them right away, you’ll end up with a squished, messy spiral. I’ve done it. It’s not pretty.
Sharp Knife, Gentle Hand: A dull knife is the enemy of a perfect pinwheel. Use a serrated bread knife and use a gentle sawing motion. Don’t press down hard. Let the knife do the work. If you see the filling squishing out, your knife is too dull.
Common Mistake to Avoid: Adding wet ingredients like fresh tomatoes or pickles directly into the wrap. They release moisture and make the tortilla soggy. If you want to add them, pat them dry with a paper towel first, or add them as a dip on the side.
Multitasking Strategy: While the cream cheese is softening, you can prep your lettuce and shred your cheese. This way, everything is ready to go when you start assembling. I’ve learned that having all my ingredients prepped before I start rolling makes the process feel effortless.
Variations & Adaptations
This recipe is a fantastic base for creativity. Once you master the basic technique, you can switch it up with different flavors and ingredients. Here are some of my favorite variations.
- Mediterranean Twist: Swap the turkey for grilled chicken or leave it out entirely. Use hummus instead of cream cheese, and add crumbled feta, chopped Kalamata olives, sun-dried tomatoes, and fresh spinach. It’s a whole different vibe.
- Spicy Southwest: Use pepper jack cheese instead of cheddar. Add a layer of refried beans or black beans, some corn kernels, and a sprinkle of chili powder. Dip these in salsa or sour cream for extra kick.
- Low-Carb Lettuce Wraps: Skip the tortilla entirely. Use large, sturdy romaine or butter lettuce leaves as the wrap. Spread the cream cheese on the lettuce, add the turkey and veggies, and roll tightly. Use toothpicks to hold them together.
- Veggie-Packed Version: Add thin strips of red bell pepper, cucumber, and shredded carrots along with the lettuce. You can also spread a layer of pesto or sun-dried tomato paste for extra flavor without extra calories.
- Sweet & Savory: Spread a thin layer of cranberry sauce or fig jam over the cream cheese before adding the turkey. The sweet and savory combo is surprisingly addictive. I made this for a holiday party, and it was a huge hit.
Personal Variation I Love: I sometimes swap the ranch dressing for a dollop of zesty lemon chicken marinade (the leftover sauce, strained) mixed with a little mayo. It adds a bright, citrusy note that cuts through the richness of the cream cheese. It’s a small tweak, but it makes a big difference.
Serving & Storage Suggestions
These pinwheels are incredibly versatile. They work for lunchboxes, picnics, party platters, or a quick snack. Here’s how to serve and store them for the best results.
Serving Temperature: These are best served chilled or at room temperature. If you’re packing them for lunch, take them straight from the fridge and put them in a lunch bag with an ice pack. They’ll be perfectly cold by lunchtime.
Presentation Tips: For a party platter, arrange the pinwheels in a circular pattern on a large plate with the cut sides facing up. Garnish with fresh herbs like parsley or dill. Serve with a small bowl of ranch dressing, honey mustard, or garlic butter dip for extra flavor.
Complementary Dishes: These pair beautifully with a simple side salad, fresh fruit, or a cup of soup. For a heartier lunch, serve them alongside some crunchy veggie sticks and hummus. They also make a great addition to a brunch spread or a crispy chicken quesadillas platter.
Storage Instructions: Store leftover pinwheels in an airtight container in the refrigerator for up to 3 days. If you’ve already sliced them, place a piece of paper towel in the bottom of the container to absorb any excess moisture. This keeps them from getting soggy.
Freezing Tips: You can freeze the whole uncut rolls. Wrap them tightly in plastic wrap and then in foil. Freeze for up to 2 months. To serve, thaw them in the refrigerator overnight and then slice. The texture of the lettuce will be a bit softer after freezing, so I recommend using sturdier greens like romaine if you plan to freeze them.
Flavor Development: Honestly, these pinwheels taste even better the next day. The flavors meld together, and the cream cheese softens the tortilla slightly, making it even more tender. They’re perfect for meal prep for this reason.
Nutritional Information & Benefits
These pinwheels are a balanced, satisfying meal option. Here’s a look at what you’re getting in each serving (based on 4 pinwheels per serving).
| Nutrient | Amount per Serving (4 pinwheels) |
|---|---|
| Calories | 350-400 |
| Protein | 25-30g |
| Fat | 18-22g |
| Carbohydrates | 25-30g |
| Fiber | 2-3g |
| Sugar | 3-5g |
| Sodium | 800-1000mg |
Health Benefits: Turkey is a lean protein source that helps keep you full and satisfied. Cream cheese provides calcium for strong bones, and the lettuce adds a small amount of fiber and vitamins A and K. This is a protein-packed lunch that will keep energy levels stable throughout the afternoon.
Dietary Considerations: This recipe can be easily adapted for low-carb diets by using lettuce wraps. It’s naturally nut-free and egg-free, making it a safe option for many school lunchboxes. To reduce sodium, use low-sodium deli turkey and reduced-fat cream cheese.
Potential Allergens: This recipe contains dairy (cream cheese, cheddar cheese) and gluten (tortillas). Always check your ingredient labels if you have specific allergies.
Personal Wellness Perspective: I love that this recipe feels like a treat but is actually a balanced meal. It’s proof that you don’t need to sacrifice flavor for nutrition. When I pack these for my kids, I feel good knowing they’re getting protein and veggies in a form they actually enjoy eating.
Conclusion
These easy turkey pinwheel wraps are the kind of recipe that makes life a little easier. They take five minutes, use simple ingredients, and deliver a lunch that feels special without any stress. Whether you’re packing them for school, work, or a picnic, they’re a guaranteed win.
I love how versatile they are—you can change up the fillings based on what you have in the fridge, and they always turn out great. The neat little spiral is just a bonus. It’s the kind of small, satisfying detail that makes a busy day feel a little more manageable.
Now, I want to hear from you! Have you tried making these pinwheels? What’s your favorite filling combination? Drop a comment below and share your creations. And if you loved this recipe, don’t forget to pin it for later or share it with a friend who needs a quick lunchbox idea. Happy rolling!
Frequently Asked Questions
Can I make these turkey pinwheel wraps ahead of time?
Absolutely! In fact, they’re perfect for meal prep. Assemble the rolls, wrap them tightly in plastic, and refrigerate for up to 3 days. Slice them just before serving for the freshest look and texture.
How do I keep the pinwheels from getting soggy?
The key is to pat dry any wet ingredients like lettuce or tomatoes before adding them. Also, don’t overdo the ranch dressing or mayo. A thin layer is all you need for moisture without sogginess.
Can I use a different type of meat?
Definitely! Ham, roast beef, grilled chicken, or even salami work great. For a vegetarian option, use hummus, avocado, or roasted vegetables as the main filling.
What if I don’t have cream cheese?
No problem! You can use hummus, mashed avocado, Greek yogurt (strained), or even a flavored soft cheese like Boursin. The key is to have a spreadable base that holds the roll together.
How do I get clean, neat slices?
Chill the rolled tortillas in the fridge for at least 15 minutes before slicing. Use a sharp serrated knife and a gentle sawing motion. Don’t press down hard—let the knife do the work. This prevents the filling from squishing out.
Pin This Recipe!
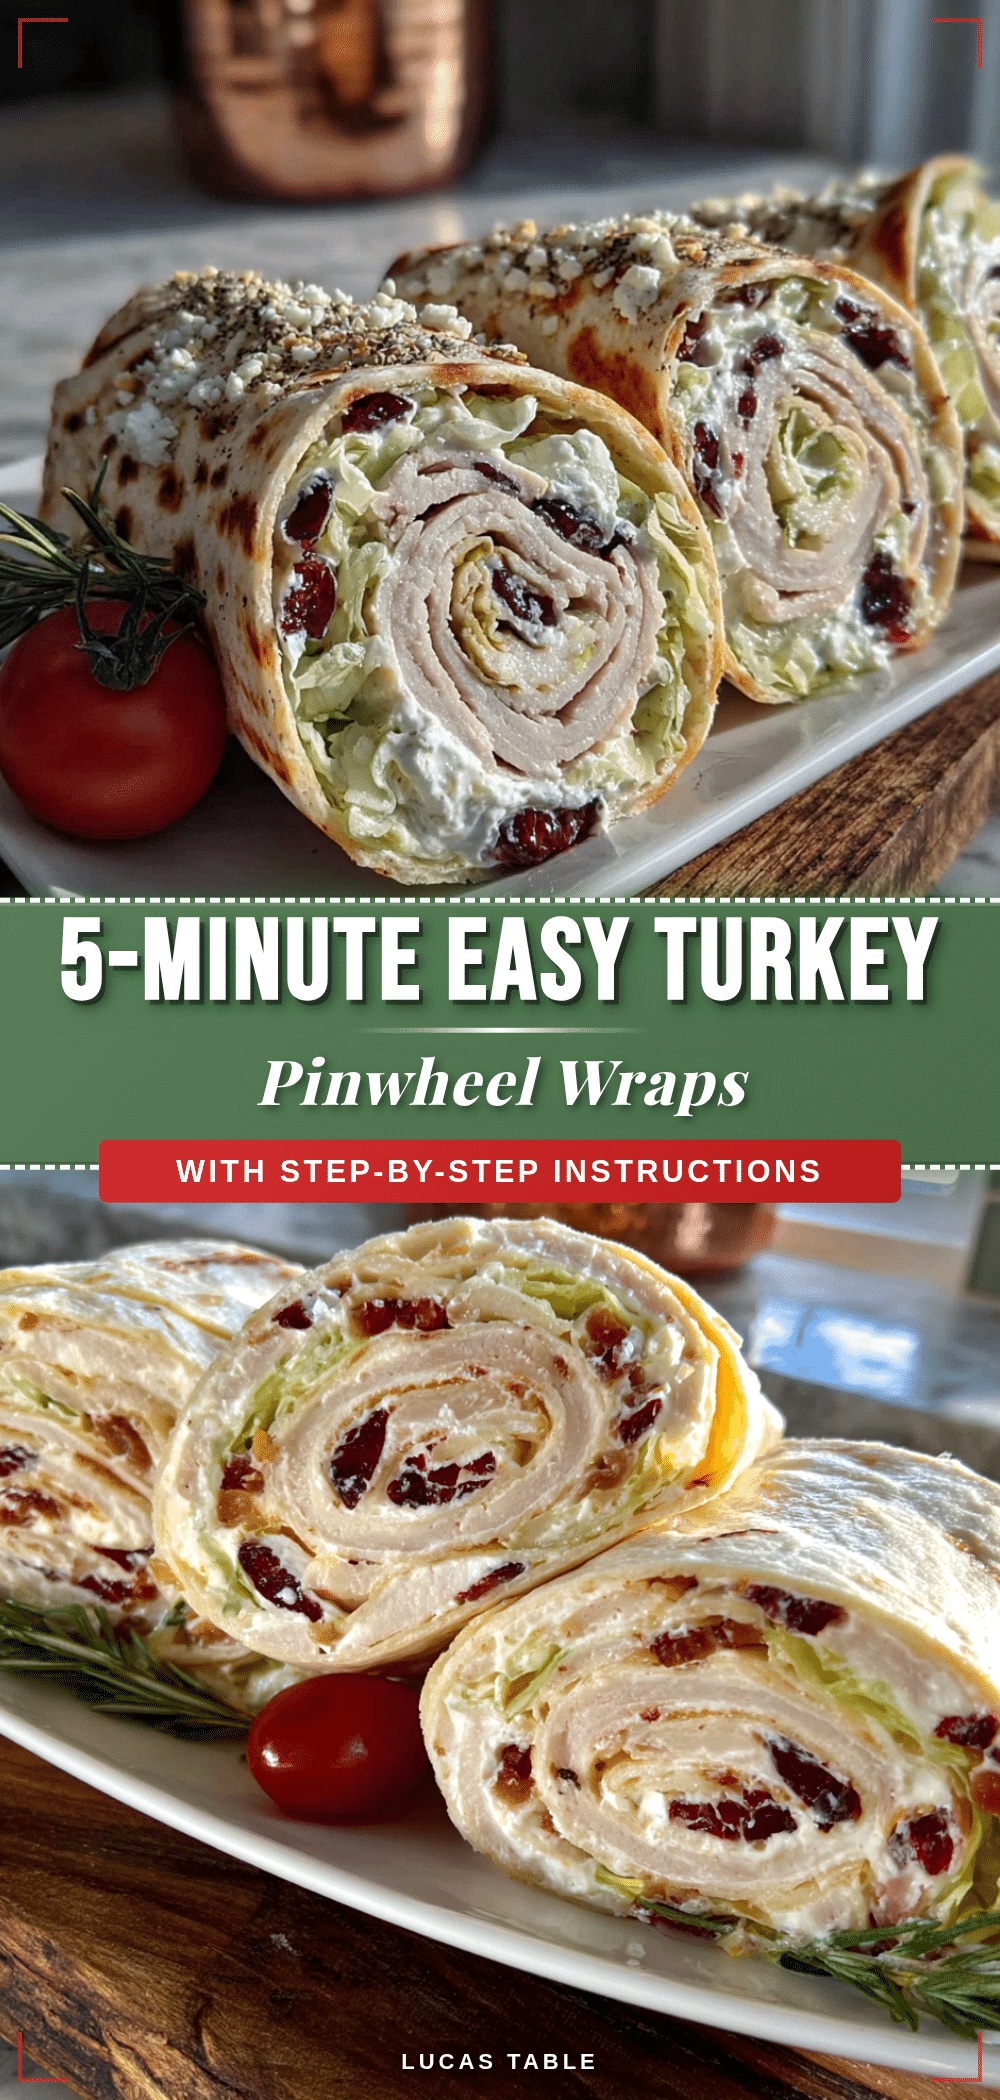
Easy Turkey Pinwheel Wraps – Best 5-Minute Lunchbox Idea

These easy turkey pinwheel wraps are the lunchbox hero you didn’t know you needed. They come together in about five minutes with soft flour tortillas, herbed cream cheese, deli turkey, and crisp lettuce, creating a perfect spiral that looks like you actually tried.
- Prep Time: 5 minutes
- Cook Time: 0 minutes
- Total Time: 25 minutes (including chilling time)
- Yield: 4 servings (about 16 pinwheels) 1x
- Category: Lunch
- Cuisine: American
Ingredients
- 4 (8-inch) flour tortillas
- 8 oz cream cheese, softened
- 8–10 slices deli turkey
- 1 cup shredded lettuce (romaine or iceberg)
- 1/2 cup shredded cheddar cheese (optional)
- 2 tablespoons ranch dressing or mayonnaise
- Salt and pepper to taste
Instructions
- Soften the cream cheese: Take cream cheese out of fridge 20 minutes before starting, or microwave for 10-15 seconds until spreadable but not melted.
- Lay out a tortilla flat on a cutting board. If stiff, microwave for 10 seconds to make more flexible.
- Spread a thin, even layer of softened cream cheese over the entire tortilla, leaving a half-inch border around edges.
- Drizzle a little ranch dressing or mayo over the cream cheese and spread gently (optional).
- Place 2-3 slices of deli turkey flat on top of the cream cheese, overlapping slightly to cover the whole tortilla.
- Sprinkle a generous handful of shredded lettuce over the turkey, then add a thin layer of shredded cheddar cheese. Season with salt and pepper.
- Starting at one edge, roll the tortilla tightly, keeping filling tucked in as you go. Roll like a sleeping bag, not a loose blanket.
- Place the rolled tortilla seam-side down on plastic wrap. Wrap tightly, twisting ends like a candy wrapper. Refrigerate for at least 15-20 minutes.
- Using a sharp serrated knife, slice the rolled tortilla into 1-inch thick rounds using a gentle sawing motion.
- Serve immediately or store in the refrigerator for up to 3 days.
Notes
For best results, chill the rolled tortillas for at least 15 minutes before slicing. Use a sharp serrated knife and gentle sawing motion to avoid squishing. Pat dry any wet ingredients like tomatoes before adding to prevent sogginess. These taste even better the next day as flavors meld together.
Nutrition
- Serving Size: 4 pinwheels
- Calories: 375
- Sugar: 4
- Sodium: 900
- Fat: 20
- Saturated Fat: 10
- Carbohydrates: 27
- Fiber: 2
- Protein: 27
Keywords: turkey pinwheels, easy lunchbox idea, 5-minute recipe, no-cook lunch, turkey wraps, kid-friendly lunch, meal prep lunch


