It was a late Wednesday afternoon when I realized my usual study snacks were doing me no favors. My youngest was elbow-deep in homework, my middle one was battling a mid-afternoon slump, and I desperately needed something quick to fuel all of us without the crash. After rummaging through the pantry and fridge, I threw together a batch of these energy bites—no baking required. The best part? They shot straight to the top of our snack rotation. This energy bites no bake recipe for quick healthy study fuel snacks became my secret weapon to keep everyone focused and satisfied during long homework sessions.
I’ve tested this recipe over a dozen times, tweaking the mix-ins and sweetness levels until it hit the perfect balance of chewy, nutty, and just a hint of sweet. If you’re like me and want a snack that’s easy to whip up, healthy, and actually helps you concentrate, these bites are for you. Plus, because they don’t need baking, you can have them ready in under 15 minutes—ideal for those rushed afternoons or when you need a brain boost without the fuss.
Whether you’re prepping for an all-nighter, a long day at the office, or just need a wholesome nibble that won’t weigh you down, this energy bites no bake recipe for study fuel is a simple and satisfying answer. And don’t worry if you’re short on fancy ingredients; this recipe leans on pantry staples and a few healthy add-ins you probably already have.
Why You’ll Love This Recipe
This recipe has completely changed how I handle snack time during study sessions and busy afternoons. I’ve made these no-bake energy bites not just for my kids but for myself, and everyone asks for more.
- Super Quick Prep — No baking means you mix, roll, and chill in about 15 minutes. Perfect for those last-minute study fuel needs.
- Healthy and Nourishing — Loaded with nuts, seeds, and natural sweeteners, these bites give sustained energy without the sugar crash that candy or processed snacks bring.
- Customizable — You can swap in your favorite nuts, add dried fruit, or toss in chocolate chips if you’re feeling indulgent. I’ve even made versions with protein powder for a workout fuel boost.
- Kid-Friendly — My picky eaters loved these because they’re bite-sized and chewy with a touch of sweetness. It’s a win when they actually ask for a snack without me sneaking veggies in.
- Great for Study Sessions and Quick Snacks — Whether it’s a weeknight homework blitz or a weekend afternoon, these bites keep focus sharp and hunger at bay.
This recipe fits perfectly for busy weeknight study fuel or anytime you need a quick healthy snack for focus without any complicated steps or weird ingredients.
Ingredient List
Here’s the best part: you probably have most of this already in your pantry and fridge. I’m pretty particular about a few ingredients because they make a real difference in flavor and texture.
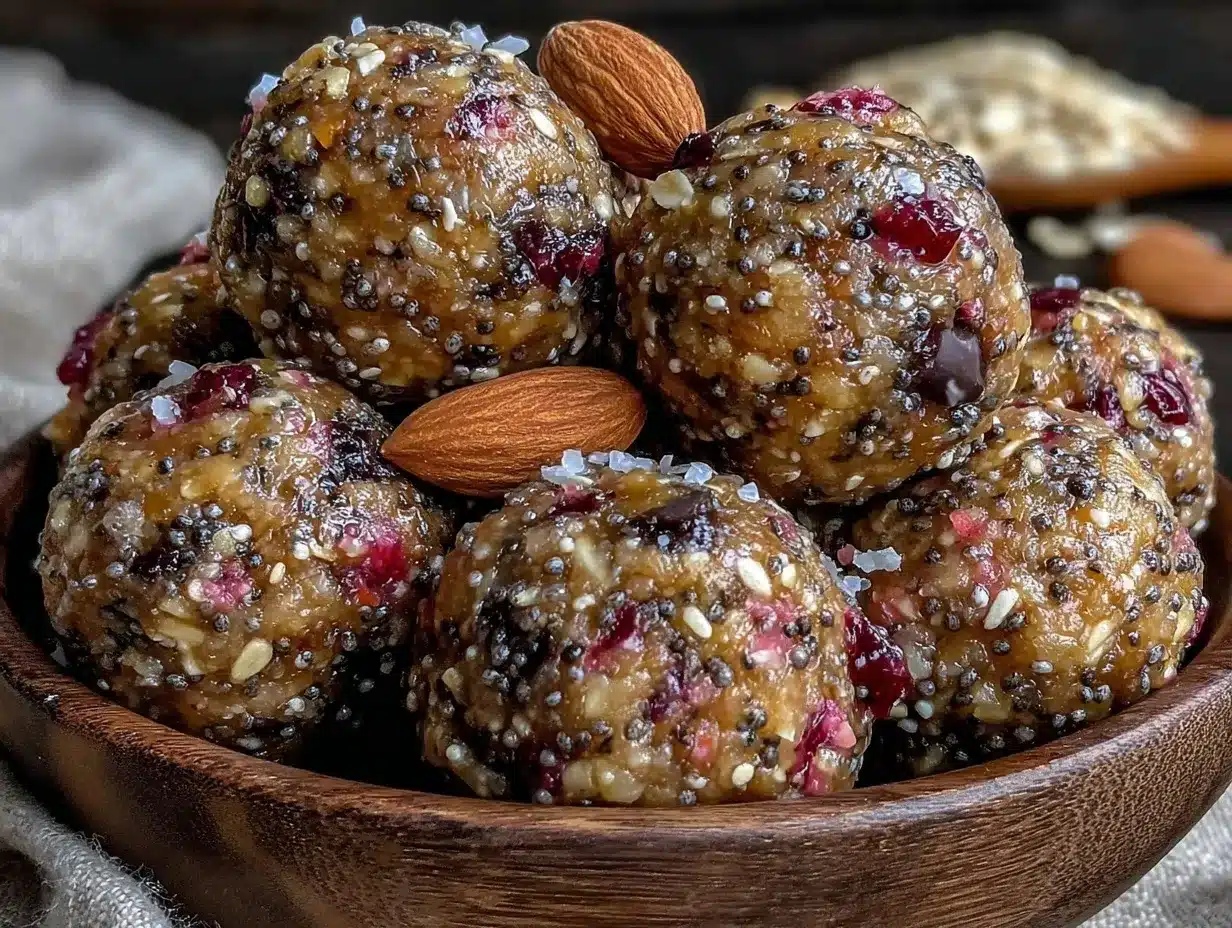
- Rolled oats (1 ½ cups / 135g) — The base for these bites. I always use old-fashioned oats for the right chew; quick oats get mushy.
- Natural peanut butter
- Honey
- Chia seeds
- Mini chocolate chips
- Vanilla extract
- Flaxseed meal
- Salt
Equipment Needed
You don’t need anything fancy for this. Here’s what I actually use:
- Mixing bowl — Any medium-sized bowl will do. I use a glass one because it’s easy to clean and doesn’t hold odors.
- Wooden spoon or spatula — For mixing everything together thoroughly. A silicone spatula is great for scraping the sides.
- Baking sheet or tray
- Measuring cups and spoons — Precision helps, but honestly, this recipe is forgiving if you eyeball a little.
- Optional: Food processor — If you want a finer texture or to mix add-ins like nuts or dried fruit more evenly.
How to Make Energy Bites No Bake Recipe for Quick Healthy Study Fuel Snacks: Step by Step
Alright, let’s get into it. I’ll walk you through exactly how I make these energy bites, including the small tricks that actually make a difference.
- Step 1: Combine the Wet Ingredients (2–3 minutes)
In your mixing bowl, scoop in the peanut butter and honey. Add the vanilla extract and a pinch of salt. Stir until smooth and well combined. The smell of the vanilla mixed with peanut butter here is already a teaser for what’s coming. - Step 2: Add the Dry Ingredients (3–4 minutes)
Toss in the rolled oats, chia seeds, flaxseed meal, and mini chocolate chips. Stir until everything is evenly coated and sticky. The mixture should hold together when you press it between your fingers. If it feels too crumbly, add a teaspoon of honey or peanut butter to moisten. - Step 3: Roll Into Bites (5–7 minutes)
Scoop out tablespoon-sized portions and roll them into balls using your hands. If the mixture sticks too much, lightly wet your hands with water. Place the bites on your lined tray. They should feel firm but not dry. - Step 4: Chill to Set (at least 15 minutes)
Pop the tray into the fridge for at least 15 minutes to firm up. This helps the bites hold their shape and makes them easier to grab on the go. If you’re impatient (guilty), 10 minutes works in a pinch.
Total time: About 15–20 minutes including chilling. Roughly 10 minutes active prep, the rest is hands-off.
Expert Tips & Tricks
Here’s everything I’ve figured out from making this recipe dozens of times. These tips will save you from the mistakes I already made.
- Use Old-Fashioned Oats, Not Instant
Instant oats turn mushy and too soft, which ruins the texture. Old-fashioned rolled oats keep the bites chewy and satisfying. - Adjust Sweetness After Mixing
Taste the mixture before rolling. If it’s not sweet enough for your liking, add a little more honey or maple syrup, a teaspoon at a time. - Don’t Skip the Chia Seeds
They absorb moisture and help bind the bites without adding heaviness. Plus, they’re a powerhouse for focus-friendly nutrients. - Keep Your Hands Moist When Rolling
This prevents the mixture from sticking to your fingers, making the process much less messy. - Store in an Airtight Container
Keep the bites in the fridge for up to a week. I learned the hard way that room temperature storage makes them too soft and crumbly.
Variations & Substitutions
Once you’ve got the base version down, here’s how I mix it up. I’ve actually tried all of these.
- Nut-Free Version
Swap peanut butter for sunflower seed butter and use pumpkin seeds instead of nuts. Perfect if you’re making snacks for a classroom or daycare. - Protein-Packed Study Fuel
Add 2 tablespoons of your favorite protein powder to the dry ingredients. This turns the bites into a more filling snack for long study marathons. - Fruit-Boosted Energy Bites
Toss in ½ cup chopped dried cranberries or raisins for natural sweetness and a chewy texture that kids love during homework time. - Chocolate Lover’s Delight
Add 2 tablespoons of cocoa powder and swap honey for maple syrup. These are my daughter’s favorite when she needs a little treat while reading.
For those looking to keep things gluten-free for study snacks, just make sure to use certified gluten-free oats. I’ve used Bob’s Red Mill gluten-free oats with great results.
Serving & Storage
I usually serve these straight from the fridge, which keeps them firm and perfect for grabbing between study breaks. They travel well too—great for packing in lunchboxes or taking to the library.
Here are a few of my favorite sides to pair with these energy bites when I want a fuller snack or light meal:
- Fresh fruit slices (apple or pear work great)
- A small cup of Greek yogurt for extra protein
- A handful of raw veggies if I want to sneak in something crunchy and fresh
Storage tips:
- Fridge: Airtight container, up to 7 days. The bites stay chewy and fresh.
- Freezer: Yes! Freeze in a single layer on parchment paper, then transfer to a freezer bag. Thaw in the fridge or at room temp for 10 minutes.
- Reheating: No need. These are best cold or at room temperature.
Nutrition Information
I’m not a nutritionist, but here’s the breakdown if you’re keeping track. Per serving (recipe makes about 20 bites, so 1 serving = 2 bites):
| Calories | Protein | Carbs | Fiber | Sugar | Fat | Saturated Fat | Sodium |
|---|---|---|---|---|---|---|---|
| 150 | 5g | 15g | 3g | 7g | 8g | 1.5g | 50mg |
Look—this is a wholesome snack made with natural ingredients. It’s not a diet recipe and I’m not going to pretend it is. But it beats vending machine junk and keeps hunger at bay during those intense study sessions.
Final Thoughts
Remember that Wednesday afternoon I mentioned? I kept a batch of these energy bites in the fridge all week, and they saved me more times than I can count. They’re forgiving, adaptable, and genuinely tasty—no weird health-food gimmicks.
Make it yours. More chocolate chips? Go for it. Add a sprinkle of cinnamon? Absolutely. Toss in whatever nuts or dried fruit you have on hand. The base is forgiving, and the best part is you can have a batch ready in less than 20 minutes.
If you make this recipe, drop a comment and tell me how it went. And if something goes sideways, tell me that too—I genuinely want to help troubleshoot. That’s what the comments are for.
Happy cooking—I hope your kitchen smells amazing and your study sessions are fueled just right.
Frequently Asked Questions
Q: Can I make these energy bites no bake recipe for quick healthy study fuel snacks without honey?
A: Yes, you can substitute honey with maple syrup or agave nectar for a vegan-friendly version. I’ve done this plenty of times, and it works just as well to bind the ingredients together. Just keep an eye on the texture because liquid sweeteners can make the mixture a bit looser—you might need to add a little more oats.
Q: Why did my energy bites turn out too crumbly or fall apart?
A: This usually means there wasn’t enough binder—either peanut butter or honey—mixed in. I’ve had this happen when I rushed the measuring part. The fix? Gradually add more peanut butter or honey, a teaspoon at a time, until the mixture sticks together when pressed. Also, chilling the bites helps them firm up.
Q: Can I make these energy bites ahead for a busy study week?
A: Absolutely! They keep well in the fridge for up to a week and freeze beautifully too. I often make a big batch on Sunday for the whole week’s study fuel. Just thaw frozen bites in the fridge overnight or on the counter for 15 minutes before eating.
Q: Are these energy bites gluten-free and dairy-free?
A: Yes, they’re naturally dairy-free since there’s no milk or cheese involved. For gluten-free, just be sure to use certified gluten-free rolled oats. I always double-check the label since some oats are processed in facilities with gluten.
Q: Can I double or halve this recipe?
A: Yes, this recipe scales up or down easily. I’ve doubled it for parties and halved it when I just needed a small snack stash. Just keep the mixing bowl size in mind when doubling and increase chilling time slightly if needed.
Q: Can I swap peanut butter for almond butter or another nut butter?
A: Yes! Almond butter, cashew butter, or even sunflower seed butter will work. Keep in mind some nut butters are thinner, so you might need to adjust the oats or sweetener to get the right consistency. I’ve made almond butter versions for a friend with peanut allergies, and they were a hit.
Q: How do I keep these energy bites from sticking together in storage?
A: Great question! I separate layers with parchment paper or wax paper in an airtight container. This prevents them from clumping into one big ball. Also, keeping them chilled helps maintain their shape and texture.
For more quick and flavorful meal ideas that pair well with your snack game, you might like the quick zesty lemon chicken recipe or the quick creamy tuna pasta recipe. Both are simple, fast, and perfect for busy evenings when you need a satisfying dinner after your study snacks have done their job.
Pin This Recipe!
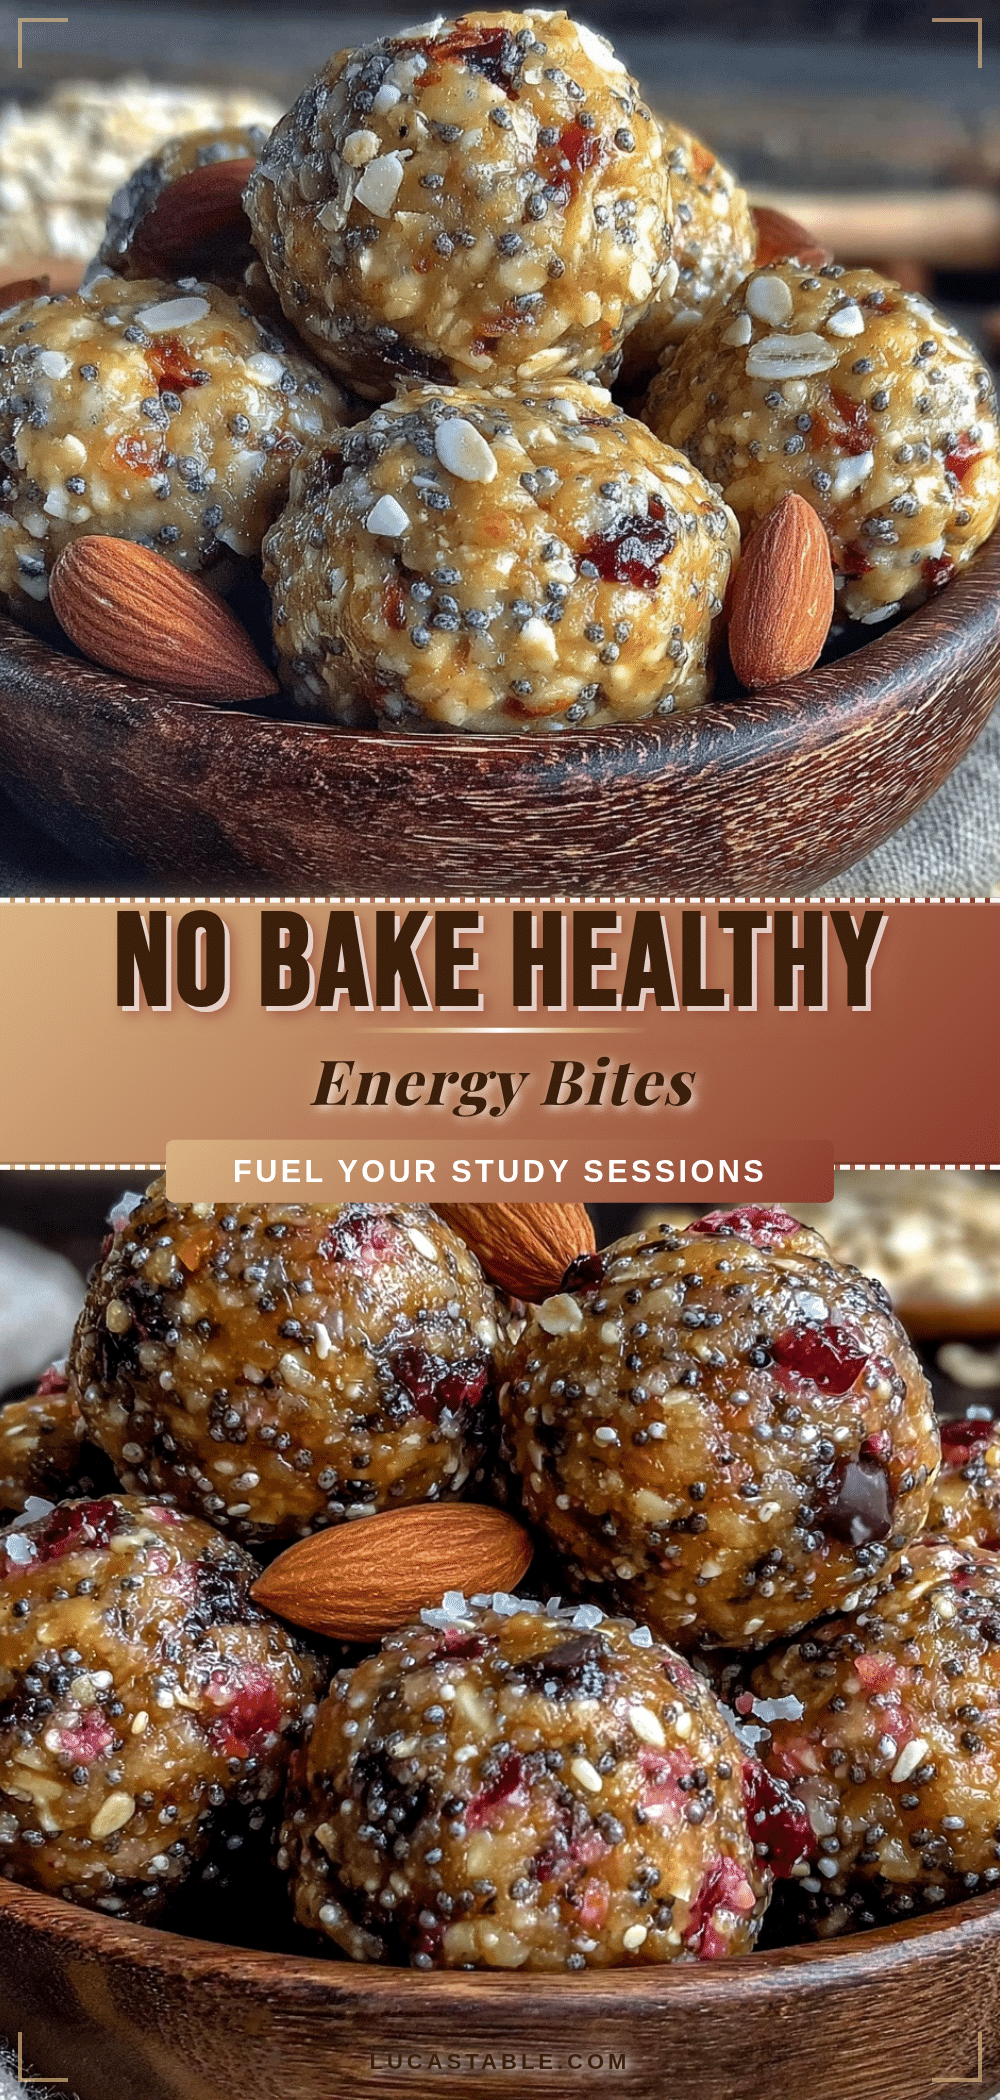
Energy Bites No Bake Recipe 5 Easy Healthy Study Fuel Snacks for Focus

These no-bake energy bites are quick to prepare, healthy, and perfect for fueling study sessions or busy afternoons without a sugar crash. Made with pantry staples, they offer a chewy, nutty, and slightly sweet snack that keeps focus sharp.
- Prep Time: 10 minutes
- Cook Time: 0 minutes
- Total Time: 20 minutes
- Yield: 20 bites (serving size: 2 bites) 1x
- Category: Snack
- Cuisine: American
Ingredients
- 1 ½ cups rolled oats (old-fashioned)
- ½ cup natural peanut butter (creamy or crunchy)
- ¼ cup honey (or maple syrup for vegan option)
- 2 tablespoons chia seeds (optional but recommended)
- ½ cup mini chocolate chips (preferably dark chocolate)
- 1 teaspoon vanilla extract
- 2 tablespoons flaxseed meal (optional)
- A pinch of salt
Instructions
- Combine the peanut butter, honey, vanilla extract, and a pinch of salt in a mixing bowl. Stir until smooth and well combined.
- Add the rolled oats, chia seeds, flaxseed meal, and mini chocolate chips to the wet mixture. Stir until everything is evenly coated and sticky. If too crumbly, add a teaspoon of honey or peanut butter to moisten.
- Scoop tablespoon-sized portions and roll them into balls with your hands. Lightly wet hands with water if the mixture sticks too much. Place the bites on a lined baking sheet or tray.
- Chill the bites in the refrigerator for at least 15 minutes to set and firm up before serving.
Notes
Use old-fashioned rolled oats for the best texture. Adjust sweetness after mixing by adding more honey or maple syrup if desired. Keep hands moist when rolling to prevent sticking. Store in an airtight container in the fridge for up to 7 days or freeze for longer storage. Separate layers with parchment paper to prevent clumping.
Nutrition
- Serving Size: 2 bites
- Calories: 150
- Sugar: 7
- Sodium: 50
- Fat: 8
- Saturated Fat: 1.5
- Carbohydrates: 15
- Fiber: 3
- Protein: 5
Keywords: energy bites, no bake, healthy snacks, study fuel, quick snacks, peanut butter bites, no bake energy balls