That first soft pop of the lid sealing — the sound that says, “You did it, and this will last” — still takes me straight to my grandmother’s kitchen on a gray October afternoon. She was peeling Bosc pears at the sink, the skins falling in long, unbroken spirals, and the air smelled like sugar and something warm I couldn’t name yet. I was maybe nine, sitting on a step stool, watching her hands move. She didn’t explain much. She just handed me a cinnamon stick and said, “Drop this in. It’ll remember.”
I didn’t understand what she meant then. But now, every time I make these homemade canned pears with vanilla and cinnamon, I get it. The pears aren’t just preserved fruit — they’re a moment caught in a jar. A little bit of fall you can open in February when you need it most.
This recipe isn’t complicated. It’s the kind of thing that asks you to slow down for an hour, to trust a simple syrup and a handful of spices. And honestly? That’s exactly why I keep coming back to it. These homemade cinnamon vanilla canned pears have become my go-to for holiday gifts, last-minute desserts, and quiet mornings when I want to eat something that tastes like memory.
Why You’ll Love This Recipe
Let me be real with you — I’ve tested this recipe about six times to get the syrup-to-spice ratio exactly right. Too much cinnamon and it tastes like a candle. Too little vanilla and you might as well be eating plain pears from a can. But this version? It hits that sweet spot where everything just works.
- Simple Ingredients: You don’t need a specialty grocery store for this. Pears, sugar, vanilla beans (or extract), and cinnamon sticks. That’s it.
- Perfect for Gifting: A jar of these homemade canned pears tied with a bit of twine is the kind of gift people actually get excited about.
- Year-Round Summer: Can them in the fall when pears are at their peak, and you’ve got a taste of autumn whenever you want it.
- No Fancy Equipment: A big pot and some mason jars are all you really need.
- Incredibly Versatile: Eat them straight from the jar, spoon them over ice cream, or use them in a quick dessert with a little whipped cream.
What makes these different from every other canned pear recipe out there? It’s the vanilla. I use a whole split vanilla bean per batch, and it infuses the syrup with this deep, floral sweetness that cinnamon alone just can’t do. The pears soften just enough to be tender but still hold their shape — no mushy mess here. This is comfort food you can put on a shelf.
What Ingredients You Will Need
This recipe uses simple, honest ingredients to create something that feels far more special than the sum of its parts. Most of these are probably already in your pantry, or at least easy to find.
- 4 pounds firm ripe pears (Bosc or Bartlett work best — Bosc hold their shape beautifully, Bartlett are sweeter)
- 4 cups granulated sugar (regular white sugar, nothing fancy)
- 4 cups water (filtered if you can, but tap is fine)
- 2 whole vanilla beans, split lengthwise (I prefer Madagascar vanilla — the flavor is richer. Nielsen-Massey is my go-to brand)
- 4 cinnamon sticks (Ceylon cinnamon is milder and sweeter; Cassia is more intense. I use Ceylon for this)
- 2 tablespoons lemon juice (fresh squeezed is best, helps keep the pears from browning)
Pro tip on pears: You want them ripe but still firm. If they’re too soft, they’ll turn to mush during processing. If they’re rock hard, they won’t absorb the syrup properly. Give them a gentle squeeze near the stem — it should give just a little, like a ripe avocado.
Substitution notes: If you don’t have vanilla beans, use 2 tablespoons of pure vanilla extract — just add it to the syrup after it’s cooled slightly, not during boiling, or the alcohol will cook off and you’ll lose flavor. No cinnamon sticks? Use 2 teaspoons of ground cinnamon, though the flavor won’t be as subtle. For a lower-sugar version, you can reduce the sugar to 3 cups, but the syrup will be thinner and the pears won’t keep as long.
Equipment Needed
You don’t need a professional canning setup for this. Here’s what you’ll actually use:
- Water bath canner or large stockpot (needs to be deep enough to cover jars with at least 1 inch of water)
- 4 pint-sized mason jars with new lids and bands (I use Ball or Kerr — they’re reliable and easy to find)
- Jar lifter (trust me, don’t try to grab hot jars with tongs. I learned that one the hard way)
- Wide-mouth funnel (makes filling jars so much less messy)
- Clean kitchen towels
- Paring knife and vegetable peeler
- Large saucepan for syrup
If you don’t have a jar lifter, you can use heavy-duty tongs, but be careful. I’ve dropped a jar before and it’s not fun. A magnetic lid wand is also nice to have but totally optional. For a budget-friendly option, check thrift stores for canning supplies — I’ve found perfectly good jars for a dollar each.
Preparation Method
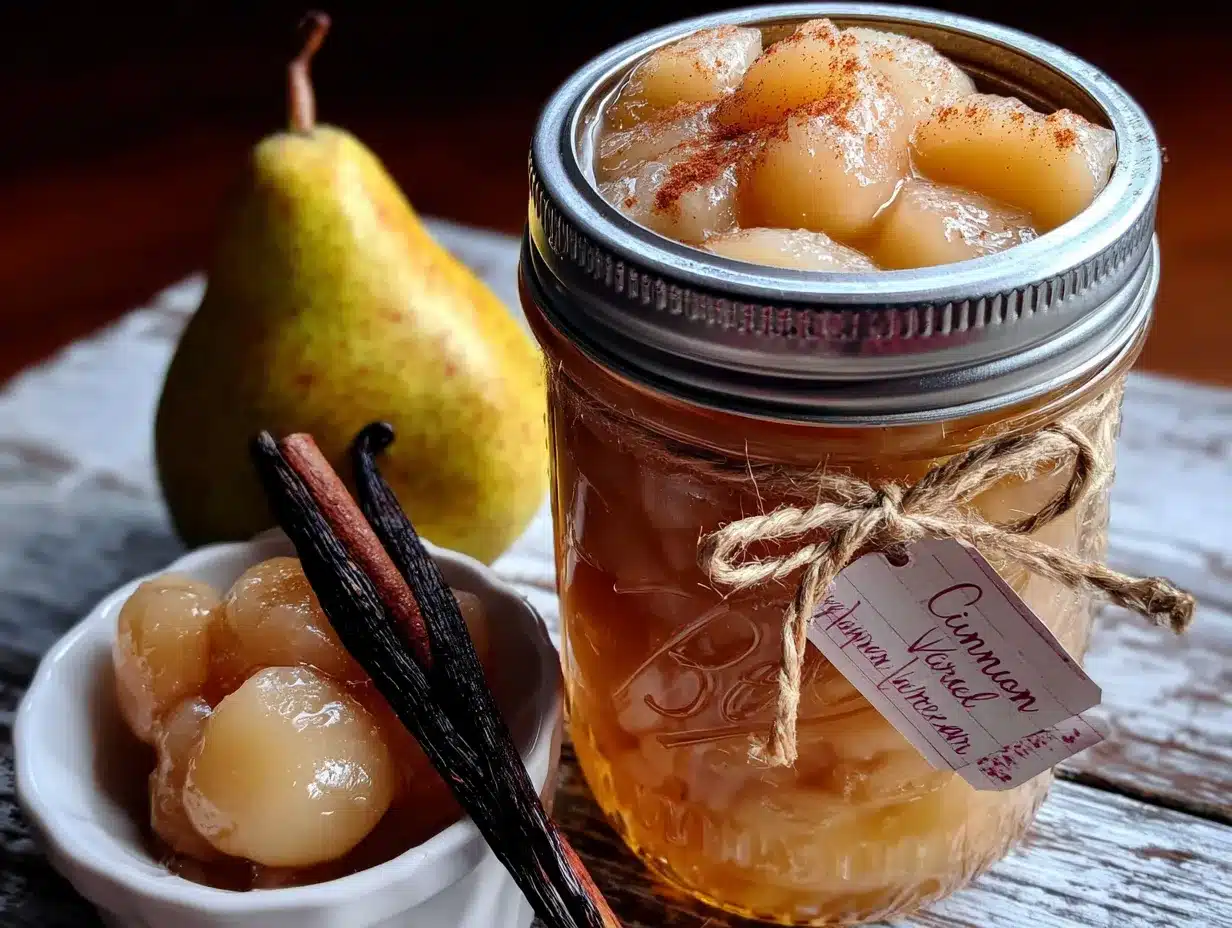
Take your time with this. Rushing is the only way to mess it up.
- Sterilize your jars and lids (10 minutes). Wash everything in hot soapy water, then place jars in your canner or stockpot, cover with water, and bring to a boil. Boil for 10 minutes. Keep them in hot water until you’re ready to fill them. The lids go in a separate small bowl of hot water (not boiling — just hot from the tap).
- Make the vanilla cinnamon syrup (15 minutes). In your large saucepan, combine the 4 cups sugar, 4 cups water, and lemon juice. Stir over medium heat until the sugar dissolves completely. Add the split vanilla beans (scrape the seeds into the syrup too — don’t waste them) and the cinnamon sticks. Bring to a gentle boil, then reduce heat and let it simmer for 10 minutes. The kitchen will start smelling like a bakery at this point, and honestly, that’s half the joy.
- Prepare the pears (20 minutes). While the syrup simmers, peel your pears. Cut them in half lengthwise and use a melon baller or small spoon to scoop out the core and seeds. If you want them to look pretty, leave the stems on one half. As you work, drop the pear halves into a bowl of water with a squeeze of lemon juice to keep them from turning brown. I learned this trick after my first batch looked like they’d been through a mud fight.
- Pre-cook the pears (5-8 minutes). This is the step most people skip, and it makes all the difference. Drain the pears and add them to the simmering syrup. Cook them for about 5 minutes — they should be slightly translucent at the edges but still firm in the center. Don’t overcook them! They’ll continue cooking in the jars during processing.
- Pack the jars (10 minutes). Using your jar lifter, remove a hot jar from the water bath and place it on a towel. Using the wide-mouth funnel, carefully pack the pear halves into the jar, cut side down. You can layer them pretty tightly — they’ll shrink a bit. Add one cinnamon stick and a piece of vanilla bean to each jar. Leave about 1/2 inch of headspace at the top.
- Add the syrup (5 minutes). Ladle the hot syrup over the pears, covering them completely but still leaving that 1/2 inch of headspace. Run a clean knife or bubble remover tool around the inside edge of the jar to release any trapped air bubbles. Trust me, air bubbles are the enemy of proper sealing.
- Wipe and seal (2 minutes). Wipe the rim of each jar with a clean, damp towel. Any syrup residue can prevent the lid from sealing. Center a lid on each jar and screw on the band until it’s fingertip-tight — not too tight, just snug.
- Process the jars (20 minutes). Place the filled jars back in the canner, making sure they’re covered by at least 1 inch of water. Bring to a full rolling boil, then start your timer for 20 minutes (adjust for altitude if needed — add 5 minutes for every 1,000 feet above sea level).
- Cool and check seals (12-24 hours). Use your jar lifter to remove the jars and place them on a towel-lined counter. Let them cool completely without touching them. You’ll hear the lids popping as they seal — that’s the sound of success. After 12-24 hours, press the center of each lid. If it doesn’t flex up and down, it’s sealed. If it does, refrigerate and use within a few weeks.
Cooking Tips & Techniques
I’ve made this recipe more times than I can count, and here’s what I’ve learned the hard way so you don’t have to.
Don’t skip the lemon juice. I did once, thinking it wouldn’t matter, and ended up with grayish-brown pears that looked nothing like the golden beauties I was going for. That little bit of acid keeps the color bright and the flavor balanced.
Temperature matters more than you think. The syrup needs to be hot when you pour it over the pears, and the jars need to be hot too. Cold jars + hot syrup = cracked glass. I learned this when I heard a jar literally shatter in my sink. Not a fun cleanup.
Timing is everything with pears. If you overcook them even by a minute in the pre-cook stage, they’ll be too soft after processing. I like to set a timer and actually watch the clock — no multitasking during this step. They should look just barely cooked, like they could still use another minute or two.
About headspace: That 1/2 inch isn’t arbitrary. Too much space and the jars might not seal properly. Too little and syrup will bubble out during processing, making a sticky mess and potentially ruining the seal. I use a ruler the first few times until I get the feel for it.
Multitasking strategy: While the syrup simmers, peel your pears. While the pears pre-cook, get your jars out of the water bath. It all flows together if you plan ahead. I lay everything out before I start — ingredients, tools, towels — and it makes the whole process feel calm instead of chaotic.
Variations & Adaptations
This recipe is a great base to play with. Here are some variations I’ve tried and loved:
- Spiced Chai Pears: Add 3 cardamom pods, 2 star anise, and a slice of fresh ginger to the syrup along with the cinnamon. The result is warm, aromatic, and perfect for holiday gifting.
- Honey-Vanilla Pears: Replace half the sugar with honey. The flavor is more floral and complex. Just note that honey can make the syrup a bit darker.
- Low-Sugar Version: Use 2 cups sugar and 1/2 cup of monk fruit sweetener. The pears won’t be quite as firm, but they’ll still taste amazing. This version is great if you’re watching your sugar intake.
- Brandy-Soaked Pears: Add 1/4 cup of brandy to the syrup just before pouring. It adds a grown-up warmth that’s incredible over vanilla ice cream. I made these for a Christmas party and they disappeared in minutes.
- Dairy-Free Dessert Idea: Serve these pears over a scoop of coconut milk ice cream with a drizzle of the syrup. It’s like a fancy restaurant dessert but you made it yourself.
For a quick weeknight dessert, try spooning these pears over a simple honey garlic chicken — wait, no, that’s a different course. Stick with ice cream or yogurt. But if you’re planning a full meal, these pears pair beautifully alongside a crispy lemon butter salmon for a sweet-savory contrast that’s genuinely surprising.
Serving & Storage Suggestions
These homemade canned pears are incredibly versatile. Here’s how I use them:
Serving ideas: Serve them chilled or at room temperature. They’re amazing on their own as a light dessert, or spooned over Greek yogurt with a sprinkle of granola for breakfast. For a fancy dessert, warm them gently and serve over vanilla ice cream with a drizzle of the syrup and a pinch of flaky sea salt. I’ve also chopped them up and folded them into pancake batter — trust me, cinnamon vanilla pear pancakes are a thing now.
Storage: Properly sealed jars will keep in a cool, dark place (like a pantry or basement) for up to 12-18 months. Once opened, refrigerate and use within 2-3 weeks. The flavor actually gets better after about a month — the pears absorb more of the vanilla and cinnamon over time.
Reheating: If you want them warm, just spoon them into a small saucepan and heat gently over low heat for 3-4 minutes. Don’t boil them or they’ll fall apart. You can also microwave them in a bowl for 30 seconds.
Gift idea: Tie a ribbon around the jar, attach a tag with serving suggestions, and you’ve got a gift that feels personal and thoughtful. I’ve given these to neighbors, teachers, and holiday hosts, and they always ask for the recipe.
Nutritional Information & Benefits
Per serving (1/2 cup of pears with about 2 tablespoons syrup):
- Calories: 180
- Carbohydrates: 46g
- Fiber: 4g
- Sugar: 38g
- Vitamin C: 8% DV
- Potassium: 4% DV
Pears are a good source of dietary fiber, which supports digestive health, and vitamin C, which helps your immune system. The cinnamon in this recipe isn’t just for flavor — it contains antioxidants and may help with blood sugar regulation. Of course, this is a sweet treat, so enjoy in moderation. If you’re watching your sugar intake, the low-sugar variation is a great option.
For a balanced meal, these pears pair nicely with something savory. I’ve served them alongside a savory Mongolian beef for a sweet-and-savory dinner that feels restaurant-quality but comes together at home.
Conclusion
These homemade canned pears with vanilla and cinnamon are more than a recipe — they’re a way to hold onto a season. Every time I open a jar in the middle of winter, I’m back in that kitchen with my grandmother, watching her hands move, smelling that warm sugar-and-spice air.
I hope you make these and find your own moment in them. Maybe you’ll give them as gifts, or keep them all for yourself (no judgment here). Maybe you’ll eat them straight from the jar at midnight when no one’s watching. However you enjoy them, know that you’ve made something real and lasting.
If you try this recipe, I’d love to hear about it. Leave a comment below and tell me how you served yours, or tag me in your photos. And if you’re looking for more ways to use your canned pears, try them alongside a crispy BBQ chicken pizza for a sweet-savory combo that’ll surprise you. Happy canning, friends!
Frequently Asked Questions
Can I use a different type of pear for this recipe?
Absolutely. Bosc and Bartlett are my favorites, but Anjou and Comice work well too. Just make sure they’re firm but ripe. Avoid very soft varieties like Asian pears — they’ll turn to mush during processing.
Do I have to use a water bath canner?
Yes, for long-term shelf storage. Water bath canning is the only safe way to preserve these pears at room temperature. If you don’t want to can them, you can skip the processing step and just refrigerate the jars — they’ll keep for about 3-4 weeks.
Why didn’t my jars seal properly?
Several reasons could be at play: the rim wasn’t clean, the lid was damaged, the jar wasn’t hot enough when filled, or there wasn’t enough headspace. Check your lids for any nicks or dents before using them. And always wipe those rims clean — even a tiny bit of syrup can prevent a seal.
Can I reuse the syrup after eating the pears?
Yes! The leftover vanilla-cinnamon syrup is amazing. Use it in cocktails, drizzle it over pancakes or waffles, sweeten your tea or coffee with it, or brush it over cakes for extra moisture. I’ve even used it to make a simple vinaigrette.
How long do these pears actually last?
Properly sealed and stored in a cool, dark place, they’ll keep for 12-18 months. The flavor peaks around the 3-6 month mark. After opening, refrigerate and use within 2-3 weeks. And always check the seal before eating — if the lid pops when you press it, don’t eat the contents.
Pin This Recipe!
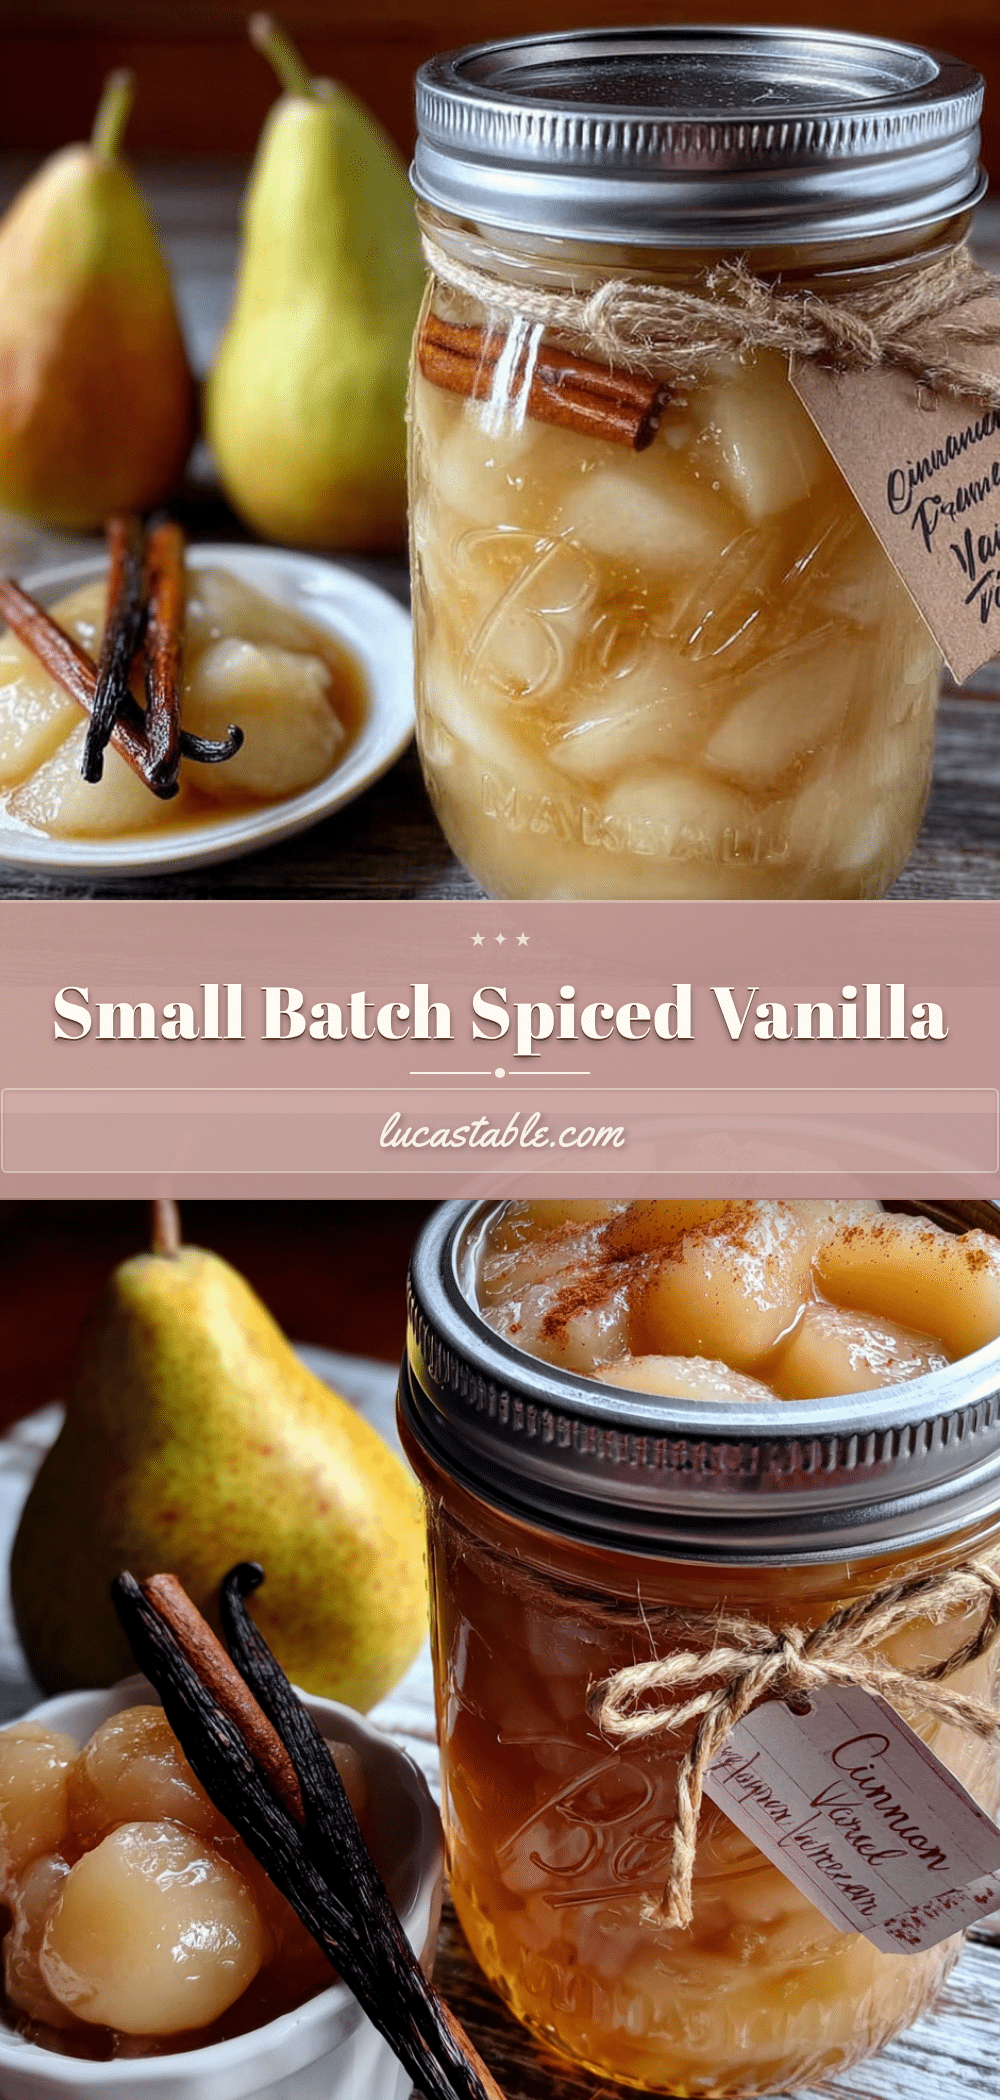
Homemade Canned Pears with Vanilla & Cinnamon
Preserve the taste of fall with these homemade canned pears infused with vanilla and cinnamon. A simple recipe that captures a moment in a jar, perfect for gifting or enjoying year-round.
- Prep Time: 45 minutes
- Cook Time: 20 minutes
- Total Time: 1 hour 5 minutes (plus 12-24 hours cooling)
- Yield: 4 pint jars 1x
- Category: Preserves
- Cuisine: American
Ingredients
- 4 pounds firm ripe pears (Bosc or Bartlett work best)
- 4 cups granulated sugar
- 4 cups water
- 2 whole vanilla beans, split lengthwise
- 4 cinnamon sticks
- 2 tablespoons lemon juice (fresh squeezed)
Instructions
- Sterilize your jars and lids (10 minutes). Wash everything in hot soapy water, then place jars in your canner or stockpot, cover with water, and bring to a boil. Boil for 10 minutes. Keep them in hot water until you’re ready to fill them. The lids go in a separate small bowl of hot water (not boiling — just hot from the tap).
- Make the vanilla cinnamon syrup (15 minutes). In your large saucepan, combine the 4 cups sugar, 4 cups water, and lemon juice. Stir over medium heat until the sugar dissolves completely. Add the split vanilla beans (scrape the seeds into the syrup too — don’t waste them) and the cinnamon sticks. Bring to a gentle boil, then reduce heat and let it simmer for 10 minutes.
- Prepare the pears (20 minutes). While the syrup simmers, peel your pears. Cut them in half lengthwise and use a melon baller or small spoon to scoop out the core and seeds. If you want them to look pretty, leave the stems on one half. As you work, drop the pear halves into a bowl of water with a squeeze of lemon juice to keep them from turning brown.
- Pre-cook the pears (5-8 minutes). Drain the pears and add them to the simmering syrup. Cook them for about 5 minutes — they should be slightly translucent at the edges but still firm in the center. Don’t overcook them! They’ll continue cooking in the jars during processing.
- Pack the jars (10 minutes). Using your jar lifter, remove a hot jar from the water bath and place it on a towel. Using the wide-mouth funnel, carefully pack the pear halves into the jar, cut side down. You can layer them pretty tightly — they’ll shrink a bit. Add one cinnamon stick and a piece of vanilla bean to each jar. Leave about 1/2 inch of headspace at the top.
- Add the syrup (5 minutes). Ladle the hot syrup over the pears, covering them completely but still leaving that 1/2 inch of headspace. Run a clean knife or bubble remover tool around the inside edge of the jar to release any trapped air bubbles.
- Wipe and seal (2 minutes). Wipe the rim of each jar with a clean, damp towel. Any syrup residue can prevent the lid from sealing. Center a lid on each jar and screw on the band until it’s fingertip-tight — not too tight, just snug.
- Process the jars (20 minutes). Place the filled jars back in the canner, making sure they’re covered by at least 1 inch of water. Bring to a full rolling boil, then start your timer for 20 minutes (adjust for altitude if needed — add 5 minutes for every 1,000 feet above sea level).
- Cool and check seals (12-24 hours). Use your jar lifter to remove the jars and place them on a towel-lined counter. Let them cool completely without touching them. You’ll hear the lids popping as they seal — that’s the sound of success. After 12-24 hours, press the center of each lid. If it doesn’t flex up and down, it’s sealed. If it does, refrigerate and use within a few weeks.
Notes
Don’t skip the lemon juice — it keeps the pears from browning. The syrup needs to be hot when poured over the pears, and the jars need to be hot too to prevent cracking. Timing is everything with pears; overcook them even by a minute in the pre-cook stage and they’ll be too soft after processing. Properly sealed jars will keep in a cool, dark place for up to 12-18 months. The flavor actually gets better after about a month.
Nutrition
- Serving Size: 1/2 cup of pears wit
- Calories: 180
- Sugar: 38
- Carbohydrates: 46
- Fiber: 4
Keywords: canned pears, vanilla pears, cinnamon pears, homemade canned fruit, pear preserves, water bath canning, fall recipes, gift ideas


