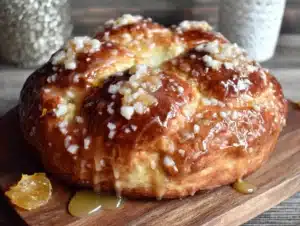
My neighbor wasn’t trying to impress anyone. I’d stopped by to return her measuring cup—one of those small errands you put off for weeks—and the smell hit me before I even got to her screen door. Warm yeast, toasted sugar, something floral I couldn’t name. She was standing at her kitchen counter in old jeans, flour dusted up to her elbows, completely unbothered by the fact that she was making what I would later learn was the best pan de muerto I’d ever tasted.
“Oh, that?” she said when I asked, wiping her hands on a dish towel. “It’s just the bread for the altar. Nothing fancy.”
Nothing fancy. She said that while pulling a tray of golden, orange-scented rolls from her oven, the glaze still warm and dripping down the sides. I stood there, honestly a little stunned, holding that borrowed measuring cup like an idiot. Maybe you’ve been there—that moment when someone makes something extraordinary look so effortless you almost believe them when they say it’s no big deal.
I asked for the recipe, of course. She shrugged and scribbled it on a scrap of envelope. The handwriting was messy, the measurements were in handfuls and pinches, and I spent the next three Sundays trying to get it right. But that’s the thing about bread you learn from someone who doesn’t think they’re doing anything special—it teaches you that the magic isn’t in perfection. It’s in the patience, the smell filling your kitchen, and the way a simple loaf can say more than words ever could. This homemade pan de muerto with orange blossom glaze is that bread. And honestly, I’m still a little grateful she didn’t realize how good she had it.
Why You’ll Love This Recipe
This isn’t just another bread recipe you’ll try once and forget. This homemade pan de muerto with orange blossom glaze has earned a permanent spot in my fall baking rotation, and here’s why it’ll do the same in yours.
- Simple Ingredients, No Fuss: You don’t need a specialty Mexican grocery store for this one. Butter, eggs, flour, sugar, yeast—all pantry staples. The orange blossom water is the one special touch, and it’s widely available online or at any Middle Eastern market for under five bucks.
- Feeds a Crowd Without Breaking the Bank: This recipe makes two generous loaves. For a family on a sensible budget, that’s a win. One loaf for the ofrenda (if you’re celebrating Día de Muertos), one for the kitchen table. Or both for the table. No judgment here.
- Leftovers That Actually Get Better: Day-old pan de muerto makes the most incredible French toast you’ve ever had. Seriously. The orange blossom flavor infuses even more overnight. I’ve tested this multiple times, and I’m not exaggerating when I say I sometimes make extra just for that purpose.
- Picky Eater Approved: My youngest, who “doesn’t like” anything with “weird flavors,” devoured two pieces before I could even glaze the second loaf. The orange blossom is floral but not overpowering—it’s subtle enough that kids just think it tastes like fancy bread.
- Comfort Food That Connects: There’s something about making this bread that feels bigger than baking. It’s a recipe with history, with meaning. But it’s also just really, really good bread. You don’t need a special occasion to make it, though it’s perfect when you want to make a regular Tuesday feel a little more meaningful.
This recipe is my best version after countless trials. I’ve tested it with different flours, adjusted the hydration, and figured out the trick to getting that soft, slightly sweet crumb without it turning into a brioche. It’s authentic in spirit, practical for home cooks, and forgiving enough that your first attempt will still be delicious.
What Ingredients You Will Need
This recipe uses simple, wholesome ingredients to deliver that signature soft, slightly sweet crumb and fragrant orange blossom finish. Most of these are probably already in your kitchen—the orange blossom water is the only special guest, and trust me, it’s worth hunting down.
For the Dough
- 4 cups (500g) all-purpose flour – I prefer King Arthur for consistent results, but any brand works. Spoon and level your flour; don’t scoop straight from the bag or you’ll end up with dense bread.
- 1/2 cup (100g) granulated sugar – Adds sweetness and helps feed the yeast. You can reduce it slightly, but the bread won’t be as tender.
- 1 packet (2 1/4 tsp) active dry yeast – I use Red Star or SAF instant yeast. If using instant, you can skip the proofing step and mix it directly with the flour.
- 1/2 teaspoon salt – Fine sea salt dissolves more evenly than kosher in dough.
- 1/2 cup (120ml) whole milk, warmed – Microwave for about 30 seconds until it’s warm to the touch, not hot. About 110°F is the sweet spot—too hot kills the yeast, too cold and it won’t activate.
- 1/4 cup (60ml) water, warm – Same temperature as the milk.
- 1/4 cup (60g) unsalted butter, melted – Let it cool slightly before adding so you don’t accidentally scramble the eggs.
- 3 large eggs, room temperature – This matters more than you think. Cold eggs will stiffen the melted butter and slow down your rise. Leave them on the counter for 30 minutes, or float them in warm water for 5 minutes.
- 1 tablespoon orange blossom water – This is the star. Look for it in the international aisle or at a Middle Eastern grocer. Nielsen-Massey makes a good one, but the more affordable brands work just fine.
- 1 teaspoon vanilla extract – Pure, not imitation. It rounds out the floral notes beautifully.
- Zest of 1 orange – Use a microplane and only get the orange part. The white pith is bitter.
For the Orange Blossom Glaze
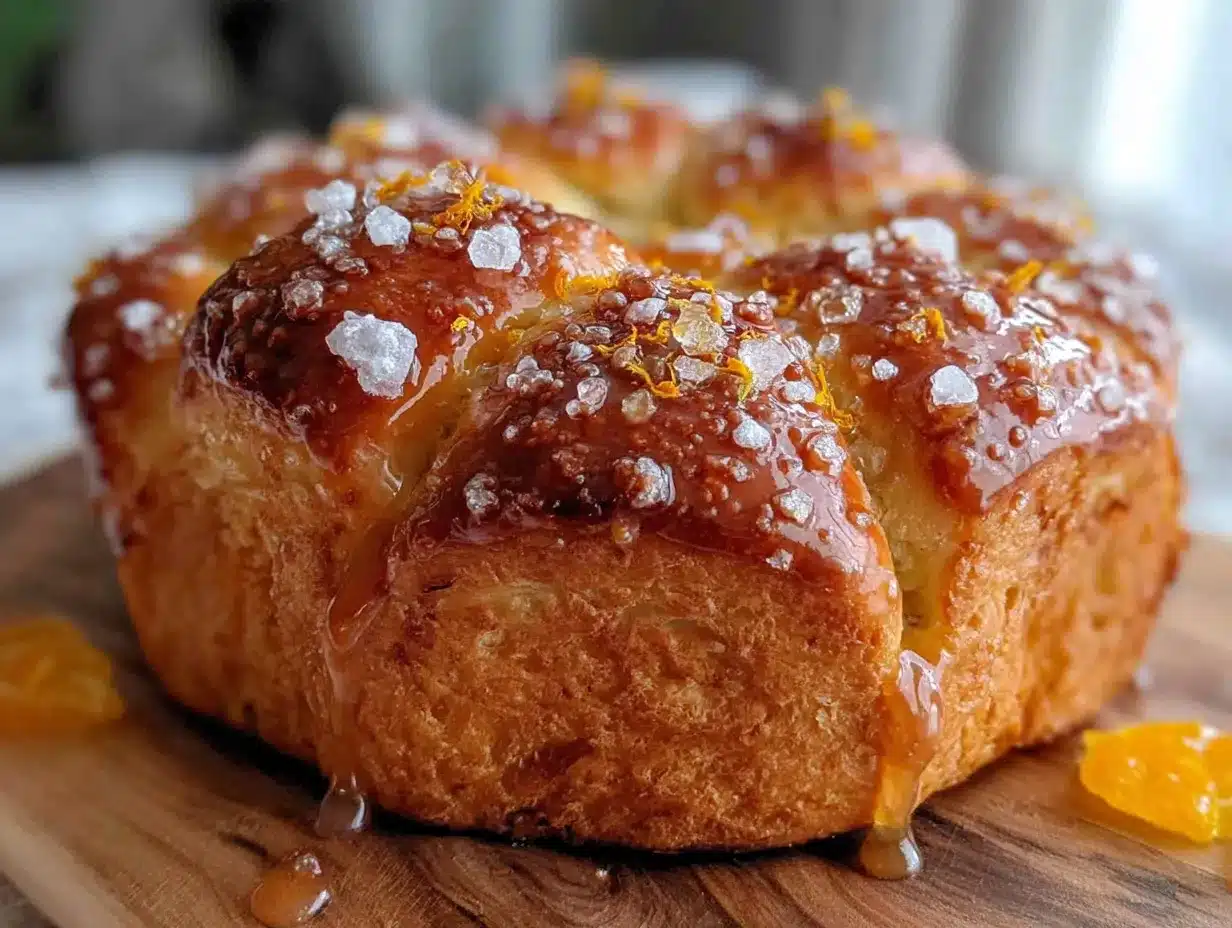
- 1 cup (120g) powdered sugar, sifted – Sifting prevents lumps. Yes, it’s an extra step. Yes, it’s worth it.
- 2 tablespoons orange blossom water – Start with 1 1/2 tablespoons and add more if needed. You want a drizzle consistency, not soup.
- 1 tablespoon fresh orange juice – From that zested orange. Don’t use bottled juice here.
- Pinch of salt – Balances the sweetness and makes the floral notes pop.
For Decoration (Optional but Traditional)
- 2 tablespoons melted butter – For brushing the baked loaves.
- 2 tablespoons granulated sugar – Mixed with 1/2 teaspoon orange zest for sprinkling.
Equipment Needed
You don’t need a professional bakery setup for this homemade pan de muerto. Here’s what you’ll actually use:
- Stand mixer with dough hook – This dough is sticky, and kneading by hand is doable but messy. If you’re kneading by hand, expect about 10-12 minutes of work and a lot of flour on your counter. I’ve done it both ways, and the mixer is worth dragging out of the cupboard.
- Large mixing bowl – Glass or ceramic works best; metal can react with the yeast.
- Baking sheets (2) – Line them with parchment paper or silicone baking mats. Silpat mats are my favorite—nothing sticks, and cleanup takes seconds.
- Microplane or fine grater – For zesting that orange without getting bitter pith.
- Whisk and rubber spatula – For mixing glaze and scraping every last bit of dough.
- Plastic wrap or a clean kitchen towel – For covering the dough while it rises. A damp towel works great if you don’t have plastic wrap.
- Cooling rack – Glazing warm bread on a rack lets the excess drip off cleanly. If you don’t have one, a wire oven rack turned upside down works in a pinch.
I’ll be honest—my first attempt at this bread was made with a wooden spoon and a lot of determination. It turned out fine. The mixer just makes it easier, and honestly, when you’re feeding a family on a budget, easier means you’ll actually make it again.
Preparation Method
Let’s make some bread. Set aside about 3 hours total—most of that is rising time, so you can fold laundry or chase kids around the living room while the dough does the work.
Step 1: Activate the Yeast (5 minutes)
In a small bowl, combine the warm milk, warm water, and 1 tablespoon of the sugar. Sprinkle the yeast on top and let it sit for 5-7 minutes until it’s foamy and smells like warm bread. If nothing happens after 10 minutes, your yeast is dead—start over with fresh yeast. I learned this the hard way on a Tuesday night when I really wanted bread and had to scrap everything.
Step 2: Mix the Dough (10 minutes)
In the bowl of your stand mixer, whisk together the flour, remaining sugar, and salt. Add the melted butter, eggs, orange blossom water, vanilla, orange zest, and the yeast mixture. Mix on low speed with the dough hook until a shaggy dough forms—about 2 minutes. Increase to medium speed and knead for 6-8 minutes. The dough should be soft, smooth, and slightly sticky. If it’s too wet (sticking to the sides of the bowl in a mess), add flour one tablespoon at a time. If it’s too dry and crumbly, add warm water a teaspoon at a time.
Step 3: First Rise (1 to 1.5 hours)
Shape the dough into a ball and place it in a lightly greased bowl, turning once to coat the top. Cover tightly with plastic wrap or a damp towel and let it rise in a warm, draft-free spot until doubled in size. This takes about 60-90 minutes depending on how warm your kitchen is. I usually put mine in the microwave (turned off, obviously) with a cup of hot water next to it—creates a perfect little proofing box.
Step 4: Shape the Loaves (15 minutes)
Punch down the dough gently to release the air. Turn it out onto a lightly floured surface and divide it into two equal pieces. Set one piece aside. Take the first piece and cut off about 1/4 of it—this will be your decorative “bones.” Shape the larger portion into a round, slightly domed loaf and place it on your prepared baking sheet.
Now for the fun part: divide that smaller piece into 4 equal balls. Roll each into a rope about 4 inches long. Place two ropes across the top of the loaf in an X shape (these represent the bones), and press the ends gently into the sides. Repeat with the remaining two ropes to form a second X. Finally, shape a tiny ball for the top center (the skull). Don’t stress about perfection—traditional pan de muerto is supposed to look a little rustic. My first one looked like a lopsided snowman, and it still tasted incredible.
Repeat with the second piece of dough.
Step 5: Second Rise (30-45 minutes)
Cover the shaped loaves loosely with plastic wrap or a clean towel and let them rise until puffy, about 30-45 minutes. They won’t double in size this time, but they should look noticeably fuller. About 15 minutes before the rise is done, preheat your oven to 350°F (175°C).
Step 6: Bake (20-25 minutes)
Bake the loaves on the middle rack for 20-25 minutes, rotating the pans halfway through. The bread should be deep golden brown and sound hollow when tapped on the bottom. If the tops are browning too quickly, tent loosely with foil for the last 5 minutes. Let the loaves cool on the baking sheet for 5 minutes, then transfer to a cooling rack.
Step 7: Glaze and Decorate (10 minutes)
While the bread is still warm (but not hot), whisk together the glaze ingredients until smooth. Drizzle generously over both loaves. If you’re using the decorative sugar, mix the granulated sugar with orange zest and sprinkle over the wet glaze. Let the glaze set for at least 15 minutes before serving. The bread is best the day it’s made, but honestly, it’s still fantastic the next morning with coffee.
Cooking Tips & Techniques
I’ve made this homemade pan de muerto more times than I can count, and I’ve messed it up in almost every way possible. Here’s what I’ve learned so you don’t have to repeat my mistakes.
Temperature matters more than you think. The first time I made this, I used cold eggs straight from the fridge and overheated the milk. The dough never rose properly, and I ended up with dense, sad little pucks. Warm liquids should feel like bath water—comfortably warm on your wrist, not hot. And please, let those eggs come to room temperature. Set them out when you start, and by the time you’re ready to mix, they’ll be perfect.
Don’t over-flour your work surface. This dough is meant to be soft and slightly tacky. If you dump on too much flour while shaping, you’ll end up with dry bread. Use just enough to keep it from sticking, and use a bench scraper to lift and move the dough if needed. I keep a small bowl of flour nearby and dip my fingers in instead of dusting the whole counter.
The glaze is forgiving, but watch the consistency. You want it thick enough to coat the back of a spoon but thin enough to drizzle. If it’s too thick, add orange blossom water a few drops at a time. Too thin? Add more powdered sugar. And glaze while the bread is still warm—the heat helps the glaze soak in slightly, creating that lovely, slightly crusty top.
Multitasking is your friend. While the dough is rising, clean up your kitchen, prep the glaze ingredients, or start thinking about what you’ll serve with this bread. The actual hands-on time is only about 30 minutes, so don’t let the total time scare you off.
One more thing: If your kitchen is cold (like mine in November), the dough will take forever to rise. I’ve had loaves take over 2 hours for the first rise. Don’t panic. Just be patient. The yeast will get there eventually, and the bread will be better for the extra time.
Variations & Adaptations
One of the things I love about this recipe is how adaptable it is. Here are a few ways I’ve tweaked it depending on what I have on hand or who I’m feeding.
Dairy-Free Version: Swap the whole milk for oat milk or almond milk (oat milk gives the best texture), and use vegan butter or coconut oil in place of regular butter. The flavor will be slightly different, but it still works beautifully. I tested this for a friend with dairy sensitivities, and honestly, I couldn’t tell the difference once the glaze went on.
Gluten-Free Adaptation: This one’s trickier, but it’s possible. Use a good 1:1 gluten-free flour blend (I like Bob’s Red Mill), and add 1 teaspoon of xanthan gum if your blend doesn’t already include it. The dough will be stickier and harder to shape, so wet your hands with water instead of flouring them. The texture won’t be exactly the same—it’ll be a bit more cake-like—but the flavor is still there.
Flavor Twists: Not a fan of orange blossom? You can substitute rose water for a completely different floral note. Or skip the floral altogether and use extra vanilla and a sprinkle of cinnamon. I made a version with cardamom and a honey glaze last year, and it disappeared faster than the traditional one.
Mini Pan de Muerto: Instead of making two large loaves, divide the dough into 12 equal pieces, shape each into a small round, and top with a tiny bone cross made from scraps. Bake for 15-18 minutes instead of 20-25. These are perfect for parties or for kids who want their own little loaf. My youngest loves having a “personal bread.”
Savory Version: This might sound strange, but hear me out. Reduce the sugar to 2 tablespoons, skip the orange blossom water and vanilla, and add 1 tablespoon of dried Mexican oregano and 1/2 cup of crumbled cotija cheese. Shape the same way, and brush with melted butter and a sprinkle of flaky salt after baking. It’s not traditional, but it’s absolutely delicious with soup.
Serving & Storage Suggestions
Pan de muerto is best served the day it’s made, when the glaze is still slightly soft and the bread is pillowy. But let’s be real—leftovers happen, and they’re still wonderful.
Serving: Serve at room temperature or slightly warm. If you want to reheat individual pieces, pop them in a 300°F oven for 5 minutes or microwave for 10-15 seconds. The microwave will soften the glaze, so I prefer the oven method. Pair it with a cup of Mexican hot chocolate, café de olla, or even just a strong black coffee. The sweetness of the bread balances beautifully with the slight bitterness of coffee.
For a Día de Muertos celebration, arrange the loaves on your ofrenda alongside marigolds, photos, and other offerings. If you’re just making it for a cozy weekend breakfast, serve it with fresh fruit and maybe a dollop of crema or whipped cream.
Storage: Store leftover bread in an airtight container at room temperature for up to 3 days. Do not refrigerate—it will dry out the bread and make the glaze sticky. If you live in a humid climate (like I do), the glaze might get tacky after a day. That’s fine; it still tastes good.
Freezing: You can freeze the unglazed loaves for up to 2 months. Wrap them tightly in plastic wrap, then foil. When you’re ready to serve, thaw at room temperature, reheat in a 300°F oven for 10 minutes, then glaze while warm. I’ve done this multiple times for unexpected guests, and no one has ever guessed the bread was frozen.
Leftover Ideas: Day-old pan de muerto makes incredible French toast (soak it in a custard of eggs, milk, vanilla, and a splash of orange blossom water). It’s also great toasted and slathered with butter, or cubed and used in a bread pudding. Honestly, I sometimes make an extra loaf just for the leftovers.
Nutritional Information & Benefits
Let’s be honest—this is a treat, not a health food. But it’s made with real ingredients, and there’s something to be said for that. Here’s a rough estimate per serving (1/8 of a loaf with glaze):
| Nutrient | Amount |
|---|---|
| Calories | 285 |
| Total Fat | 9g |
| Saturated Fat | 5g |
| Cholesterol | 65mg |
| Sodium | 180mg |
| Total Carbohydrates | 45g |
| Dietary Fiber | 1g |
| Sugars | 20g |
| Protein | 6g |
The orange blossom water isn’t just for fragrance—it’s been used traditionally to aid digestion and promote calmness. The eggs provide protein and B vitamins, and the butter adds a touch of vitamin A. Is it a superfood? No. But it’s a food made with love, and that counts for something.
If you’re watching your sugar intake, you can reduce the glaze or skip it entirely—the bread is still slightly sweet on its own. For a lower-carb option, this isn’t the recipe for you, but it’s perfect for an occasional treat that feels special without being over-the-top.
Conclusion
This homemade pan de muerto with orange blossom glaze is more than just a recipe—it’s a little piece of tradition that you can bring into your own kitchen, no matter where you live or what your background is. It’s the bread that filled my neighbor’s kitchen with that unforgettable smell, the bread that taught me that the best recipes come from people who don’t realize they’re doing something extraordinary.
I hope you make it. I hope you get flour on your counter and glaze on your fingers and that first bite makes you close your eyes for just a second. And I hope you share it—with your family, your friends, or even just with yourself on a quiet morning when you need something warm and sweet and good.
If you try this recipe, I’d love to hear about it. Leave a comment below and let me know how it turned out, what variations you tried, or if your kids loved it as much as mine did. And hey—if your first loaf looks a little lopsided, don’t worry. That’s how you know it’s homemade.
Frequently Asked Questions
Can I make pan de muerto without orange blossom water?
Yes, you can. The bread will still be delicious—just use an extra teaspoon of vanilla extract and the zest of one orange. It won’t have that signature floral note, but it’ll still taste like a sweet, tender yeast bread. If you can find it, orange extract is a decent substitute.
Why didn’t my dough rise?
There are a few common culprits: your yeast was expired or dead, your liquid was too hot (killed the yeast) or too cold (didn’t activate it), or your kitchen was too cold. Check the expiration date on your yeast, use a thermometer for your liquids (aim for 105-110°F), and find a warm spot for rising. I use the microwave with a cup of hot water—works every time.
Can I use instant yeast instead of active dry yeast?
Absolutely. If using instant yeast (like SAF or Fleischmann’s RapidRise), skip the proofing step and mix it directly with the flour. You can also reduce the rise time slightly—instant yeast is more vigorous. Use the same amount: one packet (2 1/4 teaspoons).
How do I store leftover pan de muerto?
Store it in an airtight container at room temperature for up to 3 days. Don’t refrigerate it—the bread will dry out and the glaze will get sticky. For longer storage, freeze the unglazed loaves for up to 2 months. Thaw, reheat, and glaze when you’re ready to serve.
Can I make this recipe vegan?
Yes, with some adjustments. Use plant-based milk (oat milk works best), vegan butter, and a flax egg (1 tablespoon ground flaxseed mixed with 3 tablespoons water per egg, let sit for 5 minutes). The texture will be slightly denser, and the flavor won’t be quite as rich, but it still makes a lovely bread. The glaze is naturally vegan as long as you use powdered sugar and orange blossom water.
Pin This Recipe!
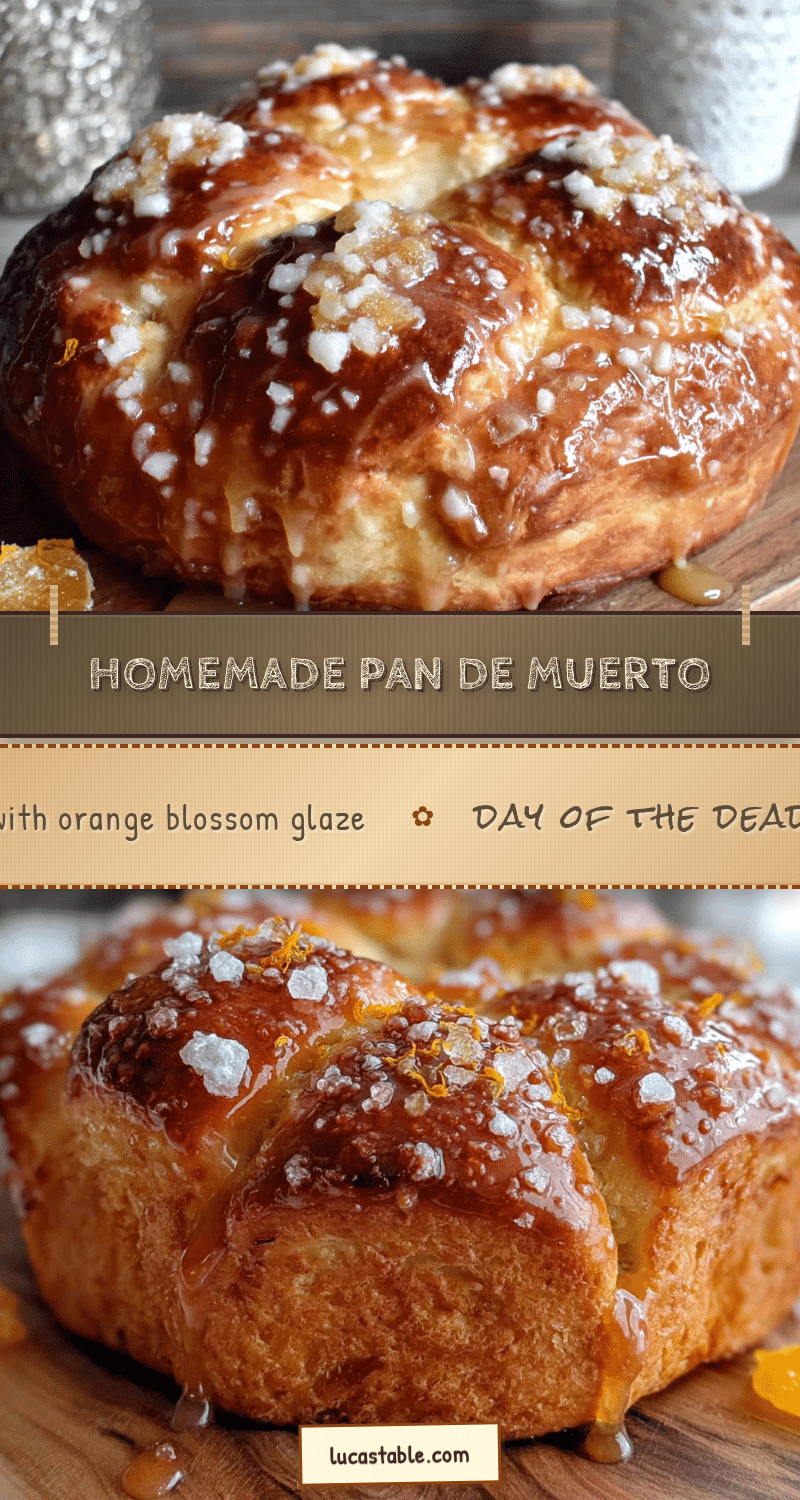
Homemade Pan de Muerto with Easy Orange Blossom Glaze

This homemade pan de muerto with orange blossom glaze is a soft, slightly sweet yeast bread infused with orange blossom water and orange zest, topped with a fragrant glaze. It’s perfect for Día de Muertos celebrations or as a comforting fall treat.
- Prep Time: 30 minutes
- Cook Time: 25 minutes
- Total Time: 3 hours
- Yield: 2 loaves (16 servings) 1x
- Category: Bread
- Cuisine: Mexican
Ingredients
- 4 cups (500g) all-purpose flour
- 1/2 cup (100g) granulated sugar
- 1 packet (2 1/4 tsp) active dry yeast
- 1/2 teaspoon salt
- 1/2 cup (120ml) whole milk, warmed
- 1/4 cup (60ml) water, warm
- 1/4 cup (60g) unsalted butter, melted
- 3 large eggs, room temperature
- 1 tablespoon orange blossom water
- 1 teaspoon vanilla extract
- Zest of 1 orange
- 1 cup (120g) powdered sugar, sifted
- 2 tablespoons orange blossom water
- 1 tablespoon fresh orange juice
- Pinch of salt
- 2 tablespoons melted butter (for decoration)
- 2 tablespoons granulated sugar (for decoration)
- 1/2 teaspoon orange zest (for decoration)
Instructions
- Activate the yeast: In a small bowl, combine warm milk, warm water, and 1 tablespoon of sugar. Sprinkle yeast on top and let sit for 5-7 minutes until foamy.
- Mix the dough: In a stand mixer bowl, whisk together flour, remaining sugar, and salt. Add melted butter, eggs, orange blossom water, vanilla, orange zest, and yeast mixture. Mix on low with dough hook until shaggy, then knead on medium for 6-8 minutes until smooth and slightly sticky.
- First rise: Shape dough into a ball, place in a greased bowl, cover, and let rise in a warm spot for 1 to 1.5 hours until doubled.
- Shape the loaves: Punch down dough, divide into two equal pieces. From each piece, cut off 1/4 for decorations. Shape the larger portion into a round loaf on a baking sheet. Divide the small piece into 4 balls, roll into ropes, and place in an X shape on top. Add a small ball in the center.
- Second rise: Cover loaves and let rise for 30-45 minutes until puffy. Preheat oven to 350°F (175°C) during the last 15 minutes.
- Bake: Bake for 20-25 minutes until deep golden brown and hollow when tapped. Cool on baking sheet for 5 minutes, then transfer to a cooling rack.
- Glaze and decorate: While bread is warm, whisk together powdered sugar, orange blossom water, orange juice, and salt. Drizzle over loaves. If desired, mix granulated sugar with orange zest and sprinkle over wet glaze. Let set for 15 minutes before serving.
Notes
Temperature matters: warm liquids should be bath-water warm (105-110°F). Don’t over-flour your work surface; the dough should be slightly tacky. Glaze while bread is still warm for best absorption. If your kitchen is cold, the first rise may take over 2 hours. Day-old bread makes excellent French toast.
Nutrition
- Serving Size: 1/8 of a loaf with g
- Calories: 285
- Sugar: 20
- Sodium: 180
- Fat: 9
- Saturated Fat: 5
- Carbohydrates: 45
- Fiber: 1
- Protein: 6
Keywords: pan de muerto, day of the dead bread, orange blossom bread, mexican sweet bread, fall baking, yeast bread