There used to be a tiny French bistro tucked away on a side street in Portland called Le Petit Chou that made a stuffed mushroom appetizer I still dream about. When they closed their doors three years ago after the owner retired, I actually stood outside the locked door for a full minute feeling genuinely bereft. After twelve tries—including one batch that turned into a watery disaster because I didn’t pre-bake the mushroom caps—I finally got it.
The original version was incredible but loaded with butter, cream, and enough cheese to make your cardiologist wince. I mean, it was glorious, but I couldn’t justify eating them every week the way I wanted to. So I started tinkering. What if I swapped the heavy cream for something lighter? What if I kept all the savory, umami-packed flavor but made it something I could feel good about serving on a Tuesday night without guilt?
That’s how these Lightened Up Green Bean Casserole Stuffed Mushrooms came to be. They’ve got that same bistro-worthy elegance—the tender mushroom caps, the creamy filling, the crispy topping—but they’re made with ingredients that won’t leave you feeling sluggish. Honestly, I think they’re even better than the original. Maybe you’ve been there, chasing a memory of a dish from a place that no longer exists. Let me tell you, when you finally nail it, it’s the best feeling in the world.
Why You’ll Love This Recipe
These stuffed mushrooms aren’t just another appetizer—they’re the kind of thing that makes people hover around the serving tray asking for the recipe before you’ve even sat down. Here’s why they work so well:
- Quick & Easy: From start to finish, you’re looking at about 35 minutes. Perfect for last-minute entertaining or when that craving hits hard.
- Simple Ingredients: No fancy grocery store runs needed. Mushrooms, green beans, cream cheese, and a few pantry staples—that’s it.
- Perfect for Entertaining: These little guys look like you spent hours in the kitchen, but they come together with almost no fuss. Holiday parties, game day, dinner parties—they fit everywhere.
- Crowd-Pleaser: I’ve served these to mushroom skeptics and green bean haters alike, and the tray always comes back empty. Always.
- Unbelievably Delicious: The creamy filling, the earthy mushrooms, the crispy fried onion topping—it’s comfort food that somehow feels light and fresh at the same time.
What makes this version different? It’s the balance. I tested this recipe six times to get the ratio of cream cheese to Greek yogurt just right—creamy enough to feel indulgent, but light enough that you don’t regret the second helping. The green beans add freshness and texture, and the crispy onions on top give you that nostalgic green bean casserole crunch without the heavy cream sauce. It’s comfort food reimagined—healthier, faster, but with the same soul-soothing satisfaction.
What Ingredients You Will Need
This recipe uses simple, wholesome ingredients to deliver bold flavor and satisfying texture without the fuss. Most of these are probably already in your kitchen, which is exactly how I like to cook.
For the Mushrooms
- 16 ounces large white mushrooms or cremini mushrooms (look for caps that are at least 2 inches wide—they hold the filling better)
- 1 tablespoon olive oil (for brushing the caps before baking)
- Salt and black pepper (to taste)
For the Filling
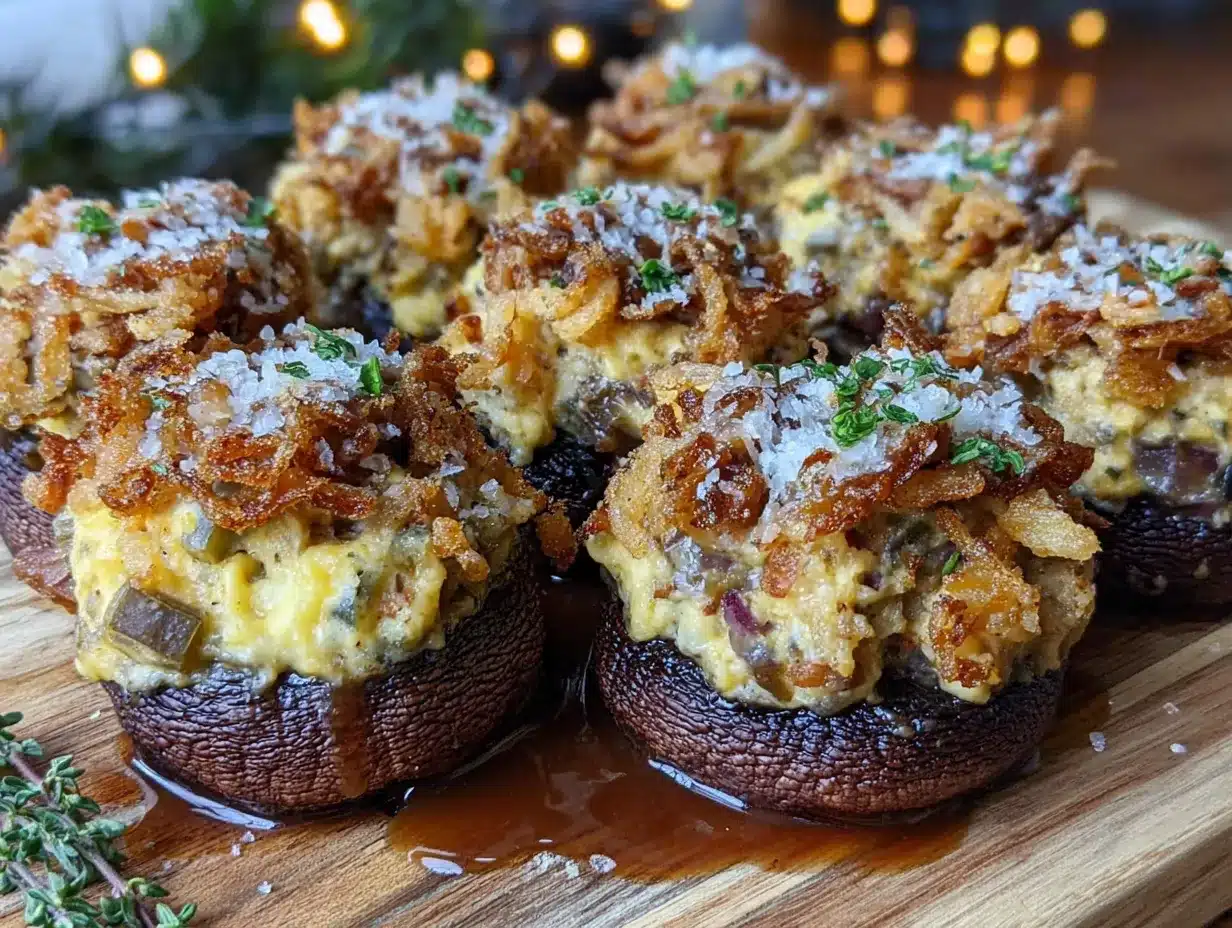
- 1 cup fresh green beans, trimmed and finely chopped into small pieces (about ¼-inch—this helps them cook quickly and fit neatly inside the mushroom caps)
- 4 ounces reduced-fat cream cheese, softened to room temperature (I recommend Philadelphia for the smoothest texture)
- ¼ cup plain Greek yogurt (use full-fat or 2% for best creaminess; dairy-free coconut yogurt works in a pinch)
- ¼ cup grated Parmesan cheese (freshly grated is best—the pre-shredded stuff doesn’t melt as smoothly)
- 1 clove garlic, minced
- ¼ teaspoon onion powder
- ¼ teaspoon dried thyme
- Pinch of cayenne pepper (optional, but it adds a lovely warmth without heat)
- Salt and black pepper (to taste)
For the Topping
- ¼ cup crispy fried onions (the kind you use for green bean casserole—I like French’s for that classic flavor)
- 2 tablespoons panko breadcrumbs (use gluten-free panko if needed)
- 1 tablespoon grated Parmesan cheese
- 1 teaspoon olive oil (for tossing the topping)
A quick note on the mushrooms: look for caps that are firm and dry, not slimy or bruised. If you can only find smaller mushrooms, just chop the filling a little finer and you’ll be fine. For the green beans, fresh is really best here—frozen green beans tend to release too much water and make the filling soggy. Trust me on this one, I learned the hard way.
Equipment Needed
- Large baking sheet (rimmed is best to catch any juices)
- Parchment paper or silicone baking mat
- Small skillet (for sautéing the green beans)
- Medium mixing bowl
- Small mixing bowl
- Chef’s knife and cutting board
- Small spoon or offset spatula (for filling the mushrooms)
- Pastry brush (for brushing the mushroom caps with oil)
If you don’t have a pastry brush, just use your fingers or a paper towel to rub the oil onto the mushroom caps. I’ve done it both ways and honestly, it works fine either way. A silicone baking mat is nice for easy cleanup, but parchment paper does the job just as well. No need to buy anything fancy here.
Preparation Method
- Preheat your oven to 375°F (190°C). Line a large baking sheet with parchment paper or a silicone mat. This makes cleanup a breeze and prevents sticking.
- Prepare the mushroom caps. Gently wipe the mushrooms clean with a damp paper towel—don’t rinse them under water, they’ll absorb too much moisture and get soggy. Carefully twist off the stems and set them aside (you can chop them up and add them to the filling if you want, but I usually save them for stock). Use a small spoon to gently scrape out the gills if you want more room for filling, though this step is optional.
- Pre-bake the mushroom caps. Arrange the caps cavity-side up on the prepared baking sheet. Brush them lightly with olive oil and season with a pinch of salt and pepper. Bake for 8 minutes, then remove from the oven and carefully drain any liquid that has pooled inside the caps. This step is crucial—skipping it leads to watery mushrooms. I learned this after my first attempt turned into a soupy mess.
- While the mushrooms bake, prepare the filling. Bring a small pot of water to a boil and add the chopped green beans. Blanch them for 2 minutes, then drain and immediately transfer to a bowl of ice water to stop the cooking. Drain again and pat dry with a paper towel. This keeps them bright green and crisp-tender.
- Make the creamy base. In a medium mixing bowl, combine the softened cream cheese, Greek yogurt, ¼ cup grated Parmesan, minced garlic, onion powder, dried thyme, cayenne (if using), and a pinch of salt and pepper. Stir until smooth and well combined. Taste and adjust seasoning—you want it well-seasoned since the mushrooms will mellow it out.
- Fold in the green beans. Add the blanched, chopped green beans to the cream cheese mixture and stir until evenly distributed. The mixture should be thick and scoopable, not runny. If it seems too loose, add another tablespoon of Parmesan to help bind it.
- Fill the mushroom caps. Using a small spoon or offset spatula, generously fill each pre-baked mushroom cap with the green bean mixture. Don’t be shy—pile it up slightly in the center. You want a nice, heaping mound of filling on each one.
- Make the topping. In a small bowl, combine the crispy fried onions, panko breadcrumbs, 1 tablespoon Parmesan, and 1 teaspoon olive oil. Toss with your fingers until everything is evenly coated. Sprinkle this mixture over the filled mushrooms, pressing gently so it sticks.
- Bake the stuffed mushrooms. Return the baking sheet to the oven and bake for 15-18 minutes, until the filling is hot and bubbly and the topping is golden brown and crispy. The mushrooms should be tender but still holding their shape.
- Let them rest. Remove from the oven and let the mushrooms sit on the baking sheet for 3-5 minutes before serving. This allows the filling to set slightly so it doesn’t slide off when you pick them up. Trust me, I’ve burned my mouth more times than I’d like to admit rushing this step.
Cooking Tips & Techniques
Here are some lessons I learned the hard way so you don’t have to:
Don’t skip the pre-bake. I know it seems like an extra step, but mushrooms release a shocking amount of water as they cook. If you don’t pre-bake them and drain that liquid, your filling will end up swimming in mushroom juice. I learned this on my third attempt when I served what looked like stuffed mushrooms in a puddle of sadness.
Room temperature cream cheese is non-negotiable. Cold cream cheese doesn’t mix smoothly—you’ll end up with lumpy filling no matter how hard you stir. Take it out of the fridge 30 minutes before you start cooking. If you forget (which I do, constantly), microwave it in 10-second bursts until it’s soft but not melted.
Size matters with mushrooms. Look for caps that are roughly the same size so they cook evenly. If you end up with a mix of sizes, put the smaller ones on one side of the baking sheet and check them a few minutes early. I’ve definitely had tiny mushrooms turn into shriveled raisins while the big ones were still perfect.
Make the filling ahead. You can prepare the filling up to two days in advance and store it in the fridge. Just let it come to room temperature before filling the mushrooms so it spreads easily. This is a lifesaver when you’re hosting and trying to get everything done at once.
Don’t overfill. It’s tempting to pile the filling sky-high, but too much will spill over and burn on the baking sheet. A generous, rounded mound is perfect—about a tablespoon of filling per mushroom cap.
Variations & Adaptations
This recipe is surprisingly flexible. Here are some ways to make it your own:
Make it vegetarian-friendly: It already is! But if you want to go full plant-based, use dairy-free cream cheese and yogurt, and swap the Parmesan for nutritional yeast. The crispy onions are usually vegan, but double-check the label.
Gluten-free version: Use gluten-free panko breadcrumbs and check that your crispy fried onions are certified gluten-free. French’s makes a gluten-free version that works beautifully.
Add some protein: Stir in ¼ cup of cooked, crumbled bacon or finely chopped cooked chicken sausage to the filling for a heartier version. I made these for a Super Bowl party with bacon added and they disappeared in minutes.
Spice it up: Add a minced jalapeño to the filling or swap the cayenne for a pinch of smoked paprika. The smoky flavor pairs surprisingly well with the earthy mushrooms and green beans.
Change the cheese: Try using crumbled feta or goat cheese instead of Parmesan for a tangier filling. Just reduce the salt since both cheeses are naturally salty. I tried this with goat cheese once and it was absolutely divine—creamy, tangy, and completely addictive.
Seasonal swap: In the summer, use fresh asparagus instead of green beans. Just blanch it the same way and chop it finely. In the fall, try finely chopped roasted Brussels sprouts—they add a nutty sweetness that’s incredible with the mushrooms.
Serving & Storage Suggestions
These Lightened Up Green Bean Casserole Stuffed Mushrooms are best served warm, right out of the oven. The filling is creamy, the topping is crispy, and the mushrooms are tender—that contrast is everything. Arrange them on a platter with a sprinkle of fresh parsley or chives for a pop of color.
They pair beautifully with a simple green salad dressed with lemon vinaigrette, or alongside a bowl of roasted tomato soup for a cozy meal. For a holiday spread, they’re perfect next to a roast chicken or turkey. And honestly? They’re amazing just as a snack with a glass of crisp white wine.
Storage: Leftover stuffed mushrooms (if you have any!) can be stored in an airtight container in the refrigerator for up to 3 days. The topping will lose some of its crunch, but the flavor is still fantastic.
Reheating: The best way to reheat them is in a 350°F oven for 8-10 minutes. This helps restore some of the crispiness to the topping. The microwave works in a pinch, but the topping will be soft. I won’t judge you—I’ve definitely microwaved them at 11 PM when nobody was watching.
Freezing: You can freeze the unbaked stuffed mushrooms on a baking sheet until solid, then transfer them to a freezer bag. Bake directly from frozen, adding 5-7 minutes to the cooking time. I’ve done this for holiday prep and it works like a charm.
Nutritional Information & Benefits
Here’s the approximate nutritional breakdown per serving (3 stuffed mushrooms):
- Calories: 185
- Protein: 10g
- Fat: 11g
- Carbohydrates: 12g
- Fiber: 2g
- Sugar: 4g
These numbers are estimated and will vary based on the exact ingredients and brands you use. I calculated them using reduced-fat cream cheese and Greek yogurt, which significantly cuts the calories and fat compared to traditional stuffed mushrooms made with heavy cream and full-fat cheese.
Mushrooms are a fantastic source of B vitamins, selenium, and copper, all of which support immune function and energy production. Green beans add fiber, vitamin K, and vitamin C. By swapping heavy cream for Greek yogurt, you’re also getting a boost of protein and probiotics. It’s a small change that makes a big difference—you get all the comfort with none of the guilt.
This recipe is naturally low-carb and can be made gluten-free and vegetarian with simple substitutions. It’s also nut-free and egg-free, making it a great option for guests with common dietary restrictions.
Conclusion
These Lightened Up Green Bean Casserole Stuffed Mushrooms are proof that you don’t need heavy cream, loads of butter, or a complicated technique to make something that feels truly special. They’ve got all the nostalgic comfort of classic green bean casserole packed into a tender, earthy mushroom cap, with a crispy topping that makes every bite satisfying.
Whether you’re making them for a holiday gathering, a casual dinner party, or just because you’re craving something warm and delicious, I hope they bring you as much joy as they’ve brought me. The best part? You can feel good about eating a handful of them—because they’re lightened up, but they don’t taste like it.
I’d love to hear how these turn out for you! Drop a comment below and let me know if you tried any variations, or tag me in your photos on social media. Happy cooking, friends!
Frequently Asked Questions
Can I use frozen green beans instead of fresh?
I don’t recommend it. Frozen green beans release a lot of water when they thaw, which will make your filling watery and loose. Fresh green beans give you a much better texture and flavor. If frozen is all you have, thaw them completely, pat them very dry with paper towels, and chop them finely before adding to the filling.
Can I make these stuffed mushrooms ahead of time?
Absolutely! You can prepare the filling up to two days ahead and store it in the fridge. You can also assemble the mushrooms (without the topping) a day in advance, cover them, and refrigerate. Add the topping just before baking so it stays crispy. This is my go-to strategy for holiday entertaining.
How do I prevent the mushroom caps from getting soggy?
The pre-baking step is key here. Baking the empty mushroom caps for 8 minutes allows them to release their moisture before you add the filling. Make sure to drain any liquid that pools inside the caps after pre-baking. Also, don’t wash the mushrooms under running water—just wipe them clean with a damp paper towel.
What can I use instead of crispy fried onions?
If you can’t find crispy fried onions or want a homemade option, you can make your own by thinly slicing a small onion, tossing it with a little flour and salt, and baking at 400°F for 10-12 minutes until crispy. Alternatively, crushed pork rinds or extra panko breadcrumbs work well for a different texture.
Can I freeze the baked stuffed mushrooms?
Yes, but the topping will lose its crunch. If you want to freeze them, I recommend freezing them unbaked. Assemble the mushrooms, place them on a baking sheet, and freeze until solid. Transfer to a freezer bag and bake directly from frozen, adding 5-7 minutes to the cooking time. They’ll taste just as good as fresh!
Pin This Recipe!
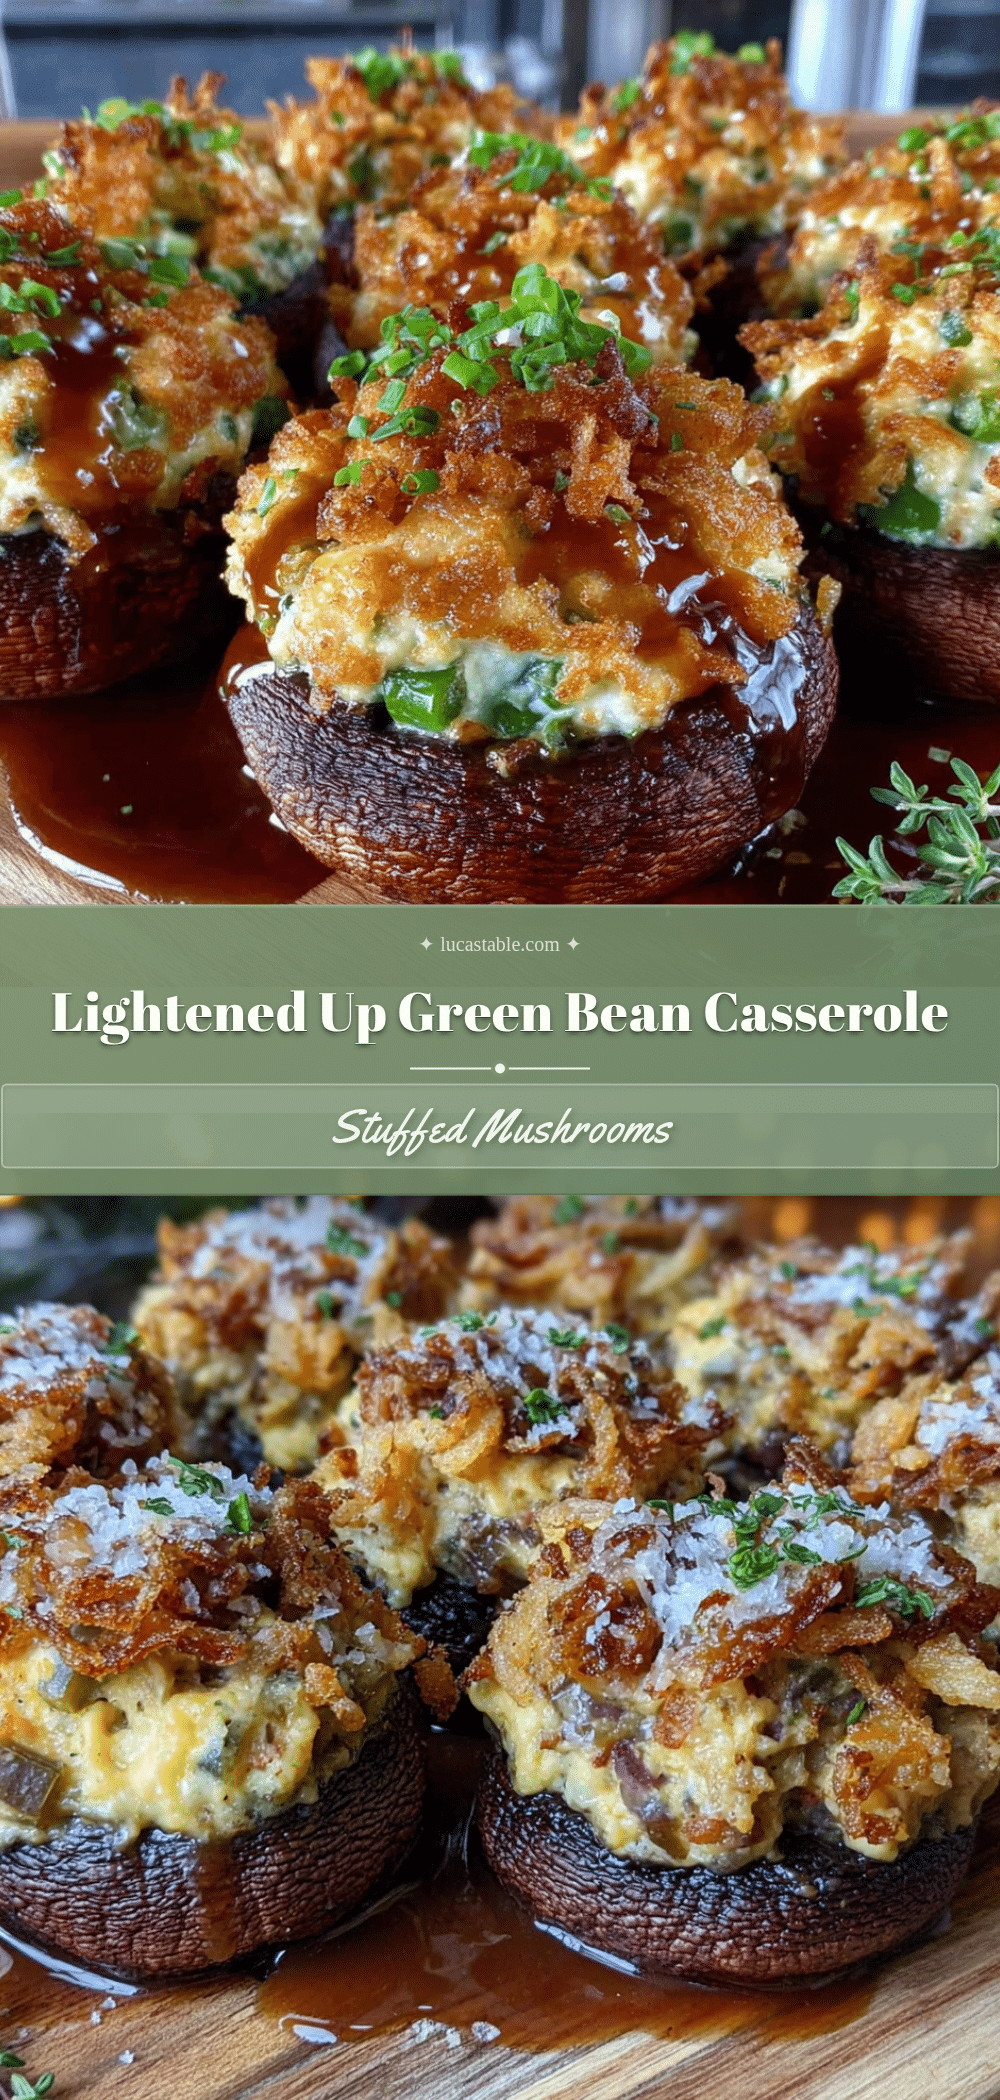
Lightened Up Green Bean Stuffed Mushrooms

These Lightened Up Green Bean Casserole Stuffed Mushrooms are a healthier twist on a classic French bistro appetizer. Tender mushroom caps are filled with a creamy green bean mixture, topped with crispy fried onions and panko, then baked to golden perfection.
- Prep Time: 15 minutes
- Cook Time: 25 minutes
- Total Time: 40 minutes
- Yield: 4 servings 1x
- Category: Appetizer
- Cuisine: American
Ingredients
- 16 ounces large white mushrooms or cremini mushrooms (at least 2 inches wide)
- 1 tablespoon olive oil
- Salt and black pepper to taste
- 1 cup fresh green beans, trimmed and finely chopped (about ¼-inch pieces)
- 4 ounces reduced-fat cream cheese, softened
- ¼ cup plain Greek yogurt (full-fat or 2%)
- ¼ cup grated Parmesan cheese (freshly grated)
- 1 clove garlic, minced
- ¼ teaspoon onion powder
- ¼ teaspoon dried thyme
- Pinch of cayenne pepper (optional)
- ¼ cup crispy fried onions
- 2 tablespoons panko breadcrumbs
- 1 tablespoon grated Parmesan cheese (for topping)
- 1 teaspoon olive oil (for topping)
Instructions
- Preheat your oven to 375°F (190°C). Line a large baking sheet with parchment paper or a silicone mat.
- Gently wipe the mushrooms clean with a damp paper towel. Carefully twist off the stems and set aside. Use a small spoon to gently scrape out the gills if desired.
- Arrange the mushroom caps cavity-side up on the prepared baking sheet. Brush lightly with olive oil and season with a pinch of salt and pepper. Bake for 8 minutes, then remove from the oven and carefully drain any liquid that has pooled inside the caps.
- While the mushrooms bake, bring a small pot of water to a boil and add the chopped green beans. Blanch for 2 minutes, then drain and immediately transfer to a bowl of ice water to stop the cooking. Drain again and pat dry with a paper towel.
- In a medium mixing bowl, combine the softened cream cheese, Greek yogurt, ¼ cup grated Parmesan, minced garlic, onion powder, dried thyme, cayenne (if using), and a pinch of salt and pepper. Stir until smooth and well combined. Taste and adjust seasoning.
- Add the blanched, chopped green beans to the cream cheese mixture and stir until evenly distributed.
- Using a small spoon or offset spatula, generously fill each pre-baked mushroom cap with the green bean mixture, piling it up slightly in the center.
- In a small bowl, combine the crispy fried onions, panko breadcrumbs, 1 tablespoon Parmesan, and 1 teaspoon olive oil. Toss until evenly coated. Sprinkle this mixture over the filled mushrooms, pressing gently so it sticks.
- Return the baking sheet to the oven and bake for 15-18 minutes, until the filling is hot and bubbly and the topping is golden brown and crispy.
- Remove from the oven and let the mushrooms sit on the baking sheet for 3-5 minutes before serving.
Notes
Don’t skip the pre-bake step—it prevents watery mushrooms. Use room temperature cream cheese for smooth mixing. Look for mushroom caps of similar size for even cooking. The filling can be made up to 2 days ahead. For gluten-free, use gluten-free panko and certified gluten-free crispy onions.
Nutrition
- Serving Size: 3 stuffed mushrooms
- Calories: 185
- Sugar: 4
- Sodium: 320
- Fat: 11
- Saturated Fat: 4
- Carbohydrates: 12
- Fiber: 2
- Protein: 10
Keywords: stuffed mushrooms, green bean casserole, lightened up, healthy appetizer, holiday appetizer, vegetarian, low-carb


