Third time in three days I’m rolling these no-bake peanut butter oat energy bites, and this time I actually measured the honey instead of just eyeballing it. The first batch was too dry — crumbled apart when my four-year-old tried to pick one up. The second batch was a sticky, sweet mess that left peanut butter fingerprints on every single surface in my kitchen. But this third batch? Pure gold. Perfectly chewy, just sweet enough, and they actually hold their shape without gluing themselves to the parchment paper. My kid ate three before I could even get them into the fridge.
I didn’t set out to become obsessed with these little bites, honestly. It started because I needed something — anything — that my daughter could grab herself when she gets that post-nap hangry meltdown. You know the one. The snack drawer wasn’t cutting it anymore, and I was tired of finding half-eaten granola bars squished into the couch cushions. These energy bites solved a problem I didn’t even know I had. They’re forgiving, which I appreciate as a parent who rarely has time to measure things precisely.
What got me hooked, though, wasn’t just the convenience. It was watching my kid actually choose these over a packaged snack. That never happens. She calls them “cookie balls” and asks for them by name. And honestly, I don’t correct her. If she thinks she’s getting a treat and I know she’s getting oats, peanut butter, and a little flaxseed, we’re both winning. These no-bake peanut butter oat energy bites became our thing — a tiny ritual that makes weekday chaos feel a little more manageable.
Why You’ll Love This Recipe
Let’s be real — most “healthy snacks for kids” taste like cardboard or require a trip to three different specialty stores. These no-bake peanut butter oat energy bites are the opposite of that. They come together in about five minutes with stuff you probably already have in your pantry, and they actually taste good. Like, really good. My husband steals them from the fridge, and he’s the guy who claims he doesn’t like “healthy food.”
Here’s what makes these energy bites stand out:
- No baking required — Perfect for hot days when you don’t want to turn on the oven, or for little hands that want to help in the kitchen. My daughter loves rolling these into balls almost as much as she loves eating them.
- Five minutes of active time — Mix, roll, chill. That’s it. No stand mixer, no complicated steps, no waiting for butter to soften. Just stir and shape.
- Pantry staple ingredients — Oats, peanut butter, honey, and a few add-ins. You don’t need chia seeds or coconut oil or anything fancy. Though you can add those if you want.
- Kid-approved and parent-approved — They’re sweet enough to feel like a treat but packed with enough protein and fiber to actually keep little bellies full between meals.
- Endlessly customizable — Swap the peanut butter for sunflower seed butter, add chocolate chips, throw in some dried fruit. These bites adapt to whatever you have on hand.
- Perfect for lunchboxes — They hold up well in a lunch bag and don’t get soggy or weird by lunchtime. Unlike some homemade snacks I’ve tried.
I’ve tested this recipe more times than I care to admit, tweaking the ratios until they hit that sweet spot between firm enough to hold shape and soft enough to be easy to chew. The secret is letting the oats absorb the moisture for a few minutes before rolling. It makes all the difference. These aren’t just another energy ball recipe — they’re the one I keep coming back to, and the one I actually trust for my own kid.
What Ingredients You Will Need
This recipe calls for simple, everyday ingredients that come together to create something genuinely satisfying. No weird health food store finds here — just real food that works.
- Old-fashioned rolled oats (1 ½ cups / 135g) — These provide the chewy texture and bulk of the bites. I prefer old-fashioned oats over quick oats because they hold their texture better and don’t turn mushy. If all you have is quick oats, they’ll work, but the texture will be softer. Gluten-free certified oats work great if needed.
- Creamy peanut butter (½ cup / 128g) — The glue that holds everything together. I use natural peanut butter with just peanuts and salt, but any creamy peanut butter works. Avoid the super-runny natural brands that separate completely — they can make the mixture too loose. If your peanut butter is very oily, drain off the excess oil before measuring. For a nut-free version, sunflower seed butter works beautifully, though the color will turn greenish (totally normal, it’s a chemical reaction).
- Honey (⅓ cup / 113g) — Adds sweetness and helps bind the ingredients. Local honey is nice if you have it, but any liquid honey works. Maple syrup is a great substitute for a vegan version, though the mixture might be slightly stickier. Agave nectar also works in a pinch.
- Ground flaxseed (2 tablespoons / 14g) — My secret weapon for extra nutrition and binding. Flax adds fiber, omega-3s, and helps the bites hold together. You can skip it or substitute chia seeds if you prefer. If you’re using whole flaxseeds, grind them first — whole seeds pass right through without digesting.
- Mini chocolate chips (¼ cup / 45g) — The ingredient that makes kids actually excited about these. I use semi-sweet mini chips because they distribute evenly and don’t overwhelm the other flavors. Dark chocolate chips, milk chocolate, or even white chocolate all work. For a healthier twist, try cacao nibs — though fair warning, they’re bitter and kids might not love them.
- Vanilla extract (½ teaspoon) — Just a splash to round out the flavors. It’s not strictly necessary, but it makes everything taste more like a cookie. Pure vanilla extract is best, but imitation vanilla works fine here.
- Pinch of salt (⅛ teaspoon) — Only needed if your peanut butter is unsalted. Salt balances the sweetness and makes the peanut butter flavor pop. Don’t skip it if your peanut butter is unsalted — the bites will taste flat.
That’s it. Seven ingredients, most of which are probably in your kitchen right now. I keep a bag of rolled oats and a jar of peanut butter in my pantry specifically for these energy bites, because they’ve become that much of a staple in our house.
Equipment Needed
You don’t need much for this recipe, which is part of the beauty of it. Here’s what you’ll need:
- Large mixing bowl — Any medium-to-large bowl works. I use my favorite ceramic mixing bowl, but glass or stainless steel is fine too.
- Measuring cups and spoons — For accurate measurements, though honestly, I’ve made these with rough estimates and they still turned out fine.
- Rubber spatula or wooden spoon — For mixing. A spatula makes it easier to scrape the sides, but a sturdy spoon works just as well.
- Parchment paper or wax paper — For lining a baking sheet or plate while the bites chill. You can skip this and just put them directly on a plate, but they might stick slightly.
- Baking sheet or large plate — To hold the bites while they firm up in the fridge.
- Small cookie scoop or tablespoon — For portioning evenly. I use a 1-tablespoon cookie scoop, and it makes the process so much faster. A regular spoon works too, but the sizes won’t be as uniform.
- Air-tight container — For storing the finished bites in the fridge or freezer.
If you don’t have a cookie scoop, just wet your hands slightly before rolling — it keeps the mixture from sticking to your palms and makes the process much less frustrating. I learned that trick after my first batch left me scraping peanut butter oat mixture out from under my fingernails for ten minutes.
Preparation Method
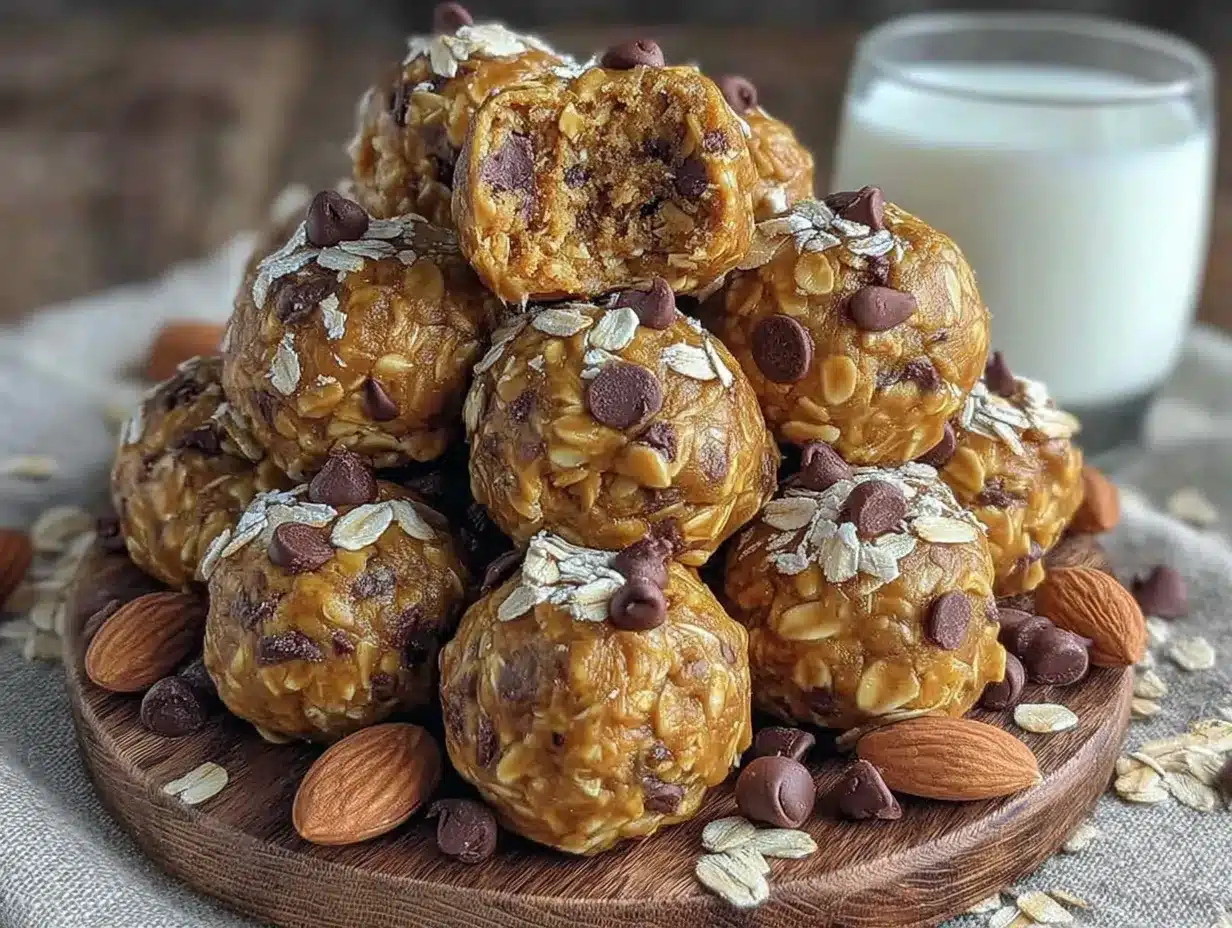
This is the easiest part. Follow these steps, and you’ll have a batch of energy bites ready before your kid finishes asking for a snack for the fifth time.
- Combine the dry ingredients. In a large mixing bowl, stir together the rolled oats, ground flaxseed, and salt (if using). Make sure the flax is evenly distributed — nobody wants a bite that’s mostly flax. Give it a good stir with your spatula or spoon until everything looks uniform.
- Add the wet ingredients. Pour in the peanut butter, honey, and vanilla extract. Don’t dump them all in one spot — try to distribute them a little so mixing is easier. If your peanut butter is cold or stiff, microwave it for about 10 seconds to make it more stirrable. Just don’t overheat it, or it’ll seize up.
- Mix until combined. Stir everything together with your spatula or spoon. At first, it’ll look like a dry, crumbly mess. Keep going. The oats need a minute to absorb the moisture from the peanut butter and honey. I usually stir for about a minute, then let the mixture sit for 2-3 minutes. Come back and stir again — it should come together into a cohesive, slightly sticky dough. If it’s still too dry, add a teaspoon more honey or peanut butter. If it’s too wet, add a tablespoon more oats.
- Fold in the chocolate chips. Once the base mixture is well combined, gently fold in the mini chocolate chips. Make sure they’re evenly distributed, but don’t overmix — you want distinct pockets of chocolate, not a brown mess.
- Chill the mixture (optional but recommended). Pop the bowl in the fridge for 15-20 minutes. This makes the mixture easier to handle and less sticky. If you’re in a hurry, you can skip this step, but your hands will get messier. I’ve done both, and the chilled mixture is definitely easier to work with.
- Portion and roll. Line a baking sheet or large plate with parchment paper. Using a tablespoon or small cookie scoop, portion out the mixture. Roll each portion between your palms to form a smooth ball. If the mixture sticks to your hands, lightly wet your palms with water or rub a tiny bit of oil on them. Aim for balls about 1 inch in diameter — big enough to be satisfying, small enough for little hands to hold easily.
- Chill to set. Place the rolled bites on the parchment-lined sheet. Refrigerate for at least 30 minutes to allow them to firm up. This step is important — the bites will be soft and fragile right after rolling, and the chill time helps them hold their shape. I’ve definitely eaten one straight from the mixing bowl before chilling, and while it tastes great, the texture is much better after a stint in the fridge.
- Transfer to storage. Once chilled, move the bites to an airtight container. Keep them refrigerated for up to two weeks, or freeze for longer storage. If you’re packing them in a lunchbox, they’ll be fine at room temperature for a few hours — just don’t leave them in a hot car.
This recipe makes about 18-20 bites, depending on how big you roll them. I usually double the batch because they disappear so fast. The whole process, from measuring to finished bites, takes about 15 minutes of active time plus 30 minutes of chill time. Not bad for a snack that lasts all week.
Cooking Tips & Techniques
After making these no-bake peanut butter oat energy bites more times than I can count, I’ve picked up a few tricks that make the process smoother and the results better. Here’s what I’ve learned the hard way:
Let the mixture rest. This is the single most important tip I can give you. After you mix everything together, let it sit for 2-3 minutes before you judge the consistency. The oats need time to absorb the liquid ingredients. I ruined my first batch by adding more oats because the mixture seemed too wet, only to have it turn into dry crumbles after resting. Patience pays off here.
Wet hands for easier rolling. Keep a small bowl of water nearby while you roll. Dip your palms in the water and shake off the excess before rolling each ball. The moisture prevents the mixture from sticking to your hands without adding too much water to the bites themselves. This trick saved my sanity during batch number two.
Use a cookie scoop for uniform sizes. A 1-tablespoon cookie scoop gives you perfectly even portions, which means consistent texture and even chilling. Plus, it’s faster than scooping with a spoon and then rolling. If you make these often, a cookie scoop is worth the small investment.
Don’t overmix the chocolate chips. Stir just until they’re distributed. Overmixing can cause the chocolate to melt slightly from the warmth of your hands and the peanut butter, creating a streaky brown mess. You want distinct chocolate chips in each bite, not chocolate-flavored dough.
Chill before storing. Always refrigerate the bites for at least 30 minutes before transferring them to a container. If you put them in a container while they’re still warm or at room temperature, they’ll stick together and lose their shape. Trust me on this — I learned it the hard way when I came back to find one giant peanut butter oat blob instead of individual bites.
Adjust for humidity. On humid days, the mixture might be stickier than usual. Add an extra tablespoon of oats to compensate. On dry days, you might need an extra teaspoon of honey. Pay attention to how the mixture feels rather than strictly following the measurements.
Make ahead for busy weeks. These energy bites freeze beautifully. Make a double batch, freeze half, and you’ll have snacks ready for weeks. Just thaw them in the fridge overnight, or grab one straight from the freezer — they’re still delicious frozen, especially on a hot day.
Variations & Adaptations
One of the best things about this recipe is how flexible it is. Here are some variations I’ve tried and loved:
Nut-free version. Swap the peanut butter for sunflower seed butter or WowButter. The texture will be slightly different, and sunflower seed butter can turn green when combined with baking soda (not an issue here since we’re not baking), but the taste is still great. Just know that sunflower seed butter tends to be runnier, so you might need an extra tablespoon of oats.
Vegan version. Replace the honey with maple syrup or agave nectar. Maple syrup adds a lovely subtle flavor that pairs well with peanut butter. The mixture might be slightly stickier, so chill it well before rolling.
Chocolate peanut butter version. Add 1 tablespoon of unsweetened cocoa powder to the dry ingredients. It transforms these into chocolate-peanut butter bites that taste like healthy Reese’s cups. My kid calls these “chocolate cookie balls” and they disappear even faster than the regular ones.
Fruit and nut version. Swap the chocolate chips for dried cranberries, chopped dried apricots, or raisins. Add 2 tablespoons of chopped almonds or walnuts for extra crunch. This version is great for lunchboxes because the fruit adds natural sweetness without extra sugar.
Coconut version. Add ¼ cup of unsweetened shredded coconut to the mixture. Roll the finished bites in more shredded coconut for a fun texture and presentation. It gives them a tropical vibe that’s perfect for summer.
Protein boost version. Add 1 scoop (about 30g) of vanilla or chocolate protein powder. Reduce the oats by 2 tablespoons to compensate for the extra dry ingredient. This version is great for post-workout snacks or for kids who need extra protein. Just make sure your protein powder isn’t too sweet, or the bites will be cloying.
Lower sugar version. Reduce the honey to ¼ cup and add an extra tablespoon of peanut butter. The bites won’t be as sweet, but they’ll still taste good. You can also use unsweetened peanut butter and skip the chocolate chips for an even lower sugar option.
Seasonal version. In the fall, add ½ teaspoon of pumpkin pie spice and swap the chocolate chips for white chocolate chips. In the winter, add a pinch of cinnamon and nutmeg. In the summer, add a tablespoon of freeze-dried strawberry powder for a fruity twist.
Serving & Storage Suggestions
These no-bake peanut butter oat energy bites are best served chilled, straight from the fridge. The cold temperature firms them up and gives them that satisfying chewy texture that makes them so addictive. My daughter likes them straight from the freezer too — they’re like tiny, healthy ice cream bites.
For lunchboxes, pack one or two bites in a small container. They’ll stay fresh at room temperature for a few hours, so they’re perfect for school lunches or afternoon snacks on the go. If it’s a hot day, tuck a small ice pack next to them to keep them from getting too soft.
For a fun presentation, arrange the bites on a plate with fresh fruit slices — apple slices, strawberries, or banana rounds work well. The combination of fresh fruit and energy bites makes a beautiful snack board that kids love. I’ve served these at playdates and birthday parties, and they always get devoured before the cupcakes.
Storage instructions:
- Refrigerator: Store in an airtight container for up to 2 weeks. Layer them between sheets of parchment paper if stacking to prevent sticking.
- Freezer: Place the bites in a single layer on a baking sheet and freeze for 1 hour, then transfer to a freezer-safe bag or container. They’ll keep for up to 3 months. Thaw in the fridge overnight, or eat them frozen — they’re delicious either way.
- Room temperature: These can sit at room temperature for up to 4 hours, but they’ll soften. If you’re taking them on a picnic or road trip, pack them in a cooler.
The flavors actually develop and deepen after a day or two in the fridge. The oats absorb more moisture, the peanut butter flavor mellows, and everything comes together into a more cohesive bite. I actually prefer them on day two or three, when they’ve had time to settle. They’re still great fresh, just different.
Nutritional Information & Benefits
Here’s the approximate nutritional breakdown for one energy bite (based on a recipe making 20 bites):
| Nutrient | Amount per bite |
|---|---|
| Calories | 115 |
| Total Fat | 6g |
| Saturated Fat | 1.5g |
| Carbohydrates | 13g |
| Fiber | 2g |
| Sugar | 7g |
| Protein | 4g |
| Sodium | 60mg |
These numbers are estimates and will vary based on the specific brands and ingredients you use. If you use natural peanut butter with no added sugar, the sugar content will be lower. If you add protein powder, the protein content will be higher.
Health benefits:
- Oats provide soluble fiber, which helps keep kids full and supports healthy digestion. They also contain beta-glucan, which is great for heart health.
- Peanut butter offers protein and healthy fats that support growing bodies and sustained energy. It’s also a good source of vitamin E and magnesium.
- Flaxseed adds omega-3 fatty acids, which are important for brain development. It’s also a great source of fiber and lignans, which have antioxidant properties.
- Honey provides natural sweetness along with trace amounts of vitamins and minerals. Local honey may also help with seasonal allergies.
Dietary considerations: This recipe can be made gluten-free by using certified gluten-free oats. It can be made vegan by substituting maple syrup for honey. For nut-free, use sunflower seed butter. The recipe is naturally egg-free and dairy-free (depending on your chocolate chips).
Potential allergens: Peanuts, tree nuts (depending on add-ins), and oats (if you have celiac disease, use certified gluten-free oats). Always check labels if you’re serving these to someone with allergies.
I love that I can feel good about giving these to my kid. They’re not a health food in the strict sense — there’s still sugar and fat — but they’re a far cry from packaged snacks with ingredients I can’t pronounce. These energy bites are real food, made with real ingredients, and that matters to me.
Conclusion
These no-bake peanut butter oat energy bites have become a staple in our kitchen for good reason. They’re quick, simple, and genuinely delicious — the kind of snack that satisfies both the kid who wants something sweet and the parent who wants something wholesome. I’ve made them for playdates, road trips, after-school snacks, and even breakfast on rushed mornings. They work every single time.
What I love most about this recipe is how forgiving it is. You can swap ingredients, adjust the sweetness, add whatever mix-ins you have on hand, and they still turn out great. It’s the kind of recipe that builds confidence in the kitchen, especially for kids who want to help. My daughter has graduated from rolling the balls to measuring ingredients, and I love watching her take ownership of “her” snack.
I’d love to hear how these turn out for you. What add-ins did you use? Did your kids help make them? Did you discover a variation that your family loves? Drop a comment below and let me know — I’m always looking for new ideas to try. And if you’re looking for other quick, kid-friendly snacks, you might also enjoy our crispy chicken quesadillas or this quick shrimp scampi for a fast dinner that the whole family will love. Happy snacking!
Frequently Asked Questions
Can I use quick oats instead of rolled oats?
Yes, you can use quick oats, but the texture will be softer and less chewy. Quick oats are more finely chopped, so they absorb moisture faster and create a denser bite. If you only have quick oats, reduce the resting time before rolling to about 1 minute. The bites will still taste great, just with a different texture.
How long do these energy bites last in the fridge?
These energy bites stay fresh in an airtight container in the refrigerator for up to 2 weeks. I usually make a batch on Sunday and we snack on them throughout the week. If they last that long — in our house, they’re usually gone by Wednesday. The flavors actually improve after a day or two as the oats absorb more moisture and everything melds together.
Can I freeze these energy bites?
Absolutely! Freezing is a great way to extend their shelf life. Place the bites in a single layer on a baking sheet and freeze for about an hour, then transfer them to a freezer-safe bag or container. They’ll keep for up to 3 months. You can eat them straight from the freezer (they’re like little frozen treats) or thaw them in the fridge overnight. I always keep a stash in the freezer for busy mornings or unexpected snack emergencies.
My mixture is too dry. What should I do?
If your mixture feels too dry and crumbly, add a little more honey or peanut butter — about 1 teaspoon at a time. Stir well after each addition and let the mixture rest for a minute before judging. Sometimes the oats just need a little more time to absorb the moisture. If you’ve already added more liquid and it’s still dry, try adding 1-2 teaspoons of water or milk. The key is to add small amounts and wait, rather than dumping in a lot of liquid at once.
Can I make these without chocolate chips?
Of course! The chocolate chips are completely optional. You can leave them out entirely, or substitute them with dried fruit, chopped nuts, seeds, or shredded coconut. If you’re skipping the chocolate, you might want to add an extra tablespoon of honey or a pinch of cinnamon to keep the flavor interesting. I’ve made them without chocolate chips for a lower sugar option, and they’re still delicious — just less exciting for the kids.
Pin This Recipe!
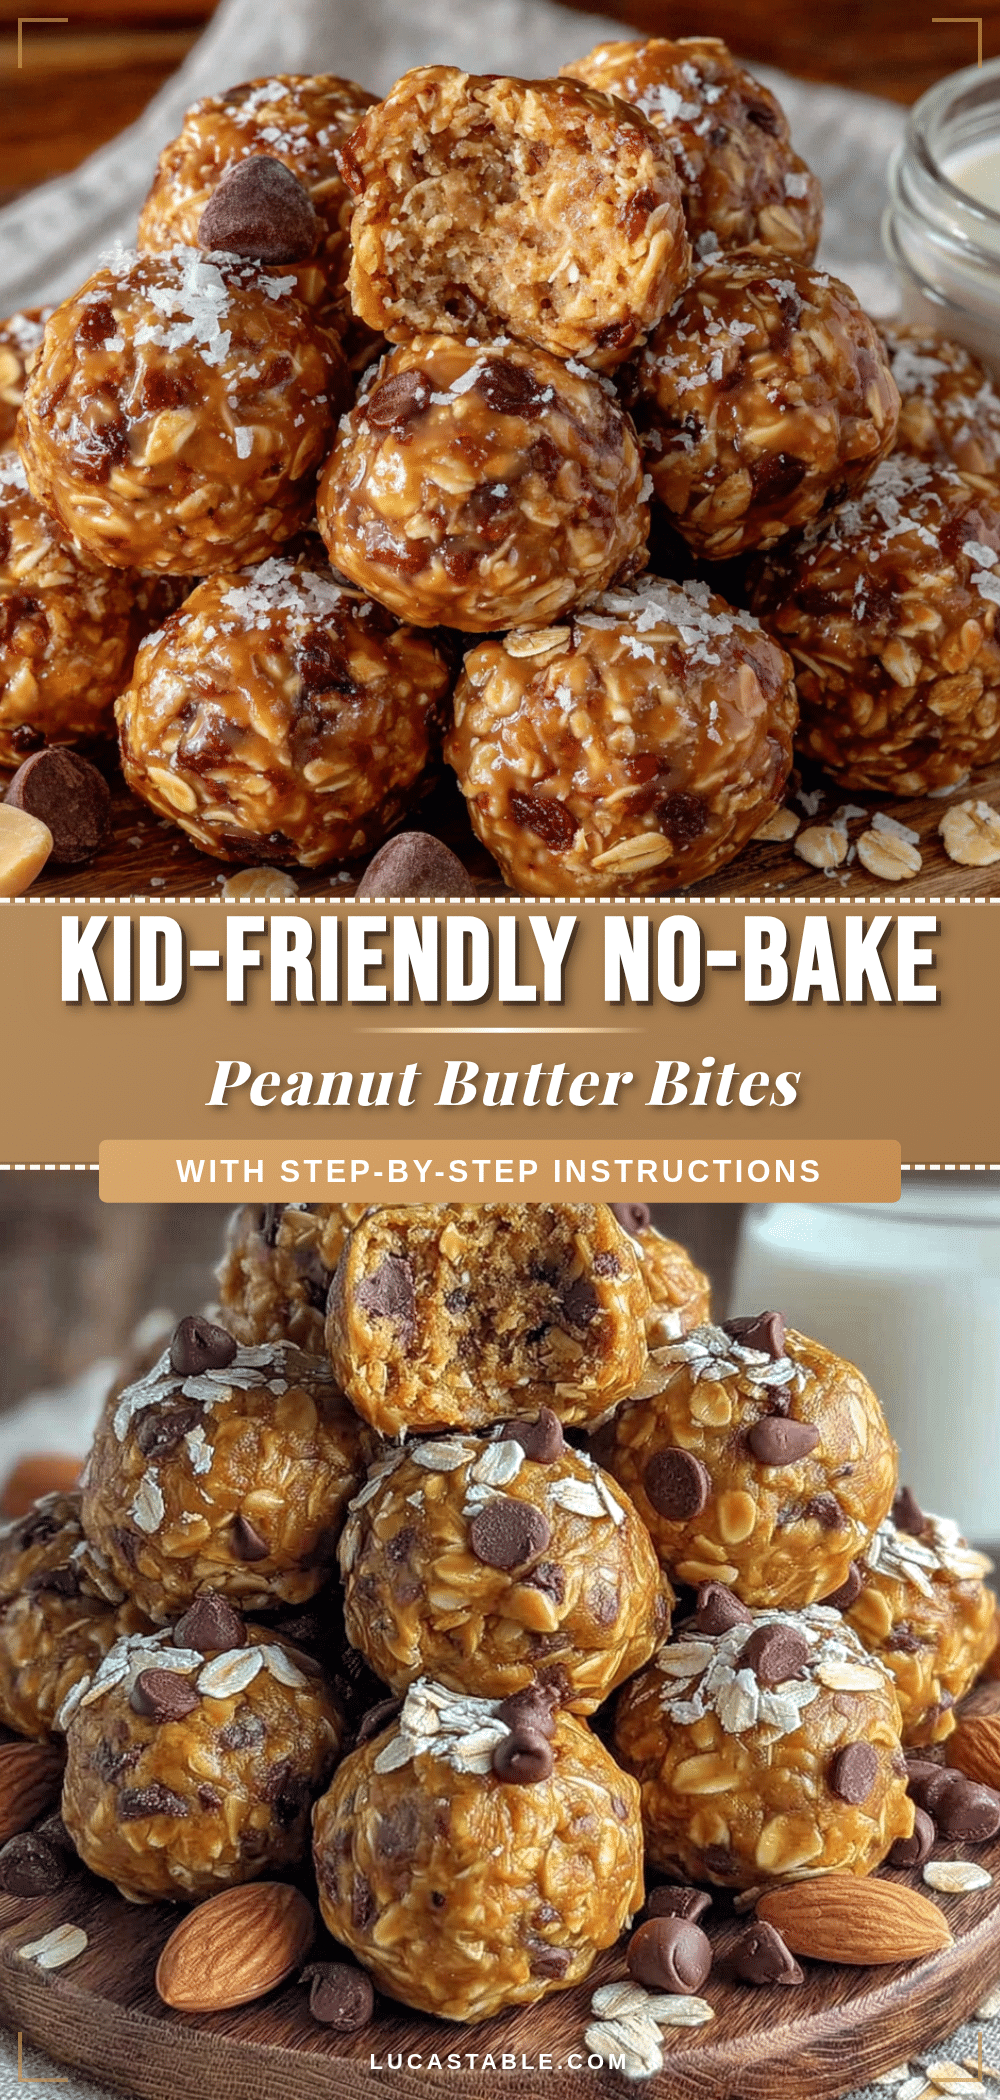
No-Bake Peanut Butter Oat Energy Bites: Easy 5-Minute Recipe

These no-bake peanut butter oat energy bites are quick, simple, and genuinely delicious—the kind of snack that satisfies both the kid who wants something sweet and the parent who wants something wholesome. Made with pantry staple ingredients, they come together in about five minutes and are perfect for lunchboxes, after-school snacks, or breakfast on rushed mornings.
- Prep Time: 15 minutes
- Cook Time: 0 minutes
- Total Time: 45 minutes (includes 30 minutes chill time)
- Yield: 18-20 bites 1x
- Category: Snack
- Cuisine: American
Ingredients
- 1 ½ cups (135g) old-fashioned rolled oats
- ½ cup (128g) creamy peanut butter
- ⅓ cup (113g) honey
- 2 tablespoons (14g) ground flaxseed
- ¼ cup (45g) mini chocolate chips
- ½ teaspoon vanilla extract
- ⅛ teaspoon salt (if peanut butter is unsalted)
Instructions
- In a large mixing bowl, stir together the rolled oats, ground flaxseed, and salt (if using).
- Add the peanut butter, honey, and vanilla extract. Stir until combined. Let the mixture rest for 2-3 minutes to allow the oats to absorb moisture.
- Fold in the mini chocolate chips until evenly distributed.
- Chill the mixture in the refrigerator for 15-20 minutes (optional but recommended for easier handling).
- Line a baking sheet or large plate with parchment paper. Using a tablespoon or small cookie scoop, portion out the mixture and roll each portion between your palms to form smooth balls about 1 inch in diameter. If the mixture sticks, lightly wet your hands with water.
- Place the rolled bites on the parchment-lined sheet and refrigerate for at least 30 minutes to firm up.
- Transfer to an airtight container and store in the refrigerator for up to 2 weeks, or freeze for up to 3 months.
Notes
Let the mixture rest for 2-3 minutes before judging consistency; the oats need time to absorb moisture. Wet hands slightly before rolling to prevent sticking. Chill the bites for at least 30 minutes to help them hold their shape. For best texture, refrigerate overnight before serving.
Nutrition
- Serving Size: 1 bite
- Calories: 115
- Sugar: 7
- Sodium: 60
- Fat: 6
- Saturated Fat: 1.5
- Carbohydrates: 13
- Fiber: 2
- Protein: 4
Keywords: no-bake energy bites, peanut butter oat bites, healthy snacks for kids, easy snack recipe, no-bake snack, energy balls, kid-friendly snack


