The craving hit at 9:47 PM on a Tuesday. Not the kind of craving you can talk yourself out of, either—the deep, chest-tightening kind where only a warm, gooey chocolate chip cookie will do. I opened the pantry, fully expecting defeat. Half a bag of chocolate chips. A stick of butter that wasn’t quite rock hard. And that familiar, sinking feeling of not wanting to commit to a full batch of 24 cookies when I only needed, let’s be honest, about four. That’s when the idea for these perfect small-batch chocolate chip cookies (6 cookies) was born. It wasn’t a noble culinary pursuit. It was pure, unadulterated self-preservation at 10 PM.
I started pulling things out, measuring with a sort of reckless hope. No stand mixer to haul out. No waiting for butter to soften for an hour (microwave, I’m looking at you). Just a bowl, a whisk, and the desperate need for something buttery and sweet. The first batch came out a little flat, honestly. A little too crispy on the edges. But the second? The second was the one. That perfect balance of a chewy center, a slightly crisp edge, and chocolate in every single bite. It felt like a small victory—a late-night triumph over a very specific, very powerful cookie monster.
I’ve made this recipe more times than I can count now, and it never fails. It’s the one I turn to when I don’t want to be tempted by a whole platter of cookies for days, or when I just need a little something sweet after a long day. It’s the kind of recipe that feels like a secret, even though I’m about to share it with you. There’s no fanfare, no complicated steps—just a really, really good cookie that happens to be exactly the right amount. Trust me on this one.
Why You’ll Love This Recipe
This isn’t just another cookie recipe. It’s the one that solves the classic problem of wanting a homemade treat without the commitment of a full batch. Here’s why it’s become a staple in my kitchen and why it’ll be one in yours too.
- Perfectly Portioned: You get exactly six generous cookies. No more, no less. It’s the ideal amount for a small household, a late-night snack, or a quick dessert for two without a mountain of leftovers calling your name.
- Incredibly Quick: From the moment the craving strikes to cookie-in-hand, you’re looking at about 20 minutes. The dough comes together in one bowl, no chilling required, making it the ultimate last-minute dessert.
- Simple Pantry Ingredients: You likely have everything you need right now. Butter, sugar, an egg, flour, chocolate chips—the basics that create the most incredible results. No fancy flours or obscure extracts here.
- That Perfect Texture: We’re talking a chewy, soft center with beautifully browned, slightly crispy edges. It’s that classic, nostalgic bakery-style cookie texture that’s surprisingly hard to nail in a small batch, but this recipe does it effortlessly.
- No Waste, No Temptation: This is the real beauty of it. You get your cookie fix, you enjoy every last crumb, and you’re not stuck with a Tupperware full of cookies that will either go stale or tempt you into eating six more. It’s controlled indulgence at its finest.
I’ve tested this recipe more times than I care to admit, tweaking the ratios of brown to white sugar and the butter temperature until it was just right. This version is the winner—the one that delivers that emotional “ahhh” after the first bite. It’s comfort food, perfectly scaled.
What Ingredients You Will Need
This recipe uses simple, humble ingredients to create something truly special. The magic is in the proportions and the technique, not a long list of obscure items. Here’s what you’ll need to gather.
- Unsalted Butter (3 tablespoons, melted and slightly cooled): Using melted butter is the key to a chewy cookie without needing to cream it with sugar. It simplifies the process and gives you that dense, fudge-like center. I prefer unsalted so I can control the salt level, but if you only have salted, just skip the flaky salt at the end.
- Light Brown Sugar (¼ cup, packed): This is where the magic happens. Brown sugar has molasses in it, which adds moisture, depth of flavor, and that signature chewiness. Pack it firmly into your measuring cup for accuracy.
- Granulated Sugar (2 tablespoons): The granulated sugar helps with spreading and creates those crispy, lacy edges we all love. It also adds a bit of sweetness that balances the molasses notes of the brown sugar.
- One Large Egg Yolk: This is the most important trick for a small-batch cookie. Using just the yolk (and saving the white for your breakfast omelet) gives you all the richness and tenderness without the excess liquid that would make your dough too sticky or your cookies cakey.
- Vanilla Extract (½ teaspoon): Pure vanilla extract is non-negotiable here. It rounds out the flavors and adds that warm, aromatic quality that makes a chocolate chip cookie taste like home. Don’t use imitation if you can help it.
- All-Purpose Flour (½ cup plus 1 tablespoon, spooned and leveled): The structure of the cookie. The crucial part here is how you measure it. Spoon the flour into your measuring cup and level it off with a knife. Scooping directly from the bag can pack in too much flour, resulting in a dry, crumbly cookie.
- Baking Soda (¼ teaspoon): Our leavening agent. It helps the cookies spread just the right amount and gives them a little lift. Make sure it’s fresh for the best results.
- Salt (¼ teaspoon): Don’t skip this! Salt is not just for savory food. It enhances the sweetness of the chocolate and the butter, creating a more complex and delicious cookie. It balances everything out.
- Semi-Sweet Chocolate Chips (⅓ cup): I love semi-sweet for its balance of bitter and sweet. You could also use dark chocolate chips, milk chocolate, or even chop up a good quality chocolate bar for those melty pools of chocolate. I personally recommend Guittard or Ghirardelli chips for the best flavor and melt.
- Flaky Sea Salt (optional, for finishing): A tiny sprinkle of flaky sea salt like Maldon right when the cookies come out of the oven is a game-changer. It adds a little crunch and a burst of salty flavor that makes the chocolate sing. It’s optional, but highly recommended for that “chef’s kiss” moment.
Equipment Needed
One of the best things about this recipe is how little equipment you need. No stand mixer, no complicated gadgets. Just the basics that you probably already have in your kitchen drawers.
- Mixing Bowls: You’ll need one medium-sized bowl for the wet ingredients and the dough.
- Whisk: For combining the melted butter and sugars until smooth.
- Rubber Spatula or Wooden Spoon: For folding in the flour and chocolate chips. A spatula is my go-to because it gets every bit of dough off the sides.
- Measuring Cups and Spoons: Accurate measurements are key for a small batch, so have your standard set ready.
- Baking Sheet: A standard half-sheet pan works perfectly. No need to grease it.
- Parchment Paper or Silicone Baking Mat: This is a must. It prevents the cookies from sticking and promotes even browning without the bottoms getting too dark.
- Cookie Scoop (about 1.5 tablespoon size): This isn’t essential, but it makes portioning the dough into equal-sized balls incredibly easy and ensures they all bake evenly. A regular tablespoon works too.
- Cooling Rack: Letting the cookies cool on a rack for a few minutes before moving them helps them set properly without getting soggy on the bottom.
Preparation Method
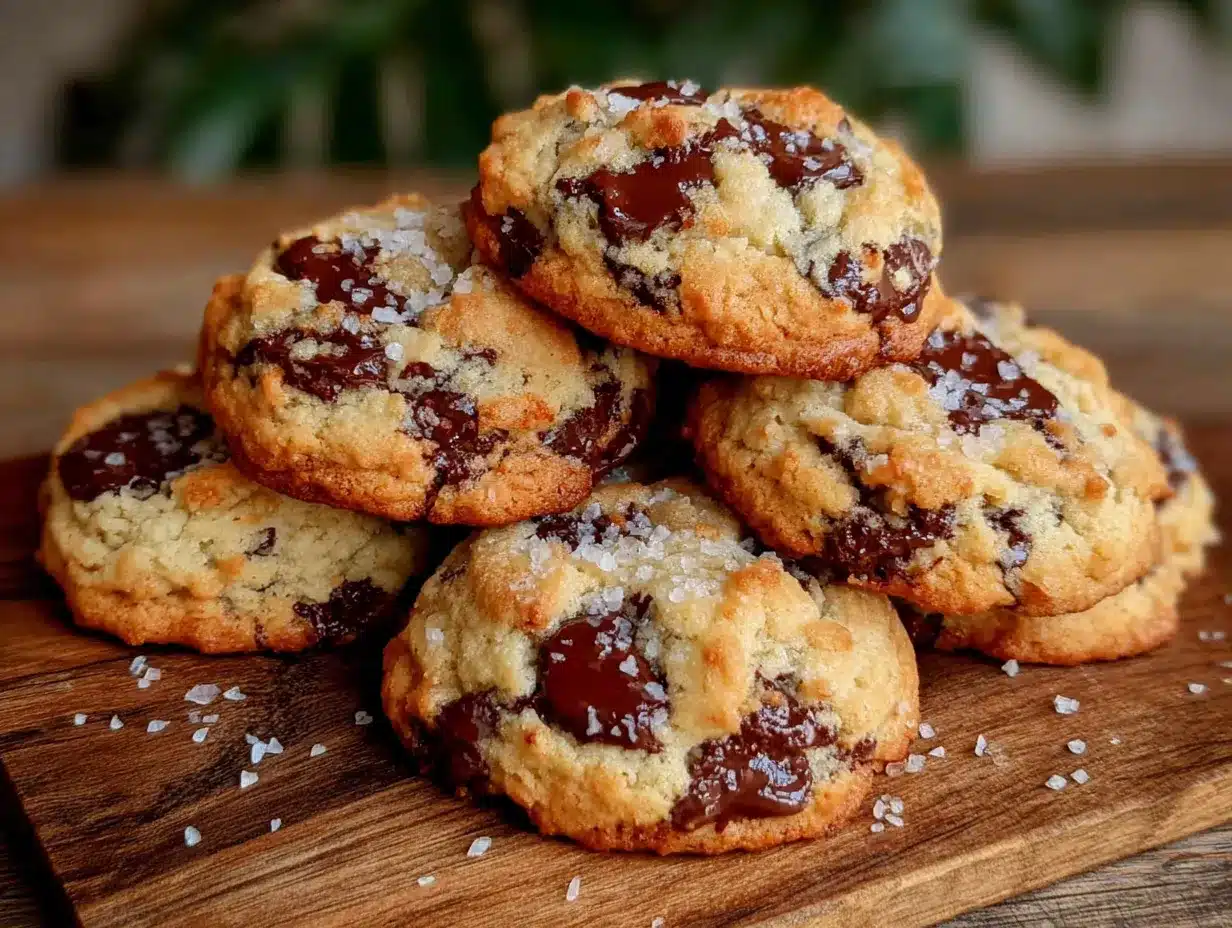
Alright, let’s get to it. This is where the craving meets reality, and I promise it’s easier than you think. Follow these steps, and you’ll have warm cookies in your hands in no time.
- Preheat and Prep: First things first, preheat your oven to 350°F (175°C). While it’s heating up, line your baking sheet with a piece of parchment paper or a silicone baking mat. This is your non-stick insurance policy.
- Melt the Butter: In your medium mixing bowl, melt the 3 tablespoons of unsalted butter. You can do this in the microwave in 15-second bursts, or in a small saucepan on the stove. Let it cool for a minute or two—you don’t want it hot enough to cook the egg yolk when you add it.
- Mix the Sugars: To the melted butter, add the ¼ cup packed light brown sugar and the 2 tablespoons of granulated sugar. Whisk them together vigorously for about 30 seconds. You’re looking for a smooth, thick, almost paste-like consistency. It should smell incredible already.
- Add the Wet Ingredients: Now, add the single egg yolk and the ½ teaspoon of vanilla extract. Whisk again until everything is fully combined and the mixture looks smooth and glossy. It will be a beautiful, light caramel color.
- Combine the Dry Ingredients: In a separate small bowl (or just eyeball it in a measuring cup), whisk together the ½ cup plus 1 tablespoon of all-purpose flour, the ¼ teaspoon of baking soda, and the ¼ teaspoon of salt. This ensures the leavening and salt are evenly distributed.
- Bring It Together: Pour the dry ingredients into the wet ingredients. Use your rubber spatula to fold everything together gently. Stir just until you no longer see streaks of flour. Over-mixing at this stage will develop the gluten and make your cookies tough, so be gentle. The dough will be thick and slightly greasy—that’s perfect.
- Add the Chocolate: Fold in the ⅓ cup of semi-sweet chocolate chips. Make sure they’re evenly distributed throughout the dough. If you feel like being generous, you can reserve a few chips to press onto the tops of the dough balls before baking—it makes them look extra pretty.
- Scoop and Shape: Using your cookie scoop or a tablespoon, portion the dough into 6 equal-sized balls. They should be about 1.5 tablespoons each. Place them evenly spaced on your prepared baking sheet—about 2 inches apart. They will spread, but not too much.
- Bake to Perfection: Pop the baking sheet into the preheated oven. Bake for exactly 10-12 minutes. At the 10-minute mark, they will look puffy, golden around the edges, and still very soft and slightly underdone in the center. That is exactly what you want. They will continue to set on the hot pan. If you like a crispier cookie, go to 12 minutes, but watch them closely.
- Finish and Cool: As soon as they come out of the oven, if you’re using the flaky sea salt, sprinkle a tiny pinch over the top of each hot cookie. Let them cool on the baking sheet for at least 5 minutes. This is crucial—they are too fragile to move right away. After 5 minutes, transfer them to a wire rack to cool completely, or be like me and eat one while it’s still warm and gooey.
Cooking Tips & Techniques
Over the course of perfecting this small-batch recipe, I’ve made plenty of mistakes so you don’t have to. Here are the things I wish I knew from the start.
The Dough Temperature is Key. Because we’re using melted butter, the dough will be warm and soft. This is fine, but if your kitchen is particularly hot or your hands are warm, the dough can get a little too soft. If that happens, just pop the bowl in the fridge for 10 minutes before scooping. It makes the dough easier to handle and prevents the cookies from spreading into one giant pancake.
Don’t Skip the Cooling Time on the Pan. I learned this the hard way. The cookies are incredibly soft when they come out of the oven. If you try to move them immediately, they will fall apart. That 5-minute rest on the hot baking sheet is what allows the structure to set. The residual heat continues to cook the center gently, giving you that perfect chewy texture. Patience is a virtue, especially when cookies are involved.
Use a Cookie Scoop for Consistency. For the first few times, I just used two spoons to drop the dough, and my cookies were always different sizes—some burned, some were underdone. A small cookie scoop (about 1.5 tablespoons) is a cheap investment that guarantees all six cookies bake evenly. It’s one less thing to worry about.
Room Temperature Ingredients Matter (Sort Of). Since we’re using melted butter and an egg yolk, we don’t need to worry about the butter being at room temperature. However, if your egg is straight from the fridge, it can slightly cool down the butter mixture. It’s not a deal-breaker, but letting the egg yolk sit out for 10 minutes before you start is a nice touch for a smoother dough.
Variations & Adaptations
This recipe is a fantastic base, and it’s incredibly easy to adapt to whatever you have on hand or whatever you’re in the mood for. Here are a few of my favorite twists.
- Double Chocolate Chip: Swap out 1 tablespoon of the all-purpose flour for 1 tablespoon of unsweetened cocoa powder. You’ll get a rich, dark chocolate cookie dough. Keep the semi-sweet chips, or use white chocolate chips for a stunning contrast. It’s a chocolate lover’s dream.
- Nutty Brown Butter: Instead of just melting the butter, brown it! Melt the butter in a small saucepan over medium heat, swirling it constantly. It will foam, then the milk solids will turn a golden-brown and smell nutty and amazing. Let it cool slightly before proceeding with the recipe. This adds a deep, toffee-like flavor that is absolutely incredible.
- Oatmeal Chocolate Chip: For a little more texture and heartiness, replace 2 tablespoons of the all-purpose flour with 2 tablespoons of old-fashioned rolled oats. The oats add a lovely chewiness and a rustic feel. You can also add a pinch of cinnamon to the dry ingredients for a warm, cozy flavor.
- Gluten-Free Option: You can easily make these gluten-free by using a good quality 1-to-1 gluten-free baking flour blend (like Bob’s Red Mill or King Arthur). No other adjustments are needed. The texture will be slightly more tender, but they are still delicious and perfectly chewy.
- Add-Ins: Feel free to get creative with your mix-ins. Swap half the chocolate chips for chopped pecans or walnuts. Add a handful of shredded coconut. Toss in some peanut butter chips or butterscotch chips. The base recipe is so forgiving, you can really make it your own.
Serving & Storage Suggestions
These cookies are best enjoyed warm, fresh from the oven, when the chocolate is still melty and the edges are perfectly crisp. That’s the whole point of a small batch, right? But here’s how to handle them if you don’t devour them all at once (which, no judgment if you do).
Serving: I love serving these with a tall glass of cold milk or a scoop of vanilla bean ice cream for an extra-decadent dessert. They’re also fantastic with a cup of coffee or a strong cup of tea in the afternoon. For a fun presentation, stack them on a small plate or in a little basket. A light dusting of powdered sugar or a drizzle of melted chocolate can make them feel extra special for guests.
Storage: Since this recipe makes only six cookies, you’ll likely eat them within a day or two. Store any leftovers in an airtight container at room temperature. They will stay soft and chewy for up to 3 days. To keep them at their best, add a slice of plain bread to the container—the cookies will absorb the moisture from the bread and stay soft!
Reheating: The best way to revive a day-old cookie is to pop it in a microwave for about 10-15 seconds. This will melt the chocolate chips and make the center soft again, almost like it just came out of the oven. You can also reheat them in a 300°F (150°C) oven for 3-5 minutes if you want the edges to crisp up again.
Freezing: You can absolutely freeze the unbaked dough! Scoop the dough into balls and place them on a parchment-lined baking sheet. Freeze until solid, then transfer the dough balls to a freezer-safe bag. You can bake them directly from frozen, just add 2-3 minutes to the baking time. This is perfect for when you want a single, fresh-baked cookie on demand.
Nutritional Information & Benefits
Let’s be real—these are cookies, not a health food. But knowing what’s in them is always good, and they do have a few redeeming qualities. Here’s a rough estimate for one cookie (based on the recipe making 6).
- Estimated Calories: 220-250 per cookie
- Fat: 12-15g
- Carbohydrates: 28-32g
- Protein: 3-4g
- Sugar: 18-22g
Health Highlights: The main benefit here is portion control. By making a small batch, you’re naturally limiting your intake. The dark chocolate (if you use semi-sweet or dark) contains antioxidants and can be a source of magnesium. The egg yolk provides protein and healthy fats. Plus, the act of baking something from scratch with simple ingredients is a form of self-care that has its own mental health benefits. It’s about enjoying a treat mindfully, without the guilt of a giant batch.
Dietary Considerations: This recipe contains gluten (from the flour), dairy (from the butter), and eggs. For a gluten-free version, see the variations section. For a dairy-free version, you can substitute the butter with a high-quality vegan butter stick (like Earth Balance), but the texture may be slightly different. This recipe is not suitable for a vegan diet due to the egg yolk.
Conclusion
So there you have it—my go-to, never-fail, perfectly scaled recipe for the best small-batch chocolate chip cookies. It’s the answer to that 10 PM craving, the solution to a quiet Tuesday night, and the perfect little treat that feels like a hug. It proves that you don’t need a whole kitchen production to get a truly incredible, homemade cookie. Just a few simple ingredients, a little bit of time, and the willingness to treat yourself.
I really hope you give these a try. They’ve become a little ritual for me, and I think they’ll become one for you too. Maybe you’ll add a different chip, or a pinch of cinnamon, or you’ll eat them all straight off the baking sheet like I sometimes do. That’s the beauty of it—this recipe is yours to play with. If you make them, I’d love to hear about it. Drop a comment below and let me know how they turned out, or tag me in your photos. Happy baking, friend. You deserve this.
Frequently Asked Questions
Can I use a whole egg instead of just the yolk?
You can, but the texture will be different. Using a whole egg adds too much liquid for this small batch, resulting in a cakier, puffier cookie rather than a dense, chewy one. The single yolk gives you all the richness without the extra moisture. Save the white for a scramble or an omelet the next morning!
My cookies spread too much. What did I do wrong?
This is usually a sign that the butter was too warm or the dough wasn’t chilled. If your kitchen is warm, or if you used very hot melted butter, the dough can be too soft. Try chilling the scooped dough balls in the fridge for 15-20 minutes before baking. Also, make sure you measured your flour correctly—too little flour can cause excess spreading.
Can I double this recipe?
Absolutely! This recipe is incredibly easy to scale. If you want a full batch of 12 cookies, simply double all the ingredients. You’ll use one whole egg instead of just a yolk and a white. The baking time may need to be increased by a minute or two, so keep an eye on them.
Why did my cookies turn out dry?
Dry cookies are almost always the result of over-baking or over-measuring the flour. Make sure you are spooning the flour into your measuring cup and leveling it off. If you scoop directly from the bag, you can pack in up to 25% more flour. Also, pull the cookies out when the edges are golden and the centers still look slightly underdone—they will continue to set on the hot pan.
Can I use a different type of chocolate?
Definitely! This recipe is very flexible. You can use milk chocolate chips for a sweeter cookie, dark chocolate chips for a more intense flavor, or even chop up a good quality chocolate bar for those beautiful, melty puddles. White chocolate chips or peanut butter chips would also work wonderfully.
Pin This Recipe!
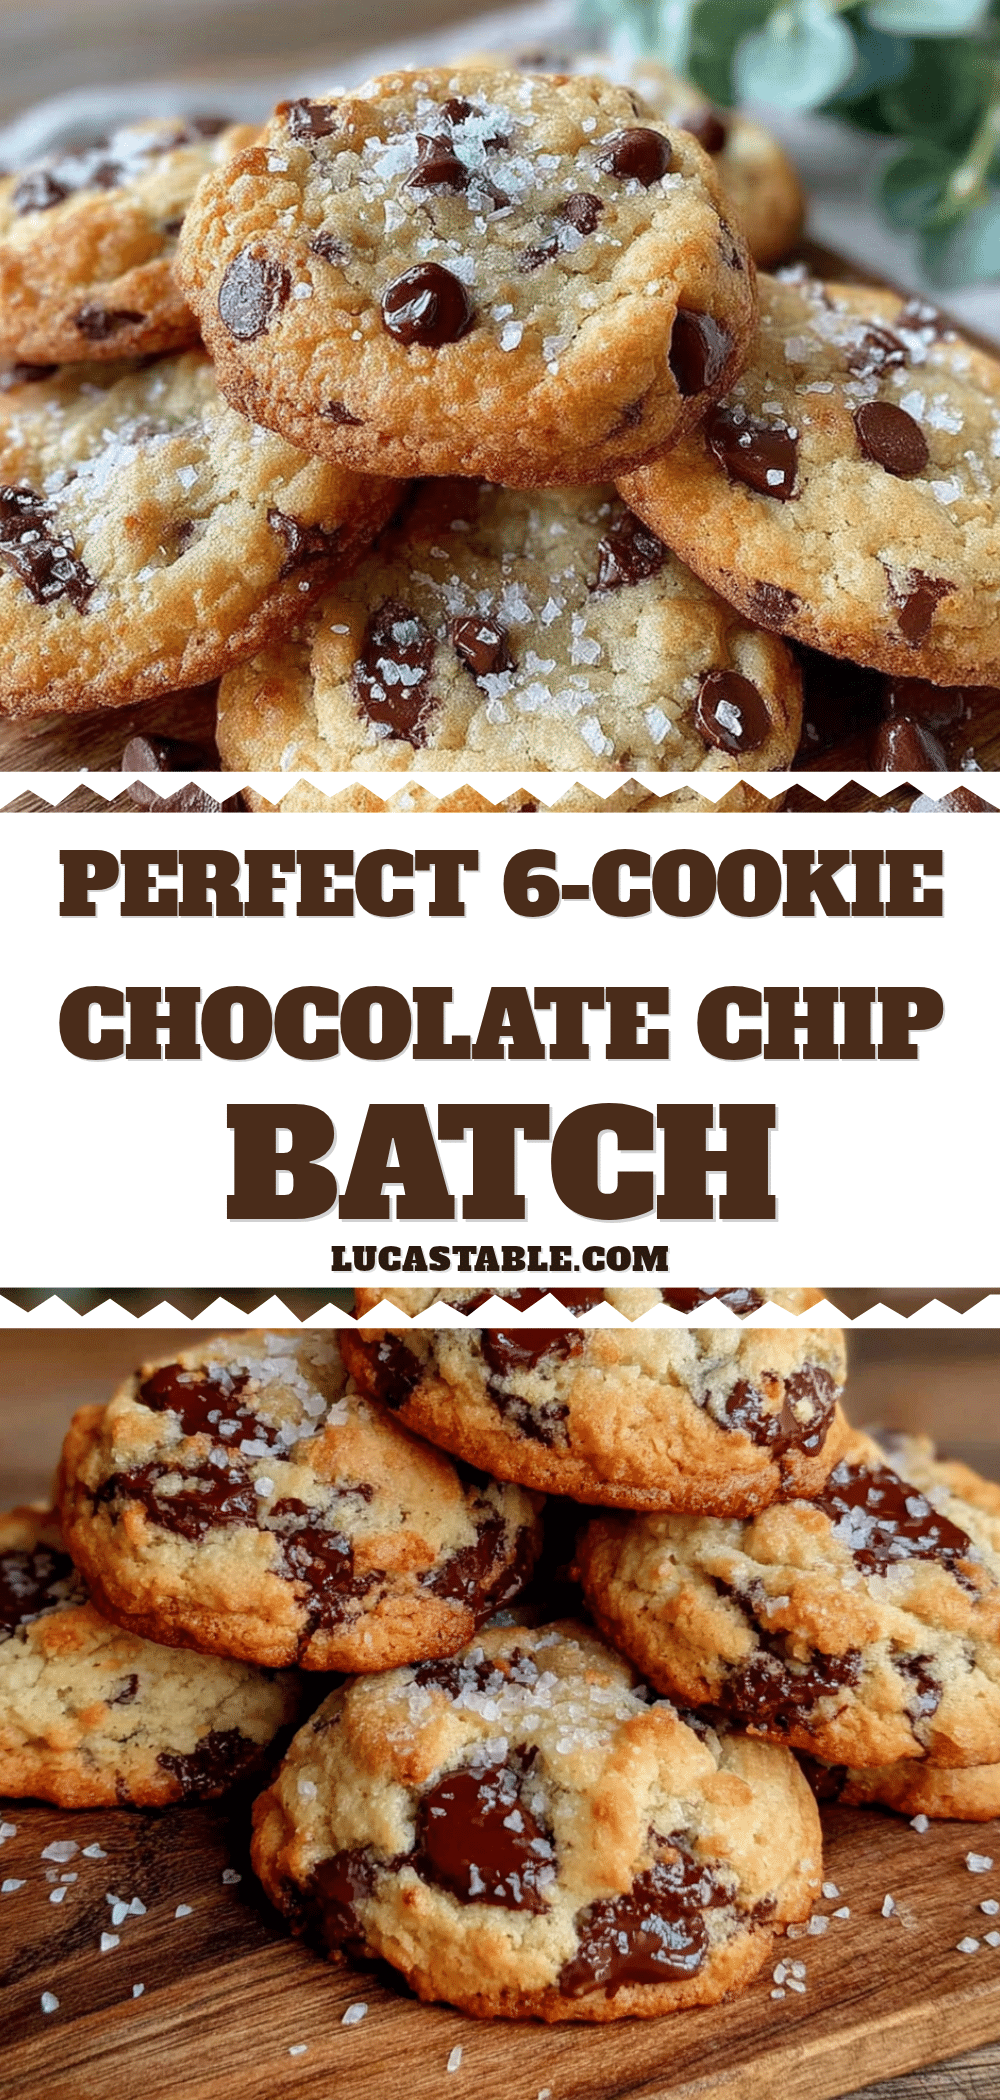
Perfect Small-Batch Chocolate Chip Cookies: Easy 6-Cookie Recipe

This is the perfect small-batch chocolate chip cookie recipe for when you want a warm, gooey treat without committing to a full batch of 24 cookies. It yields exactly six generous cookies with a chewy center and crispy edges, ready in about 20 minutes with no chilling required.
- Prep Time: 10 minutes
- Cook Time: 10-12 minutes
- Total Time: 20-22 minutes
- Yield: 6 cookies 1x
- Category: Dessert
- Cuisine: American
Ingredients
- 3 tablespoons unsalted butter, melted and slightly cooled
- ¼ cup light brown sugar, packed
- 2 tablespoons granulated sugar
- 1 large egg yolk
- ½ teaspoon vanilla extract
- ½ cup plus 1 tablespoon all-purpose flour, spooned and leveled
- ¼ teaspoon baking soda
- ¼ teaspoon salt
- ⅓ cup semi-sweet chocolate chips
- Flaky sea salt (optional, for finishing)
Instructions
- Preheat your oven to 350°F (175°C). Line a baking sheet with parchment paper or a silicone baking mat.
- In a medium mixing bowl, melt the 3 tablespoons of unsalted butter. Let it cool for a minute or two.
- Add the ¼ cup packed light brown sugar and 2 tablespoons granulated sugar to the melted butter. Whisk vigorously for about 30 seconds until smooth and thick.
- Add the single egg yolk and ½ teaspoon vanilla extract. Whisk again until fully combined and glossy.
- In a separate small bowl, whisk together the ½ cup plus 1 tablespoon all-purpose flour, ¼ teaspoon baking soda, and ¼ teaspoon salt.
- Pour the dry ingredients into the wet ingredients. Fold gently with a rubber spatula until just combined. Do not over-mix.
- Fold in the ⅓ cup semi-sweet chocolate chips until evenly distributed. Optionally, reserve a few chips to press onto the tops of the dough balls.
- Using a cookie scoop or tablespoon, portion the dough into 6 equal-sized balls (about 1.5 tablespoons each). Place them evenly spaced on the prepared baking sheet, about 2 inches apart.
- Bake for 10-12 minutes. At 10 minutes, the cookies will look puffy, golden around the edges, and soft in the center. For crispier cookies, bake up to 12 minutes.
- As soon as they come out of the oven, sprinkle a tiny pinch of flaky sea salt over each hot cookie (if using). Let them cool on the baking sheet for at least 5 minutes, then transfer to a wire rack to cool completely.
Notes
The dough temperature is key. If your kitchen is hot, chill the dough in the fridge for 10 minutes before scooping to prevent spreading. Don’t skip the 5-minute cooling time on the pan—it allows the cookies to set properly. For best results, use a cookie scoop for even-sized cookies. If using a whole egg instead of just the yolk, the texture will be cakier and puffier. To double the recipe, double all ingredients and use one whole egg instead of just a yolk.
Nutrition
- Serving Size: 1 cookie
- Calories: 220250
- Sugar: 1822
- Sodium: 150200
- Fat: 1215
- Saturated Fat: 79
- Carbohydrates: 2832
- Fiber: 12
- Protein: 34
Keywords: small batch chocolate chip cookies, 6 cookie recipe, easy chocolate chip cookies, chewy chocolate chip cookies, late night cookie recipe


