I was standing in the baking aisle of our local grocery store last October, staring at a row of neon food colorings, when a dusty, sweet smell hit me—like powdered sugar and wax paper mixed together. And suddenly I was seven years old, sitting cross-legged on my neighbor Mrs. Kowalski’s linoleum kitchen floor, watching her pipe purple frosting onto a tray of black cupcakes. She’d made them for her grandson’s Halloween party, and I remember thinking they looked like tiny velvet witches’ hats, all dark and dramatic with that shock of violet on top. I’d never seen anything like it. My mom made yellow cake with chocolate icing, and that was that. But Mrs. Kowalski—she was different. She had a way of turning ordinary weeknight treats into something that felt magical, even if they only took her thirty minutes to throw together.
I forgot about those cupcakes for years. Honestly, I did. But that day in the baking aisle, the memory came back so sharp it almost hurt. Mrs. Kowalski moved away when I was twelve, and I never got her recipe. So I spent the next few weeks trying to recreate it from scratch—testing, tweaking, and probably annoying my family with endless purple-stained fingers. And you know what? I finally got it. These Quick Black Velvet Halloween Cupcakes with Purple Frosting are my tribute to her, and to that moment on her kitchen floor. They’re dark, they’re dramatic, and they come together in under an hour. If you’ve ever wanted a Halloween dessert that looks like you spent all day on it but actually lets you get dinner on the table by six, this is the one. Let me walk you through it.
Why You’ll Love This Recipe
Let me tell you—this recipe has been tested, tweaked, and taste-tested by my family, my neighbors, and even my picky seven-year-old niece. It passed every single test with flying colors. Here’s why I keep coming back to it, and why I think you will too:
- Quick & Easy: From start to finish, these cupcakes are ready in about 45 minutes. No complicated techniques, no standing over a hot stove for hours. Perfect for a busy weeknight when you promised the kids you’d make something special for Halloween but forgot until 5 PM.
- Simple Ingredients: You probably have most of these in your pantry right now. Cocoa powder, flour, sugar, eggs, butter—the usual suspects. The only “special” thing is black food coloring, and you can find that at any grocery store or online.
- Perfect for Halloween: These are the star of any Halloween party, classroom treat, or spooky movie night. The black velvet cake is rich and moist, and the purple frosting is a total showstopper. Kids and adults both go crazy for them.
- Crowd-Pleaser: I’ve brought these to potlucks, school bake sales, and family gatherings. They always disappear first. There’s something about the color combo that just makes people smile.
- Unbelievably Delicious: Forget those dry, crumbly black cupcakes you’ve had before. This cake is velvety soft, with a hint of cocoa that’s not too sweet. The purple buttercream is light, fluffy, and perfectly balanced. It’s comfort food with a spooky twist.
What makes this recipe different from the rest? It’s the texture. I use a combination of buttermilk and a tiny bit of vinegar to keep the cake incredibly tender. And the frosting? I whip it for a full five minutes to get that cloud-like consistency. This isn’t just another Halloween cupcake recipe—it’s the one you’ll come back to year after year.
What Ingredients You Will Need
This recipe uses simple, wholesome ingredients to deliver bold flavor and a stunning look. No weird additives or hard-to-find items. Here’s what you’ll need, broken down by component so you can stay organized.
For the Black Velvet Cupcakes
- All-purpose flour – 1 ½ cups (190g). Spoon and level it for the best results.
- Granulated sugar – 1 cup (200g). Regular white sugar works perfectly.
- Unsweetened cocoa powder – ¼ cup (20g). I use Hershey’s Special Dark for a deeper color, but any brand works.
- Baking soda – 1 teaspoon. Make sure it’s fresh for the best rise.
- Salt – ½ teaspoon. Just fine sea salt or table salt.
- Buttermilk – ½ cup (120ml), room temperature. If you don’t have buttermilk, add 1 ½ teaspoons of lemon juice or vinegar to regular milk and let it sit for 5 minutes.
- Vegetable oil – ½ cup (120ml). This keeps the cupcakes super moist. Canola or grapeseed oil also work.
- Egg – 1 large, room temperature. Let it sit out for 15 minutes before using.
- Vanilla extract – 1 teaspoon. Pure vanilla extract is best, but imitation works too.
- White vinegar – 1 teaspoon. This reacts with the baking soda to give the cake its tender crumb.
- Black gel food coloring – 2 to 3 teaspoons. I recommend AmeriColor Super Black or Wilton Color Right. Liquid food coloring won’t give you a true black—it’ll turn out grayish.
For the Purple Frosting
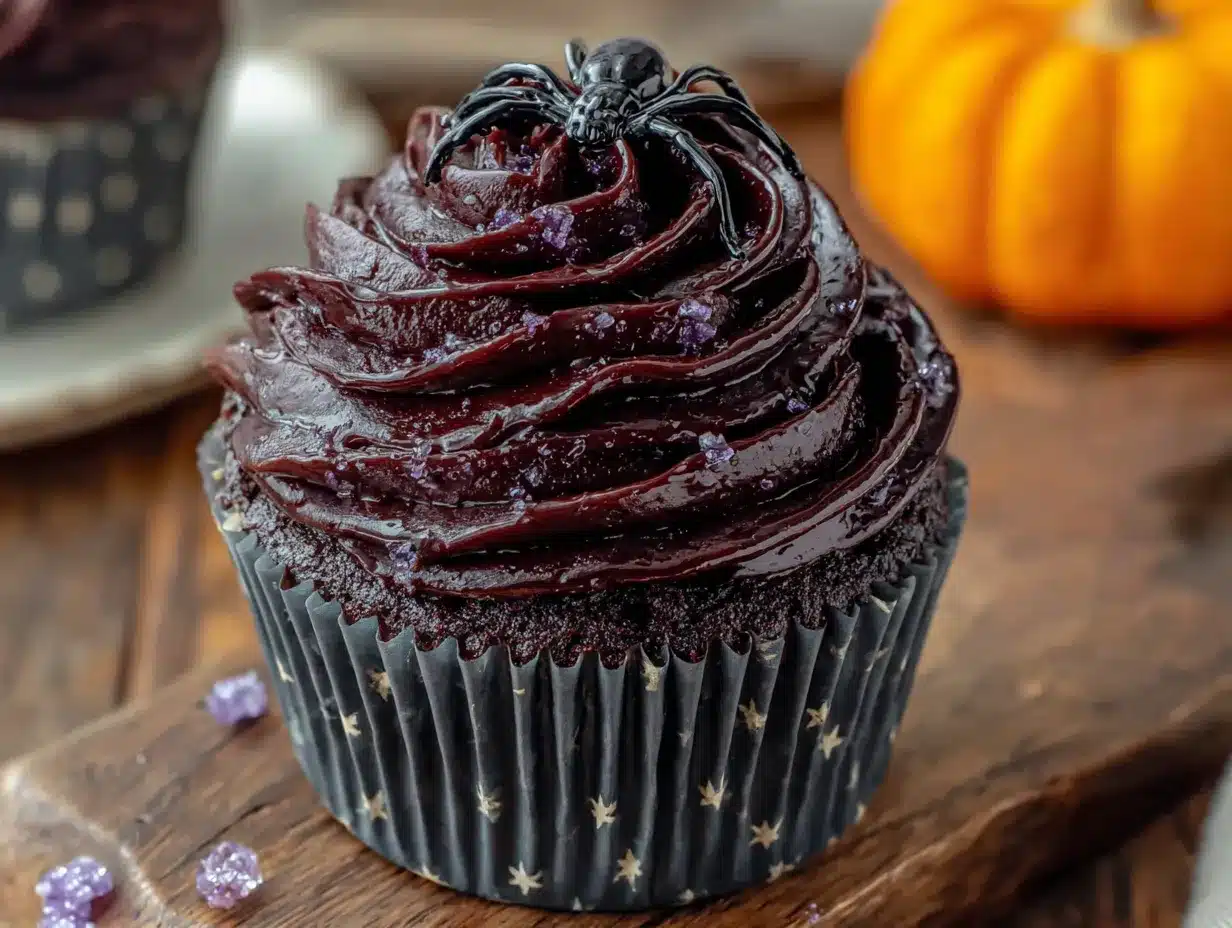
- Unsalted butter – 1 cup (226g), softened to room temperature. Let it sit out for at least 30 minutes.
- Powdered sugar – 3 ½ to 4 cups (420-480g), sifted to remove lumps.
- Heavy cream – 3 to 4 tablespoons (45-60ml). Whole milk works in a pinch, but cream gives the best texture.
- Vanilla extract – 1 ½ teaspoons.
- Purple gel food coloring – 1 to 2 teaspoons. I like using a mix of AmeriColor Violet and Electric Purple for depth.
- Salt – A pinch, to balance the sweetness.
For Decoration (Optional but Fun)
- Halloween sprinkles – Black, orange, and purple jimmies or nonpareils.
- Edible glitter – Purple or black for extra sparkle.
- Candy eyeballs – Because everything is better with googly eyes.
Equipment Needed
You don’t need a professional bakery setup for these. Here’s what I used, along with some budget-friendly alternatives if you’re just starting out.
- Muffin tin – A standard 12-cup tin. If you only have a 6-cup tin, just bake in batches.
- Paper liners – Black or purple liners look amazing, but white works too. I like Reynolds’ brand for their sturdy quality.
- Mixing bowls – One medium and one large. Glass or stainless steel is best.
- Whisk – For dry ingredients. A fork works too.
- Electric hand mixer – For the frosting. You can use a stand mixer with the paddle attachment, or even a whisk and some serious elbow grease, but a hand mixer saves time.
- Rubber spatula – For scraping down the bowl. I use a silicone one that’s heat-resistant.
- Cooling rack – A wire rack lets the cupcakes cool evenly. If you don’t have one, a clean dish towel on the counter works.
- Piping bag and tip – I used a Wilton 1M star tip for the swirls. A zip-top bag with the corner snipped off works just fine.
Preparation Method
Alright, let’s get baking. Here’s the step-by-step, with all the little notes I’ve learned from making these about a dozen times.
- Preheat and prep. Preheat your oven to 350°F (175°C). Line your muffin tin with paper liners. This recipe makes exactly 12 cupcakes, so you’re good.
- Mix the dry ingredients. In a medium bowl, whisk together 1 ½ cups flour, 1 cup sugar, ¼ cup cocoa powder, 1 teaspoon baking soda, and ½ teaspoon salt. Make sure there are no lumps—especially in the cocoa powder. I usually sift the cocoa just to be safe.
- Combine the wet ingredients. In a large bowl, whisk together ½ cup buttermilk, ½ cup vegetable oil, 1 egg, 1 teaspoon vanilla, and 1 teaspoon white vinegar. Whisk until smooth and slightly frothy.
- Add the black food coloring. Add 2 teaspoons of black gel food coloring to the wet mixture. Stir it in well. It will look a little weird at this point—sort of dark gray and streaky. That’s normal. Add another teaspoon if you want a deeper black.
- Combine wet and dry. Pour the dry ingredients into the wet mixture. Stir gently with a rubber spatula until just combined. Do not overmix! A few small lumps are fine. Overmixing will make the cupcakes tough.
- Fill the liners. Divide the batter evenly among the 12 liners. I use a ¼-cup measuring cup for this—it’s the perfect amount. Each liner should be about ⅔ full.
- Bake. Place the tin in the preheated oven and bake for 15 to 18 minutes. At 15 minutes, insert a toothpick into the center of a cupcake. If it comes out clean or with just a few moist crumbs, they’re done. If there’s wet batter, give them 2 more minutes.
- Cool completely. Let the cupcakes cool in the tin for 5 minutes, then transfer them to a wire rack to cool completely. Do not frost them while they’re warm—the frosting will melt into a puddle. Patience, friend. It’s worth it.
- Make the frosting. While the cupcakes cool, make the purple buttercream. In a large bowl, beat 1 cup softened butter with an electric mixer on medium speed for 2 minutes, until it’s pale and fluffy. Add 3 ½ cups sifted powdered sugar, 3 tablespoons heavy cream, 1 ½ teaspoons vanilla, and a pinch of salt. Start mixing on low speed so the sugar doesn’t fly everywhere, then increase to medium-high and beat for 3 to 4 minutes. The frosting should be light, airy, and spreadable. If it’s too thick, add another tablespoon of cream. If it’s too thin, add ¼ cup more powdered sugar.
- Color the frosting. Add 1 teaspoon of purple gel food coloring and mix until evenly distributed. Add more if you want a deeper shade. I usually end up using about 1 ½ teaspoons for a vibrant royal purple.
- Frost the cupcakes. Fit a piping bag with a star tip and fill it with the purple frosting. Pipe a generous swirl onto each cooled cupcake. If you don’t have a piping bag, simply spread the frosting with a butter knife or offset spatula—it’ll still look beautiful.
- Decorate. Add Halloween sprinkles, edible glitter, or candy eyeballs right away, before the frosting sets. Get creative—there are no rules.
Cooking Tips & Techniques
I’ve made my share of mistakes with these cupcakes, and I’m happy to share them so you don’t have to repeat them. Here are the biggest lessons I’ve learned.
Don’t skimp on the food coloring. The first time I made these, I used liquid black food coloring. Big mistake. The cupcakes turned out a sad, muddy gray. Gel food coloring is the way to go—it’s concentrated and won’t mess with the batter’s consistency. If you want a true black, use 2 to 3 teaspoons of gel.
Room temperature ingredients matter. I know, I know—it’s annoying to wait for eggs and buttermilk to warm up. But cold ingredients don’t emulsify properly, and you end up with a denser cake. Take them out of the fridge 20 minutes before you start. Trust me.
Don’t overmix the batter. This is the number one mistake I see. Mix just until the flour disappears. Overmixing develops gluten, and that makes the cupcakes tough and rubbery. A few lumps are your friends.
Check your baking soda. If your baking soda is old, the cupcakes won’t rise properly. Test it by dropping a teaspoon into a bowl of vinegar—if it fizzes vigorously, it’s good. If not, buy a new box.
Let the cupcakes cool completely. I once frosted a slightly warm cupcake because I was in a hurry. The frosting slid right off and turned into a sad purple puddle. It still tasted good, but it wasn’t pretty. Give them a full 30 minutes on the cooling rack.
Variations & Adaptations
One of the best things about this recipe is how flexible it is. Here are some ways to make it your own.
- Gluten-Free Version: Substitute the all-purpose flour with a 1:1 gluten-free baking blend. I’ve used Bob’s Red Mill with great results. Add ¼ teaspoon of xanthan gum if your blend doesn’t already include it.
- Dairy-Free Version: Use a plant-based buttermilk (add 1 ½ teaspoons of lemon juice to unsweetened almond or oat milk) and replace the butter in the frosting with a high-quality vegan butter stick, like Miyoko’s. The texture will be slightly different but still delicious.
- Different Frosting Colors: Who says it has to be purple? Make it green, orange, or even a gradient of both. Just use the corresponding gel food coloring. For a truly spooky look, try a deep blood red.
- Add a Filling: These cupcakes are amazing with a surprise center. After they cool, use a small knife or apple corer to remove a plug from the center. Fill the hole with raspberry jam, chocolate ganache, or even a dollop of marshmallow fluff. Replace the plug and frost as usual.
- Make It a Cake: Pour the batter into two greased 6-inch round cake pans and bake for 20 to 25 minutes. Double the frosting recipe for a layer cake that’s pure Halloween drama.
Serving & Storage Suggestions
These cupcakes are best served at room temperature. The cake is soft and tender, and the frosting is perfectly creamy. If you’re serving them at a party, arrange them on a black or orange platter for maximum visual impact. They pair beautifully with a glass of cold milk, a warm apple cider, or even a pumpkin spice latte.
Storage: Store unfrosted cupcakes in an airtight container at room temperature for up to 3 days. Frosted cupcakes should be stored in the refrigerator in a single layer (or with parchment paper between layers) for up to 5 days. Let them sit at room temperature for 15 minutes before serving to soften the frosting.
Freezing: You can freeze unfrosted cupcakes for up to 3 months. Wrap them individually in plastic wrap, then place them in a freezer bag. Thaw at room temperature before frosting. Frosted cupcakes can also be frozen, but the decoration might get a little smudged. I usually freeze them unfrosted and make the frosting fresh.
Make-Ahead Tip: Bake the cupcakes and make the frosting up to 2 days ahead. Store them separately in the fridge. Frost them the day you plan to serve them—the frosting will look fresher and more vibrant.
Nutritional Information & Benefits
Let’s be real—these are cupcakes, not health food. But I believe in knowing what you’re eating. Here’s an approximate breakdown per cupcake (based on 12 servings, with frosting and without sprinkles).
| Nutrient | Amount |
|---|---|
| Calories | 385 |
| Fat | 22g |
| Saturated Fat | 10g |
| Carbohydrates | 46g |
| Sugar | 35g |
| Protein | 3g |
| Sodium | 210mg |
That said, there’s a tiny silver lining. Cocoa powder is rich in antioxidants, and buttermilk provides a bit of calcium and probiotics. Plus, the portion size is reasonable—one cupcake is a satisfying treat without going overboard. If you’re looking to lighten things up, you can reduce the sugar in the frosting by using a sugar substitute like Swerve, but I’ll be honest—it won’t taste quite the same.
Conclusion
These Quick Black Velvet Halloween Cupcakes with Purple Frosting are more than just a pretty dessert. They’re a little piece of that childhood wonder—the kind you chase every October when the air gets crisp and the stores fill with fake spiderwebs. Mrs. Kowalski’s cupcakes made me feel like I was part of something special, even if I was just a kid sitting on her floor. And now, every time I make these, I get that same feeling. It’s quick, it’s easy, and it’s absolutely delicious.
I’d love to hear how yours turn out. Did you try a different frosting color? Add a filling? Forget to take the eggs out of the fridge? (I’ve been there.) Drop a comment below and let me know—I read every single one. And if you share a photo on Pinterest or Instagram, tag me so I can see your spooky creations. Happy Halloween, and happy baking!
Frequently Asked Questions
Can I use liquid food coloring instead of gel?
You can, but I don’t recommend it. Liquid food coloring is much less concentrated, so you’d need a lot to get a true black or purple. That much liquid can throw off the batter’s consistency and make the cupcakes gummy. Gel food coloring is worth the extra dollar or two.
Why did my cupcakes sink in the middle?
This usually happens when the oven temperature is too low, or the cupcakes are underbaked. Make sure your oven is fully preheated to 350°F and use an oven thermometer if you’re unsure. Also, don’t open the oven door during the first 12 minutes of baking—the cold air can cause the cakes to collapse.
Can I make these cupcakes ahead of time?
Absolutely. Bake the cupcakes and make the frosting up to 2 days in advance. Store them separately in the fridge. Frost them the day you plan to serve them for the best look and texture. If you’re short on time, you can even freeze the unfrosted cupcakes for up to 3 months.
How do I get the frosting to be that vibrant purple color?
Start with a high-quality purple gel food coloring. I like AmeriColor’s Violet mixed with a tiny drop of Electric Purple for depth. Add it gradually—start with 1 teaspoon, mix well, then add more until you’re happy with the shade. White buttercream is the best base for vibrant colors, so don’t use yellow butter.
My frosting is too runny. What did I do wrong?
Runny frosting usually means the butter was too soft, or you added too much liquid. If your kitchen is warm, the butter might have melted slightly. Pop the bowl in the fridge for 10 minutes, then whip it again. If it’s still too thin, beat in another ¼ cup of sifted powdered sugar until it thickens up.
Pin This Recipe!
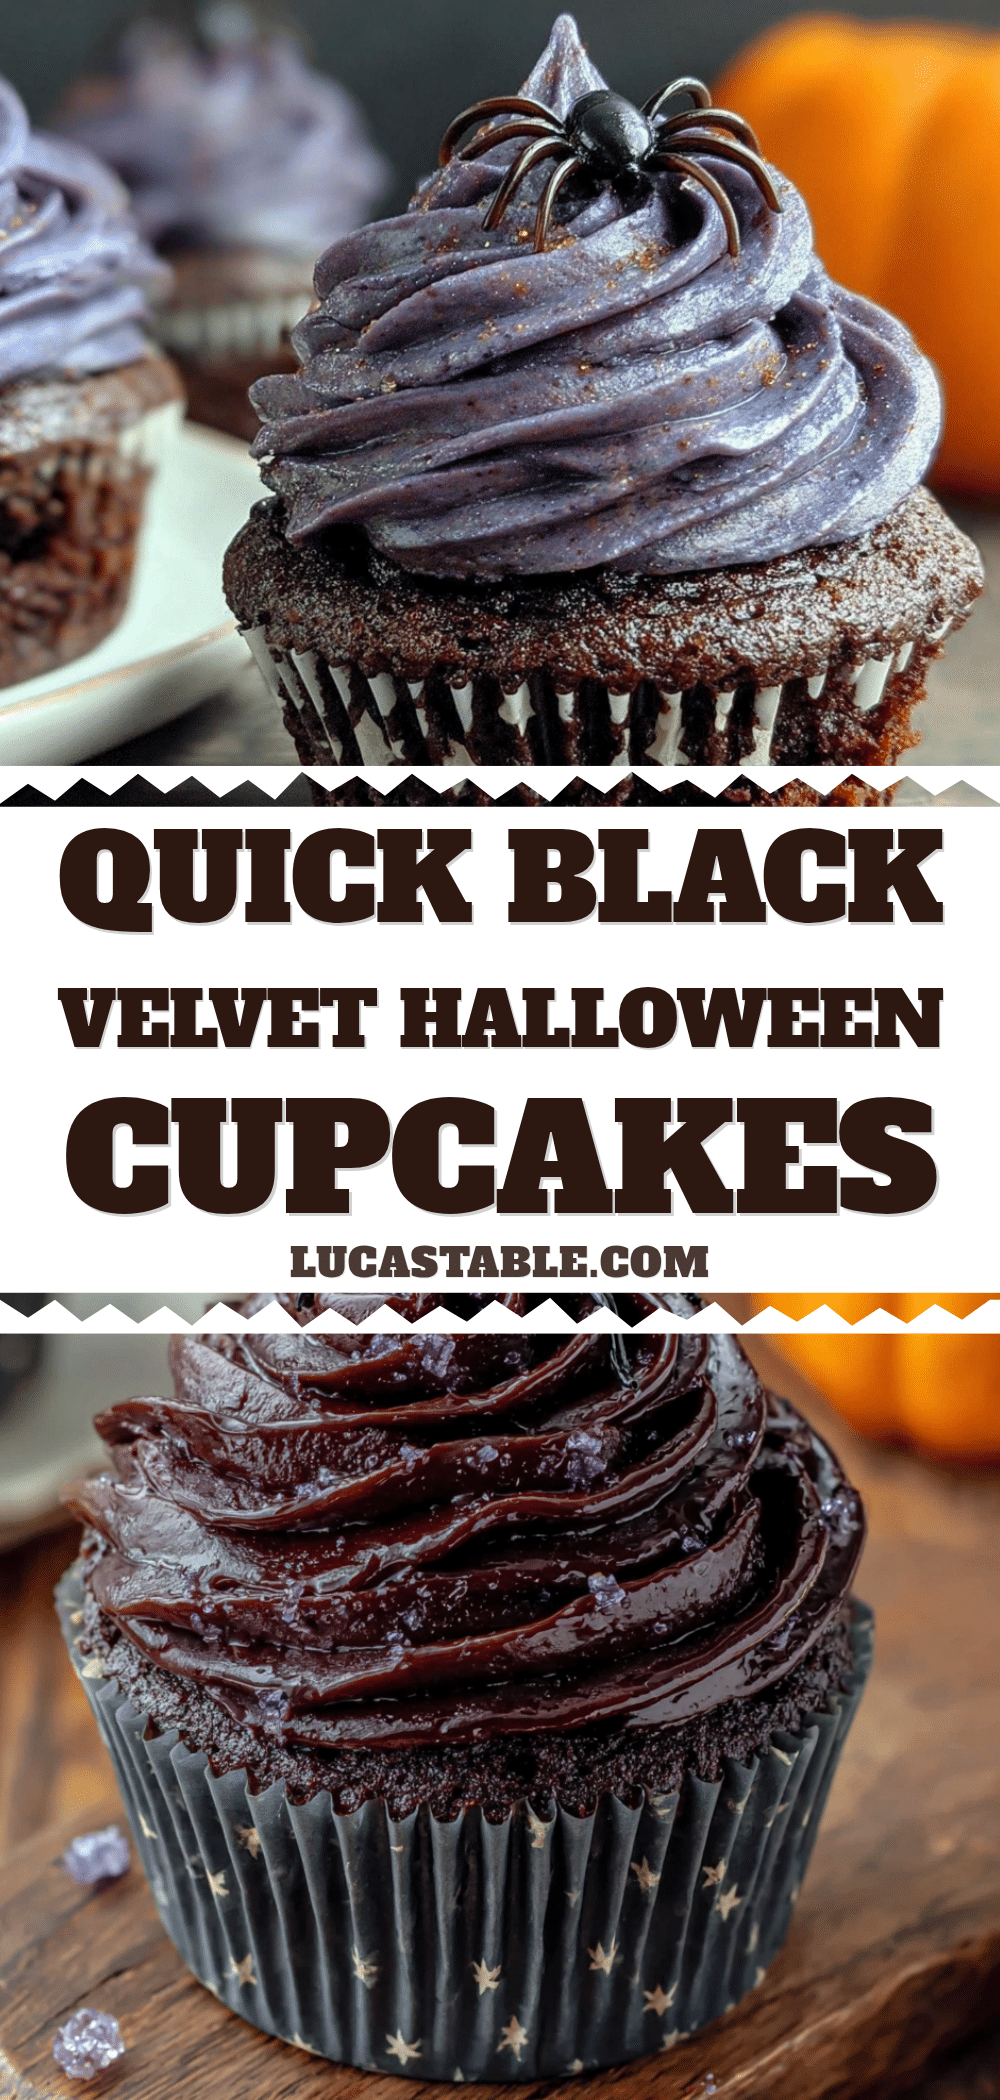
Quick Black Velvet Halloween Cupcakes with Purple Frosting
These Quick Black Velvet Halloween Cupcakes with Purple Frosting are dark, dramatic, and come together in under an hour. A moist, tender black velvet cake topped with a vibrant purple buttercream, perfect for Halloween parties or spooky movie nights.
- Prep Time: 15 minutes
- Cook Time: 18 minutes
- Total Time: 45 minutes
- Yield: 12 cupcakes 1x
- Category: Dessert
- Cuisine: American
Ingredients
- 1 ½ cups (190g) all-purpose flour
- 1 cup (200g) granulated sugar
- ¼ cup (20g) unsweetened cocoa powder
- 1 teaspoon baking soda
- ½ teaspoon salt
- ½ cup (120ml) buttermilk, room temperature
- ½ cup (120ml) vegetable oil
- 1 large egg, room temperature
- 1 teaspoon vanilla extract
- 1 teaspoon white vinegar
- 2 to 3 teaspoons black gel food coloring
- 1 cup (226g) unsalted butter, softened
- 3 ½ to 4 cups (420-480g) powdered sugar, sifted
- 3 to 4 tablespoons (45-60ml) heavy cream
- 1 ½ teaspoons vanilla extract
- 1 to 2 teaspoons purple gel food coloring
- A pinch of salt
- Halloween sprinkles (optional)
- Edible glitter (optional)
- Candy eyeballs (optional)
Instructions
- Preheat oven to 350°F (175°C). Line a 12-cup muffin tin with paper liners.
- In a medium bowl, whisk together flour, sugar, cocoa powder, baking soda, and salt.
- In a large bowl, whisk together buttermilk, vegetable oil, egg, vanilla extract, and white vinegar until smooth and slightly frothy.
- Add 2 teaspoons of black gel food coloring to the wet mixture and stir well. Add another teaspoon if desired for a deeper black.
- Pour the dry ingredients into the wet mixture and stir gently with a rubber spatula until just combined. Do not overmix.
- Divide the batter evenly among the 12 liners, filling each about ⅔ full.
- Bake for 15 to 18 minutes, or until a toothpick inserted into the center comes out clean or with a few moist crumbs.
- Let cupcakes cool in the tin for 5 minutes, then transfer to a wire rack to cool completely.
- While cupcakes cool, make the frosting: In a large bowl, beat softened butter with an electric mixer on medium speed for 2 minutes until pale and fluffy.
- Add 3 ½ cups sifted powdered sugar, 3 tablespoons heavy cream, 1 ½ teaspoons vanilla extract, and a pinch of salt. Mix on low speed, then increase to medium-high and beat for 3 to 4 minutes until light and airy. Adjust consistency with additional cream or powdered sugar as needed.
- Add 1 teaspoon of purple gel food coloring and mix until evenly distributed. Add more for a deeper shade.
- Fit a piping bag with a star tip and fill with purple frosting. Pipe a generous swirl onto each cooled cupcake. Alternatively, spread frosting with a knife.
- Decorate with Halloween sprinkles, edible glitter, or candy eyeballs immediately before the frosting sets.
Notes
Use gel food coloring for true black and purple colors. Room temperature ingredients ensure proper emulsification. Do not overmix the batter to avoid tough cupcakes. Cool cupcakes completely before frosting to prevent melting.
Nutrition
- Serving Size: 1 cupcake
- Calories: 385
- Sugar: 35
- Sodium: 210
- Fat: 22
- Saturated Fat: 10
- Carbohydrates: 46
- Fiber: 1
- Protein: 3
Keywords: Halloween cupcakes, black velvet cupcakes, purple frosting, quick dessert, spooky treats


