I’ve never been a meal-prep person. The idea of spending a Sunday afternoon chopping vegetables and portioning out little containers of snacks makes me feel a little tired just thinking about it. But last year, I found myself in a weird spot where I was hungry all the time between meals, and none of the store-bought bars or protein snacks were doing it for me. They were either too sweet, too dry, or had ingredients I couldn’t pronounce. So I started messing around in my kitchen one afternoon, throwing things into a bowl until something stuck. What came out of that experiment was these Quick No-Bake Peanut Butter Protein Energy Bites. Honestly, I didn’t expect much. I was just trying to use up some leftover oats and a jar of peanut butter that was about to expire. But the first time I rolled them into balls and took a bite, I knew I had stumbled onto something worth keeping.
The texture was perfect—not too sticky, not too crumbly. The flavor was just right, with that deep peanut butter taste and just a hint of sweetness from a little honey. I ate three of them standing at my kitchen counter, and I realized I hadn’t touched the bag of chips I’d opened earlier. That was the moment I knew these were going to be a regular thing in my house. These energy bites have become my go-to for busy mornings when I need something quick before I run out the door, or for those 3 PM slumps when my energy dips and I’m reaching for anything in the pantry. They’re simple, they’re satisfying, and they don’t require any fancy equipment or skills. If you’ve ever wanted a snack that feels like a treat but actually fuels your body, this is it.
These aren’t just another energy ball recipe you’ll forget about. They’ve got staying power because they’re genuinely good, not just healthy. And the best part? You can make a batch in ten minutes flat. No oven, no stovetop, no complicated steps. Just a bowl, a spoon, and about the time it takes to brew a cup of coffee. I’ve made them dozens of times now, and I still get excited every time I open the fridge and see that container waiting for me.
Why You’ll Love This Recipe
Let me tell you why these Quick No-Bake Peanut Butter Protein Energy Bites have become a staple in my kitchen and why I think they’ll become one in yours too. I’ve tested this recipe more times than I can count, tweaking the ratios, trying different mix-ins, and even letting my picky-eating nephew be the judge. Every single time, they deliver.
- Quick & Easy: You can have these ready in under 10 minutes. No joke. Mix everything in one bowl, roll into balls, and you’re done. Perfect for those mornings when you’re running late or those evenings when you need a quick snack before the hangry sets in.
- Simple Ingredients: You probably already have most of what you need in your pantry. Rolled oats, peanut butter, honey, and a few other basics. No need for a special trip to the store or hunting down obscure health food items.
- Perfect for Busy Days: Whether you’re heading to work, dropping kids off at school, or just need a quick boost before a workout, these bites are ready to grab and go. They travel well and don’t get messy.
- Crowd-Pleaser: I’ve brought these to potlucks, family gatherings, and even office snack swaps. They disappear fast. Kids love them, adults love them, and nobody complains that they’re “too healthy.”
- Unbelievably Delicious: The combination of creamy peanut butter, chewy oats, and just the right amount of sweetness hits that perfect spot. It’s comfort food that happens to be good for you.
What makes this recipe different from all the other energy ball recipes out there? It’s the balance. I spent a lot of time getting the ratio of wet to dry ingredients just right so the bites hold together without being greasy or falling apart. The honey adds just enough sweetness without making them cloying, and the protein powder blends in seamlessly so you don’t get that chalky texture some recipes have. This isn’t just another version—it’s the version I keep coming back to, and I think you will too.
There’s something about these bites that feels like a little secret. You make them in minutes, they taste like a treat, and yet they actually keep you full and energized. It’s the kind of recipe that makes you feel like you’ve hacked the system. And honestly, who doesn’t want that?
What Ingredients You Will Need
This recipe uses simple, wholesome ingredients that work together to create a snack that’s both satisfying and nourishing. Most of these are pantry staples, so you can probably make a batch right now without a shopping trip.
- Rolled Oats (1 cup / 90g): These are the backbone of the recipe. Rolled oats give the bites their chewy texture and help bind everything together. I prefer old-fashioned rolled oats over quick oats because they hold their shape better. If you only have quick oats, they’ll work, but the texture will be a bit softer. For a gluten-free option, make sure to use certified gluten-free oats.
- Peanut Butter (½ cup / 130g): The star of the show. Use a creamy, natural peanut butter for the best flavor and texture. I like the kind where the only ingredients are peanuts and salt. Stir it well before measuring because the oil can separate. If you use a sweeter, processed peanut butter, you might want to reduce the honey a little. Almond butter or cashew butter also work great if you want to switch things up.
- Honey (⅓ cup / 110g): This adds natural sweetness and helps bind the ingredients together. Maple syrup is a good substitute if you want a vegan option, but it’s a little thinner, so you may need to add a tablespoon more oats to get the right consistency. I’ve also used agave syrup in a pinch, and it worked fine.
- Protein Powder (¼ cup / 30g): This is what gives the bites their protein boost. I recommend using a vanilla or unflavored protein powder. Whey protein works well, but plant-based protein powders like pea or brown rice protein also work. Just keep in mind that different protein powders absorb liquid differently. If your mixture seems too dry, add a teaspoon of water or milk. If it’s too wet, add a tablespoon more oats. My go-to is a vanilla whey protein from a trusted brand—it adds a subtle sweetness that complements the peanut butter perfectly.
- Chia Seeds (2 tablespoons / 20g): These little seeds are nutritional powerhouses. They add fiber, omega-3s, and a nice little crunch. They also help absorb moisture and keep the bites from getting too sticky. If you don’t have chia seeds, you can use flaxseed meal instead.
- Mini Chocolate Chips (¼ cup / 45g): Because everything is better with a little chocolate. The mini ones distribute more evenly than regular-sized chips. I like dark chocolate chips for a less sweet option, but milk chocolate or semi-sweet work great too. If you want to keep these refined sugar-free, use stevia-sweetened chocolate chips.
- Pinch of Salt (¼ teaspoon): Don’t skip this. Salt enhances the peanut butter flavor and balances the sweetness. If your peanut butter is already salted, you can reduce this a bit, but I still recommend adding a small pinch.
A quick note on ingredient sourcing: I’ve found that the quality of your peanut butter really makes a difference here. The natural, stir-it-yourself kind from the grocery store gives the best, most authentic peanut flavor. I’m partial to the store-brand natural peanut butter from my local market—it’s affordable and has just the right amount of salt. For the oats, I usually buy a big bag from the bulk section because I go through them so fast.
Equipment Needed
One of the best things about this recipe is that you don’t need much equipment at all. Here’s what you’ll need:
- Large Mixing Bowl: Any medium-to-large bowl will do. I use a ceramic one because it’s easy to clean and doesn’t slide around on the counter.
- Spatula or Wooden Spoon: For mixing everything together. A silicone spatula works great because you can scrape the sides of the bowl easily.
- Measuring Cups and Spoons: Standard set will do. I like having a set of dry measuring cups for the oats and protein powder, and a liquid measuring cup for the honey and peanut butter.
- Baking Sheet or Plate: To hold the rolled bites while you shape them. Line it with parchment paper or wax paper for easy cleanup.
- Small Cookie Scoop (optional but helpful): If you want uniform-sized bites, a small cookie scoop or melon baller is great. I use a 1-tablespoon scoop, and it makes the process so much faster. If you don’t have one, just use your hands—it works perfectly fine.
- Airtight Container: For storing the finished bites. A glass or plastic container with a tight-fitting lid works best. I use a medium-sized glass container that fits about 20 bites.
That’s it. No food processor, no mixer, no complicated gadgets. Just your hands and a few basic tools. If you’ve got a bowl and a spoon, you’re pretty much set.
Preparation Method
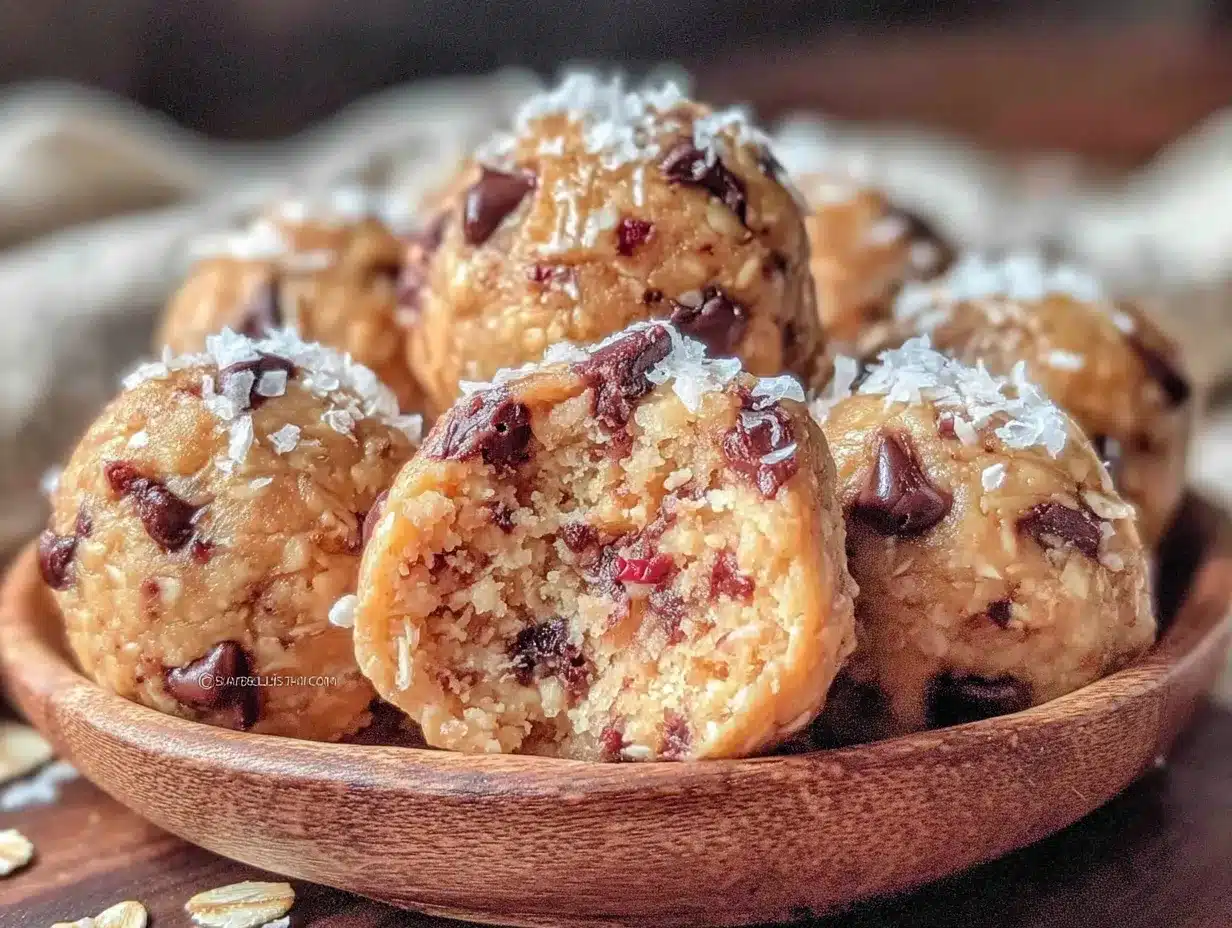
Making these Quick No-Bake Peanut Butter Protein Energy Bites is almost too easy. But don’t let the simplicity fool you—the technique matters a little bit to get the perfect texture. Here’s how I do it:
- Combine the dry ingredients: In your large mixing bowl, add 1 cup (90g) of rolled oats, ¼ cup (30g) of protein powder, 2 tablespoons (20g) of chia seeds, and ¼ teaspoon of salt. Give it a quick stir with your spatula to evenly distribute everything. This step is important because it ensures the protein powder doesn’t clump up when you add the wet ingredients. I learned this the hard way after ending up with a few chalky bites in my first batch.
- Add the wet ingredients: Scoop ½ cup (130g) of peanut butter into the bowl. If your peanut butter is cold and stiff, microwave it for about 10-15 seconds to soften it—this makes mixing so much easier. Add ⅓ cup (110g) of honey. Don’t worry if the honey is a little thick; it will mix in fine.
- Mix everything together: Start stirring with your spatula or spoon. At first, it might look like the wet ingredients aren’t incorporating, but keep going. Fold the mixture over itself, scraping the bottom and sides of the bowl. After about a minute, it should start coming together into a cohesive mass. If it seems too dry and crumbly, add a teaspoon of water or milk. If it’s too wet and sticky, add a tablespoon more oats. The texture should be like a thick, slightly sticky dough that holds together when you press it.
- Fold in the chocolate chips: Once the base mixture is well combined, add ¼ cup (45g) of mini chocolate chips. Fold them in gently until they’re evenly distributed. Don’t overmix at this point, or the chocolate chips might start melting from the warmth of your hands.
- Chill the mixture (optional but recommended): If your kitchen is warm or your peanut butter was very soft, pop the bowl in the fridge for 10-15 minutes. This makes the mixture easier to handle and roll. I usually skip this step in the winter but find it helpful in the summer when my kitchen gets hot.
- Roll into balls: Line a baking sheet or plate with parchment paper. Scoop out about 1 tablespoon of the mixture. Roll it between your palms to form a smooth ball. If the mixture sticks to your hands, lightly wet your palms with water or rub a tiny bit of oil on them. Place each ball on the prepared sheet. Repeat until all the mixture is used. You should get about 18-22 bites, depending on how big you make them.
- Set the bites: Once all the balls are rolled, place the baking sheet in the refrigerator for at least 20-30 minutes. This allows them to firm up and hold their shape. If you’re in a hurry, you can eat them right away, but they’ll be a bit softer. After they’ve chilled, transfer them to an airtight container.
A few things I’ve noticed from making these over and over: The mixture will feel slightly greasy when you first mix it, but that’s normal. The oats absorb the moisture as it sits. Also, don’t be afraid to really get in there with your hands at the end to make sure everything is combined. Sometimes the spatula misses a pocket of dry oats. And if your bites look a little uneven, that’s totally fine. They’re homemade, not factory-made, and that’s part of their charm.
Cooking Tips & Techniques
Over the dozens of times I’ve made these energy bites, I’ve picked up a few tricks that make the process smoother and the results better. Here are my best tips:
Adjust the moisture based on your protein powder. Different protein powders absorb liquid at different rates. Whey protein tends to be less absorbent, while plant-based proteins like pea or brown rice can soak up a lot of moisture. If your mixture feels dry and crumbly, add a splash of milk or water. If it’s too sticky, add a tablespoon of oats. This is the most common issue people run into, and it’s an easy fix.
Use room temperature ingredients when possible. If your peanut butter or honey has been sitting in a cold pantry, they can be stiff and hard to mix. A quick 10-second zap in the microwave softens them right up. Just be careful not to overheat the honey, as it can burn.
Don’t skip the salt. I know it seems like a small thing, but that pinch of salt makes a huge difference. It brings out the nutty flavor of the peanut butter and keeps the bites from tasting flat. I once forgot to add it, and the batch was noticeably less satisfying.
Chill before rolling if the mixture is too sticky. If you’re having trouble rolling the bites without them sticking to your hands, pop the bowl in the fridge for 15 minutes. The cold firms up the peanut butter and makes the mixture much easier to handle. Alternatively, you can lightly oil your palms with a drop of coconut oil.
Make them uniform in size. Using a small cookie scoop ensures all your bites are the same size, which means they’ll chill evenly and look more polished. But honestly, if you’re just making them for yourself, who cares if they’re a little uneven? I’ve done both, and the uneven ones taste just as good.
Toast the oats for extra flavor. This is an optional step, but if you have an extra five minutes, spread the oats on a baking sheet and toast them in a 350°F oven for about 5-7 minutes until they’re lightly golden. Let them cool completely before using. This adds a nutty, toasty flavor that takes the bites to another level. I do this when I’m making a batch for guests or when I want something a little special.
Don’t overmix once the chocolate chips are added. The warmth from your hands and the friction of mixing can start melting the chocolate, which will give you a streaky, marbled look. It still tastes fine, but it’s not as pretty. Fold them in gently at the end.
I remember one time I was making these while talking on the phone, and I accidentally added double the honey. The mixture was a sticky, gooey mess. I tried to fix it by adding more oats and protein powder, but it was too late—the bites were overly sweet and never really set properly. So measure carefully, and don’t multitask too much!
Variations & Adaptations
One of the things I love most about this recipe is how adaptable it is. You can change it up based on what you have in your pantry or what you’re craving. Here are some of my favorite variations:
- Chocolate Peanut Butter: Add 1 tablespoon of cocoa powder to the dry ingredients for a chocolatey twist. You might need to add an extra teaspoon of honey to balance the bitterness of the cocoa. This version is dangerously good—I can’t stop eating them.
- Vegan Option: Replace the honey with maple syrup or agave nectar, and use a plant-based protein powder. The texture will be slightly different—maple syrup is thinner than honey—so you may need to add a tablespoon more oats. I’ve made this version for my vegan friends, and they always ask for the recipe.
- Nut-Free Version: Substitute the peanut butter with sunflower seed butter or tahini. The flavor will be different, but it’s still delicious. Just note that sunflower seed butter can react with baking soda (if you ever use it in baked goods), but since this is a no-bake recipe, you’re safe. I’ve used tahini before, and it gives the bites a slightly savory, earthy note that pairs surprisingly well with the honey and chocolate.
- Add Dried Fruit: Swap out the chocolate chips for dried cranberries, chopped dates, or raisins. The chewy texture of dried fruit works beautifully here. I love using tart dried cherries—they balance the sweetness of the honey perfectly.
- Spiced Version: Add ½ teaspoon of cinnamon and a pinch of nutmeg to the dry ingredients. This gives the bites a warm, cozy flavor that’s perfect for fall. I made a batch with pumpkin pie spice once, and they tasted like a healthier version of a pumpkin cookie.
- Coconut Lovers: Add ¼ cup of unsweetened shredded coconut to the mixture. Roll the finished bites in additional shredded coconut for a beautiful presentation. This adds a nice texture and a subtle tropical flavor.
I once made a batch with crunchy peanut butter instead of creamy, and the texture was fantastic. The little bits of peanut added a nice crunch. If you try that, just make sure the peanut butter isn’t too dry—some natural crunchy peanut butters can be a bit stiff.
Serving & Storage Suggestions
These energy bites are best served cold or at room temperature. I like to take them straight from the fridge and eat them as a quick snack. They’re firm but still chewy, with a satisfying texture that doesn’t crumble.
How to serve: These are perfect for breakfast on the go, a post-workout snack, or a mid-afternoon pick-me-up. I often pack two or three in a small container when I’m heading out for the day. They pair wonderfully with a cup of coffee or a glass of cold milk. If you’re serving them at a party or gathering, arrange them on a platter with some fresh fruit for a colorful, healthy snack option.
Storage: Store the energy bites in an airtight container in the refrigerator. They’ll stay fresh for up to two weeks. I’ve found they actually get a little better after a day or two as the flavors meld together. If you want to keep them longer, you can freeze them.
Freezing instructions: Place the rolled bites on a baking sheet lined with parchment paper and freeze them for about an hour until they’re solid. Then transfer them to a freezer-safe bag or container. They’ll keep in the freezer for up to three months. When you want one, just take it out and let it thaw for a few minutes at room temperature, or eat it frozen—they’re actually pretty good straight from the freezer, like a little frozen treat.
Reheating (not really necessary): These are meant to be eaten cold or at room temperature, but if you want a softer texture, let them sit on the counter for 10-15 minutes. I wouldn’t recommend microwaving them, as the chocolate chips can melt and make a mess.
A quick note on texture over time: After about a week in the fridge, the oats absorb more moisture and the bites become a little softer. Some people prefer this texture. If you like them firmer, eat them within the first few days.
Nutritional Information & Benefits
These Quick No-Bake Peanut Butter Protein Energy Bites are more than just a tasty snack—they’re actually pretty good for you. Here’s a rough nutritional breakdown per bite (based on 20 bites):
| Nutrient | Amount per Bite |
|---|---|
| Calories | 120-140 |
| Protein | 6-8g |
| Carbohydrates | 14-16g |
| Fiber | 2-3g |
| Sugar | 8-10g |
| Fat | 6-8g |
| Saturated Fat | 1.5-2g |
These numbers will vary based on the specific brands of peanut butter, protein powder, and chocolate chips you use. If you’re using a sugar-free protein powder or sugar-free chocolate chips, the sugar content will be lower.
Health benefits: The rolled oats provide complex carbohydrates for sustained energy, while the peanut butter and protein powder deliver a solid dose of protein to keep you full and support muscle recovery. Chia seeds are packed with omega-3 fatty acids, fiber, and antioxidants. The honey offers natural sweetness with some antibacterial properties, and dark chocolate chips (if you use them) are rich in antioxidants too.
Dietary considerations: This recipe is naturally vegetarian. To make it vegan, use maple syrup instead of honey and a plant-based protein powder. For a gluten-free version, use certified gluten-free oats. It’s also easily adaptable to be nut-free by using sunflower seed butter. The bites are free from refined sugar if you use sugar-free chocolate chips or omit them entirely. They’re also dairy-free as written, but double-check your protein powder and chocolate chips for dairy content if that’s a concern.
Potential allergens: This recipe contains peanuts (from the peanut butter) and may contain gluten (from the oats) and dairy (from the chocolate chips, depending on the brand). Always check labels if you’re serving someone with allergies.
I like knowing that when I reach for one of these, I’m not just eating empty calories. They actually fuel my body and keep me going. It’s a small win, but it makes a big difference in how I feel throughout the day.
Conclusion
These Quick No-Bake Peanut Butter Protein Energy Bites have honestly become a lifesaver in my kitchen. They’re the kind of recipe that proves you don’t need complicated techniques or a long list of ingredients to make something truly satisfying. Whether you’re a busy parent, a student running between classes, or just someone who wants a healthier snack option that actually tastes good, these bites deliver.
I love how forgiving this recipe is. You can tweak it, swap ingredients, and make it your own without worrying about ruining it. That’s the beauty of no-bake recipes—they’re almost impossible to mess up. And the fact that they come together in ten minutes? That’s just the cherry on top.
I’d love to hear how your batch turns out. Did you add anything different? Did you try a variation I mentioned? Drop a comment below and let me know. And if you end up making these for a party or just for yourself (no judgment), share a photo on social media and tag me—I always love seeing what you create. Happy snacking!
Frequently Asked Questions
Can I use quick oats instead of rolled oats?
Yes, you can. Quick oats will work, but the texture will be a bit softer and less chewy. Rolled oats give a nicer, more satisfying bite. If you only have quick oats, reduce the honey slightly because they absorb moisture faster.
How long do these energy bites last?
Stored in an airtight container in the refrigerator, they’ll stay fresh for up to two weeks. You can also freeze them for up to three months. Just thaw them at room temperature for a few minutes before eating, or enjoy them straight from the freezer.
Can I make these without protein powder?
Absolutely. If you don’t have protein powder, just increase the oats by ¼ cup (about 22g) to maintain the right texture. The bites will have slightly less protein, but they’ll still taste great and hold together well.
My mixture is too dry. What should I do?
If your mixture is crumbly and won’t hold together, add a teaspoon of water, milk, or extra honey at a time until it comes together. Different protein powders absorb moisture differently, so this is a common fix.
Can I use crunchy peanut butter?
Yes, crunchy peanut butter works great. It adds a nice little crunch to the bites. Just make sure it’s not too dry, as some natural crunchy peanut butters can be stiff. Warm it slightly if needed to make mixing easier.
Pin This Recipe!
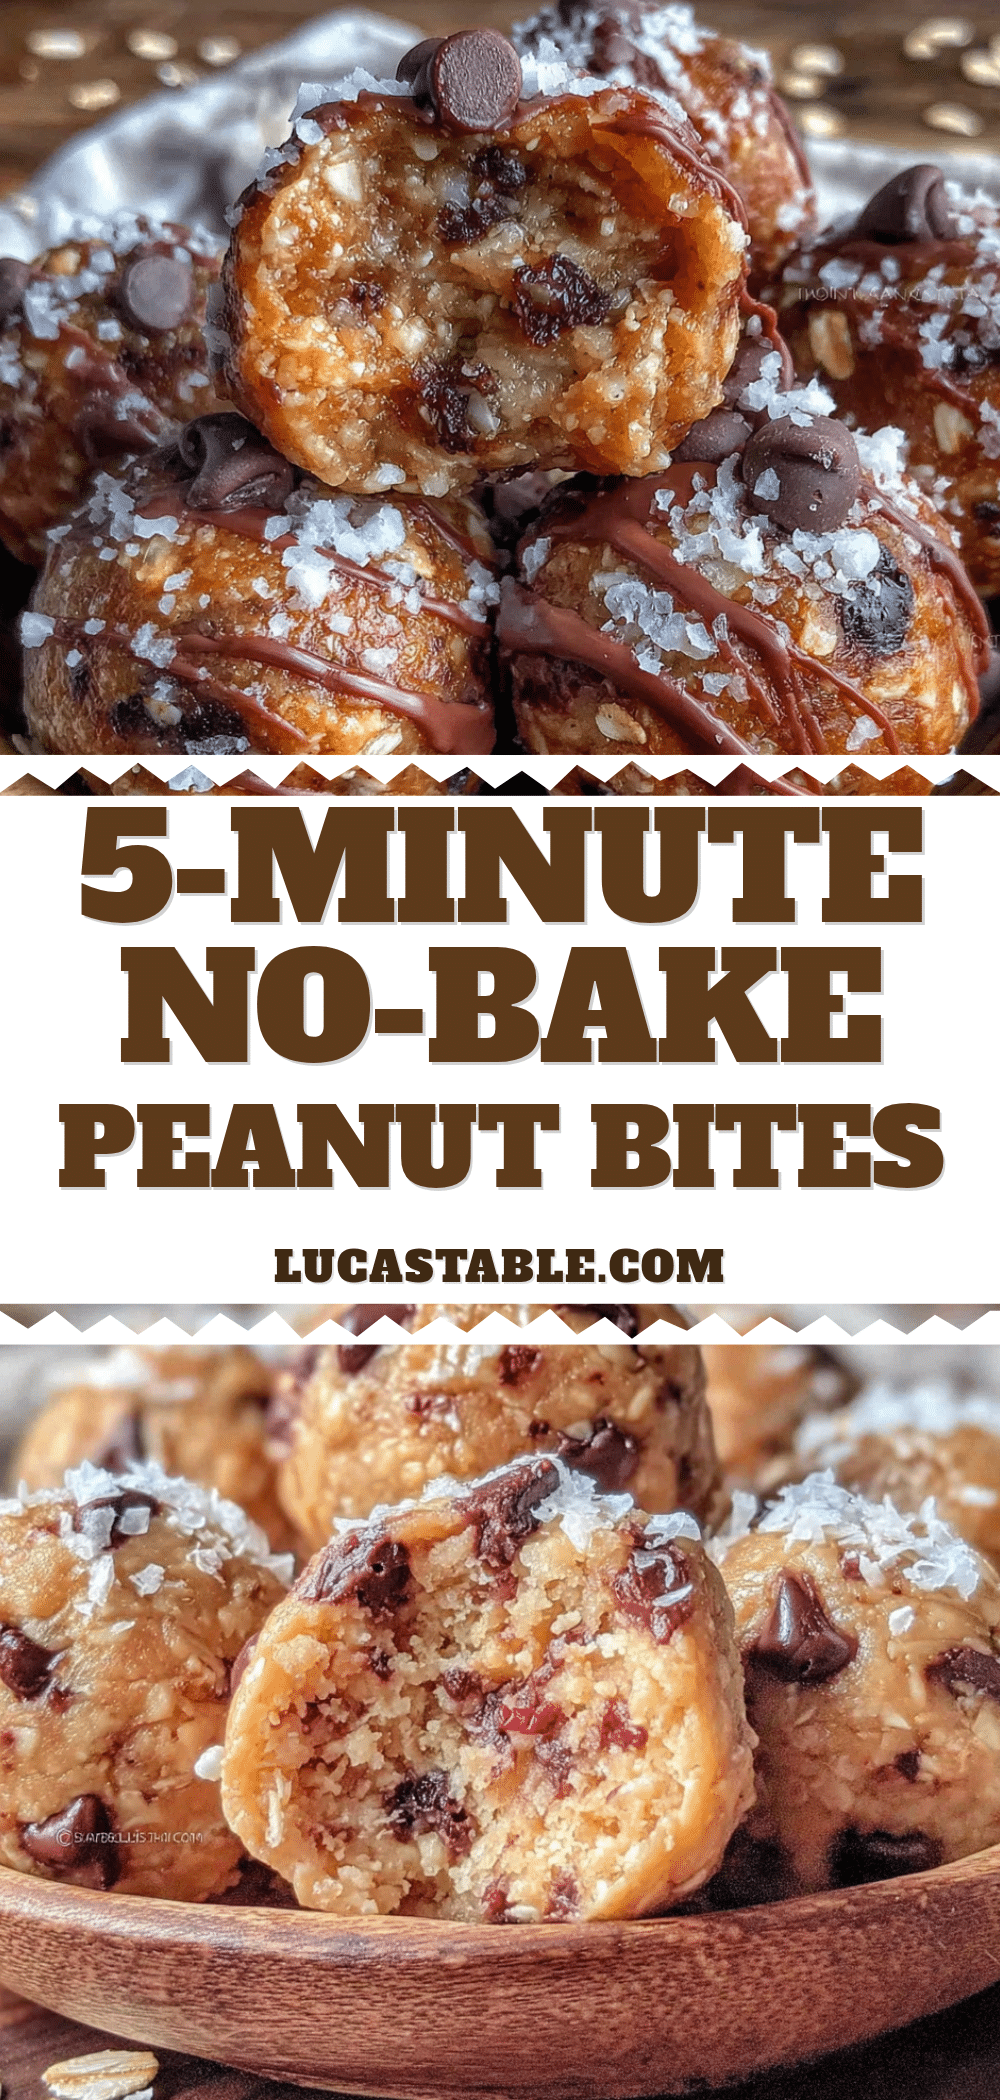
Quick No-Bake Peanut Butter Protein Energy Bites: Easy 10-Minute Recipe

These no-bake energy bites are a quick, healthy snack made with simple ingredients like rolled oats, peanut butter, honey, and protein powder. Ready in just 10 minutes, they’re perfect for busy mornings or a mid-afternoon energy boost.
- Prep Time: 10 minutes
- Cook Time: 0 minutes
- Total Time: 10 minutes
- Yield: 18-22 bites 1x
- Category: Snack
- Cuisine: American
Ingredients
- 1 cup (90g) rolled oats
- ½ cup (130g) creamy natural peanut butter
- ⅓ cup (110g) honey
- ¼ cup (30g) vanilla or unflavored protein powder
- 2 tablespoons (20g) chia seeds
- ¼ cup (45g) mini chocolate chips
- ¼ teaspoon salt
Instructions
- In a large mixing bowl, combine rolled oats, protein powder, chia seeds, and salt. Stir to distribute evenly.
- Add peanut butter and honey. If peanut butter is cold, microwave for 10-15 seconds to soften. Mix until a cohesive dough forms. If too dry, add a teaspoon of water or milk; if too wet, add a tablespoon more oats.
- Fold in mini chocolate chips gently until evenly distributed.
- If mixture is too sticky, refrigerate for 10-15 minutes.
- Line a baking sheet or plate with parchment paper. Scoop about 1 tablespoon of mixture and roll into smooth balls. Place on prepared sheet. Repeat with remaining mixture (yields 18-22 bites).
- Refrigerate for at least 20-30 minutes to firm up. Transfer to an airtight container for storage.
Notes
For best texture, use rolled oats rather than quick oats. If mixture is too sticky, chill before rolling. To make vegan, substitute honey with maple syrup and use plant-based protein powder. For nut-free, use sunflower seed butter. Store in refrigerator for up to 2 weeks or freeze for up to 3 months.
Nutrition
- Serving Size: 1 bite
- Calories: 120140
- Sugar: 810
- Fat: 68
- Saturated Fat: 1.52
- Carbohydrates: 1416
- Fiber: 23
- Protein: 68
Keywords: energy bites, no-bake, peanut butter, protein, healthy snack, quick, easy, gluten-free option, vegan option


