It’s late August, the air holds that quiet edge of summer’s end—warm, but a little softer, like the light sliding through the kitchen window just before dusk. The hum of the oven is the only sound in the otherwise still house, and the scent of cocoa and vanilla curls gently around the counter. What I want most right now is a slice of this red velvet flag cake, a dessert I’ve come to think of as a slow ritual, not a flashy celebration. It’s the kind of recipe that doesn’t shout for attention but quietly demands a moment of pause and a second helping.
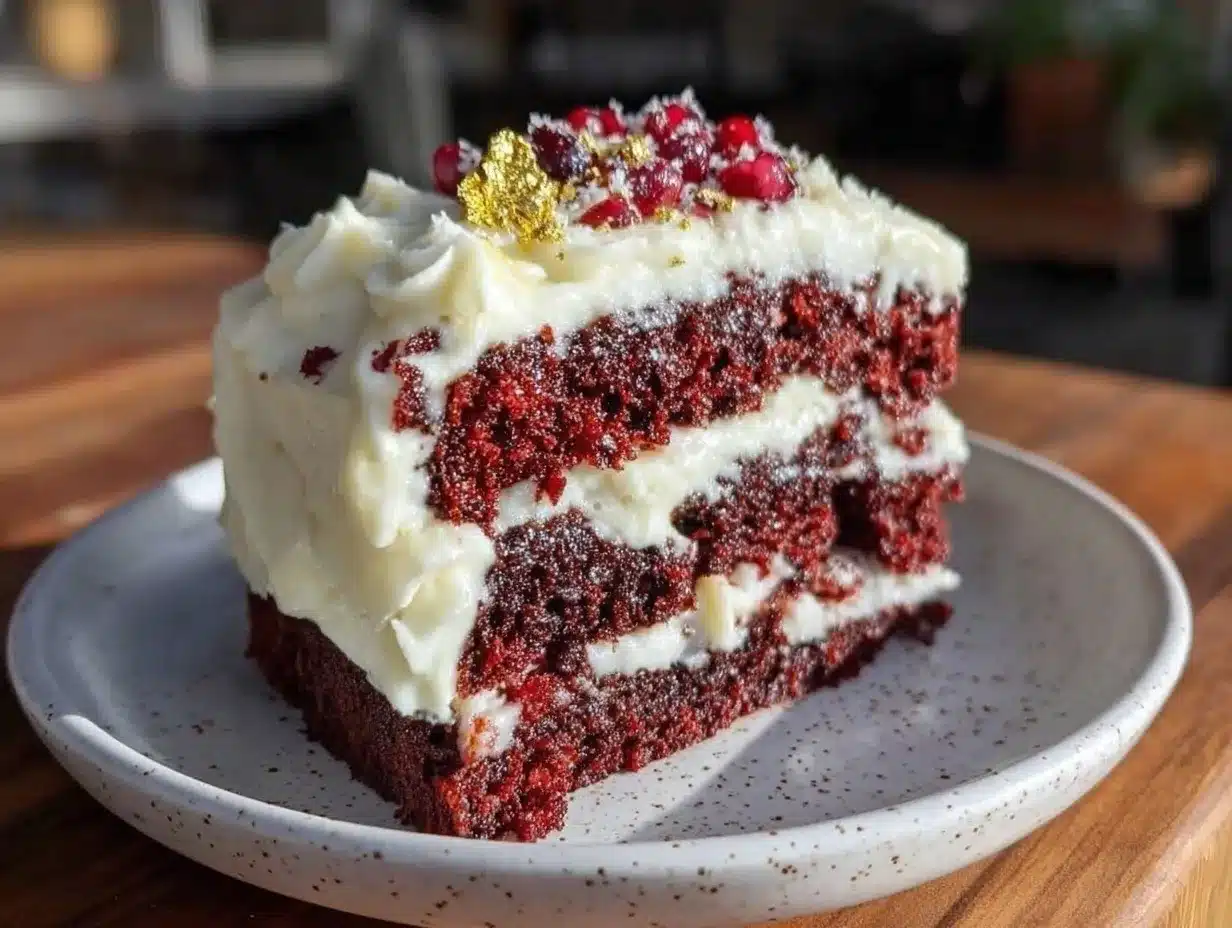
Making this red velvet flag cake with cream cheese frosting isn’t about showy flair or last-minute flourishes. It’s about the rhythm of layering vibrant red cake with smooth, tangy frosting—each step deliberate, comforting. The vivid red of the cake against the snowy white cream cheese frosting feels like a secret handshake between seasons, a nod to cozy gatherings and unhurried afternoons. Honestly, the real magic is how this cake manages to feel like both an everyday treat and a special occasion all at once.
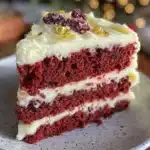
It stuck with me because it’s the dessert I reach for when I want something that looks impressive but still tastes like home. The layers are tender, the cream cheese frosting just sweet enough with that little tang that wakes up your taste buds. It’s not just a red velvet cake—it’s a quiet celebration in four layers, each one a soft promise of something to savor. If you’ve ever found yourself craving a dessert that’s both comforting and a little bit stunning, this recipe might just become your new favorite.
Why You’ll Love This Red Velvet Flag Cake Recipe
After testing countless variations of red velvet cake, this recipe became my go-to because it balances ease with a wow factor that never feels forced. The cream cheese frosting isn’t just a topping here—it’s part of the whole experience, spread thick and creamy between each layer.
- Quick & Easy: This red velvet flag cake comes together in under 90 minutes, making it perfect for both planned parties and last-minute dessert cravings.
- Simple Ingredients: No obscure baking supplies—just pantry staples and fresh dairy you probably already have on hand.
- Perfect for Celebrations: Whether it’s a Fourth of July picnic or a cozy winter gathering, the flag-inspired layers add a festive touch that feels effortless.
- Crowd-Pleaser: Kids and adults alike can’t get enough of the soft crumb and the tangy-sweet frosting combo.
- Unbelievably Delicious: The moist, tender crumb combined with the creamy, slightly tangy frosting creates a texture and flavor combo that’s downright addictive.
- Unique Technique: The trick to the perfect crumb is folding in a bit of buttermilk and vinegar, which reacts with the cocoa powder for that classic red velvet tang and velvet-like softness.
- Emotionally Resonant: This cake has become a tradition in my kitchen, the kind of dessert that quietly gathers memories around it without needing fanfare.
In my experience, this isn’t just any red velvet cake. It’s the one that makes you close your eyes and savor every bite, the kind of recipe you’ll want to pull out when you want something a little special but completely reliable. If you love desserts that feel both nostalgic and fresh, this cake will fit right into your baking repertoire.
Ingredients Needed for Red Velvet Flag Cake
This recipe relies on straightforward, wholesome ingredients that build bold flavor and a soft texture without fuss. You’ll find everything either in your pantry or fridge, making it an easy pick for both routine and special baking days.
- For the Cake Batter:
- 2⅔ cups (320g) all-purpose flour (I prefer King Arthur for consistent texture)
- 1½ cups (300g) granulated sugar
- 1 teaspoon baking soda
- 1 teaspoon fine salt
- 1 tablespoon unsweetened cocoa powder (Dutched cocoa works best for that deep red color)
- 1½ cups (360ml) buttermilk, room temperature
- 1 cup (240ml) vegetable oil or canola oil
- 2 large eggs, room temperature
- 2 tablespoons red food coloring (gel type yields richer color)
- 1 teaspoon pure vanilla extract
- 1 teaspoon distilled white vinegar (helps with the classic red velvet tang)
- For the Cream Cheese Frosting:
- 16 ounces (450g) cream cheese, softened (Philadelphia brand is my go-to)
- ½ cup (115g) unsalted butter, softened
- 4 cups (480g) powdered sugar, sifted
- 1 teaspoon pure vanilla extract
- Pinch of salt (balances the sweetness)
If you want to switch things up, you can swap almond flour for a gluten-free version or use dairy-free cream cheese and butter substitutes to keep it vegan-friendly. For a seasonal twist, try mixing fresh raspberries into the frosting for a subtle tart note. But honestly, the classic combo here is the star.
Equipment Needed
- Four 8-inch (20 cm) round cake pans – if you don’t have four, you can bake in batches but expect longer overall baking time
- Electric mixer (stand or hand-held) – cream cheese frosting needs a good whip for smoothness
- Mixing bowls – one large for batter, one medium for frosting
- Measuring cups and spoons – precise measuring helps keep the layers even
- Offset spatula – essential for spreading frosting evenly between layers and on top
- Cooling racks – to allow cakes to cool fully before frosting
- Kitchen scale (optional but helpful for accuracy)
If you don’t own a stand mixer, a hand mixer works just fine, though I recommend mixing the frosting a little longer by hand to avoid lumps. For budget-friendly pans, nonstick aluminum pans are a solid choice and clean up easily. Keeping your cream cheese and butter softened at room temperature before mixing is a little trick I swear by for silky frosting.
Preparation Method
- Preheat and Prepare Pans: Preheat your oven to 350°F (175°C). Grease and flour four 8-inch cake pans or line them with parchment paper. This step makes sure your layers come out clean and intact.
- Mix Dry Ingredients: In a large bowl, sift together the flour, sugar, baking soda, salt, and cocoa powder. Set aside. The sifting helps avoid lumps and ensures the cocoa is evenly distributed.
- Combine Wet Ingredients: In a separate bowl, whisk the buttermilk, oil, eggs, food coloring, vanilla extract, and vinegar until smooth. The vinegar reacts with the baking soda to give that signature red velvet tang and tender crumb.
- Blend Batter: Slowly pour the wet ingredients into the dry and mix on low speed until just combined. Overmixing can make the cake dense, so stop once the batter is smooth but still light.
- Divide and Bake: Evenly distribute the batter between the four prepared pans (about 1¼ cups or 300ml per pan). Bake for 25-28 minutes or until a toothpick inserted in the center comes out clean. The layers should spring back gently to the touch.
- Cool Completely: Let the cakes cool in the pans for 10 minutes, then turn them out onto wire racks to cool fully. Don’t skip this or the frosting will melt when applied.
- Make the Frosting: Beat the softened cream cheese and butter together on medium speed until smooth and creamy, about 3 minutes. Gradually add powdered sugar, beating on low until incorporated, then increase speed and add vanilla and salt. Beat for another 2-3 minutes until fluffy.
- Assemble the Cake: Place one cake layer on your serving plate. Spread about ¾ cup (180g) of frosting evenly over the top. Repeat with the next two layers. Place the final layer on top and cover the entire cake with the remaining frosting. Use an offset spatula to smooth the sides and top for that perfect flag effect.
- Chill and Serve: For best results, chill the cake for at least an hour before slicing. This helps the frosting set and makes cutting cleaner slices.
One tip I learned the hard way is to keep your frosting cool but still spreadable—too warm and it melts right off, too cold and it tears the cake. Taking the time to level your cake layers with a serrated knife can also make a huge difference in the final look.
Cooking Tips & Techniques
Red velvet cake can be a little temperamental, but a few tricks keep it flawless every time.
- Measure Flour Correctly: Spoon flour into your measuring cup and level it off rather than scooping directly from the bag. This avoids dense, heavy cake layers.
- Use Buttermilk: Buttermilk is key. It tenderizes the crumb and reacts with baking soda to create lift and that subtle tang. If you’re out, mix 1½ cups milk with 1½ tablespoons vinegar and let sit for 5 minutes.
- Don’t Overmix: Mix batter just until combined. Overmixing develops gluten and makes the cake tough—definitely not the velvety texture you want.
- Softened Ingredients: Room temperature eggs, butter, and cream cheese blend easier and create smoother batter and frosting.
- Chill the Cake: Chilling before frosting helps prevent crumbs from mixing into the frosting and keeps your layers neat.
- Multitasking: While the cakes bake, whip up the frosting and prep your pans to save time.
Personally, I’ve learned patience is everything here. Trying to frost warm cake inevitably leads to a melty mess—been there! Also, a good quality cocoa powder makes a noticeable difference in color and flavor, so invest where you can.
Variations & Adaptations
This red velvet flag cake is versatile and lends itself well to a few tweaks depending on your mood or dietary needs.
- Gluten-Free Version: Substitute the flour with a 1:1 gluten-free baking blend. The texture is slightly different but still delicious.
- Vegan Adaptation: Use flax eggs (1 tablespoon ground flaxseed + 3 tablespoons water per egg), plant-based cream cheese and butter alternatives, and a non-dairy milk like almond or oat buttermilk.
- Berry Twist: Add a layer of fresh raspberries or strawberry preserves between the cake and frosting layers for a fruity surprise.
- Chocolate Flag: Swap one layer with a rich chocolate cake layer to add depth and visual interest.
- Mini Cakes: Bake in cupcake liners and frost individually for portable, party-ready treats.
One version I tried recently was folding in finely chopped pecans into the batter for a subtle crunch—unexpected but so good. If you enjoy hearty textures, it’s worth a shot. For a lighter option, you can reduce the sugar in the frosting slightly without losing the creamy balance.
Serving & Storage Suggestions
This cake is best served chilled or at cool room temperature. The cream cheese frosting firms up nicely in the fridge, giving each bite a perfect balance of creaminess and structure. I like slicing it into generous wedges and serving alongside a cup of strong coffee or a simple iced tea.
For a festive touch, you can garnish the top with a handful of fresh berries or a dusting of cocoa powder. It pairs well with other easy, comforting dinner ideas like the quick zesty lemon chicken or a simple pasta like the 15-minute spaghetti aglio e olio. Both create a well-rounded meal with minimal fuss.
Store leftover cake covered tightly in the refrigerator for up to 4 days. You can also freeze individual slices wrapped well in plastic wrap and foil for up to 2 months. When reheating, let slices come to room temperature or warm briefly in a low oven (about 300°F/150°C for 10 minutes) to soften the frosting without melting it.
Flavors tend to deepen after a day, the moist crumb soaking up the cream cheese frosting’s subtle tang—if you can wait that long, it’s even better.
Nutritional Information & Benefits
This red velvet flag cake with cream cheese frosting is an indulgent treat, but it does offer some nutritional perks thanks to its ingredients.
| Per Serving (1 slice, approx. 1/12 cake) | Amount |
|---|---|
| Calories | 320 |
| Fat | 16g |
| Saturated Fat | 7g |
| Carbohydrates | 42g |
| Sugar | 30g |
| Protein | 4g |
| Calcium (from cream cheese and buttermilk) | 80mg |
The buttermilk and cream cheese provide some calcium and protein, while the cocoa powder offers antioxidants. If you’re mindful of allergens, note this recipe contains dairy, eggs, and gluten, but easy substitutions are available for gluten-free and vegan diets.
From a wellness perspective, I see this cake as a joyful indulgence. A slice now and then feels like a reward after a week of balanced meals—kind of like the satisfying finish to a flavorful dinner like the creamy tuna pasta. It’s about savoring the moment, not restricting it.
Conclusion
This red velvet flag cake with cream cheese frosting has become a quietly cherished recipe in my kitchen. It’s the kind of cake that makes you slow down, appreciate the layering of flavor and texture, and remember that desserts can be both beautiful and comforting without any fuss. I hope you find as much joy in baking and eating it as I have.
Feel free to tweak the recipe to your liking—whether that’s adding a berry layer or making it gluten-free, it’s a flexible base that welcomes your personal touch. If you give it a try, I’d love to hear what variations you come up with or how it fits into your celebrations.
And hey, if you’re looking for other quick and comforting meal ideas to pair with this cake, the BBQ chicken pizza or the flavorful fried rice recipes might inspire your next dinner.
Here’s to quiet rituals and sweet moments shared one slice at a time.
Frequently Asked Questions about Red Velvet Flag Cake
Can I make this cake ahead of time?
Yes! You can bake the cake layers up to two days ahead and store them wrapped in the fridge. Assemble and frost the cake the day you plan to serve for best freshness.
What causes red velvet cake to be red?
The classic red color comes from a combination of cocoa powder reacting with acidic ingredients like buttermilk and vinegar, plus added red food coloring to achieve that vibrant shade.
Can I freeze the frosted cake?
Freezing a fully frosted cake is tricky because cream cheese frosting can change texture. It’s better to freeze unfrosted layers and frost after thawing.
What if I don’t have buttermilk?
Just mix 1½ cups milk with 1½ tablespoons vinegar or lemon juice, let it sit for 5 minutes, and use as a buttermilk substitute.
How do I get even layers for the flag effect?
Use a serrated knife or cake leveler to trim domed tops off your cake layers before stacking. This creates even, flat layers that make assembling the flag pattern easier.
Pin This Recipe!
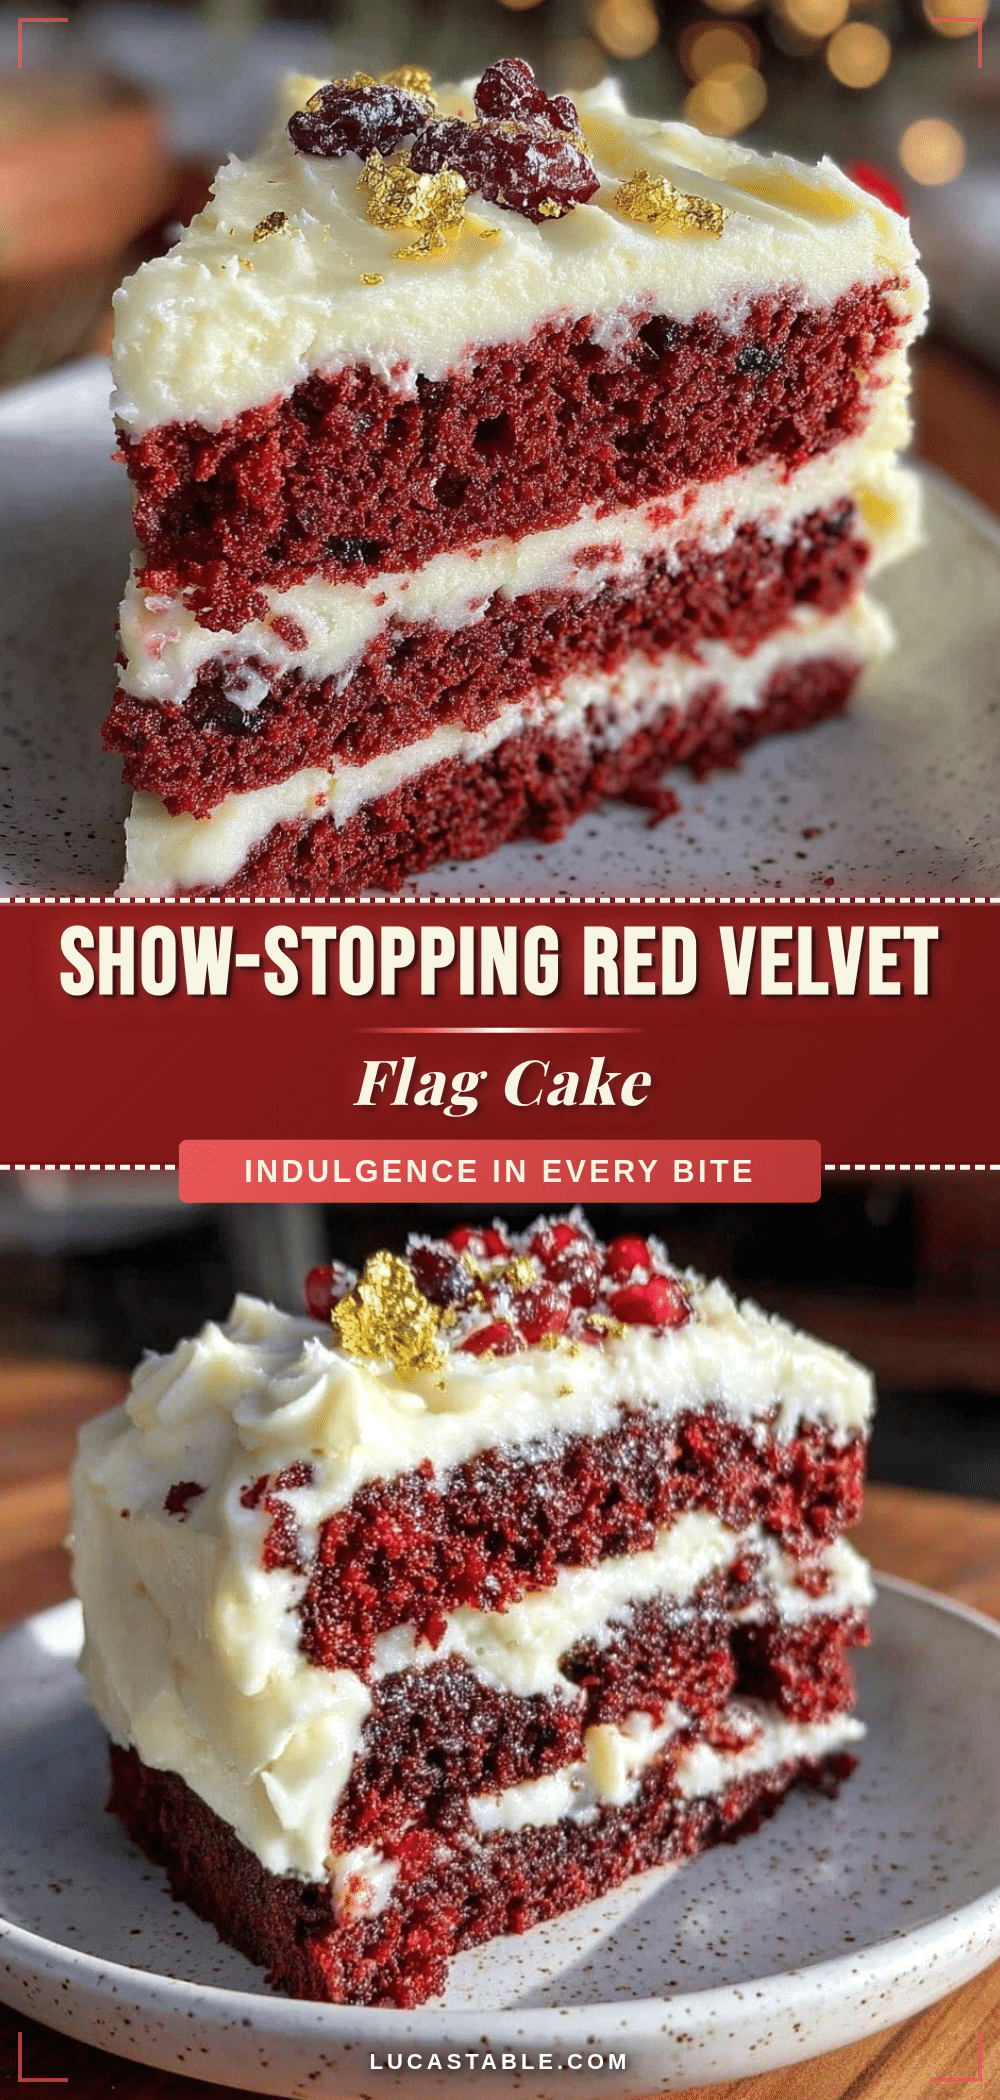
Red Velvet Flag Cake Recipe Easy 4-Layer Cream Cheese Frosting Dessert
A moist and tender 4-layer red velvet cake with smooth, tangy cream cheese frosting, perfect for celebrations or cozy gatherings. This recipe balances ease with a wow factor and features a unique technique for a classic red velvet tang.
- Prep Time: 20 minutes
- Cook Time: 28 minutes
- Total Time: 1 hour 15 minutes
- Yield: 12 servings 1x
- Category: Dessert
- Cuisine: American
Ingredients
- 2⅔ cups (320g) all-purpose flour
- 1½ cups (300g) granulated sugar
- 1 teaspoon baking soda
- 1 teaspoon fine salt
- 1 tablespoon unsweetened cocoa powder
- 1½ cups (360ml) buttermilk, room temperature
- 1 cup (240ml) vegetable oil or canola oil
- 2 large eggs, room temperature
- 2 tablespoons red food coloring (gel type)
- 1 teaspoon pure vanilla extract
- 1 teaspoon distilled white vinegar
- 16 ounces (450g) cream cheese, softened
- ½ cup (115g) unsalted butter, softened
- 4 cups (480g) powdered sugar, sifted
- 1 teaspoon pure vanilla extract
- Pinch of salt
Instructions
- Preheat your oven to 350°F (175°C). Grease and flour four 8-inch cake pans or line them with parchment paper.
- In a large bowl, sift together the flour, sugar, baking soda, salt, and cocoa powder.
- In a separate bowl, whisk the buttermilk, oil, eggs, food coloring, vanilla extract, and vinegar until smooth.
- Slowly pour the wet ingredients into the dry and mix on low speed until just combined.
- Evenly distribute the batter between the four prepared pans (about 1¼ cups or 300ml per pan). Bake for 25-28 minutes or until a toothpick inserted in the center comes out clean.
- Let the cakes cool in the pans for 10 minutes, then turn them out onto wire racks to cool fully.
- Beat the softened cream cheese and butter together on medium speed until smooth and creamy, about 3 minutes. Gradually add powdered sugar, beating on low until incorporated, then increase speed and add vanilla and salt. Beat for another 2-3 minutes until fluffy.
- Place one cake layer on your serving plate. Spread about ¾ cup (180g) of frosting evenly over the top. Repeat with the next two layers. Place the final layer on top and cover the entire cake with the remaining frosting. Use an offset spatula to smooth the sides and top.
- Chill the cake for at least an hour before slicing to help the frosting set and make cutting cleaner slices.
Notes
Keep cream cheese and butter softened at room temperature before mixing for silky frosting. Chill cake before frosting to prevent melting. Use a serrated knife to level cake layers for even stacking. Use buttermilk or a milk and vinegar substitute for best texture. Avoid overmixing batter to keep cake tender.
Nutrition
- Serving Size: 1 slice (1/12 of cak
- Calories: 320
- Sugar: 30
- Fat: 16
- Saturated Fat: 7
- Carbohydrates: 42
- Protein: 4
Keywords: red velvet cake, cream cheese frosting, 4-layer cake, easy dessert, celebration cake, flag cake, moist cake, tangy frosting