I was standing in the checkout line at the hardware store last October—of all places—when the woman in front of me pulled a bag of almonds out of her purse. Just the smell, that faint nutty warmth, hit me and suddenly I was seven years old at my aunt Margie’s kitchen table. Her hands were dusted in flour, and she was pressing almond slivers into pale dough, telling me these were real witch fingers and I better not eat them or I’d turn into a toad. I laughed then, but I also believed her a little. That’s the thing about childhood—you carry those half-memories around, the ones that feel more like a feeling than a story. I tried to recreate those cookies the next weekend, and honestly, my first batch looked like sad little breadsticks. But I kept at it, and now I’ve got a version that makes me close my eyes after the first bite. Maybe you’ve been there—chasing a taste you can’t quite describe but you know when you’ve nailed it. These are those cookies.
Why You’ll Love This Recipe
These spooky witch finger cookies aren’t just a Halloween gimmick. They’re the kind of treat that makes people stop, stare, and then laugh out loud when they realize what they’re looking at. I’ve tested this recipe six times to get the texture just right—crispy on the outside, tender on the inside, with that almond nail that actually looks disturbingly realistic.
- Quick & Easy : Comes together in under 45 minutes, including chilling time. Perfect for last-minute Halloween parties or classroom treats.
- Simple Ingredients : You probably have most of these in your pantry already. No weird specialty items needed.
- Perfect for Halloween : These are the star of any spooky spread. Kids go wild for them, and adults can’t stop taking pictures.
- Crowd-Pleaser : They look scary but taste like buttery, almond-infused shortbread. Everyone reaches for seconds.
- Unbelievably Delicious : The texture is that perfect shortbread crumble, and the almond flavor is subtle but unmistakable.
What makes these different from every other witch finger recipe out there is the technique. I blend the almond flour into the dough rather than just using extract, which gives it that authentic marzipan-like richness. Plus, I figured out the trick to making the almond nails actually stay on during baking—a little egg wash and gentle pressing makes all the difference.
This recipe isn’t just good—it’s the kind that makes you text a photo to your best friend with a laughing-crying emoji. It’s Halloween fun without the stress, and honestly, it’s become my most-requested October bake.
What Ingredients You Will Need
This recipe uses simple, pantry-friendly ingredients to create cookies that look terrifying but taste like pure comfort. Most of these are staples you likely already have on hand, with just a couple of special additions for that authentic witch-finger look.
- Unsalted butter, 1 cup (2 sticks), softened to room temperature (I prefer Kerrygold for the richness)
- Powdered sugar, 1/2 cup (adds tenderness and that melt-in-your-mouth texture)
- Large egg, 1 whole, plus 1 egg white for the wash (room temperature works best)
- Vanilla extract, 1 teaspoon (pure, not imitation, for the best flavor)
- Almond extract, 1/2 teaspoon (this is the secret to that authentic witch-finger scent)
- All-purpose flour, 2 1/4 cups (spooned and leveled—don’t scoop directly from the bag)
- Almond flour, 1/4 cup (this gives the cookies that delicate, nutty crumb)
- Salt, 1/4 teaspoon (balances the sweetness)
- Whole blanched almonds, about 50 pieces (for the fingernails—look for ones that are uniform in size)
- Red food coloring, a few drops (for that creepy “blood” effect at the cuticle)
- Seedless raspberry jam, 2 tablespoons (optional, for “blood” drips—I like Bonne Maman)
For the almond nails, I recommend buying whole blanched almonds rather than slivered ones—they look much more realistic. If you can only find slivered, you can use two per finger, but whole almonds give that single-nail look that’s truly unsettling. The almond flour is non-negotiable for the texture, but you can substitute with finely ground pecans if you have a nut allergy concern.
Equipment Needed
You don’t need anything fancy for these spooky treats. Here’s what you’ll want to have on hand:
- Electric mixer (stand mixer or hand mixer—both work fine; I use my KitchenAid)
- Large mixing bowl
- Baking sheets, 2 (I prefer light-colored ones to prevent over-browning)
- Parchment paper or silicone baking mats
- Small offset spatula (optional, but helps with transferring the delicate cookies)
- Pastry brush for the egg wash
- Sharp knife for scoring knuckle lines
- Small bowl for the food coloring mixture
- Wire cooling rack
If you don’t have a pastry brush, a clean fingertip works just fine for applying the egg wash—kind of fitting for witch fingers, honestly. And if you’re using dark baking sheets, just watch the cookies closely as they tend to brown faster.
Preparation Method
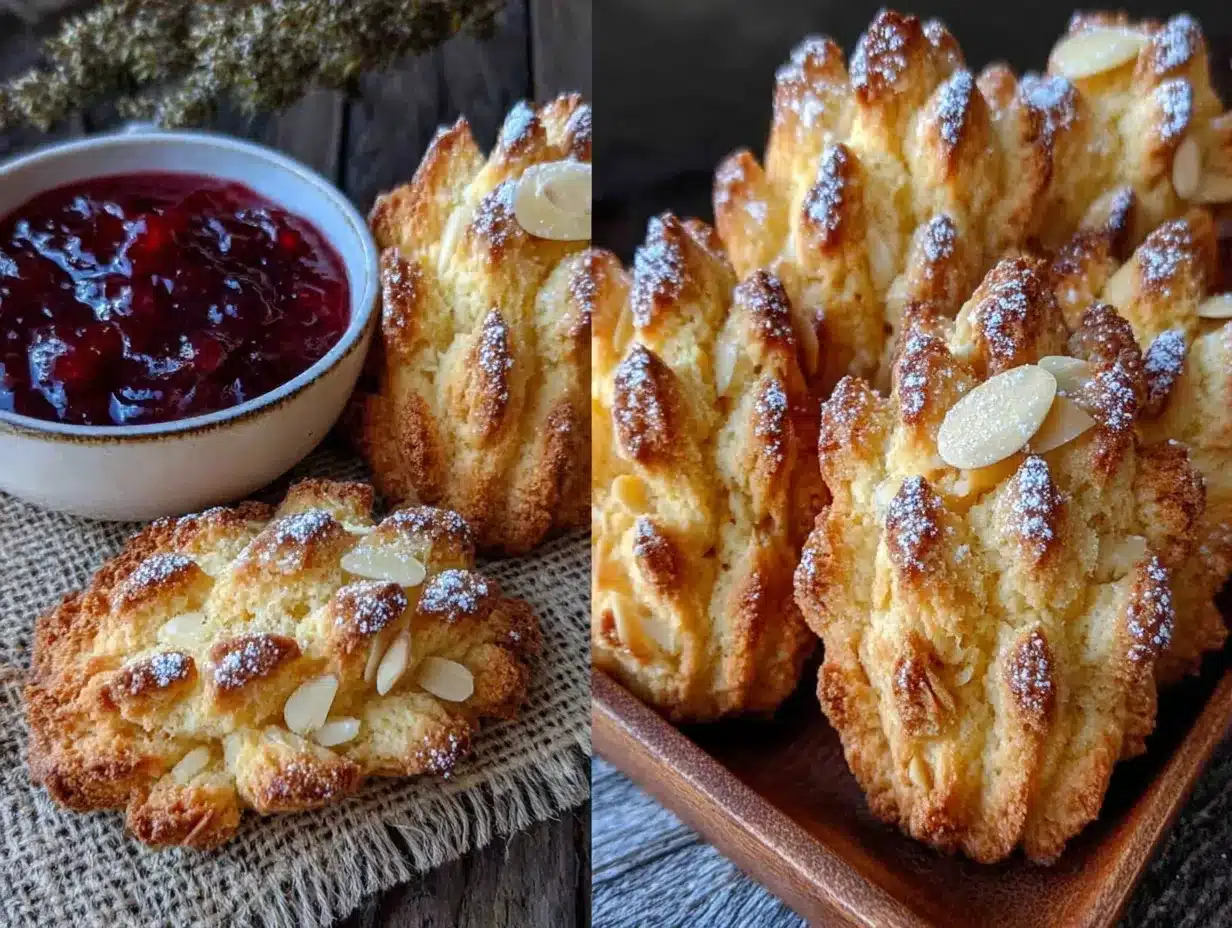
Preheat your oven to 325°F (165°C). Line two baking sheets with parchment paper.
- Cream the butter and sugar. In your large mixing bowl, beat the softened butter and powdered sugar together on medium speed until light and fluffy—about 2 to 3 minutes. You’re looking for a pale, creamy texture that looks almost like frosting. Scrape down the sides halfway through.
- Add the wet ingredients. Beat in the whole egg, vanilla extract, and almond extract until well combined. The mixture might look slightly separated at this point—don’t worry, that’s normal. It’ll come together when you add the dry ingredients.
- Mix the dry ingredients. In a separate bowl, whisk together the all-purpose flour, almond flour, and salt. Gradually add this to the wet mixture, mixing on low speed until just combined. The dough should be soft but not sticky—if it feels too tacky, add another tablespoon of flour. If it’s crumbly, add a teaspoon of water.
- Chill the dough. Wrap the dough in plastic wrap and refrigerate for 30 minutes. This is crucial—warm dough is impossible to shape into fingers. I learned this the hard way when my first batch turned into blobs that looked more like alien thumbs than witch fingers.
- Shape the fingers. Divide the dough into about 50 pieces (each roughly 1 tablespoon). Roll each piece into a finger-shaped log, about 3 inches long. Taper one end slightly to look like a fingertip, and make the other end look like a knobby, broken-off knuckle. Use the back of a knife to press 2 to 3 horizontal lines into each finger to create knuckle creases. Don’t press too deep—just enough to leave an indent.
- Attach the almond nails. In a small bowl, mix a few drops of red food coloring with a teaspoon of water. Dip one end of each blanched almond into the red mixture, then press it firmly onto the tapered end of each finger. The colored end should be at the cuticle area. Use a tiny dab of the egg wash (see next step) to help it stick if needed.
- Apply the egg wash. Whisk the remaining egg white with 1 tablespoon of water. Gently brush this over each finger—not the almond nail—to give the cookies a subtle sheen and help them brown slightly. This also helps the knuckle lines stay defined.
- Bake. Place the cookies about 1 inch apart on the prepared sheets. Bake for 12 to 15 minutes, or until the cookies are just set and the edges are barely golden. The bottoms should be light brown. Don’t overbake—they’ll continue to firm up as they cool. The almond nails should remain pale.
- Cool completely. Let the cookies cool on the baking sheet for 5 minutes, then transfer to a wire rack. They’re fragile when warm, so be gentle. Once completely cool, you can add a dab of raspberry jam at the cuticle area for a “bloody” effect if you want extra creepiness.
You’ll notice the dough is quite forgiving—if a finger breaks while shaping, just press it back together. The chilling step is your best friend here. And honestly, the imperfect ones always end up looking the most realistic. Real witch fingers aren’t perfect, right?
Cooking Tips & Techniques
I’ve made these spooky witch finger cookies more times than I care to admit, and I’ve learned a few things along the way. Here’s what I wish I’d known from the start:
Don’t skip the chill. I know, I know—you’re in a hurry. But warm dough spreads in the oven, and spread dough looks like fat little sausages, not witch fingers. Thirty minutes in the fridge makes all the difference. If your kitchen is warm, pop the shaped cookies in the fridge for 10 minutes before baking.
The almond nail trick. I tried using egg white as “glue” for the almonds, but it wasn’t strong enough. The food coloring mixture works better because it stains the almond end while also creating a tacky surface. Press firmly but don’t squish the finger shape. And if an almond falls off during baking, just press it back on while the cookie is still warm—it’ll set as it cools.
Knuckle depth matters. Press those lines deep enough to stay visible after baking, but not so deep that you cut through the cookie. I use the dull edge of a butter knife and rock it gently. You should see a clear indent about 1/8 inch deep.
Watch the oven like a hawk. These cookies go from perfectly baked to overdone in about 60 seconds. The first time I made them, I got distracted and ended up with golden-brown fingers that looked more like they’d been through a fire than a witch’s coven. Set a timer for 12 minutes and check—if they’re still pale, give them 2 more minutes.
Batch consistency. Roll all the fingers the same size for even baking. I use a small cookie scoop to portion the dough, then roll each piece into a log. This keeps the bake time consistent across batches.
Variations & Adaptations
One of the best things about this recipe is how easily it adapts. Here are some versions I’ve tried:
Gluten-Free Witch Fingers : Substitute the all-purpose flour with a 1:1 gluten-free baking blend (I like King Arthur’s). Add 1/2 teaspoon xanthan gum if your blend doesn’t include it. The texture will be slightly more crumbly, but they still look fantastic.
Vegan Version : Use vegan butter (I recommend Miyoko’s) and a flax egg (1 tablespoon ground flaxseed mixed with 3 tablespoons water, let sit for 5 minutes). Skip the egg wash and brush with a little plant-based milk instead. The almond nails stick just fine with a dab of maple syrup.
Chocolate Witch Fingers : Replace 1/4 cup of the all-purpose flour with unsweetened cocoa powder. These look like they belong in a dark, spooky forest. I love pairing them with white chocolate “bones” for a full Halloween spread.
Savory Version : Reduce the powdered sugar to 2 tablespoons, omit the vanilla and almond extracts, and add 1 teaspoon garlic powder and 1/2 teaspoon smoked paprika. Use pecan halves instead of almonds for the nails. These are weirdly good with cheese boards.
Spiced Pumpkin Fingers : Add 1/4 cup pumpkin puree (reduce the butter to 3/4 cup) and 1 teaspoon pumpkin pie spice. These are perfect for a Halloween-Thanksgiving crossover party. The color turns a lovely, ghoulish orange.
I tried the chocolate version last year for a friend’s Halloween party, and honestly, I might never go back. The dark color makes the almond nails look even more stark and creepy. Plus, chocolate shortbread is just objectively delicious.
Serving & Storage Suggestions
These spooky witch finger cookies are best served at room temperature, arranged on a platter that looks like a hand reaching out of the ground. I like to place them in a fan pattern with the almond nails pointing outward—it’s unsettling in the best way. For extra drama, serve them on a black platter or a bed of crushed chocolate cookies that looks like dirt.
They pair beautifully with a hot cup of spiced apple cider or a pumpkin spice latte. For adults, they’re fantastic with a dark stout or a glass of bourbon—the almond flavor complements both. If you’re doing a full Halloween spread, serve them alongside ghost-shaped meringues and chocolate-covered pretzel broomsticks.
Storage: Store the cookies in an airtight container at room temperature for up to 5 days. Layer them between parchment paper to prevent the almond nails from breaking off. They actually taste better on day two—the flavors meld and the texture softens slightly.
Freezing: You can freeze the shaped, unbaked cookies for up to 3 months. Place them on a baking sheet in the freezer until solid, then transfer to a freezer bag. Bake directly from frozen, adding 2 to 3 minutes to the bake time. The almond nails might shift slightly during freezing, so check them before baking.
Reheating: If you want that just-baked warmth, pop them in a 300°F (150°C) oven for 3 to 4 minutes. Don’t microwave them—the texture gets weird and the almond nails can pop off.
One thing I love about these cookies is how the almond flavor deepens over time. By day three, they smell almost like marzipan. It’s a cozy, comforting scent that somehow makes the creepy shape even more fun.
Nutritional Information & Benefits
Each witch finger cookie (based on 50 cookies per batch) contains approximately:
- Calories: 85
- Fat: 5g (3g saturated)
- Carbohydrates: 9g (4g sugar)
- Protein: 1.5g
- Fiber: 0.5g
- Sodium: 25mg
These cookies are a treat, not a health food, but they do offer a few nutritional perks. The almond flour adds healthy monounsaturated fats and a touch of vitamin E, which is great for skin health. The whole almonds in the nails provide magnesium and additional vitamin E, plus a bit of protein to help balance the sugar rush.
If you’re watching your sugar intake, you can reduce the powdered sugar to 1/3 cup—the cookies will be less sweet but still delicious. For a lower-carb option, substitute the all-purpose flour with almond flour entirely (use 2 1/2 cups total), though the texture will be more delicate.
Potential allergens include dairy (butter), eggs, tree nuts (almonds), and gluten (flour). For allergen-free versions, see the variations section above.
Conclusion
These spooky witch finger cookies with almond nails are the perfect Halloween treat—fun to make, hilarious to serve, and genuinely delicious to eat. They capture that childhood magic of pretending something is scary while knowing it’s actually just butter and sugar and love. Every time I make them, I think of my aunt Margie’s flour-dusted hands and that little thrill of make-believe.
I’d love to hear how yours turn out! Did you try a fun variation? Did your kids scream with delight (or actual terror)? Drop a comment below and share your witch finger creations. And if you’re looking for more Halloween baking inspiration, don’t forget to pin this recipe for later—you’ll thank me when October rolls around and you need something quick and crowd-pleasing.
Happy haunting, and happy baking!
Frequently Asked Questions
Can I make these cookies ahead of time?
Absolutely! You can prepare the dough up to 3 days in advance and keep it refrigerated. You can also freeze the shaped, unbaked cookies for up to 3 months. Just bake straight from frozen, adding a couple of extra minutes.
Why did my almond nails fall off during baking?
This usually happens if the almond wasn’t pressed firmly enough or if the dough was too warm. Make sure to press the almond into the dough with gentle but firm pressure. Chilling the shaped cookies for 10 minutes before baking also helps the dough hold its shape better.
Can I use almond extract instead of vanilla?
You can, but I recommend using both. The vanilla provides a warm, sweet base flavor while the almond extract gives that distinctive marzipan-like aroma that makes these cookies so special. If you only use almond extract, the flavor might be too intense.
How do I make the cookies look more realistic?
Focus on the knuckle details—use a knife to press clear, defined lines. Slightly taper the fingertip end and make the base end look jagged, like it was broken off. Adding a tiny dab of red jam at the cuticle area creates a disturbingly realistic “blood” effect.
Can I make these without almonds for a nut-free version?
Yes! Substitute the almond flour with an equal amount of all-purpose flour. For the nails, use small pieces of dried apricot or candied ginger—they have a similar shape and texture. Just be aware that the flavor profile will change significantly.
Pin This Recipe!
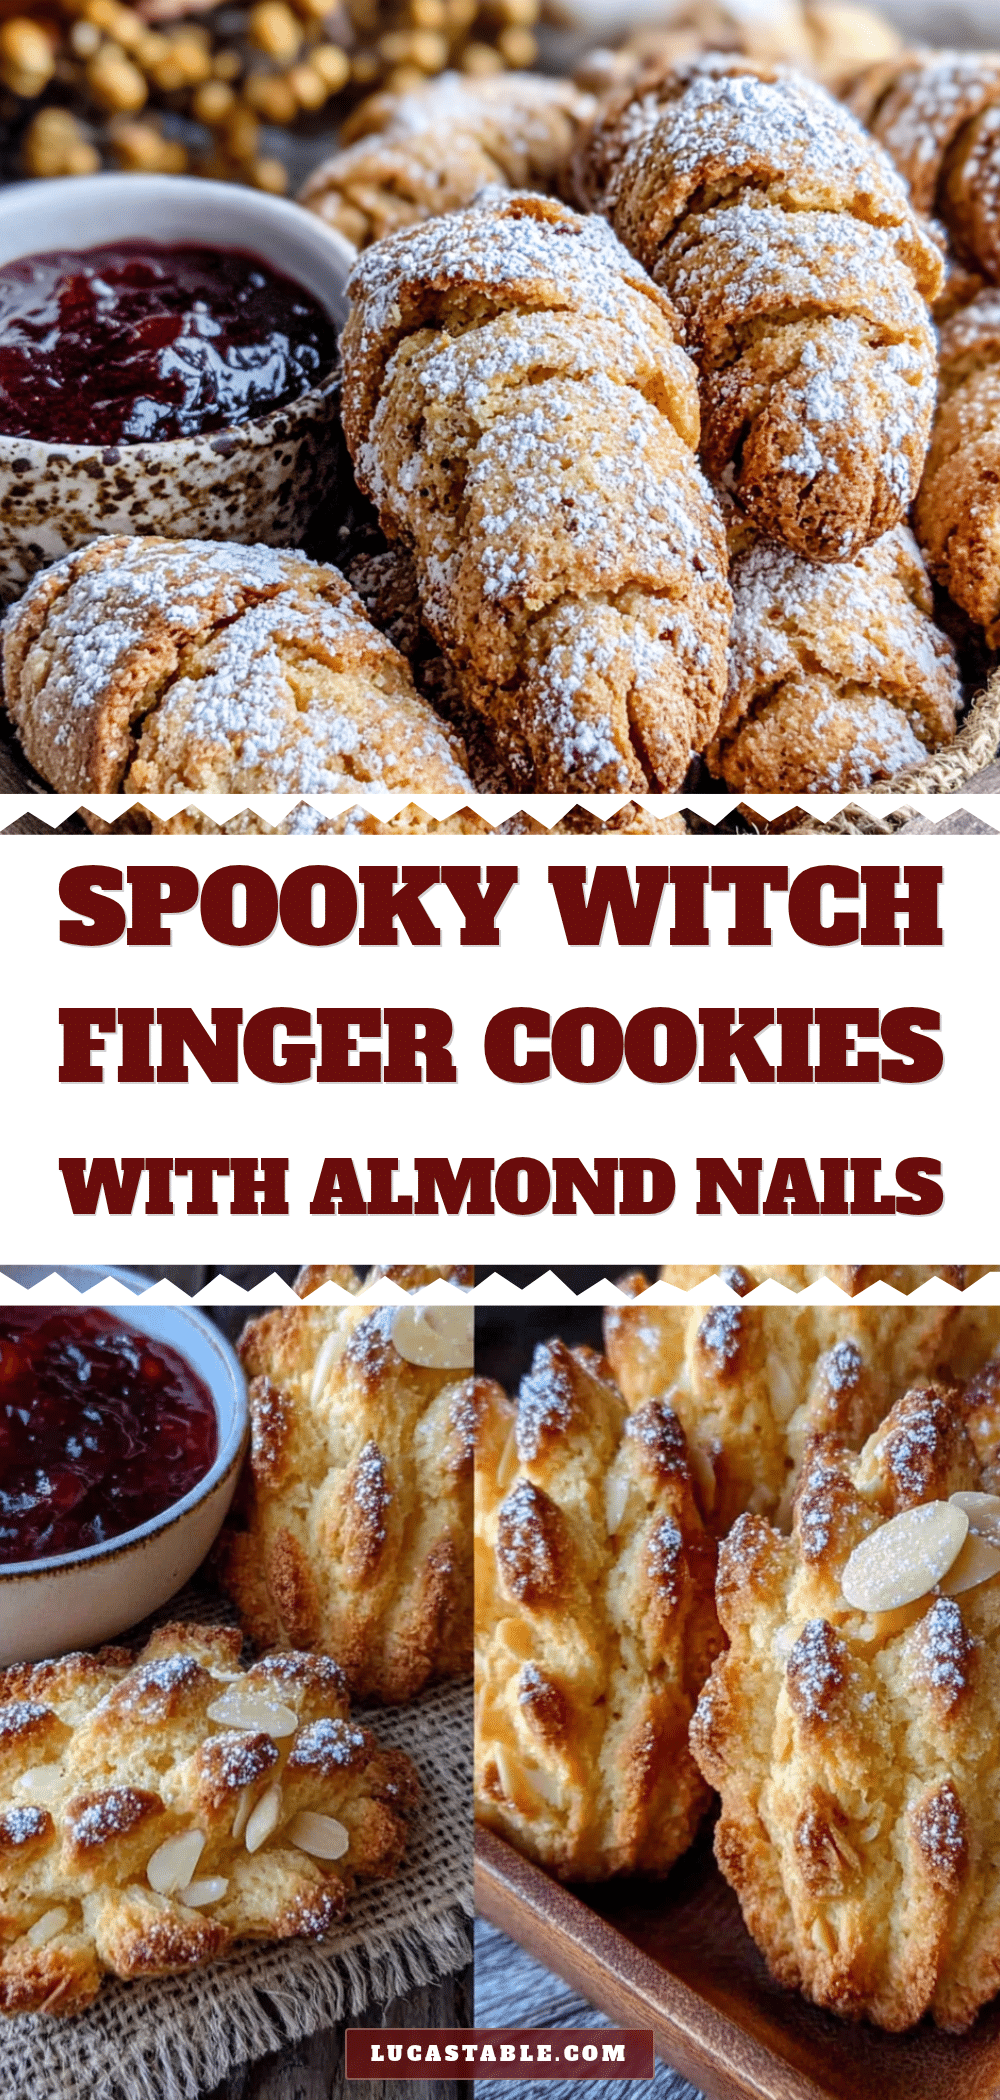
Spooky Witch Finger Cookies with Almond Nails: Easy Halloween Treat

These spooky witch finger cookies aren’t just a Halloween gimmick. They’re the kind of treat that makes people stop, stare, and then laugh out loud when they realize what they’re looking at—crispy on the outside, tender on the inside, with that almond nail that actually looks disturbingly realistic.
- Prep Time: 15 minutes
- Cook Time: 15 minutes
- Total Time: 45 minutes
- Yield: 50 cookies 1x
- Category: Dessert
- Cuisine: American
Ingredients
- 1 cup (2 sticks) unsalted butter, softened to room temperature
- 1/2 cup powdered sugar
- 1 large egg, plus 1 egg white for wash
- 1 teaspoon vanilla extract
- 1/2 teaspoon almond extract
- 2 1/4 cups all-purpose flour, spooned and leveled
- 1/4 cup almond flour
- 1/4 teaspoon salt
- About 50 whole blanched almonds
- A few drops red food coloring
- 2 tablespoons seedless raspberry jam (optional)
Instructions
- Preheat oven to 325°F (165°C). Line two baking sheets with parchment paper.
- Cream the butter and sugar: In a large mixing bowl, beat the softened butter and powdered sugar together on medium speed until light and fluffy, about 2 to 3 minutes. Scrape down the sides halfway through.
- Add the wet ingredients: Beat in the whole egg, vanilla extract, and almond extract until well combined.
- Mix the dry ingredients: In a separate bowl, whisk together the all-purpose flour, almond flour, and salt. Gradually add to the wet mixture, mixing on low speed until just combined. The dough should be soft but not sticky.
- Chill the dough: Wrap the dough in plastic wrap and refrigerate for 30 minutes.
- Shape the fingers: Divide the dough into about 50 pieces (each roughly 1 tablespoon). Roll each piece into a finger-shaped log, about 3 inches long. Taper one end slightly to look like a fingertip, and make the other end look like a knobby, broken-off knuckle. Use the back of a knife to press 2 to 3 horizontal lines into each finger to create knuckle creases.
- Attach the almond nails: In a small bowl, mix a few drops of red food coloring with a teaspoon of water. Dip one end of each blanched almond into the red mixture, then press it firmly onto the tapered end of each finger.
- Apply the egg wash: Whisk the remaining egg white with 1 tablespoon of water. Gently brush this over each finger (not the almond nail) to give the cookies a subtle sheen.
- Bake: Place the cookies about 1 inch apart on the prepared sheets. Bake for 12 to 15 minutes, or until the cookies are just set and the edges are barely golden. The bottoms should be light brown.
- Cool completely: Let the cookies cool on the baking sheet for 5 minutes, then transfer to a wire rack. Once completely cool, you can add a dab of raspberry jam at the cuticle area for a ‘bloody’ effect if desired.
Notes
Don’t skip the chilling step—warm dough spreads in the oven. For the almond nails, press firmly but don’t squish the finger shape. If an almond falls off during baking, press it back on while the cookie is still warm. Watch the oven closely as these cookies go from perfectly baked to overdone quickly. Store in an airtight container at room temperature for up to 5 days. Freeze shaped, unbaked cookies for up to 3 months.
Nutrition
- Serving Size: 1 cookie
- Calories: 85
- Sugar: 4
- Sodium: 25
- Fat: 5
- Saturated Fat: 3
- Carbohydrates: 9
- Fiber: 0.5
- Protein: 1.5
Keywords: Halloween cookies, witch finger cookies, almond cookies, shortbread cookies, spooky treats, Halloween baking, easy Halloween recipe


