My neighbor’s kid, Leo, took one look at the tray of these black cat sugar cookies I was bringing to our annual block party and said, “Those are too cute to eat.” Then he ate three. I mean, he just stood there, silently demolishing one after another while his mom tried to get him to say thank you. That’s the moment I knew this recipe was a keeper.
Honestly, I wasn’t even sure they’d turn out. I’d been messing around with a classic sugar cookie dough, trying to get that perfect balance between a cookie that holds its shape (you know, for those little cat ears) and one that doesn’t taste like a dry, flavorless cracker. The first batch? Let’s just say they looked more like sad blobs than adorable felines. But this version—it’s the one. The cookies are soft in the center, slightly crisp at the edges, and the black cocoa powder gives them that deep, dark color without any artificial food coloring. It’s pure magic in a cat-shaped cookie.
These black cat Halloween sugar cookies have become my secret weapon for fall gatherings. They’re the kind of treat that makes people stop and smile, and honestly, that’s the whole point of baking, isn’t it? So, if you’re looking for a fun, spooky, and genuinely delicious cookie to whip up for Halloween, you’ve come to the right place. Let’s get started.
Why You’ll Love This Recipe
I’ve tested this recipe about five times to get it just right. Here’s why I think you’ll fall for it too.
- No Fancy Cutters Needed: You can use a simple cat-shaped cookie cutter, or if you’re feeling brave, you can freehand the shapes. I’ve done both, and they always turn out cute.
- Perfectly Balanced Flavor: The addition of black cocoa powder gives these cookies a subtle Oreo-like taste without being overly sweet. It’s a sophisticated twist on a classic sugar cookie.
- Holds Its Shape: This dough is sturdy. You can roll it, chill it, and cut it without worrying about the cookies spreading into a puddle in the oven. The ears stay pointy!
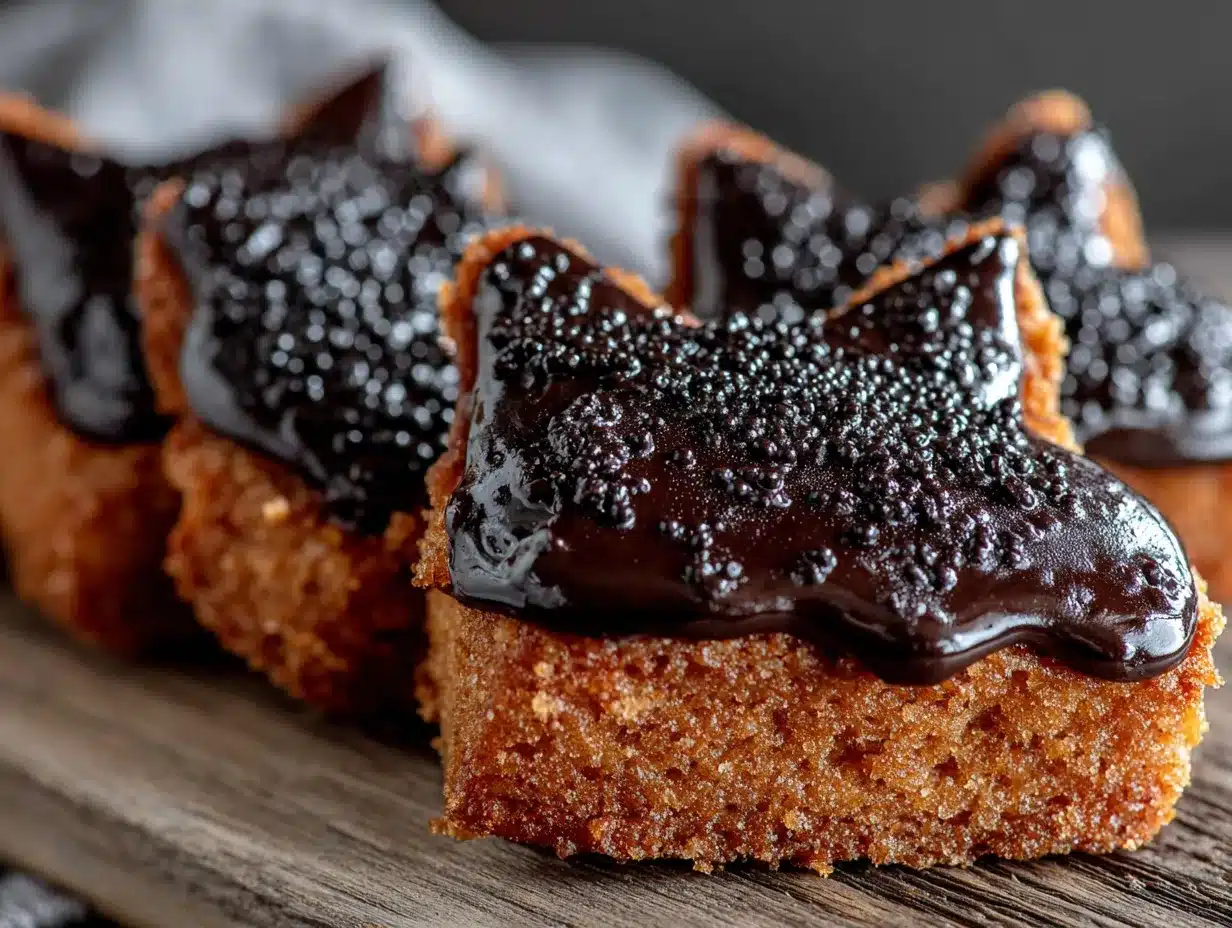
- Naturally Spooky: No need for artificial dyes. The black cocoa powder creates a gorgeous, deep charcoal color that looks incredible against the bright orange royal icing details.
- Fun for All Ages: Kids love helping with the decorating, and adults appreciate a cookie that looks like it came from a bakery. It’s a real crowd-pleaser.
This isn’t just another sugar cookie recipe. The secret is in the technique—chilling the dough twice ensures those sharp edges stay sharp. It’s the kind of detail that makes a difference between a good cookie and a great one.
Ingredients You Will Need
This recipe uses simple, pantry-friendly ingredients to create something truly special. The star of the show is the black cocoa powder, which gives the cookies their signature look and flavor.
For the Sugar Cookie Dough
- 2 ¾ cups (345g) all-purpose flour: The base of our dough. Spoon and level it for the most accurate measurement.
- ½ cup (40g) black cocoa powder: This is non-negotiable for the color. I prefer using Rodelle or Ghirardelli black cocoa powder for the richest flavor and darkest color. It’s not the same as regular Dutch-processed cocoa.
- 1 teaspoon baking powder: Helps the cookies puff up just a little.
- ½ teaspoon salt: Balances the sweetness and enhances the chocolate flavor.
- 1 cup (226g) unsalted butter, softened: Make sure it’s at room temperature. Cold butter won’t cream properly with the sugar.
- 1 cup (200g) granulated sugar: Adds sweetness and helps with the cookie’s texture.
- 1 large egg, room temperature: Binds the dough together.
- 1 teaspoon vanilla extract: For that classic sugar cookie taste. You can also use vanilla bean paste for more speckles.
For the Royal Icing
- 3 cups (360g) powdered sugar: Sift it to avoid lumps.
- 2 tablespoons meringue powder: This gives the icing a stable, glossy finish. You can find it in most baking aisles.
- 4-5 tablespoons warm water: Add slowly to get the right consistency.
- Orange gel food coloring: I prefer gel over liquid for a vibrant color without thinning the icing.
- Black decorating gel or edible marker: For drawing on the final details like eyes and whiskers.
Substitution Tip: If you can’t find black cocoa powder, you can use Dutch-processed cocoa powder. The color will be more of a dark brown, but the cookies will still be delicious. For a gluten-free version, swap the all-purpose flour with a 1:1 gluten-free baking blend.
Equipment Needed
You don’t need a professional bakery setup for these cookies, but a few key tools will make your life a whole lot easier.
- Stand mixer or hand mixer: Creaming the butter and sugar by hand is possible, but it takes a while. A mixer saves time and energy.
- Rolling pin: A standard rolling pin works fine. If you have one with adjustable thickness rings, it’s a game-changer for even cookies.
- Cat-shaped cookie cutter: You can find these online or at craft stores. I got mine for a few dollars, and it works perfectly.
- Baking sheets: Two or three standard half-sheet pans are ideal.
- Parchment paper or silicone baking mats: Prevents sticking and makes cleanup a breeze.
- Piping bags and small round tips: For the royal icing details. A small zip-top bag with the corner snipped off works in a pinch.
- Cooling rack: Lets the cookies cool evenly and prevents soggy bottoms.
I’ve tried using a cheap rolling pin before, and honestly, it’s worth spending a little more on one that doesn’t wobble. It makes a real difference in how even your dough is.
Preparation Method
Let’s get to the fun part. This process has a few steps, but I promise it’s straightforward. Take your time, and you’ll be rewarded with the cutest cookies on the block.
- Make the Dough (15 minutes): In a medium bowl, whisk together the flour, black cocoa powder, baking powder, and salt. Set aside. In the bowl of your stand mixer fitted with the paddle attachment, beat the softened butter and granulated sugar on medium speed until light and fluffy, about 3-4 minutes. Scrape down the sides of the bowl. Add the egg and vanilla extract, and beat until combined. Don’t overmix here.
- Combine Wet and Dry: With the mixer on low, gradually add the flour mixture to the butter mixture. Mix until just combined. The dough will look crumbly at first, but it will come together. If it’s too dry, add a teaspoon of cold water.
- Chill the Dough (1-2 hours): Divide the dough in half. Flatten each half into a disc about 1-inch thick. Wrap tightly in plastic wrap and refrigerate for at least 1 hour, or up to 2 days. This step is crucial. Chilling the dough relaxes the gluten and solidifies the butter, which prevents the cookies from spreading in the oven.
- Roll and Cut (20 minutes): Preheat your oven to 350°F (175°C). Line your baking sheets with parchment paper. On a lightly floured surface, roll out one disc of dough to about ¼-inch thickness. Use your cat-shaped cookie cutter to cut out the cookies. Gently transfer them to the prepared baking sheets, spacing them about 1 inch apart. Gather the scraps, re-roll, and cut again. Repeat with the second disc.
- Chill Again (15 minutes): Place the baking sheets with the cut-out cookies in the refrigerator for 15 minutes. I know it seems like overkill, but this second chill is what keeps those adorable cat ears from melting away. Your cookies will look exactly as you cut them.
- Bake (8-10 minutes): Bake the chilled cookies for 8-10 minutes. The edges should be set, and the tops should look dry. They will not brown much due to the black cocoa. Let them cool on the baking sheet for 5 minutes, then transfer them to a wire rack to cool completely before decorating.
- Make the Royal Icing (10 minutes): While the cookies cool, make the icing. In a medium bowl, whisk together the powdered sugar and meringue powder. Add 4 tablespoons of warm water and whisk until smooth. The icing should be thick but flow slightly. Add the remaining water if needed. Stir in the orange gel food coloring until you reach your desired shade. Transfer the icing to a piping bag fitted with a small round tip.
- Decorate the Cookies (30 minutes): Once the cookies are completely cool, pipe an outline around the edge of each cookie. Then, fill the center with more icing, using a toothpick to spread it into the corners. Let the icing set for at least 1 hour. Once dry, use the black decorating gel or an edible marker to draw on the cat’s eyes, nose, and whiskers. You can also pipe a small bow or collar if you’re feeling fancy.
Cooking Tips & Techniques
I’ve made my fair share of mistakes with cut-out cookies, so I’m sharing my best tips to save you the trouble.
- Don’t Skip the Chill: This is the number one rule for cookies that hold their shape. Warm dough is soft dough, and soft dough spreads. That first long chill and the second short chill are non-negotiable for perfect cat silhouettes.
- Flour Your Surface Well: Black cocoa dough can be a bit sticky. Don’t be shy with the flour on your rolling pin and work surface. It prevents tearing and makes transferring the cookies much easier.
- Check Your Oven Temperature: Ovens can be liars. An oven thermometer is a cheap investment that ensures your cookies bake at the right temperature. If your oven runs hot, your cookies might brown on the edges before the center is set.
- Icing Consistency is Key: For the royal icing, you want a “15-second consistency.” This means when you lift your spoon, the icing falls back into the bowl and the surface levels out in about 15 seconds. It’s thick enough to hold an outline but thin enough to flood the center smoothly.
- Patience with Decorating: Let the base layer of icing dry completely before adding the facial features. If you try to draw on wet icing, the black gel will bleed and create a mess. Trust me, I’ve learned this the hard way.
Variations & Adaptations
The beauty of this recipe is how easy it is to change up. Here are a few ideas for different occasions or dietary needs.
- Spooky Pumpkin Patch: Instead of black cats, use a pumpkin-shaped cookie cutter. Use the same orange royal icing and add a little green stem. Perfect for a non-scary Halloween treat.
- Ghostly White Cats: Omit the black cocoa powder and use 3 cups of all-purpose flour instead. The cookies will be a pale, ghostly white. Decorate with black icing for a classic ghost cookie.
- Vegan Adaptation: Substitute the butter with a high-quality vegan butter stick (like Miyoko’s). Use a flax egg (1 tablespoon ground flaxseed mixed with 3 tablespoons water) instead of the egg. For the icing, use aquafaba (the liquid from a can of chickpeas) instead of meringue powder.
- Gluten-Free Version: As I mentioned, a 1:1 gluten-free baking blend works perfectly here. Just make sure your blend contains xanthan gum. The dough might be a little more delicate, so handle it gently.
- Chocolate Lover’s Dream: Add ½ cup of mini chocolate chips to the dough before chilling. It adds little pockets of melted chocolate that are incredible with the black cocoa flavor.
Serving & Storage Suggestions
These cookies are best enjoyed at room temperature, with a glass of cold milk or a warm cup of coffee. The contrast between the crisp royal icing and the soft, chewy cookie is pure perfection.
For a Halloween party, arrange them on a platter with some spider webs made from white icing or alongside other spooky treats. They also make fantastic gifts—just pop them in a clear cellophane bag tied with a festive ribbon.
Storage: Store the decorated cookies in an airtight container at room temperature for up to 5 days. Do not refrigerate them, as the moisture in the fridge can make the royal icing sticky and soft.
Freezing: You can freeze the baked, undecorated cookies for up to 3 months. Wrap them tightly in plastic wrap and place them in a freezer-safe bag. When you’re ready to decorate, let them thaw at room temperature for about an hour. The flavor actually seems to get better after a few days in the freezer.
If you’re planning a big baking day, you can also freeze the raw dough discs for up to 3 months. Just thaw them in the refrigerator overnight before rolling and cutting.
Nutritional Information & Benefits
While these are definitely a treat, here’s a rough idea of what’s in one cookie (based on 24 cookies).
| Nutrient | Amount Per Cookie |
|---|---|
| Calories | 185 |
| Fat | 9g |
| Carbohydrates | 26g |
| Sugar | 16g |
| Protein | 2g |
A small silver lining: black cocoa powder is rich in antioxidants. So, while you’re enjoying a cookie, you’re also getting a little dose of those good-for-you compounds. It’s not health food, but it’s a delicious way to treat yourself.
Dietary Considerations: This recipe contains gluten, dairy, and eggs. For allergen-friendly versions, see the variations section above.
Conclusion
These adorable black cat Halloween sugar cookies are more than just a pretty face—they’re genuinely delicious, surprisingly easy to make, and guaranteed to bring a smile to everyone who sees them. Honestly, watching Leo eat those three cookies in a row was all the proof I needed.
I really hope you give this recipe a try. Don’t be afraid to get creative with the decorating. Maybe your cats have different colored eyes or silly little hats. That’s the fun part! And if you do make them, I’d love to hear about it. Leave a comment below and let me know how they turned out, or share a photo on social media and tag me. Your little kitchen creations might just inspire someone else to bake, too.
Happy Halloween, and happy baking!
Frequently Asked Questions
Can I use regular cocoa powder instead of black cocoa powder?
You can, but the color will be a dark brown rather than a deep, true black. The flavor will also be more like a standard chocolate cookie. For the best visual effect, stick with black cocoa powder if you can find it.
My cookies spread in the oven. What did I do wrong?
This usually happens for one of two reasons: the dough wasn’t chilled long enough, or the butter was too soft when you creamed it. Make sure you chill the dough for the full hour (or longer) and don’t skip the second chill after cutting the shapes.
How do I get the royal icing to be perfectly smooth?
Consistency is everything. You want a “15-second” icing. Also, use a toothpick to pop any air bubbles that appear on the surface of the wet icing. Let the cookies sit undisturbed while the icing dries for a flawless finish.
Can I make these cookies ahead of time for a party?
Absolutely! You can bake the cookies up to 3 days in advance and store them in an airtight container. Decorate them the day before or the morning of your party. The undecorated cookies also freeze beautifully.
What can I use instead of meringue powder for the royal icing?
You can use pasteurized egg whites (about 2 large egg whites) instead of the meringue powder and water. However, royal icing made with raw egg whites is not recommended for pregnant women, young children, or anyone with a compromised immune system. Meringue powder is a safer, more stable option.
Pin This Recipe!
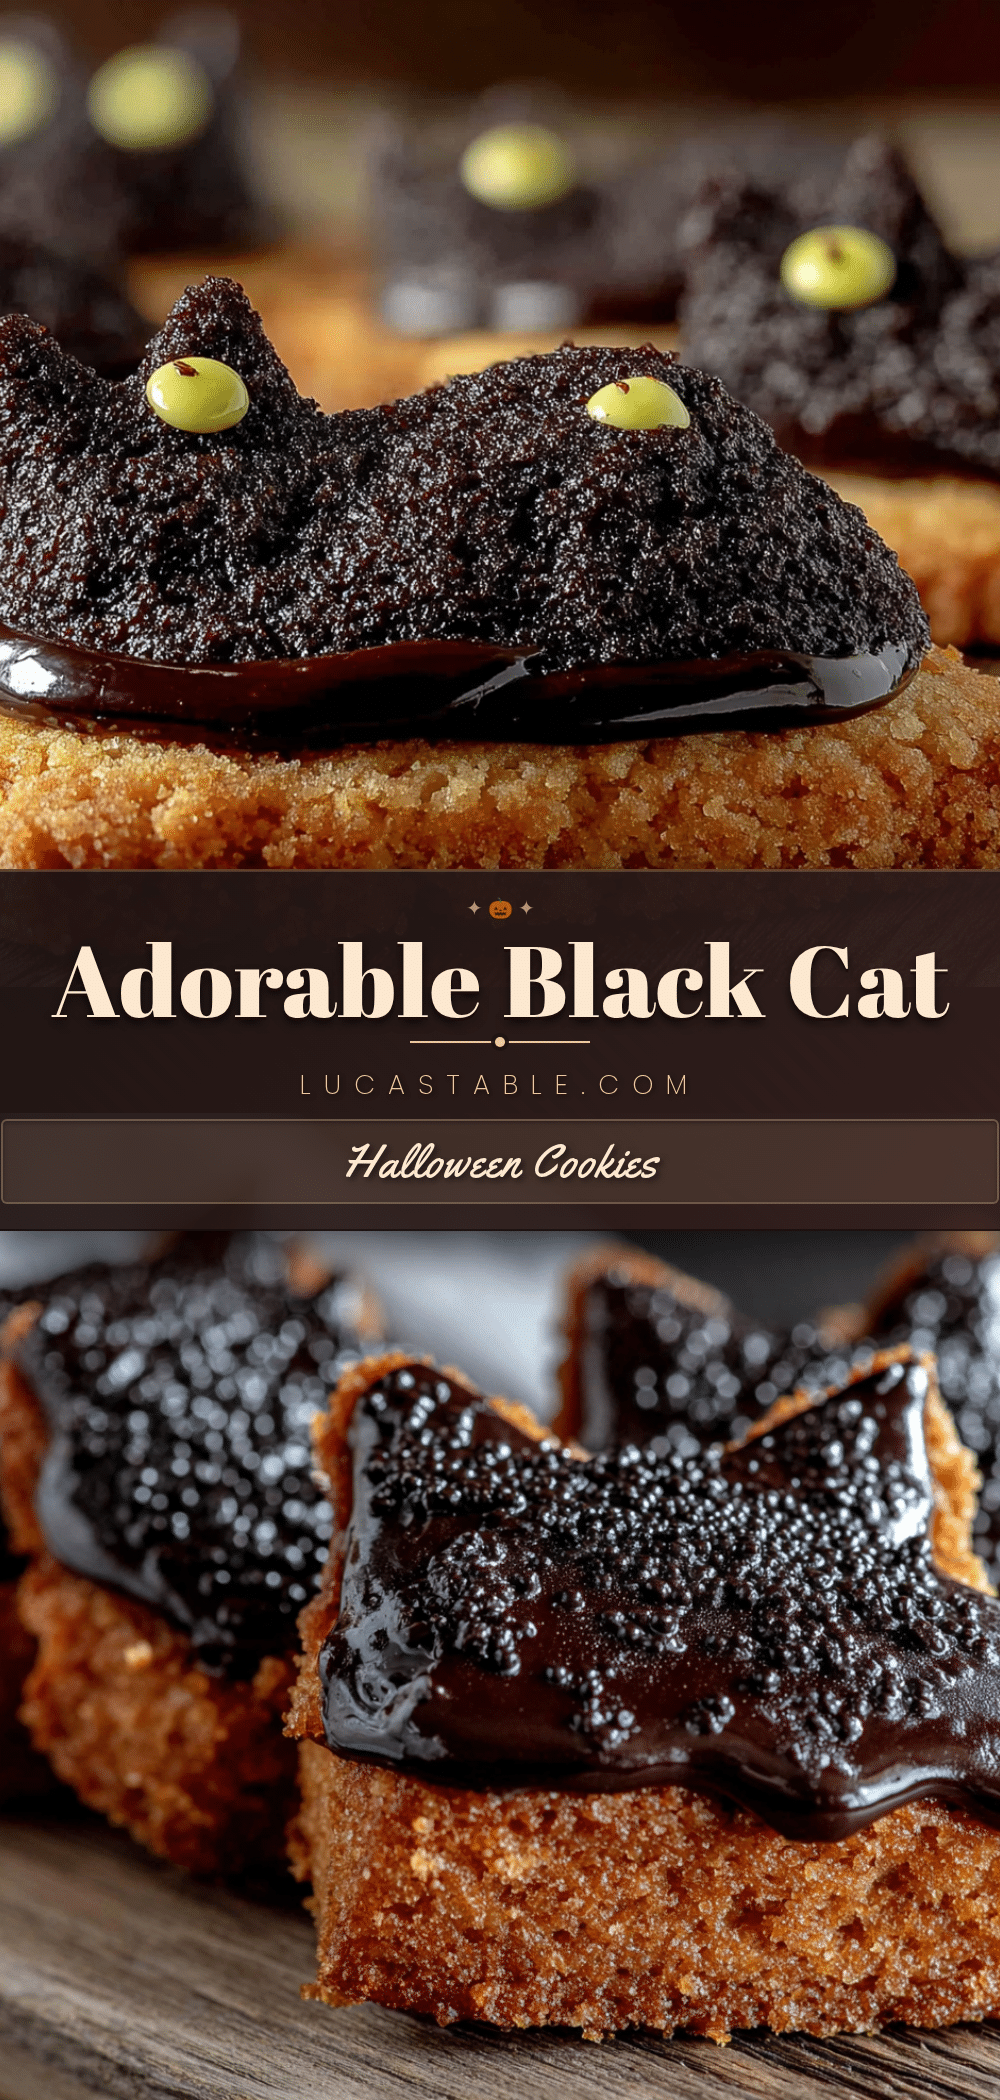
Adorable Black Cat Halloween Sugar Cookies: Easy Recipe
These black cat Halloween sugar cookies are soft in the center, slightly crisp at the edges, and use black cocoa powder for a deep, dark color without artificial food coloring. They’re the perfect spooky treat for fall gatherings.
- Prep Time: 1 hour 45 minutes
- Cook Time: 10 minutes
- Total Time: 2 hours 55 minutes
- Yield: 24 servings 1x
- Category: Dessert
- Cuisine: American
Ingredients
- 2 ¾ cups (345g) all-purpose flour
- ½ cup (40g) black cocoa powder
- 1 teaspoon baking powder
- ½ teaspoon salt
- 1 cup (226g) unsalted butter, softened
- 1 cup (200g) granulated sugar
- 1 large egg, room temperature
- 1 teaspoon vanilla extract
- 3 cups (360g) powdered sugar
- 2 tablespoons meringue powder
- 4–5 tablespoons warm water
- Orange gel food coloring
- Black decorating gel or edible marker
Instructions
- Make the Dough (15 minutes): In a medium bowl, whisk together the flour, black cocoa powder, baking powder, and salt. Set aside. In the bowl of your stand mixer fitted with the paddle attachment, beat the softened butter and granulated sugar on medium speed until light and fluffy, about 3-4 minutes. Scrape down the sides of the bowl. Add the egg and vanilla extract, and beat until combined. Don’t overmix here.
- Combine Wet and Dry: With the mixer on low, gradually add the flour mixture to the butter mixture. Mix until just combined. The dough will look crumbly at first, but it will come together. If it’s too dry, add a teaspoon of cold water.
- Chill the Dough (1-2 hours): Divide the dough in half. Flatten each half into a disc about 1-inch thick. Wrap tightly in plastic wrap and refrigerate for at least 1 hour, or up to 2 days. This step is crucial. Chilling the dough relaxes the gluten and solidifies the butter, which prevents the cookies from spreading in the oven.
- Roll and Cut (20 minutes): Preheat your oven to 350°F (175°C). Line your baking sheets with parchment paper. On a lightly floured surface, roll out one disc of dough to about ¼-inch thickness. Use your cat-shaped cookie cutter to cut out the cookies. Gently transfer them to the prepared baking sheets, spacing them about 1 inch apart. Gather the scraps, re-roll, and cut again. Repeat with the second disc.
- Chill Again (15 minutes): Place the baking sheets with the cut-out cookies in the refrigerator for 15 minutes. I know it seems like overkill, but this second chill is what keeps those adorable cat ears from melting away. Your cookies will look exactly as you cut them.
- Bake (8-10 minutes): Bake the chilled cookies for 8-10 minutes. The edges should be set, and the tops should look dry. They will not brown much due to the black cocoa. Let them cool on the baking sheet for 5 minutes, then transfer them to a wire rack to cool completely before decorating.
- Make the Royal Icing (10 minutes): While the cookies cool, make the icing. In a medium bowl, whisk together the powdered sugar and meringue powder. Add 4 tablespoons of warm water and whisk until smooth. The icing should be thick but flow slightly. Add the remaining water if needed. Stir in the orange gel food coloring until you reach your desired shade. Transfer the icing to a piping bag fitted with a small round tip.
- Decorate the Cookies (30 minutes): Once the cookies are completely cool, pipe an outline around the edge of each cookie. Then, fill the center with more icing, using a toothpick to spread it into the corners. Let the icing set for at least 1 hour. Once dry, use the black decorating gel or an edible marker to draw on the cat’s eyes, nose, and whiskers. You can also pipe a small bow or collar if you’re feeling fancy.
Notes
Chilling the dough twice is crucial for maintaining shape. For best results, use black cocoa powder for the darkest color. Royal icing should have a 15-second consistency. Let the base icing dry completely before adding facial features.
Nutrition
- Serving Size: 1 cookie
- Calories: 185
- Sugar: 16
- Sodium: 95
- Fat: 9
- Saturated Fat: 5
- Carbohydrates: 26
- Fiber: 1
- Protein: 2
Keywords: black cat cookies, Halloween sugar cookies, black cocoa cookies, cut-out cookies, royal icing cookies, spooky cookies, easy Halloween recipe


