Half a bag of dried elderberries sitting in my pantry, three kids coughing through a February night, and a sudden blizzard that made a trip to the pharmacy feel impossible. That’s how this whole thing started. I remember standing there at 11 PM, holding that bag of deep purple berries I’d impulse-bought at a health food store months earlier, thinking, “Well, this is either going to be a miracle syrup or a very expensive science experiment.”
I’d read about elderberry syrup for years, you know. Every cold season, my social media feed would fill up with photos of amber jars labeled “immune booster” and friends swearing it kept their kids healthy through winter. But I always figured it was one of those things that required a dozen obscure ingredients and a degree in herbalism. Turns out, I was wrong. That desperate night, I grabbed honey from the back of the cabinet, a knob of ginger that was starting to look a little sad, and I just… went for it.
The smell that filled my kitchen was incredible. Earthy and sweet with that sharp kick of ginger cutting through. Honestly, I expected a murky, bitter disaster. What I got was this gorgeous, jewel-toned syrup that even my pickiest kid asked for seconds of. It wasn’t just drinkable—it was genuinely delicious. That first batch got us through the rest of that terrible winter, and I’ve never been without it since.
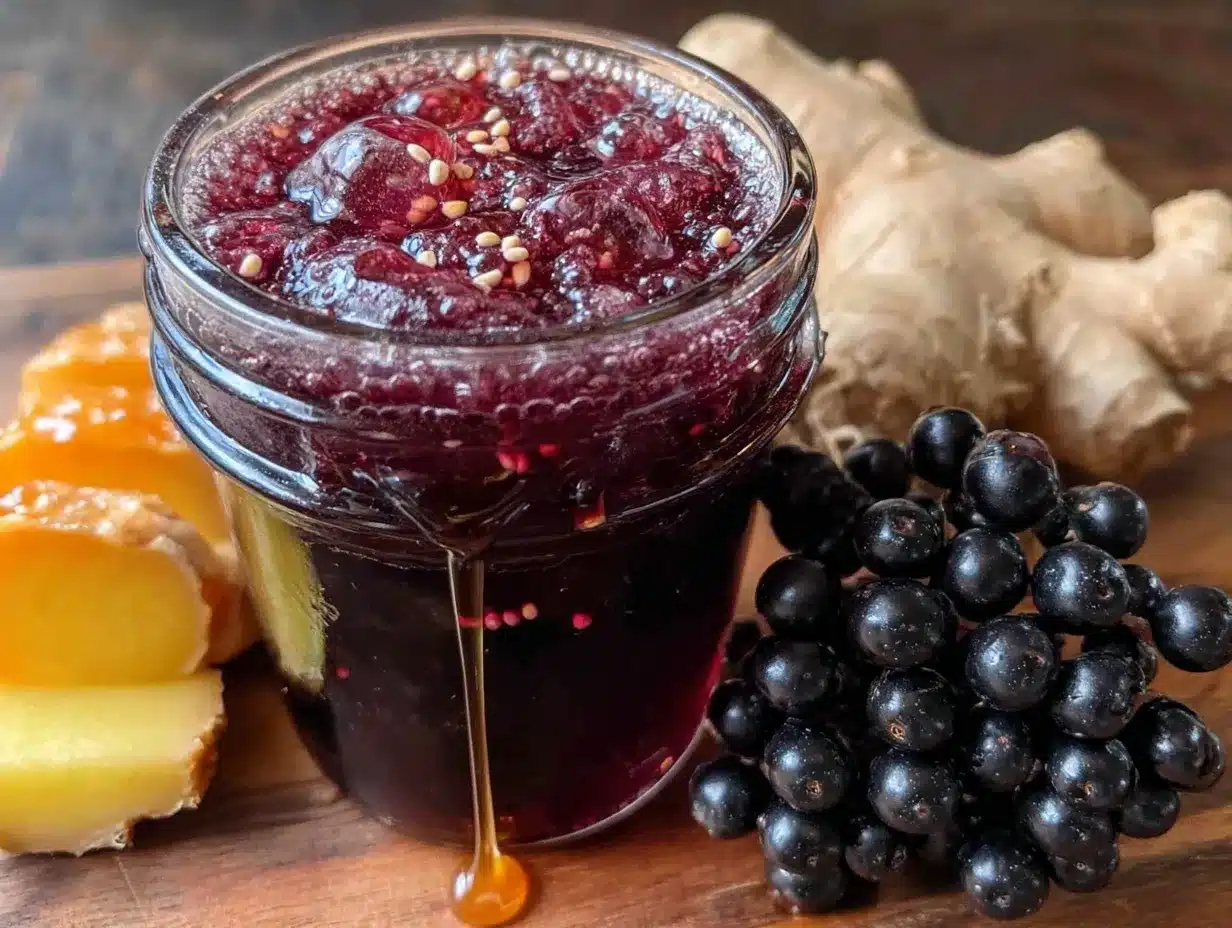
This Homemade Immune-Boosting Elderberry Syrup with Honey & Ginger has become my secret weapon. It’s the thing I make every fall without fail, the gift I bring to new parents and stressed-out friends, the reason I sleep a little better when flu season rolls around. Not because I think it’s magic, but because making something with my own hands, from real ingredients, feels like the most practical kind of self-care there is. And honestly? It just works.
Why You’ll Love This Recipe
Let me tell you why this syrup has earned a permanent spot in my fridge and probably will in yours too. I’ve tested this recipe about a dozen times, tweaking the ratios, trying different honey varieties, and even burning a batch or two (don’t ask about the time I forgot it on the stove and came back to a sticky, charcoal-smelling disaster). So trust me when I say this version is the one.
- Quick & Easy: From start to finish, you’re looking at about an hour, most of which is just letting the berries simmer. Active time? Maybe fifteen minutes. Perfect for a Sunday afternoon while you’re catching up on laundry or listening to a podcast.
- Simple Ingredients: You need four main things—dried elderberries, fresh ginger, raw honey, and water. That’s it. No weird extracts, no specialty stores, no ingredients you can’t pronounce.
- Perfect for Cold Season: This isn’t just a nice-to-have. When the sniffles start making the rounds at school or the office, having a bottle of this ready feels like having a secret advantage. It’s become our go-to for the whole family.
- Kid-Approved: I was so nervous the first time I gave it to my kids. Would they hate it? Would it be a fight every morning? Nope. They actually like the taste. The honey and ginger do a great job of balancing out the tartness of the berries.
- Unbelievably Delicious: This isn’t medicine you choke down. It’s sweet, a little spicy, and deeply fruity. I’ve caught myself adding it to tea just because I enjoy the flavor.
What makes this recipe different from all the others out there? It’s the balance. Some recipes are too sweet, some are too tart, and some have so much ginger you feel like you’re drinking liquid fire. I spent months finding the exact ratio where every ingredient shines without overpowering the others. The honey adds natural sweetness and its own immune-supporting properties, while the ginger brings warmth and a gentle kick. It’s not just another version of elderberry syrup—it’s the one I’d make for my own grandmother.
This is the kind of recipe that makes you feel good about what you’re putting into your body. It’s real food doing real work. And when you take that first spoonful, you’ll know exactly what I mean.
What Ingredients You Will Need
This recipe uses simple, wholesome ingredients to deliver bold immune support and satisfying flavor without any fuss. Most of these are pantry staples for anyone who cooks regularly, and the ones that aren’t are easy to find online or at any health food store.
For the Syrup Base
- Dried Elderberries, 1 cup – These are the star of the show. Look for organic, deep purple-black berries that smell fruity and slightly earthy. I usually buy mine from a brand called Starwest Botanicals, but any reputable source works. Avoid fresh elderberries for this recipe—they need to be cooked thoroughly, and dried ones are actually more concentrated in beneficial compounds.
- Fresh Ginger, 2-inch piece, thinly sliced – Don’t even think about using the dried powder here. Fresh ginger brings a bright, spicy warmth that’s completely different. You don’t need to peel it if you wash it well, but I usually do just to avoid any grit. The slices will soften as they simmer and release all that good stuff into the liquid.
- Raw Honey, 1/2 to 3/4 cup – This is important: use raw, unfiltered honey if you can. It contains natural enzymes and beneficial bacteria that get killed off in processed honey. The amount depends on how sweet you like things. I use 3/4 cup because my family has a sweet tooth, but start with 1/2 cup and taste. Local honey is even better—it can help with seasonal allergies too.
- Filtered Water, 4 cups – Tap water with chlorine or heavy minerals can affect the flavor. Just use filtered or spring water. It makes a subtle but noticeable difference.
Optional Add-Ins (But Highly Recommended)
- Cinnamon Stick, 1 – Adds warmth and a subtle sweetness that complements the elderberries beautifully. Plus, cinnamon is great for blood sugar regulation.
- Whole Cloves, 3 to 4 – A little goes a long way. Cloves add depth and a slightly medicinal quality that feels right for a wellness syrup. Don’t overdo it, or it’ll taste like pumpkin spice gone wild.
- Orange Peel, from 1 organic orange – The citrus notes brighten everything up. Use a vegetable peeler to get strips of peel without the bitter white pith. I add this when I’m feeling fancy or when I know I’ll be giving jars as gifts.
Ingredient Selection Tips: When buying dried elderberries, look for ones that are plump and not too shriveled. If they smell musty or like old hay, they’re past their prime. For the ginger, choose firm, smooth pieces with tight skin—wrinkly ginger is older and less flavorful. And please, please don’t substitute the honey with sugar or maple syrup. Honey isn’t just for sweetness here; it’s a key part of the immune-boosting properties and helps preserve the syrup.
Substitution Guidance: If you’re vegan, you can use maple syrup or agave instead of honey, but know that the flavor profile will change and the shelf life will be shorter. No ginger? You can use 1 teaspoon of dried ginger powder, but the fresh stuff really is better. And if you can’t find elderberries at all, you can use dried hibiscus flowers for a similar tart, fruity flavor—though the immune benefits won’t be the same.
Equipment Needed
You don’t need a fancy apothecary setup for this. Most of what you need is probably already in your kitchen.
- Medium to Large Saucepan – Go for something with a heavy bottom, like a stainless steel or enameled pot. It distributes heat evenly and prevents scorching. I’ve used my trusty 4-quart Le Creuset for years, but a basic Farberware works just fine.
- Fine-Mesh Strainer or Cheesecloth – You need something to strain out the berries and ginger pieces. A fine-mesh strainer is easiest, but if you want a super clear syrup, line it with a double layer of cheesecloth. I’ve also used a clean nut milk bag in a pinch.
- Glass Jars or Bottles – Mason jars work perfectly. I use 8-ounce or 16-ounce jars with tight-fitting lids. Make sure they’re thoroughly washed and sterilized—run them through the dishwasher or boil them for 10 minutes.
- Funnel – A small funnel makes pouring the syrup into jars so much less messy. Trust me on this one. I learned the hard way.
- Wooden Spoon or Silicone Spatula – For stirring. Nothing fancy needed.
Budget-Friendly Options: Don’t have cheesecloth? A clean, thin kitchen towel works. No funnel? You can carefully pour using a liquid measuring cup with a spout. The most important thing is that your jars are clean, so focus your energy there.
Maintenance Tip: Elderberry syrup can stain, so use stainless steel or enamel pots rather than light-colored plastic or aluminum. And wash your strainer immediately after use, or those little berry bits will dry into cement.
Preparation Method
Alright, let’s get to the actual making part. This is easier than you think, I promise.
- Combine the berries, ginger, and water. Put 1 cup of dried elderberries and the sliced ginger into your saucepan. Pour in 4 cups of filtered water. If you’re using the cinnamon stick and cloves, add those now too. Don’t add the honey yet—that comes later.
- Bring to a boil, then simmer. Turn the heat to high and bring everything to a rolling boil. Once it’s boiling, reduce the heat to low and let it simmer gently. You want a soft simmer, not a vigorous boil. Tiny bubbles, not a raging sea. Let it go for about 30 to 40 minutes. The liquid will reduce by about half, and the berries will look plump and slightly burst. Your kitchen will smell amazing at this point—earthy, warm, and a little spicy.
- Mash the berries (optional but helpful). After about 30 minutes, use the back of your spoon or a potato masher to gently press on the berries. This releases more of their goodness into the liquid. Don’t go crazy—you’re not making berry paste. Just a few good presses.
- Strain the mixture. Place your fine-mesh strainer over a large bowl or another pot. Pour the entire mixture through the strainer. Let it drain for a few minutes, then gently press on the solids with the back of a spoon to get every last drop. Discard the solids (compost them if you can).
- Let the liquid cool slightly. This step is crucial. You want the liquid to cool to around 110°F to 120°F before adding the honey. If it’s too hot, you’ll destroy the beneficial enzymes in the raw honey. If it’s too cool, the honey won’t mix in well. Let it sit for about 10 to 15 minutes. It should feel warm to the touch, not hot.
- Stir in the honey. Pour in 1/2 to 3/4 cup of raw honey. Stir gently but thoroughly until the honey is completely dissolved. Taste it at this point. If you want it sweeter, add a little more honey. Remember, the syrup will thicken slightly as it cools.
- Bottle it up. Using your funnel, pour the syrup into your sterilized glass jars. Leave about 1/2 inch of headspace at the top. Seal tightly with the lids.
- Cool completely before refrigerating. Let the jars sit on the counter until they reach room temperature, then pop them in the fridge. The syrup will keep for about 2 to 3 months in the refrigerator.
Sensory Cues: When it’s simmering, the liquid should look like dark ruby wine. When you stir in the honey, it should transform into a glossy, almost syrupy consistency. The smell should be sweet and spicy with that unmistakable earthy berry note. If it smells burnt or overly bitter, you simmered it too long or on too high heat.
Troubleshooting: If your syrup is too thin, you can simmer it a bit longer next time to reduce it more. If it’s too thick, you added too much honey or reduced it too much. No worries—just add a splash of warm water when you use it. If you forgot to let it cool before adding honey and now you have grainy syrup, the honey crystallized. It’s still safe, just not as smooth. Warm it gently next time.
Cooking Tips & Techniques
I’ve made this syrup so many times that I’ve learned a few things the hard way. Let me save you some trouble.
Don’t rush the simmer. I know it’s tempting to crank up the heat to get it done faster, but low and slow is the way to go. A gentle simmer extracts more of the beneficial compounds from the elderberries without making the liquid bitter. I once tried to speed things up and ended up with a syrup that tasted like burnt jam. Not good.
Temperature matters with honey. This is the mistake I see most often in comments on other blogs. People add honey to boiling liquid and wonder why their syrup doesn’t seem as effective. Raw honey is alive with good stuff, and heat kills it. Be patient. Let that liquid cool. I usually set a timer for 10 minutes after straining and then test with my finger—if it feels hot but not burning, it’s ready.
Double strain for clarity. If you want a restaurant-quality syrup that’s crystal clear, strain it twice. Once through the fine-mesh strainer, and then again through a cheesecloth-lined strainer. I only do this when I’m making syrup as gifts, but it does make a difference visually.
Multitasking strategy. While the berries are simmering, wash and sterilize your jars. You can also slice your ginger if you haven’t already. This recipe is actually perfect for multitasking because most of the time is hands-off. I usually start it while I’m making dinner or cleaning up the kitchen.
Consistency tip. If you want a thicker syrup, reduce the liquid a bit more before adding honey. If you want it thinner (easier to mix into tea or cocktails), aim for the shorter simmer time or add an extra splash of water at the end.
Variations & Adaptations
One of the best things about this recipe is how flexible it is. Here are some variations I’ve tried and loved.
- Spiced Chai Version: Add 2 cardamom pods, a star anise, and a slice of fresh turmeric along with the ginger. The result is this gorgeous, complex syrup that tastes like chai tea and is amazing in hot water or even drizzled over pancakes.
- Low-Sugar Option: Use only 1/4 cup of honey and add a few drops of stevia or monk fruit sweetener to taste. The shelf life will be shorter (about 3 to 4 weeks in the fridge), but it works well for anyone watching their sugar intake.
- Adult-Only Version: After cooling the syrup and adding honey, stir in 2 tablespoons of bourbon or whiskey. It adds warmth and complexity, and the alcohol acts as a natural preservative. I make this version for holiday gifts for my adult friends.
- Berry Blend: Replace half the elderberries with dried hibiscus flowers or dried tart cherries. The flavor becomes brighter and more tart, and you get additional antioxidants. I did this once when I ran out of elderberries and honestly, it was delicious.
- Slow Cooker Method: Combine all ingredients except honey in a slow cooker. Cook on low for 4 to 6 hours. Strain, cool, and add honey. This is great if you want to set it and forget it, but the flavor is slightly milder.
I once made a batch with fresh mint leaves added at the straining stage, and it was surprisingly refreshing—perfect for summer colds when you want something cooling. Don’t be afraid to experiment. The worst that happens is you end up with a jar of weird syrup that you can always add to smoothies.
Serving & Storage Suggestions
This syrup is incredibly versatile. Here’s how I use it in my house.
Serving Recommendations: For daily immune support, adults take 1 tablespoon per day, and kids (ages 2 and up) take 1 teaspoon. If someone is already fighting off a cold, I bump it up to 3 to 4 times per day. You can take it straight off a spoon (my kids’ preferred method), or mix it into warm water or tea. It’s also amazing stirred into oatmeal, drizzled over yogurt, or even used as a glaze for roasted chicken—seriously, don’t knock it till you try it.
Storage Instructions: Keep the syrup in the refrigerator at all times. Because it’s made with fresh ingredients and no preservatives, it needs to stay cold. In a sealed glass jar, it will last 2 to 3 months. I always label my jars with the date I made them so I don’t forget.
Freezer Option: You can freeze the syrup in ice cube trays for up to 6 months. Pop out a cube and thaw it in the fridge overnight. This is great for making small batches or having individual portions ready to go. I do this every fall so I have syrup all winter long.
Reheating: If the syrup crystallizes or becomes too thick in the fridge, just place the jar in a bowl of warm water for a few minutes. Don’t microwave it—that will kill the honey’s benefits. And give it a good shake before each use because the ingredients can settle.
Flavor Development: The syrup actually gets better after about a week in the fridge. The flavors meld and mellow, and the ginger’s sharpness softens. So don’t worry if it tastes a little strong right after making it—give it time.
Nutritional Information & Benefits
Let’s talk about why this syrup is more than just a tasty treat.
Estimated Nutritional Values (per 1 tablespoon serving):
- Calories: 45-55
- Carbohydrates: 12-14g
- Sugars: 10-12g (mostly from honey)
- Vitamin C: 4-6mg (from elderberries)
- Antioxidants: High (elderberries are packed with flavonoids)
Health Benefits: Elderberries are rich in antioxidants called anthocyanins, which help support the immune system. Ginger is known for its anti-inflammatory properties and can help soothe sore throats. Raw honey has antibacterial and antiviral properties and is a natural cough suppressant. Together, these ingredients create a powerful synergy that supports your body’s natural defenses.
Dietary Considerations: This recipe is naturally gluten-free, dairy-free, and vegan if you substitute the honey with maple syrup. It’s also paleo-friendly. The main allergen to note is that it contains honey, so it’s not suitable for infants under 1 year old.
My Personal Wellness Perspective: I’m not a doctor, and I won’t pretend this syrup cures anything. But I believe in the power of real food to support our bodies. When I make this syrup, I feel like I’m doing something proactive for my family’s health. It’s not a replacement for medical care, but it’s a delicious, comforting addition to a healthy lifestyle. And honestly, the act of making it—the simmering, the stirring, the bottling—feels therapeutic in its own way.
Conclusion
This Homemade Immune-Boosting Elderberry Syrup with Honey & Ginger has become a staple in my kitchen for good reason. It’s simple to make, uses ingredients I can actually pronounce, and genuinely makes me feel better prepared for whatever cold season throws our way. Whether you’re a seasoned herbalist or someone who’s never made syrup before, this recipe is forgiving, flexible, and rewarding.
I love that I can customize it to my family’s tastes—adding more ginger when we want extra warmth, or a cinnamon stick when we’re feeling cozy. It’s the kind of recipe that invites you to make it your own. And when you see that deep purple syrup in your fridge, made with your own two hands, there’s a little spark of pride that comes with it.
So go ahead and give it a try. Make a batch this weekend, even if nobody’s sick yet. Store it in a pretty jar. Take a spoonful every morning. And if you come up with your own twist—maybe a splash of orange juice or a pinch of cayenne—I’d love to hear about it. Drop a comment below and let me know how it turned out. Share this recipe with a friend who could use a little immune boost. And remember, the best medicine often comes from your own kitchen.
Stay healthy, friends. And keep cooking.
Frequently Asked Questions
Can I use fresh elderberries instead of dried?
I don’t recommend it for this recipe. Fresh elderberries need to be cooked thoroughly because they can cause stomach upset when raw. Dried elderberries are actually more concentrated and much easier to work with. Stick with dried for this syrup.
How long does homemade elderberry syrup last?
In the refrigerator, it will last about 2 to 3 months. If you freeze it in ice cube trays, it can last up to 6 months. Always check for signs of spoilage like mold, off smells, or fermentation before using.
Can I give this syrup to my kids?
Yes, for children over the age of 2. Give 1 teaspoon per day for maintenance, and up to 3 teaspoons per day if they’re fighting off a cold. Do not give honey to infants under 1 year old due to the risk of botulism.
Is this syrup safe to take with other medications?
Elderberry is generally safe, but it can interact with certain medications, especially immunosuppressants and diuretics. If you’re on any medications or have a chronic health condition, it’s always a good idea to check with your doctor first.
Why did my syrup crystallize in the fridge?
That’s usually from the honey crystallizing, which is a natural process. It doesn’t mean anything is wrong. Just place the jar in a bowl of warm water for a few minutes and give it a good shake. It’ll smooth right out.
Pin This Recipe!
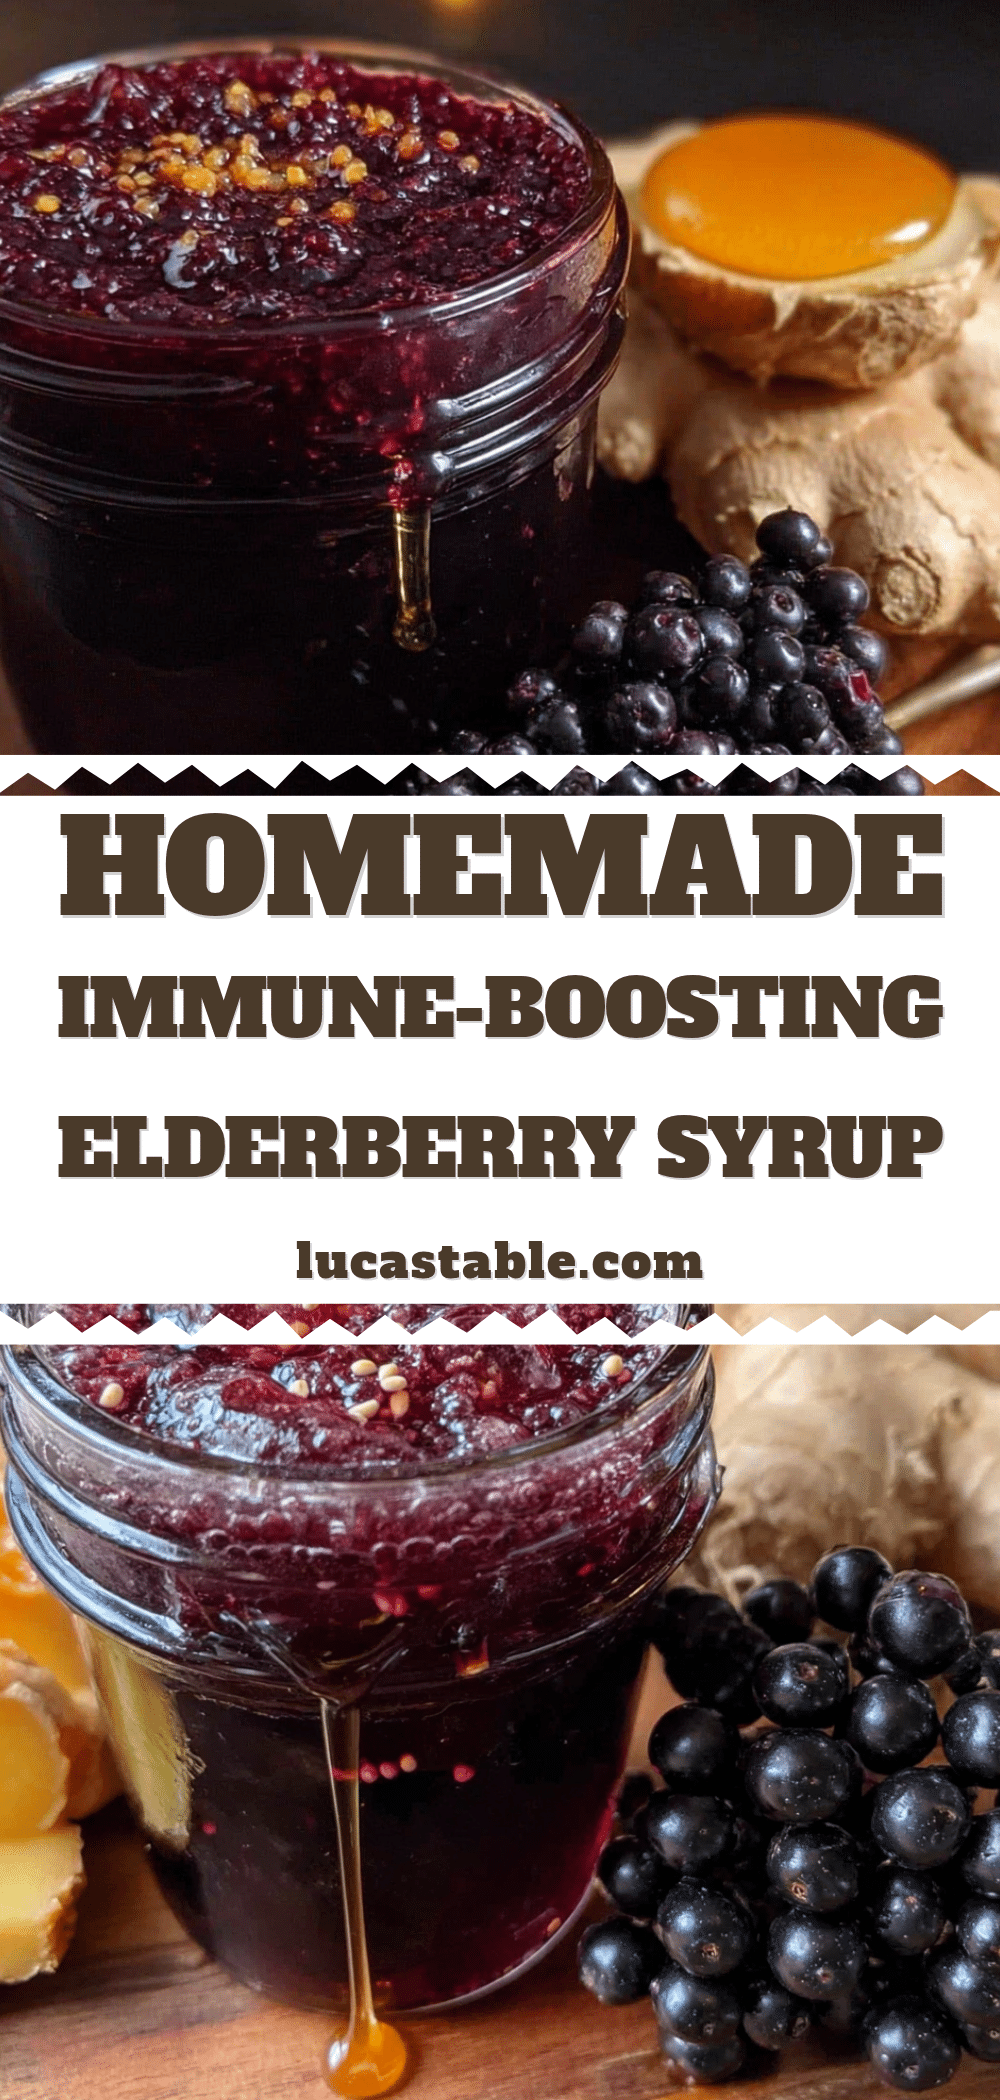
Best Homemade Elderberry Syrup for Immune Support
This Homemade Immune-Boosting Elderberry Syrup with Honey & Ginger is a simple, delicious, and effective way to support your family’s immune system during cold season. Made with just four main ingredients, it’s a comforting and rewarding recipe that has become a staple for wellness.
- Prep Time: 15 minutes
- Cook Time: 40 minutes
- Total Time: 55 minutes
- Yield: 4 servings 1x
- Category: Condiment
- Cuisine: American
Ingredients
- 1 cup dried elderberries
- 2-inch piece fresh ginger, thinly sliced
- 1/2 to 3/4 cup raw honey
- 4 cups filtered water
- 1 cinnamon stick (optional)
- 3 to 4 whole cloves (optional)
- Peel from 1 organic orange (optional)
Instructions
- Combine the dried elderberries, sliced ginger, and filtered water in a medium to large saucepan. If using, add the cinnamon stick and cloves.
- Bring the mixture to a rolling boil over high heat, then reduce the heat to low and let it simmer gently for 30 to 40 minutes. The liquid should reduce by about half, and the berries will look plump.
- After about 30 minutes, gently mash the berries with the back of a spoon or a potato masher to release more flavor.
- Place a fine-mesh strainer over a large bowl or pot. Pour the mixture through the strainer, pressing on the solids to extract all the liquid. Discard the solids.
- Let the liquid cool for 10 to 15 minutes until it reaches about 110°F to 120°F (warm to the touch, not hot).
- Stir in the raw honey until fully dissolved. Taste and adjust sweetness if desired.
- Using a funnel, pour the syrup into sterilized glass jars, leaving about 1/2 inch of headspace. Seal tightly.
- Let the jars cool to room temperature, then refrigerate. The syrup will keep for 2 to 3 months in the refrigerator.
Notes
Do not add honey to boiling liquid as it will destroy beneficial enzymes. Let the liquid cool to warm before adding honey. For a vegan version, substitute honey with maple syrup, but note the shelf life will be shorter. The syrup can be frozen in ice cube trays for up to 6 months.
Nutrition
- Serving Size: 1 tablespoon
- Calories: 50
- Sugar: 11
- Sodium: 2
- Carbohydrates: 13
Keywords: elderberry syrup, immune support, homemade syrup, honey ginger syrup, cold season remedy, wellness recipe


