There used to be a tiny dessert bar tucked behind a vintage bookstore in downtown Portland that made a slice of Biscoff cheesecake so good it ruined me for all others. When the bookstore closed and the bar vanished overnight, I actually stood on the sidewalk staring at the empty storefront like someone had cancelled a holiday. I’m not kidding — I went back three times that month hoping it was a dream. After my fifth attempt recreating it at home — and honestly, the first four were edible but not right — I finally cracked the code. The texture was silky, the Biscoff flavor punched through every single bite, and the crust held together without turning into a crumbly mess. I sat there on a Tuesday night, fork in hand, feeling like I’d won something.
This no-bake Biscoff cheesecake is that exact slice. It’s the kind of dessert that makes people pause mid-conversation and ask, “Wait, what is this?” And when you tell them it took no oven time and barely any effort, they look at you like you’re hiding something. The base is crushed Biscoff cookies mixed with melted butter — simple, right? But the filling is where the magic happens. Cream cheese, whipped cream, and a generous amount of Biscoff spread create a texture that’s rich but not heavy, sweet but not cloying. It sets up beautifully in the fridge, so you can make it the day before your dinner party and forget about it until dessert time.
Maybe you’ve been there — scrolling through dessert recipes, wanting something that looks impressive but doesn’t require a culinary degree or a stand mixer that costs more than your rent. This is that recipe. It’s the one you bring to a potluck and watch people hover around the table, going back for seconds. The one your friends text you for weeks later: “Can you make that cheesecake again?” I keep making it because it’s the dessert equivalent of a warm hug from someone who really gets you. And honestly, it’s the closest I’ll ever get to that little bar behind the bookstore — but maybe that’s okay. This version might even be better.
Why You’ll Love This Recipe
Let me tell you straight — this no-bake Biscoff cheesecake has saved me more times than I can count. It’s the dessert I pull out when guests are coming in two hours and I haven’t made anything yet. It’s the recipe my sister-in-law requests for every family gathering, and the one that made my neighbor actually tear up (she was pregnant, but still).
- No oven required: Perfect for summer parties when you don’t want to heat up the kitchen, or when your oven is full of other dishes. Just a fridge and some patience.
- Simple ingredients: You probably have most of these already. Cream cheese, heavy cream, powdered sugar, vanilla — and the star, Biscoff cookie butter. No fancy grocery runs needed.
- Perfect for hosting: This cheesecake feeds a crowd — easily 12 servings — and looks stunning on a dessert table. Drizzle extra Biscoff spread on top, add some crushed cookies, and you’ve got a showstopper.
- Crowd-pleaser guaranteed: I’ve served this to kids, grandparents, and food-snob friends. Every single person loves it. It’s not too sweet, not too heavy, just right.
- Make-ahead friendly: You can prepare this two days in advance. The flavor actually gets better as it sits. Stress-free hosting at its finest.
What makes this version different from every other no-bake cheesecake out there? It’s the ratio. I tested this seven times (yes, seven) to get the perfect balance of creamy filling to crunchy crust. The Biscoff spread gets folded in gently, not whipped in aggressively, so you get pockets of that caramelized cookie flavor in every bite. Plus, I add a pinch of salt to the crust — trust me on this one. It makes the sweet filling pop like nothing else.
This isn’t just another dessert recipe. It’s the one that makes you close your eyes after the first bite. It’s comfort food reimagined — no-bake, no-stress, but with the same soul-soothing satisfaction. Perfect for impressing guests without breaking a sweat, or turning a simple Tuesday into something memorable.
What Ingredients You Will Need
This recipe uses simple, wholesome ingredients to deliver bold flavor and satisfying texture without the fuss. Most of these are pantry staples, and the ones that aren’t are worth seeking out — trust me.
For the Crust
- 250g (about 2 cups) Biscoff cookies, crushed — You can crush them in a food processor or put them in a zip-top bag and go at them with a rolling pin. Both methods work fine, though the food processor gives you a more even texture.
- 80g (⅓ cup) unsalted butter, melted — I use salted butter in a pinch and just skip the extra salt. Kerrygold is my go-to for flavor, but any good butter works.
- Pinch of sea salt — This is non-negotiable. A tiny pinch balances the sweetness and makes the crust taste like a gourmet cookie.
For the Filling
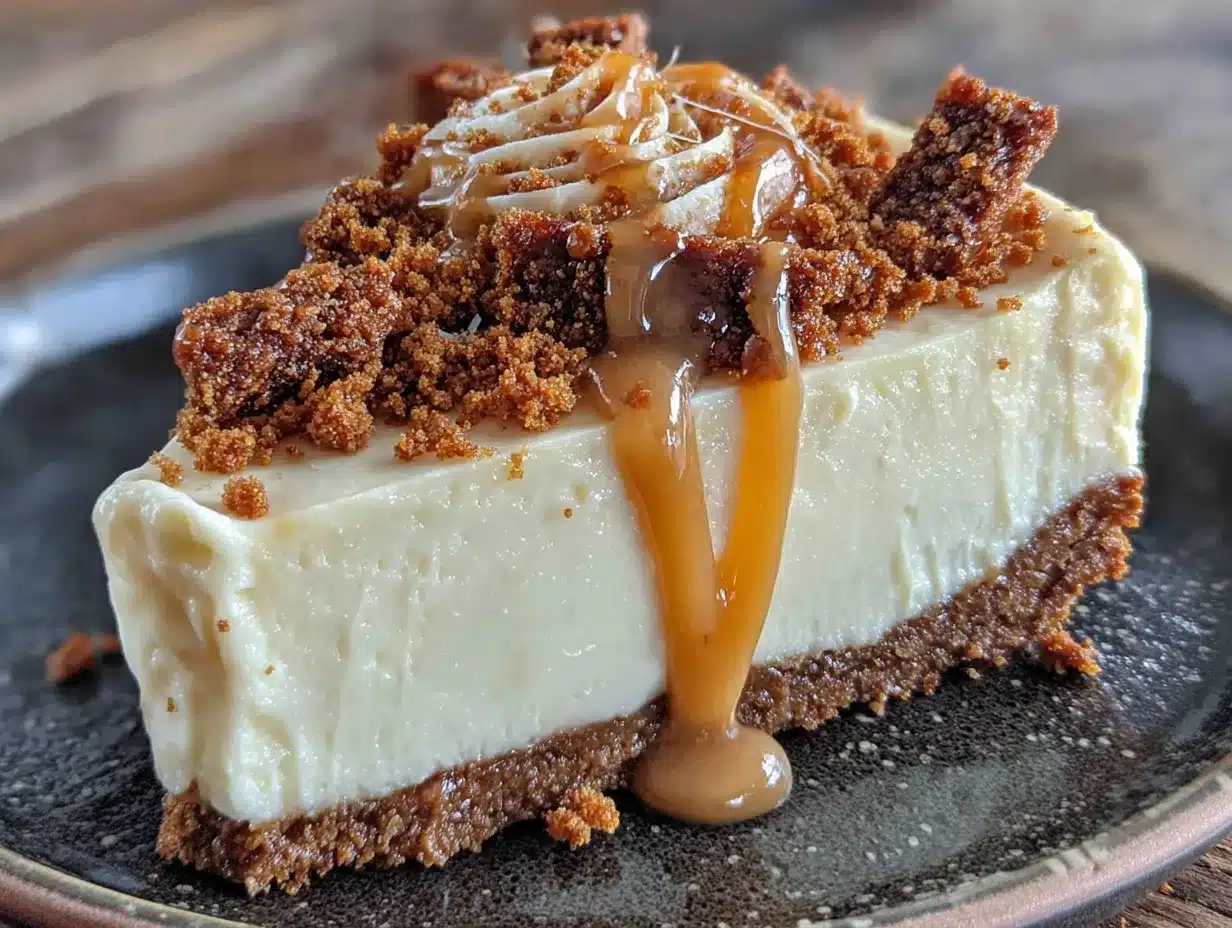
- 600g (about 24 oz) full-fat cream cheese, softened — Philadelphia is my brand of choice. Don’t use low-fat or spreadable cream cheese — the texture won’t set properly. Let it sit on the counter for an hour before starting.
- 240ml (1 cup) heavy cream, cold — Heavy whipping cream with at least 36% milk fat works best. Keep it in the fridge until you’re ready to whip it.
- 120g (1 cup) powdered sugar — Sift it if you’re feeling fancy, but honestly, I skip this step most of the time and it’s fine. Just whisk well.
- 1 tsp vanilla extract — Pure vanilla extract, not imitation. Nielsen-Massey is my favorite, but any pure vanilla works.
- 250g (about 1 cup) Biscoff cookie butter (smooth) — This is the star of the show. Lotus Biscoff spread is the original and the best. Don’t use the crunchy version — it changes the texture of the filling.
- Pinch of salt — Again, just a tiny bit to round out the sweetness.
For the Topping (Optional but Recommended)
- 60g (¼ cup) Biscoff cookie butter, melted — For drizzling over the top. Warm it in the microwave for 15 seconds, stir, and repeat until smooth.
- 50g (about ½ cup) Biscoff cookies, crushed — For sprinkling on top. Gives it that bakery-finished look.
- Whipped cream — Homemade is best, but store-bought works in a pinch. Pipe it around the edges for a pretty presentation.
Substitution guidance: If you’re dairy-free, use dairy-free cream cheese and coconut cream instead of heavy cream. The texture will be slightly different — a bit softer — but still delicious. For a gluten-free version, ensure your Biscoff cookies are certified gluten-free (most are, but check the label). You can also use gluten-free graham crackers for the crust, though the flavor won’t be as intensely Biscoff.
Equipment Needed
You don’t need a professional kitchen for this recipe. Here’s what you’ll need:
- 9-inch springform pan — This is essential for easy removal. If you don’t have one, use a deep pie dish lined with plastic wrap. You’ll have to serve it straight from the dish, but it works.
- Electric hand mixer or stand mixer — You can whip the cream by hand with a whisk, but your arm will hate you. A hand mixer is fine — I use a KitchenAid hand mixer and it works perfectly.
- Food processor or rolling pin — For crushing the cookies. A food processor gives a more even crumb, but the bag-and-rolling-pin method is great stress relief.
- Mixing bowls — You’ll need at least two: one for the crust and one for the filling. A third for whipping cream is helpful.
- Spatula — A silicone spatula is best for folding the whipped cream into the cream cheese mixture without deflating it.
- Measuring cups and spoons — Accurate measurements matter in baking, even no-bake baking.
- Plastic wrap — For covering the cheesecake while it sets in the fridge.
Budget-friendly tip: Don’t own a springform pan? Borrow one from a friend or check your local Buy Nothing group. I got mine for free and it’s lasted five years. A food processor isn’t necessary either — the bag method works beautifully.
Preparation Method
Step 1: Make the Crust (10 minutes + 30 minutes chilling)
Crush your Biscoff cookies until they’re fine crumbs. If using a food processor, pulse until you have a sandy texture — about 10-12 pulses. If using the bag method, seal the cookies in a zip-top bag and smash them with a rolling pin until no large pieces remain. You want a consistent crumb, not dust. Pour the crumbs into a medium bowl. Add the melted butter and pinch of salt, and stir with a fork until every crumb is coated. The mixture should look like wet sand and hold together when pressed between your fingers.
Transfer the mixture to your springform pan. Press it firmly into the bottom and about an inch up the sides. Use the bottom of a flat measuring cup or a glass to really pack it down — this prevents the crust from crumbling when you cut the cheesecake. Pop the pan in the fridge for at least 30 minutes while you make the filling. You want the crust to be fully chilled before adding the filling.
Step 2: Whip the Cream (5 minutes)
In a large bowl, pour the cold heavy cream. Using your hand mixer or stand mixer, whip on medium-high speed until soft peaks form — about 3-4 minutes. You’re looking for peaks that droop slightly when you lift the beaters. Don’t over-whip, or you’ll end up with butter. Set this bowl aside in the fridge while you work on the cream cheese mixture.
Step 3: Make the Filling (10 minutes)
In another large bowl, beat the softened cream cheese on medium speed until smooth and creamy — about 2 minutes. Scrape down the sides of the bowl with your spatula. Add the powdered sugar and vanilla extract, and beat until combined, about 1 minute. The mixture should be silky with no lumps.
Add the Biscoff cookie butter and the pinch of salt. Beat on low speed until just combined — about 30 seconds. Don’t over-mix here, or the filling can become too dense. You want the Biscoff to be evenly distributed but not fully incorporated into the cream cheese. Small swirls are fine — they’ll create little pockets of flavor in the finished cheesecake.
Step 4: Fold in the Whipped Cream (5 minutes)
Take the whipped cream out of the fridge. Using your spatula, gently fold about a third of the whipped cream into the cream cheese mixture. Use a cutting motion — down through the middle, across the bottom, up the side — and rotate the bowl as you go. Add another third and fold again. Finally, add the remaining whipped cream and fold until no white streaks remain. The mixture should be light, airy, and uniform in color.
Step 5: Assemble and Chill (5 minutes + 6 hours minimum)
Take the crust out of the fridge. Spoon the filling onto the crust and spread it evenly using your spatula. Give the pan a gentle tap on the counter to release any air bubbles. Smooth the top as best you can — it doesn’t have to be perfect because you’ll cover it with topping later.
Cover the pan with plastic wrap and refrigerate for at least 6 hours, but overnight is better. The longer it sits, the firmer and cleaner the slices will be. I know it’s hard to wait, but trust the process.
Step 6: Add the Topping (10 minutes)
Just before serving, melt the extra Biscoff cookie butter in a small microwave-safe bowl — about 15 seconds, stir, then another 10 seconds if needed. Drizzle it over the top of the cheesecake in a zigzag pattern. Sprinkle the crushed Biscoff cookies over the melted spread. If you’re adding whipped cream, pipe it around the edges or dollop it on each slice.
Step 7: Slice and Serve
Run a sharp knife under hot water, dry it off, then slice through the cheesecake. Wipe the knife clean between cuts for the neatest slices. Serve chilled, and watch everyone’s eyes light up.
Cooking Tips & Techniques
After seven test batches and a few disasters, I’ve learned a few things the hard way. Here’s what I wish someone had told me:
Room temperature cream cheese is non-negotiable. I once tried to rush this step and ended up with lumpy filling. Cold cream cheese doesn’t blend smoothly, and those lumps don’t magically disappear. Take it out of the fridge an hour before you start. If you forget, cut it into small cubes and let them sit for 20 minutes — it helps.
Don’t skip the chilling time. I know it’s tempting to pop it in the freezer for an hour and call it done, but the texture won’t be the same. The filling needs time to set properly. Six hours is the minimum, but overnight gives you that perfect sliceable consistency. I usually make this the morning before a dinner party and let it chill all day.
Fold, don’t stir. When you’re incorporating the whipped cream, use a gentle folding motion. Stirring vigorously deflates the air you just whipped into the cream, and you’ll end up with a dense, heavy cheesecake. Think of it as being gentle with the mixture — it’s not a workout.
Crush the cookies evenly. If you have big chunks of cookie in the crust, they’ll create weak spots that crumble when you cut the cheesecake. Aim for a fine, even crumb. If using the bag method, really go to town with that rolling pin. Put on some music and make it a stress-relief activity.
Test for doneness. After 6 hours, gently jiggle the pan. The center should be set but still have a slight wobble. If it’s liquidy, give it more time. If it’s firm all the way through, you’re good to go.
My biggest failure? I once used low-fat cream cheese because that’s what I had in the fridge. The filling never set properly — it was soft and almost runny. The flavor was fine, but the texture was wrong. Full-fat cream cheese isn’t just about richness; it’s about structure. Don’t make my mistake.
Variations & Adaptations
This recipe is forgiving and flexible. Here are some ways to make it your own:
Chocolate Biscoff Cheesecake
Add 60g (½ cup) of melted dark chocolate to the cream cheese mixture before folding in the whipped cream. Use a good-quality chocolate — I like Lindt 70% cocoa. The chocolate pairs beautifully with the caramelized notes of the Biscoff spread. You can also drizzle melted chocolate over the top instead of extra Biscoff spread.
Vegan Version
Use dairy-free cream cheese (Miyoko’s is my favorite) and replace the heavy cream with full-fat coconut cream. Chill the can of coconut cream overnight, then scoop out the solid part and whip it just like regular cream. The texture will be slightly softer, so chill the cheesecake for at least 8 hours. It’s still delicious and your vegan friends will love you.
Mini Cheesecakes
Line a muffin tin with paper liners. Press the crust mixture into each liner — about 2 tablespoons each — then fill with the cheesecake mixture. Chill for 4 hours instead of 6. These are perfect for parties where people want individual servings. Plus, no slicing required.
Biscoff Cheesecake Parfaits
Skip the crust entirely. Layer crushed Biscoff cookies, cheesecake filling, and whipped cream in small glasses or jars. This is my go-to when I’m short on time — it takes 15 minutes and looks beautiful. No chilling required, though they’re better after an hour in the fridge.
Spiced Version
Add ½ teaspoon of cinnamon and ¼ teaspoon of nutmeg to the crust mixture. The warm spices complement the Biscoff flavor and give the cheesecake a cozy, fall vibe. Perfect for Thanksgiving or holiday dinners.
Serving & Storage Suggestions
How to serve: This cheesecake is best served cold, straight from the fridge. Let it sit at room temperature for about 10 minutes before slicing — this softens the filling just enough for clean cuts. For a dinner party, I like to slice it beforehand and arrange the pieces on a platter. Drizzle extra Biscoff spread over each slice and add a dollop of whipped cream. It looks like something from a fancy bakery.
What to serve alongside: A cup of strong coffee or espresso is the perfect companion — the bitterness balances the sweetness. For a dessert spread, pair it with fresh berries (raspberries are especially good), a chocolate tart, or even a simple vanilla panna cotta. If you’re hosting a brunch, this cheesecake works beautifully alongside a fruit salad and mimosas.
Storage instructions: Cover the cheesecake with plastic wrap or transfer it to an airtight container. It will keep in the refrigerator for up to 5 days. The crust may soften slightly over time, but the flavor actually improves — the Biscoff becomes more pronounced. I’ve never had leftovers last longer than 3 days in my house, but theoretically it’s fine for 5.
Freezing instructions: This cheesecake freezes beautifully. Wrap the entire cheesecake (or individual slices) tightly in plastic wrap, then in aluminum foil. Freeze for up to 3 months. To thaw, transfer to the refrigerator overnight. Don’t thaw at room temperature — it can become too soft. The texture after freezing is nearly identical to fresh, which is honestly amazing for a no-bake dessert.
Reheating tips: Don’t. This is a chilled dessert. If you want warm Biscoff flavor, warm the topping separately and drizzle it over cold slices.
Flavor development: The cheesecake is good the day you make it, but it’s even better the next day. The Biscoff flavor deepens as it sits, and the texture becomes more cohesive. If you’re planning a party, make this two days in advance — your future self will thank you.
Nutritional Information & Benefits
Let’s be real — this is a dessert, not a health food. But here’s the breakdown so you know what you’re working with. Per slice (based on 12 servings):
| Nutrient | Amount Per Serving |
|---|---|
| Calories | 420-450 |
| Total Fat | 32g |
| Saturated Fat | 18g |
| Cholesterol | 85mg |
| Sodium | 280mg |
| Total Carbohydrates | 32g |
| Dietary Fiber | 1g |
| Sugars | 22g |
| Protein | 5g |
Now, the good news: there are some redeeming qualities. Biscoff cookies are made with wheat flour and contain some fiber. Cream cheese provides calcium and protein. The heavy cream has vitamin A and healthy fats. And honestly, if you’re sharing this with 11 other people, you’re eating a reasonable portion. Life is about balance, right?
Dietary considerations: This recipe contains dairy, wheat, and gluten. For a dairy-free version, see the variations section above. For gluten-free, use certified gluten-free Biscoff cookies or substitute with gluten-free graham crackers. This recipe is not suitable for vegans unless you make the adaptations mentioned earlier.
My personal perspective? I don’t stress about dessert. I eat well most of the time, and when I want a slice of this cheesecake, I enjoy every single bite. Food is meant to be enjoyed, and this recipe is pure joy. One slice won’t derail your health goals — it’ll just make your day a little sweeter.
Conclusion
This no-bake Biscoff cheesecake is the dessert you’ll turn to again and again. It’s simple enough for a random Tuesday, impressive enough for a dinner party, and forgiving enough for beginner bakers. The combination of crunchy Biscoff crust, silky cream cheese filling, and that unmistakable caramelized cookie flavor is genuinely unforgettable.
I’ve made this for birthdays, holidays, potlucks, and lazy Sundays. Every single time, someone asks for the recipe. And every single time, I smile and say, “It’s easier than you think.” Because it is. No oven, no complicated techniques, no stress. Just pure, crowd-pleasing deliciousness.
Now I want to hear from you. Have you tried this recipe? Did you add your own twist? Drop a comment below and let me know how it turned out. Share this post with a friend who loves dessert but hates baking — they’ll thank you later. And if you’re looking for more no-bake desserts, check out our no-bake dessert collection for more easy, impressive recipes.
Go ahead, make this cheesecake. Your guests will think you spent hours on it. You don’t have to tell them the truth — but honestly, it’s more fun when they don’t know how easy it was. Happy hosting, friends.
Frequently Asked Questions
Can I use a different cookie for the crust?
Absolutely. Graham crackers, digestive biscuits, or shortbread cookies all work well. The flavor profile will change, but the texture will be similar. If you use something less sweet, you might want to add a tablespoon of sugar to the crust.
How do I know when the cheesecake is fully set?
After 6 hours in the fridge, gently jiggle the pan. The center should have a slight wobble but shouldn’t be liquidy. If it’s still loose, give it another 2 hours. Overnight is always safest.
Can I double this recipe for a larger crowd?
Yes! Double all ingredients and use a 10-inch springform pan. The chilling time remains the same. You’ll get about 16-18 servings from a double batch. Perfect for big parties or holiday gatherings.
Why did my cheesecake turn out too soft?
This usually happens for one of three reasons: the cream cheese wasn’t softened enough, the whipped cream was under-whipped, or the cheesecake didn’t chill long enough. Make sure your cream cheese is at room temperature, whip the cream to soft peaks, and be patient with the chilling time.
Can I use crunchy Biscoff spread instead of smooth?
Technically yes, but I don’t recommend it. The crunchy bits can create an uneven texture in the filling. If that’s all you have, give it a good stir before measuring, and know that the final texture will be slightly different — still tasty, just less silky.
Pin This Recipe!
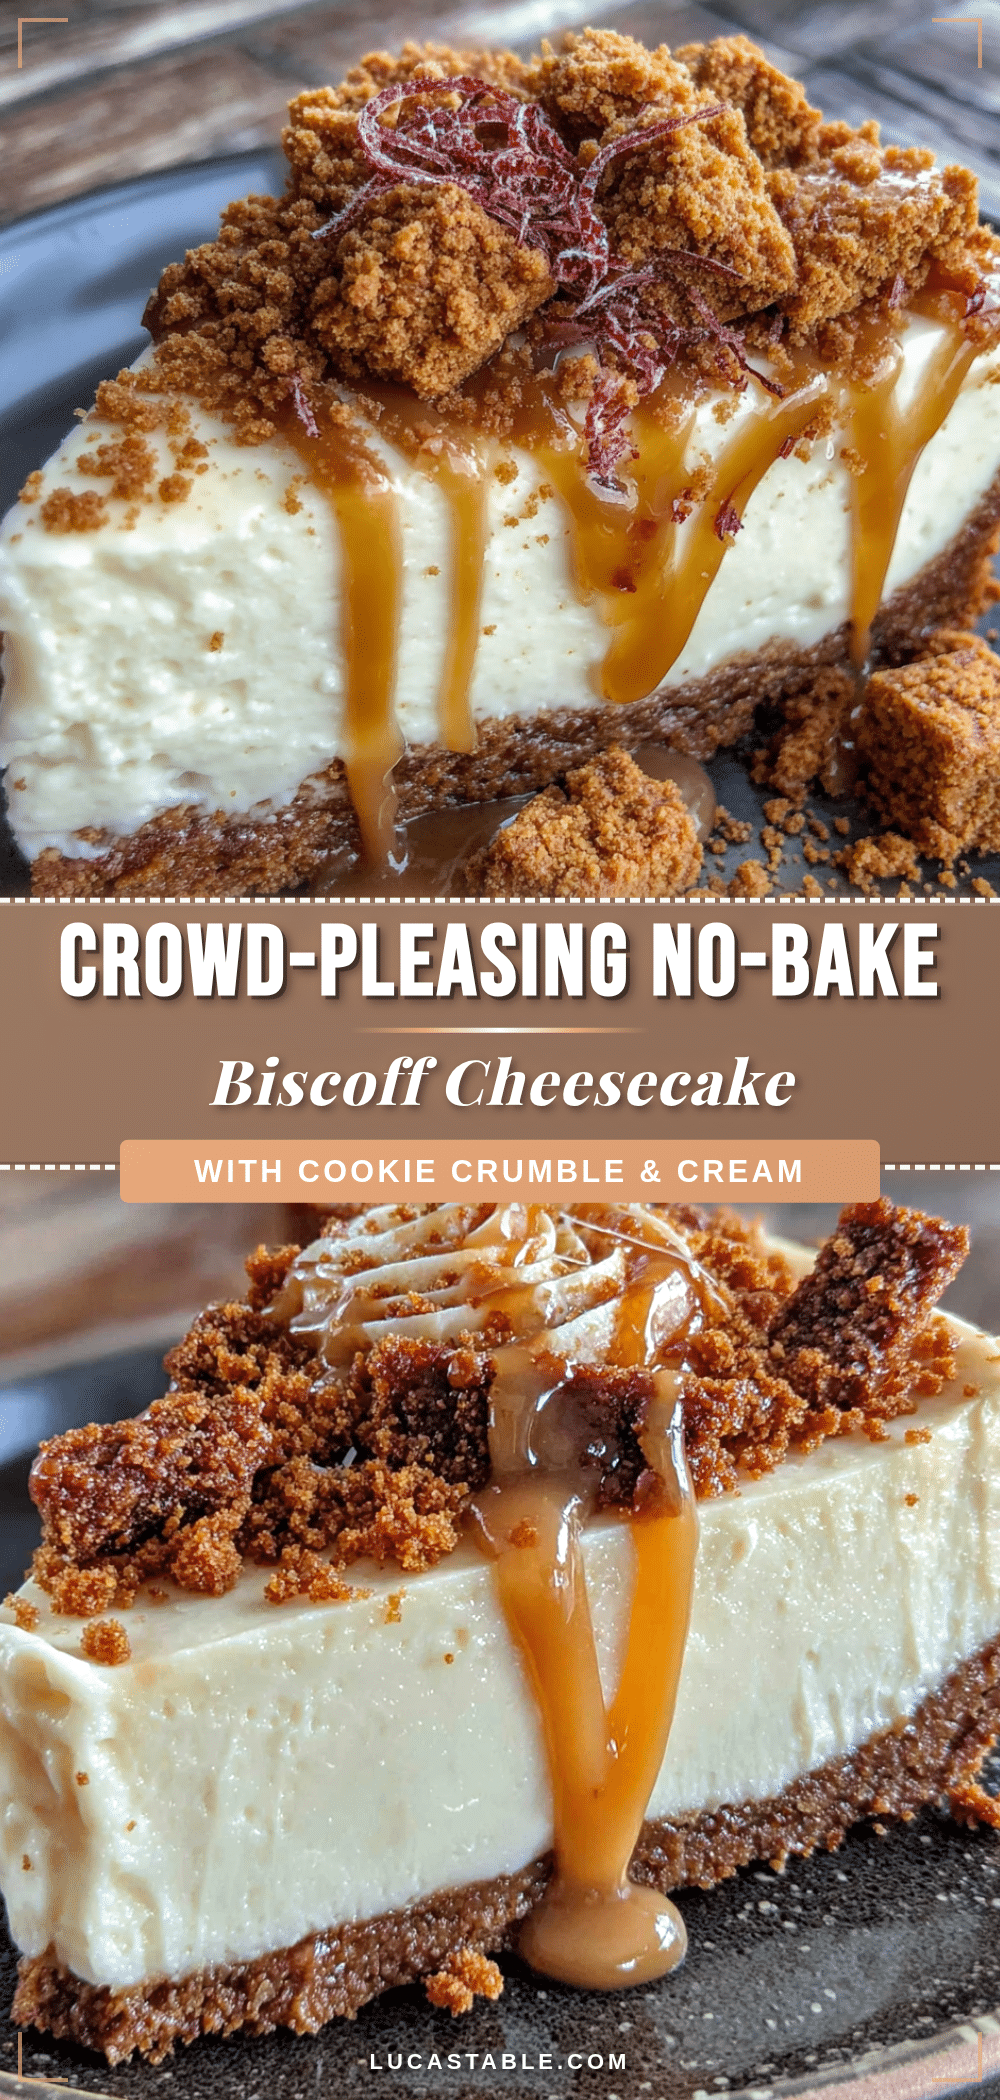
Best No-Bake Biscoff Cheesecake – Easy & Perfect

This no-bake Biscoff cheesecake features a crunchy Biscoff cookie crust and a silky cream cheese filling with generous amounts of Biscoff spread. It’s an easy, crowd-pleasing dessert that requires no oven and can be made ahead.
- Prep Time: 30 minutes
- Cook Time: 0 minutes
- Total Time: 6 hours 30 minutes (includes chilling)
- Yield: 12 servings 1x
- Category: Dessert
- Cuisine: American
Ingredients
- 250g (about 2 cups) Biscoff cookies, crushed
- 80g (⅓ cup) unsalted butter, melted
- Pinch of sea salt
- 600g (about 24 oz) full-fat cream cheese, softened
- 240ml (1 cup) heavy cream, cold
- 120g (1 cup) powdered sugar
- 1 tsp vanilla extract
- 250g (about 1 cup) Biscoff cookie butter (smooth)
- Pinch of salt
- 60g (¼ cup) Biscoff cookie butter, melted (for topping)
- 50g (about ½ cup) Biscoff cookies, crushed (for topping)
- Whipped cream (for topping, optional)
Instructions
- Make the crust: Crush Biscoff cookies into fine crumbs. Mix with melted butter and a pinch of salt. Press firmly into the bottom and up the sides of a 9-inch springform pan. Chill for at least 30 minutes.
- Whip the cream: In a large bowl, whip cold heavy cream until soft peaks form, about 3-4 minutes. Set aside in the fridge.
- Make the filling: In another large bowl, beat softened cream cheese until smooth. Add powdered sugar and vanilla, beat until combined. Add Biscoff cookie butter and a pinch of salt, beat on low until just combined.
- Fold in the whipped cream: Gently fold the whipped cream into the cream cheese mixture in three additions until no white streaks remain.
- Assemble and chill: Spoon the filling onto the chilled crust and spread evenly. Cover with plastic wrap and refrigerate for at least 6 hours, preferably overnight.
- Add the topping: Before serving, melt the extra Biscoff cookie butter and drizzle over the cheesecake. Sprinkle crushed Biscoff cookies on top. Add whipped cream if desired.
- Slice and serve: Run a sharp knife under hot water, dry it, then slice. Wipe the knife clean between cuts. Serve chilled.
Notes
Room temperature cream cheese is essential for a smooth filling. Do not skip the chilling time; overnight is best for clean slices. Fold the whipped cream gently to keep the filling light. For a gluten-free version, use certified gluten-free Biscoff cookies.
Nutrition
- Serving Size: 1 slice
- Calories: 420450
- Sugar: 22
- Sodium: 280
- Fat: 32
- Saturated Fat: 18
- Carbohydrates: 32
- Fiber: 1
- Protein: 5
Keywords: no-bake cheesecake, Biscoff cheesecake, easy dessert, no-bake dessert, Biscoff recipe


