Unexpected company popped in right as the summer heat hit its peak. The fridge was looking pretty bare — except for a handful of ripe peaches begging to be eaten. No ice cream maker in sight, and honestly, the thought of juggling a complicated dessert with no warning sounded like a recipe for disaster. But then this creamy no-churn roasted peach ice cream came to life, almost on its own. Roasting those peaches brought out this deep, caramelized sweetness that made the whole kitchen smell like a sun-soaked orchard. I wasn’t sure how it would all blend together without churning, but the texture turned out silky smooth, with just the right touch of freshness and warmth. It felt like a small victory — that kind of sweet relief you get when you pull off something unexpectedly good from nothing much at all. This recipe isn’t just about cooling off on a hot day; it’s about turning whatever you have on hand into something genuinely satisfying. That quiet pride of improvising something homemade and creamy without fuss? That’s why this no-churn roasted peach ice cream stuck around in my recipe rotation. It’s simple, soulful, and honestly, a little bit of magic from the oven to the freezer.
Why You’ll Love This Recipe
From experience, this creamy no-churn roasted peach ice cream recipe is one of those rare treats that feels fancy but actually couldn’t be easier. I’ve tested it a dozen times, tweaking the roasting time and sweetness until it hit that perfect balance. Here’s what’s great about it:
- Quick & Easy: Ready in under 30 minutes of active prep, plus freezing time, making it perfect for last-minute cravings or casual get-togethers.
- Simple Ingredients: No need for fancy equipment or hard-to-find items — just peaches, cream, sugar, and a few kitchen staples.
- Perfect for Summer: This is your go-to for warm-weather dessert, offering a fresh twist on classic ice cream that highlights peach season.
- Crowd-Pleaser: It’s got that creamy texture everyone loves, with the subtle roast flavor that feels both nostalgic and new.
- Unbelievably Delicious: The roasting caramelizes the sugars in the peaches, giving the ice cream a deeper flavor profile than plain fruit-based ice creams.
What sets this recipe apart is the no-churn method paired with roasting. Most no-churn ice creams rely heavily on sweetened condensed milk or fruit purees, but roasting the peaches first intensifies the flavor without adding extra sugar. The texture is creamy and smooth because the peaches are softened and slightly caramelized before mixing with the whipped cream and condensed milk. Honestly, it’s the kind of ice cream that makes you close your eyes after the first spoonful — that seamless comfort where fresh fruit meets indulgent creaminess. Plus, it’s a great way to impress guests without a ton of stress, especially if you’re already prepping something like quick zesty lemon chicken for dinner. The contrast between a savory meal and this sweet, creamy dessert is just perfect.
What Ingredients You Will Need
This recipe uses simple, wholesome ingredients to deliver bold flavor and a satisfying creamy texture without the fuss. Most of these are pantry staples or seasonal finds, and they’re easy to swap if needed.
- Fresh Peaches, ripe but firm (about 4-5 medium peaches) – Roasting them brings out natural sweetness and adds caramel notes.
- Granulated Sugar (1/4 cup / 50 grams) – For roasting peaches and balancing tartness.
- Heavy Whipping Cream (2 cups / 480 ml) – This is key for the creamy texture; I like using organic or grass-fed cream when possible.
- Sweetened Condensed Milk (1 can / 14 oz / 397 grams) – Adds sweetness and helps create a smooth, scoopable ice cream without churning.
- Vanilla Extract (1 teaspoon) – Enhances the overall flavor and adds a warm note.
- Lemon Juice (1 tablespoon) – Brightens the peach flavor and balances sweetness.
- Salt (a pinch) – Just enough to round out flavors.
You can also swap ingredients easily if needed. For example, use coconut cream instead of heavy cream for a dairy-free version, and swap sweetened condensed milk with a homemade or store-bought vegan condensed milk alternative. If peaches aren’t quite in season, nectarines work just as well. For a seasonal twist, try adding a handful of fresh blueberries or raspberries before freezing for a little burst of color and flavor.
Equipment Needed
- Baking Sheet: For roasting the peaches. A rimmed sheet works best to catch any drips.
- Mixing Bowls: Medium to large — you’ll need one for whipping cream and another for combining ingredients.
- Hand Mixer or Stand Mixer: For whipping the cream to soft peaks. A whisk works in a pinch but takes more effort.
- Spoon or Spatula: For folding ingredients together gently.
- Freezer-Safe Container: Any shallow container with a lid, about 8×8 inches or similar, perfect for freezing the ice cream evenly.
If you don’t have a hand mixer, a sturdy whisk and some patience will do, but the mixer definitely speeds things up and gives a fluffier texture. I recommend investing in a decent-quality silicone spatula — it’s gentle on bowls and great for folding without deflating your whipped cream. For roasting, a heavy-duty baking sheet helps with even heat distribution, but any rimmed pan will work fine. Budget-friendly options often last forever if you take care of them (avoid abrasive scrubbing!).
Preparation Method
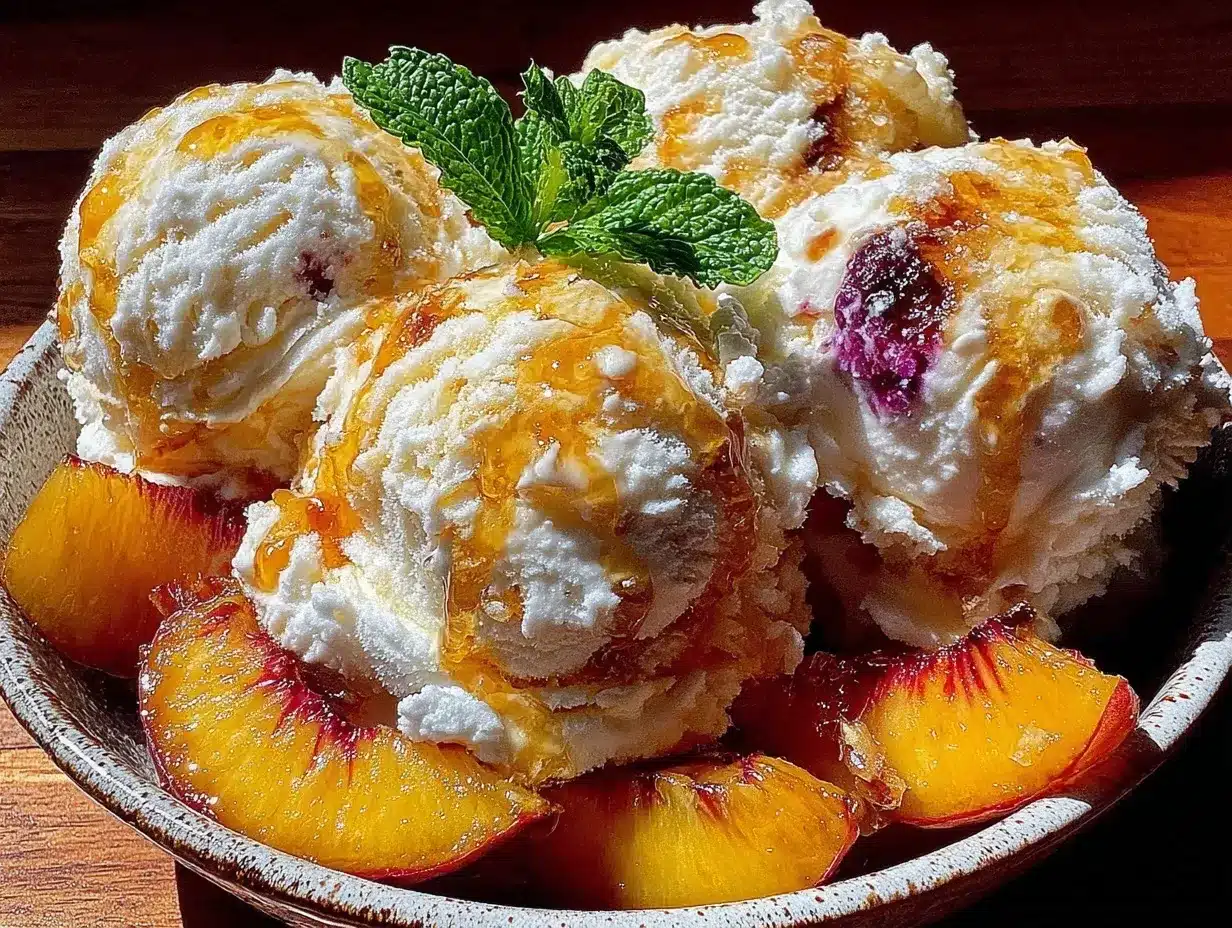
- Preheat your oven to 400°F (200°C). Line a baking sheet with parchment paper or lightly grease it.
- Prepare the peaches: Wash and halve 4-5 medium peaches, remove pits, and place cut side up on the baking sheet. Sprinkle evenly with 1/4 cup (50g) granulated sugar and a pinch of salt.
- Roast the peaches: Roast in the oven for 20-25 minutes until they are tender and caramelized around the edges. You’ll notice the sugars bubbling and the peaches darkening — that’s the magic developing. Let them cool completely (about 30 minutes).
- Once cooled, roughly chop or mash the roasted peaches: You want some texture, so don’t puree them completely. Reserve any juices that escaped during roasting.
- Whip the heavy cream: In a large mixing bowl, beat 2 cups (480 ml) of heavy whipping cream with a hand or stand mixer until soft peaks form. This should take about 3-4 minutes on medium-high speed. Don’t overbeat — soft peaks should gently hold their shape but still be creamy.
- Combine the base: In another bowl, mix 1 can (14 oz / 397 g) of sweetened condensed milk, 1 teaspoon vanilla extract, and 1 tablespoon lemon juice. Stir in the roasted peaches and their juices.
- Fold the whipped cream into the peach mixture: Gently fold with a spatula until just combined. The goal is to keep it airy and light, so take your time with gentle strokes.
- Transfer to a freezer-safe container: Spread the mixture evenly, cover with a lid or plastic wrap, and freeze for at least 6 hours or overnight until firm.
- Serving tip: Let the ice cream sit at room temperature for 5-10 minutes before scooping to soften slightly for easier serving.
If you notice the ice cream is icy or too hard after freezing, that usually means the cream wasn’t whipped enough or the folding was too vigorous. Gently folding and properly whipping the cream is key to that dreamy, creamy texture. Also, roasting the peaches until they’re really caramelized adds moisture and richness, so don’t rush that step.
Cooking Tips & Techniques
Roasting peaches is the secret weapon here — it deepens the natural sugars and adds a subtle caramel flavor that fresh peaches alone can’t match. When roasting, keep an eye on the color; you want golden brown edges but not burnt fruit. If you’re worried about over-roasting, set a timer and check at 20 minutes.
Whipping the cream just right can be tricky. If you under-whip, your ice cream will be runny; over-whip, and you risk turning it into butter. Soft peaks mean the cream holds shape but is still soft and glossy. I learned this the hard way after a batch that was too stiff ended up grainy after freezing.
Folding is an art — mix too hard, and you lose the airiness that makes the ice cream light. Use a gentle, downward folding motion with a silicone spatula to keep the texture delicate. This technique also works wonders in recipes like quick creamy tuna pasta, where gentle mixing preserves texture.
Timing is crucial. Roasting peaches ahead of time is a great way to prep if you want to serve the ice cream later in the day. You can roast in the morning and have ice cream ready by evening. Multitasking in the kitchen — like prepping a quick spaghetti aglio olio while the peaches roast — makes the whole process feel effortless.
Variations & Adaptations
This no-churn roasted peach ice cream recipe is flexible and forgiving, perfect for customization:
- Dietary Adaptation: For a dairy-free version, swap heavy cream with full-fat coconut cream and use a vegan sweetened condensed milk alternative. This keeps the creaminess but adds a subtle coconut flavor that pairs beautifully with peaches.
- Flavor Twist: Add a teaspoon of ground cinnamon or a splash of bourbon to the peach mixture before folding in the cream for a warm, spiced note that’s great for fall or holiday gatherings.
- Seasonal Variation: Swap peaches with nectarines, plums, or even roasted apricots depending on what’s in season. You can even mix in fresh berries for bursts of tartness.
- Texture Boost: Stir in chopped toasted pecans or almonds just before freezing for a crunchy surprise.
- Personal Try: I once folded in a handful of ripe blueberries with the roasted peaches, which gave a lovely pop of color and a slight tang that balanced the sweetness perfectly. It was a hit at a summer barbecue.
Serving & Storage Suggestions
Serve this creamy no-churn roasted peach ice cream chilled but slightly softened — about 5 to 10 minutes out of the freezer. Scoop generous portions into bowls or cones and garnish with fresh peach slices or a sprinkle of toasted nuts for texture contrast.
This ice cream pairs wonderfully with light desserts like shortbread cookies or even a drizzle of honey. For a boozy adult treat, serve alongside a glass of chilled rosé or a sparkling lemon soda.
Store ice cream in an airtight container in the freezer for up to 2 weeks. To avoid freezer burn, press a piece of parchment paper or plastic wrap directly on the surface before sealing. When reheating frozen leftovers, let the ice cream soften at room temperature for a few minutes for easier scooping.
Over time, the roasted peach flavor deepens, and the texture remains creamy — unlike many homemade ice creams that can get icy. This recipe’s no-churn method keeps it luscious and scoopable even after days in the freezer.
Nutritional Information & Benefits
This no-churn roasted peach ice cream offers a creamy, indulgent treat without artificial additives. One serving (about 1/2 cup or 125 ml) contains approximately:
| Calories | Fat | Carbohydrates | Protein |
|---|---|---|---|
| 250 | 16g | 25g | 3g |
Peaches are packed with vitamin C, fiber, and antioxidants, which roasting helps concentrate without destroying nutrients. The heavy cream adds rich fats that provide satiety, while sweetened condensed milk contributes smooth texture and sweetness. This recipe is gluten-free by default and can easily be made dairy-free.
From a wellness perspective, this dessert satisfies sweet cravings using fresh fruit and minimal processed ingredients. It’s a better alternative to store-bought ice creams loaded with stabilizers and artificial flavors.
Conclusion
This creamy no-churn roasted peach ice cream recipe is worth keeping for those times you want dessert but don’t want the hassle of a machine or long prep. It’s quick, accessible, and delivers flavor that feels like it took way more effort. I love how it brings out the natural sweetness of peaches with a cozy roasted twist, all wrapped up in luscious creaminess. Feel free to make it your own with different fruits or add-ins — that’s part of the fun.
Give this recipe a try, and let me know how your version turns out. There’s something so satisfying about pulling a homemade frozen treat from the freezer using just a few ingredients and no fancy tools. Next time you’re roasting peaches for dinner or dessert, remember this ice cream — it might just become a new favorite way to use that juicy summer fruit.
FAQs
Can I use canned peaches instead of fresh for this recipe?
Fresh peaches are best for roasting and flavor, but if you’re in a pinch, drained canned peaches can work. Just skip roasting and fold them gently into the base. The texture and flavor will be a bit different but still tasty.
How long can I store this no-churn ice cream in the freezer?
Store in an airtight container for up to 2 weeks. After that, texture and flavor may start to degrade, but it should still be safe to eat.
What if I don’t have sweetened condensed milk?
You can make a quick homemade version by simmering evaporated milk with sugar until thickened, or find dairy-free alternatives at many grocery stores for a vegan version.
Can I prepare this ice cream ahead of time?
Absolutely. Roast the peaches and prepare the mixture up to 2 days in advance, then freeze. Just keep it covered tightly to avoid freezer odors.
Is it possible to add mix-ins like chocolate chips or nuts?
Yes! Fold in chopped nuts, chocolate chips, or even swirl in a bit of caramel sauce just before freezing for added texture and flavor.
Pin This Recipe!
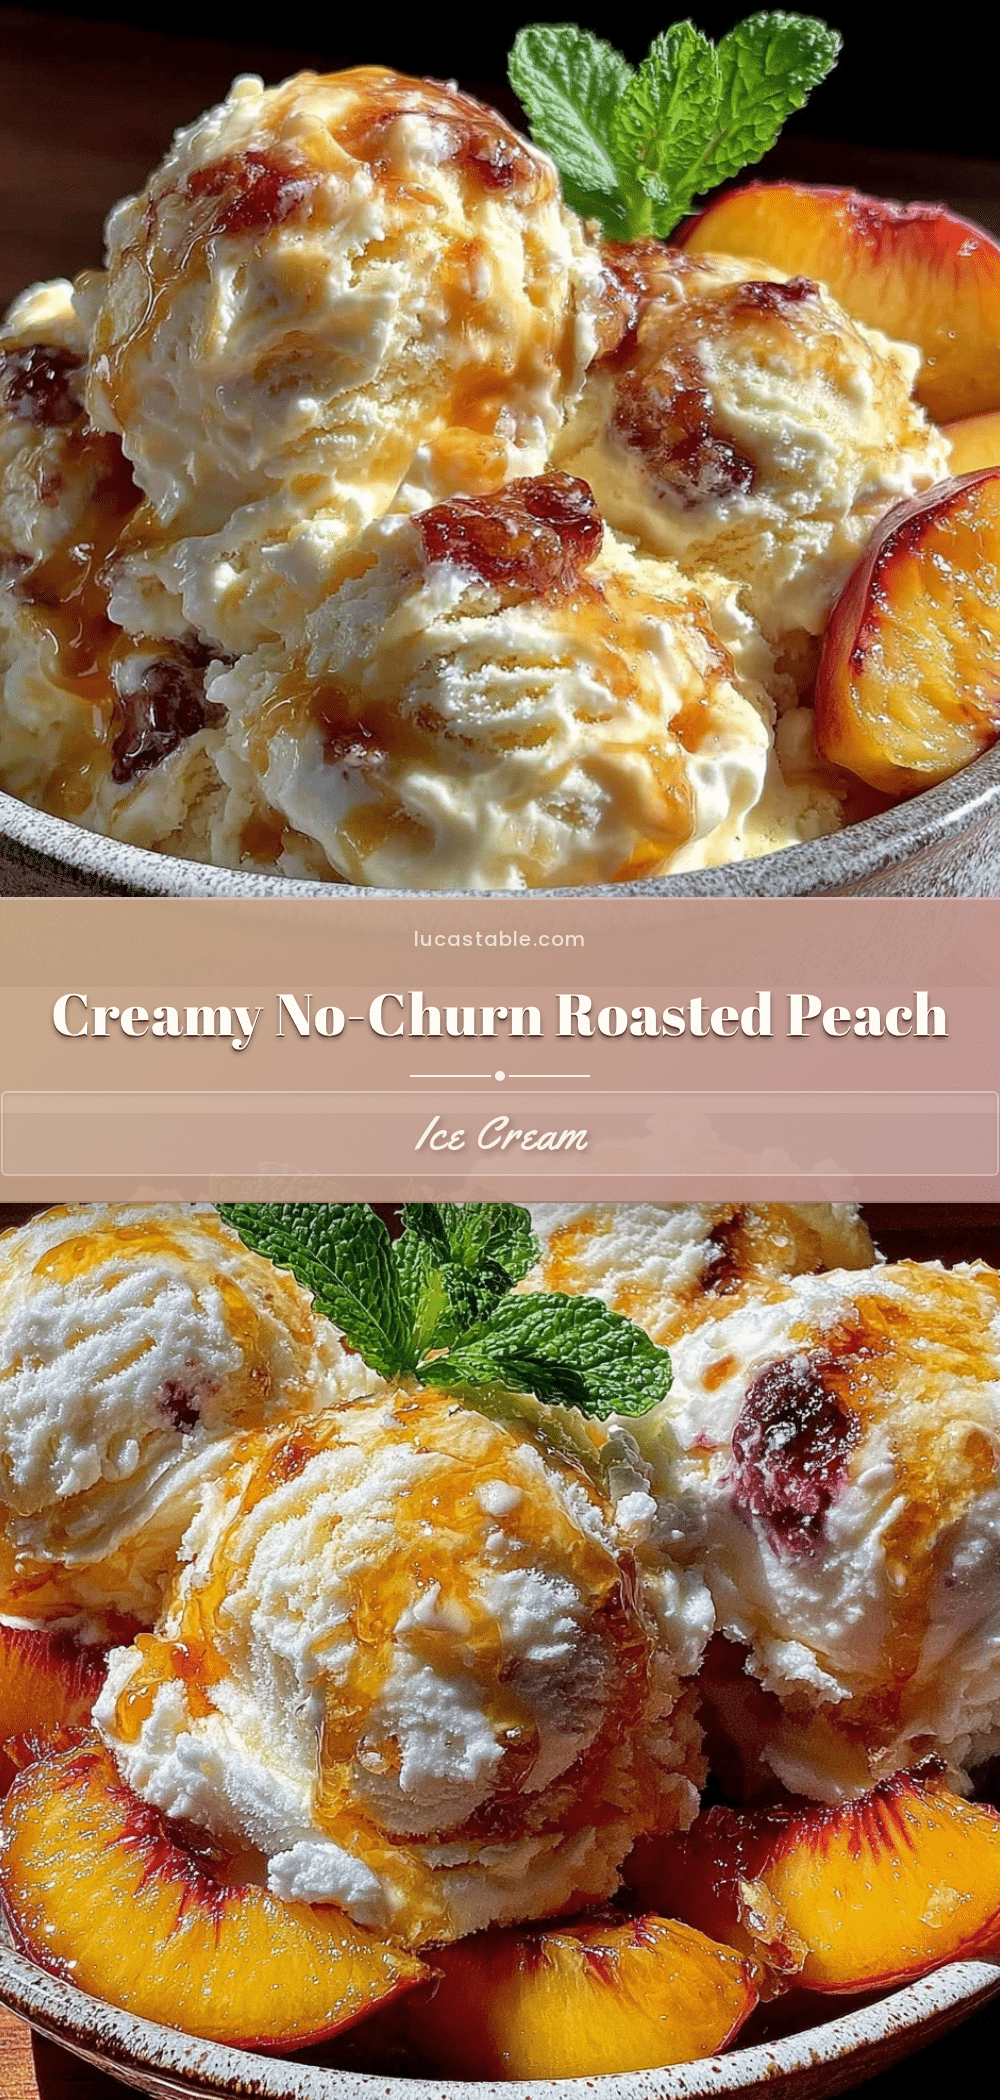
Creamy No-Churn Roasted Peach Ice Cream

A simple and soulful no-churn ice cream recipe featuring roasted peaches that bring out deep caramelized sweetness, resulting in a creamy, smooth, and refreshing summer dessert.
- Prep Time: 15 minutes
- Cook Time: 25 minutes
- Total Time: 6 hours 40 minutes
- Yield: 8 servings 1x
- Category: Dessert
- Cuisine: American
Ingredients
- 4–5 medium fresh peaches, ripe but firm
- 1/4 cup (50 grams) granulated sugar
- 2 cups (480 ml) heavy whipping cream
- 1 can (14 oz / 397 grams) sweetened condensed milk
- 1 teaspoon vanilla extract
- 1 tablespoon lemon juice
- Pinch of salt
Instructions
- Preheat your oven to 400°F (200°C). Line a baking sheet with parchment paper or lightly grease it.
- Wash and halve 4-5 medium peaches, remove pits, and place cut side up on the baking sheet. Sprinkle evenly with 1/4 cup (50g) granulated sugar and a pinch of salt.
- Roast the peaches in the oven for 20-25 minutes until tender and caramelized around the edges. Let them cool completely (about 30 minutes).
- Once cooled, roughly chop or mash the roasted peaches, reserving any juices.
- In a large mixing bowl, whip 2 cups (480 ml) of heavy whipping cream with a hand or stand mixer until soft peaks form (about 3-4 minutes).
- In another bowl, mix 1 can (14 oz / 397 g) sweetened condensed milk, 1 teaspoon vanilla extract, and 1 tablespoon lemon juice. Stir in the roasted peaches and their juices.
- Gently fold the whipped cream into the peach mixture until just combined, keeping it airy and light.
- Transfer the mixture to a freezer-safe container, spread evenly, cover, and freeze for at least 6 hours or overnight until firm.
- Before serving, let the ice cream sit at room temperature for 5-10 minutes to soften slightly.
Notes
Do not overwhip the cream; soft peaks are ideal. Gently fold the whipped cream into the peach mixture to keep the texture light and airy. Roasting peaches until caramelized adds depth of flavor. Let ice cream soften 5-10 minutes before scooping for easier serving. For dairy-free version, substitute heavy cream with coconut cream and use vegan sweetened condensed milk.
Nutrition
- Serving Size: About 1/2 cup (125 m
- Calories: 250
- Sugar: 22
- Sodium: 50
- Fat: 16
- Saturated Fat: 10
- Carbohydrates: 25
- Fiber: 2
- Protein: 3
Keywords: no-churn ice cream, roasted peach ice cream, summer dessert, easy homemade ice cream, peach recipe, no ice cream maker, creamy ice cream


