Juggling dinner prep while nursing a scratchy throat and a cranky toddler isn’t exactly the picture of calm Sunday afternoon bliss. Stirring a pot on one burner, chopping veggies on another, and then realizing the medicine cabinet was empty—that’s when I found myself whipping up this healthy homemade elderberry syrup with ginger and raw honey. Honestly, it wasn’t planned; it was survival mode with a dash of hope. The kitchen smelled like spicy ginger and sweet honey, and the rich purple hue of elderberries bubbling away was oddly comforting amidst the chaos. This syrup became my secret weapon for those unpredictable sniffly days, and somehow it stuck around not just as a remedy but as a little ritual of self-care.
There’s something quietly satisfying about making your own elderberry syrup instead of reaching for a store-bought bottle filled with mystery ingredients. Plus, the ginger’s gentle heat and the raw honey’s floral sweetness make it taste so much better than just some cold, bitter syrup you might expect. I keep a jar in the fridge now, ready for whenever the sniffles or seasonal blues try to sneak up on me. It’s simple, natural, and honestly, it feels like a tiny act of kindness I can give myself or my family. And hey, if you’ve ever had to improvise a healthy fix amid the whirlwind of everyday life, you’ll get why this recipe means more than just a spoonful of syrup.
Why You’ll Love This Recipe
If you’re on the fence about making your own elderberry syrup, here’s why you might just fall for this one:
- Quick & Easy: The whole process takes under 40 minutes, perfect for busy folks juggling everything but still wanting something wholesome.
- Simple Ingredients: No hunting down obscure herbs—just elderberries, fresh ginger, raw honey, and a few pantry staples.
- Perfect for Cold & Flu Season: Whether you’re fighting off a cold or just want an immune boost, this syrup’s got your back.
- Crowd-Pleaser: Kids and adults alike surprisingly enjoy the sweet-spicy flavor combo—no grimaces at medicine time!
- Unbelievably Delicious: The balanced zing of ginger with the natural sweetness of honey makes it more like a treat than a supplement.
This isn’t just elderberry syrup slapped together. The key difference? I infuse fresh ginger root for that warming, slightly peppery kick, and use raw honey straight from trusted local beekeepers to keep the nutrients intact. Plus, simmering the berries gently lets out their full flavor without bitterness. Honestly, it’s the kind of syrup that makes you pause for a moment, savoring the taste while knowing you’re doing something good for yourself. It’s comfort and care bottled up, ready to go at a moment’s notice.
What Ingredients You Will Need
This recipe uses simple, wholesome ingredients to deliver bold flavor and satisfying texture without the fuss. All are easy to find or swap out, so you can keep it pantry-friendly and fresh.
- 1 cup dried elderberries (I recommend Sambucus nigra from a reputable brand for best potency and flavor)
- 4 cups water (filtered if you can, to keep the syrup pure)
- 1 tablespoon fresh ginger, peeled and thinly sliced (adds that warm, spicy note that cuts through sweetness)
- 1 cinnamon stick (optional, but it adds a cozy depth—great in cold months)
- 3-4 cloves (whole cloves, not ground, for subtle aromatic punch)
- 1 cup raw honey (use raw and unfiltered honey to preserve enzymes and nutrients; local honey if possible)
- Juice of 1 lemon (for brightness and a bit of vitamin C boost)
If fresh ginger isn’t on hand, you can substitute with 1 teaspoon of ground ginger, but fresh really shines here. The cinnamon and cloves are optional but highly recommended for a richer flavor profile. For a vegan alternative, swap honey with maple syrup, but that will change the taste slightly. If you prefer a thicker syrup, you can reduce the water slightly. This batch yields about 2 cups of syrup, enough to last several weeks in the fridge.
Equipment Needed
- Medium-sized saucepan (3-4 quart size works well)
- Fine mesh strainer or cheesecloth (to strain the berries and spices)
- Measuring cups and spoons
- Glass jar or bottle with a tight lid for storage (I love repurposing old jam jars)
- Wooden spoon or heat-safe spatula
If you don’t have a fine mesh strainer, a clean kitchen towel or coffee filter works in a pinch, just be prepared for a slower straining process. I’ve tried using plastic bottles for storage, but glass is best to preserve flavor and avoid any plastic taste. For occasional use, a simple saucepan does the job, but if you plan to make this often, a dedicated pot for herbal infusions keeps things tidy.
Preparation Method
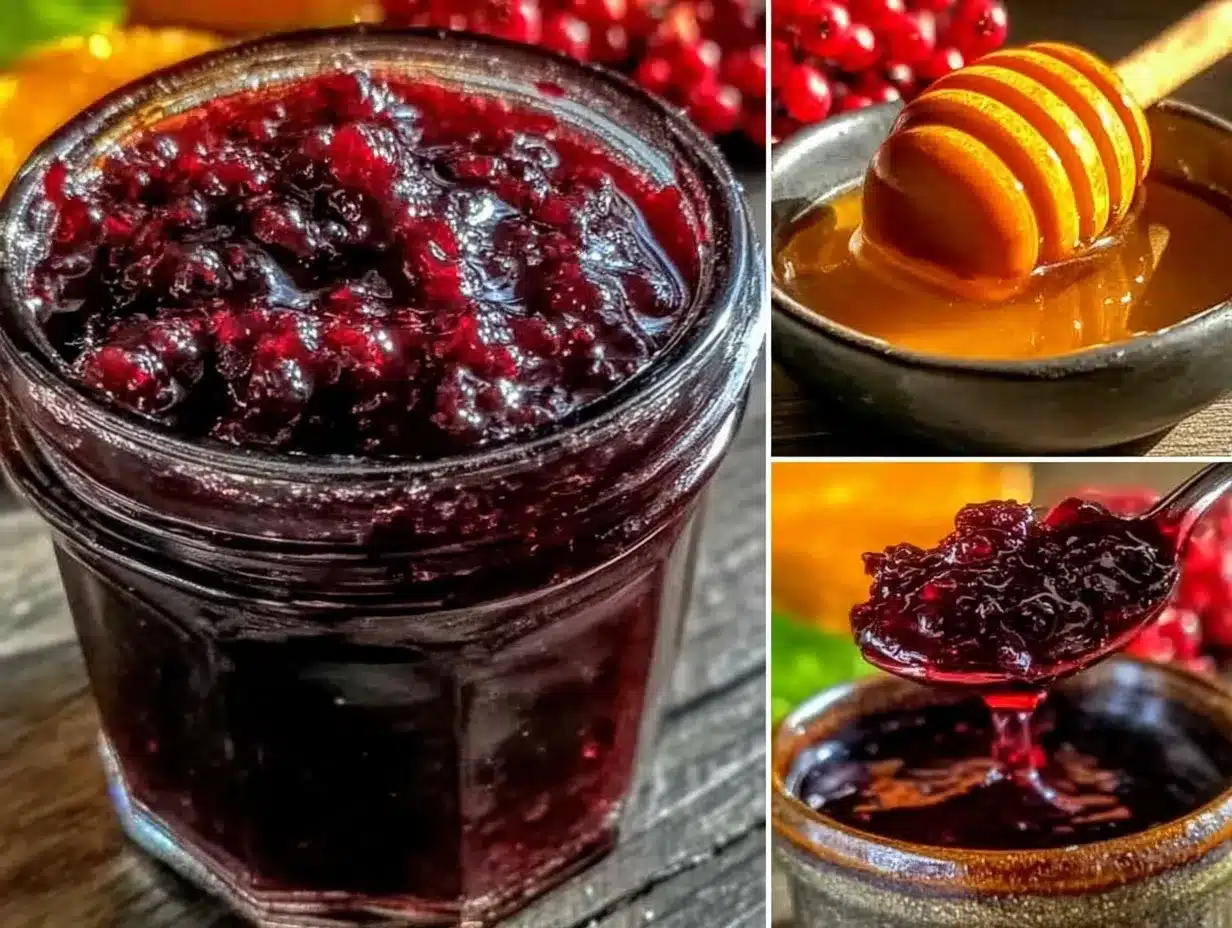
- Combine the elderberries, water, ginger, cinnamon stick, and cloves in your saucepan. Use 4 cups (950 ml) of water, making sure everything is submerged. This step takes about 5 minutes of prep.
- Bring the mixture to a gentle boil over medium-high heat. Once boiling, reduce the heat to low and let it simmer uncovered for 45 minutes. You’ll notice the liquid turning a rich, deep purple and filling your kitchen with a sweet, spicy aroma.
- Remove from heat and let it cool slightly for about 10 minutes. This resting time helps the flavors meld and makes it easier to handle.
- Strain the mixture through a fine mesh strainer or cheesecloth into a clean bowl. Press the solids gently with the back of a spoon to extract all that precious syrup. Be careful—the liquid will still be hot.
- While the syrup is still warm (not hot), stir in the raw honey and fresh lemon juice. Adding honey to hot liquid can destroy some nutrients, so wait until it’s warm to preserve its goodness.
- Transfer the syrup to a glass jar or bottle and seal tightly. Let it cool completely before storing in the fridge. The syrup will thicken slightly as it cools.
Quick tip: If your syrup tastes too tart, add a little more honey, but remember it’s meant to have a balance between sweet and tangy. Watch for any gritty texture after straining; if you notice bits, a second strain helps smooth it out. This recipe makes roughly 2 cups (475 ml) of syrup, enough to last you about 2-3 weeks refrigerated.
Cooking Tips & Techniques
From my many batches (and a few flops), here’s what helps get this elderberry syrup just right every time:
- Simmer, don’t boil hard: A gentle simmer extracts the best flavor without turning the elderberries bitter or overly astringent. It also keeps the ginger’s pungency balanced.
- Timing matters: Don’t rush the simmer. Those 45 minutes let the berries burst and release their goodness. I’ve tried shorter times, and the syrup just isn’t as rich.
- Strain carefully: Press the solids gently but firmly. You want all the juice without pushing through bits that make the syrup gritty.
- Add honey off the heat: This is crucial. Hot syrup can kill the beneficial enzymes in raw honey, so wait until it’s warm or cooled a bit.
- Store properly: Glass jars with tight lids keep the syrup fresh and avoid flavor contamination. Keep refrigerated and avoid metal lids that can corrode over time.
One lesson I learned the hard way: don’t skip the fresh lemon juice. It brightens the flavor and adds a bit of preserving power. Also, if you want to multitask, this syrup can simmer while you put together a quick dinner like my quick zesty lemon chicken or easy spaghetti aglio olio. Saves time and fills your kitchen with a comforting aroma.
Variations & Adaptations
This elderberry syrup recipe is versatile enough to tweak without losing its soul. Here are a few ways I’ve adapted it:
- Spicy twist: Add a pinch of cayenne pepper during the simmer for an extra kick that’s great if you’re feeling under the weather.
- Allergy-friendly: For a vegan version, replace raw honey with pure maple syrup. The flavor shifts slightly but remains delicious.
- Seasonal fruit boost: Toss in fresh or frozen elderberries (about 1 cup) along with dried to deepen the flavor in summer.
- Alcohol infusion: For adults only, add a splash of brandy or bourbon after straining for a warming winter syrup variation.
- Herbal mix: Experiment with adding dried echinacea or rose hips for an immune-boosting blend, but start small (1 teaspoon) to avoid overpowering the elderberry.
Personally, I’ve tried the spicy cayenne version on cold nights and found it perfect paired with a warm bowl of soup or after a long day. The syrup’s flexibility means you can make it suit your taste and needs without fuss.
Serving & Storage Suggestions
Serve this elderberry syrup by the spoonful—1 tablespoon (15 ml) daily is a good maintenance dose, or up to 3 tablespoons if you’re feeling the sniffles. It’s best taken straight or stirred into warm water or herbal tea for a soothing drink. I sometimes add it to my morning lemon water or drizzle over pancakes for a sweet, healthful boost.
Store the syrup in a glass jar in the refrigerator, where it keeps well for 2-3 weeks. If you want to make a larger batch, you can freeze portions in ice cube trays for easy thawing. Just pop a cube into hot tea or water when needed. Over time, the flavors mellow and deepen, making the syrup even more enjoyable after a few days.
Pair this syrup with cozy meals like the crispy chicken fried rice or a light soup to round out your day with warmth and wellness.
Nutritional Information & Benefits
This healthy homemade elderberry syrup packs a nutritional punch:
- Antioxidants: Elderberries are rich in flavonoids, especially anthocyanins, which support immune health and fight free radicals.
- Anti-inflammatory: Ginger contains compounds like gingerol that soothe inflammation and ease symptoms of colds.
- Natural antimicrobial: Raw honey offers antibacterial properties and supports digestive health.
- Vitamin C boost: Lemon juice adds a fresh source of vitamin C, essential for immune function.
This syrup is gluten-free, dairy-free, and can be made vegan. It’s free from artificial preservatives and refined sugars, making it a wholesome choice for daily wellness routines or seasonal support.
Conclusion
Making healthy homemade elderberry syrup with ginger and raw honey isn’t just about fighting off colds—it’s about creating a small moment of care in a hectic world. This recipe’s simplicity, natural ingredients, and comforting flavor make it a trusty companion in my kitchen and medicine cabinet. I love that it’s easy to make, tastes delicious, and feels like a little ritual of self-kindness.
Feel free to tweak the flavors or use it however fits your lifestyle. Whether you’re spooning it straight or stirring it into tea, it’s a recipe that quietly supports your health and soothes your soul. If you’ve tried this recipe or have your own elderberry syrup twist, I’d love to hear how it worked for you—drop a comment below and share your experience!
FAQs about Healthy Homemade Elderberry Syrup
How long does homemade elderberry syrup last?
Stored in a sealed glass jar in the refrigerator, it lasts about 2-3 weeks. You can freeze portions for longer storage.
Can I use fresh elderberries instead of dried?
Yes! Use about 1 cup fresh or frozen elderberries along with dried for a richer flavor. Just adjust the simmering time slightly if needed.
Is this syrup safe for children?
Generally, yes, but avoid giving honey to children under one year old. For younger kids, consult your pediatrician before use.
Can I skip the ginger or substitute it?
You can omit ginger, but it adds warmth and helps with symptoms. Ground ginger can substitute fresh if needed, about 1 teaspoon.
How should I take elderberry syrup for immune support?
A common dose is 1 tablespoon (15 ml) daily for maintenance, and up to 3 tablespoons if you’re feeling under the weather. Mix with warm water or tea if preferred.
Pin This Recipe!
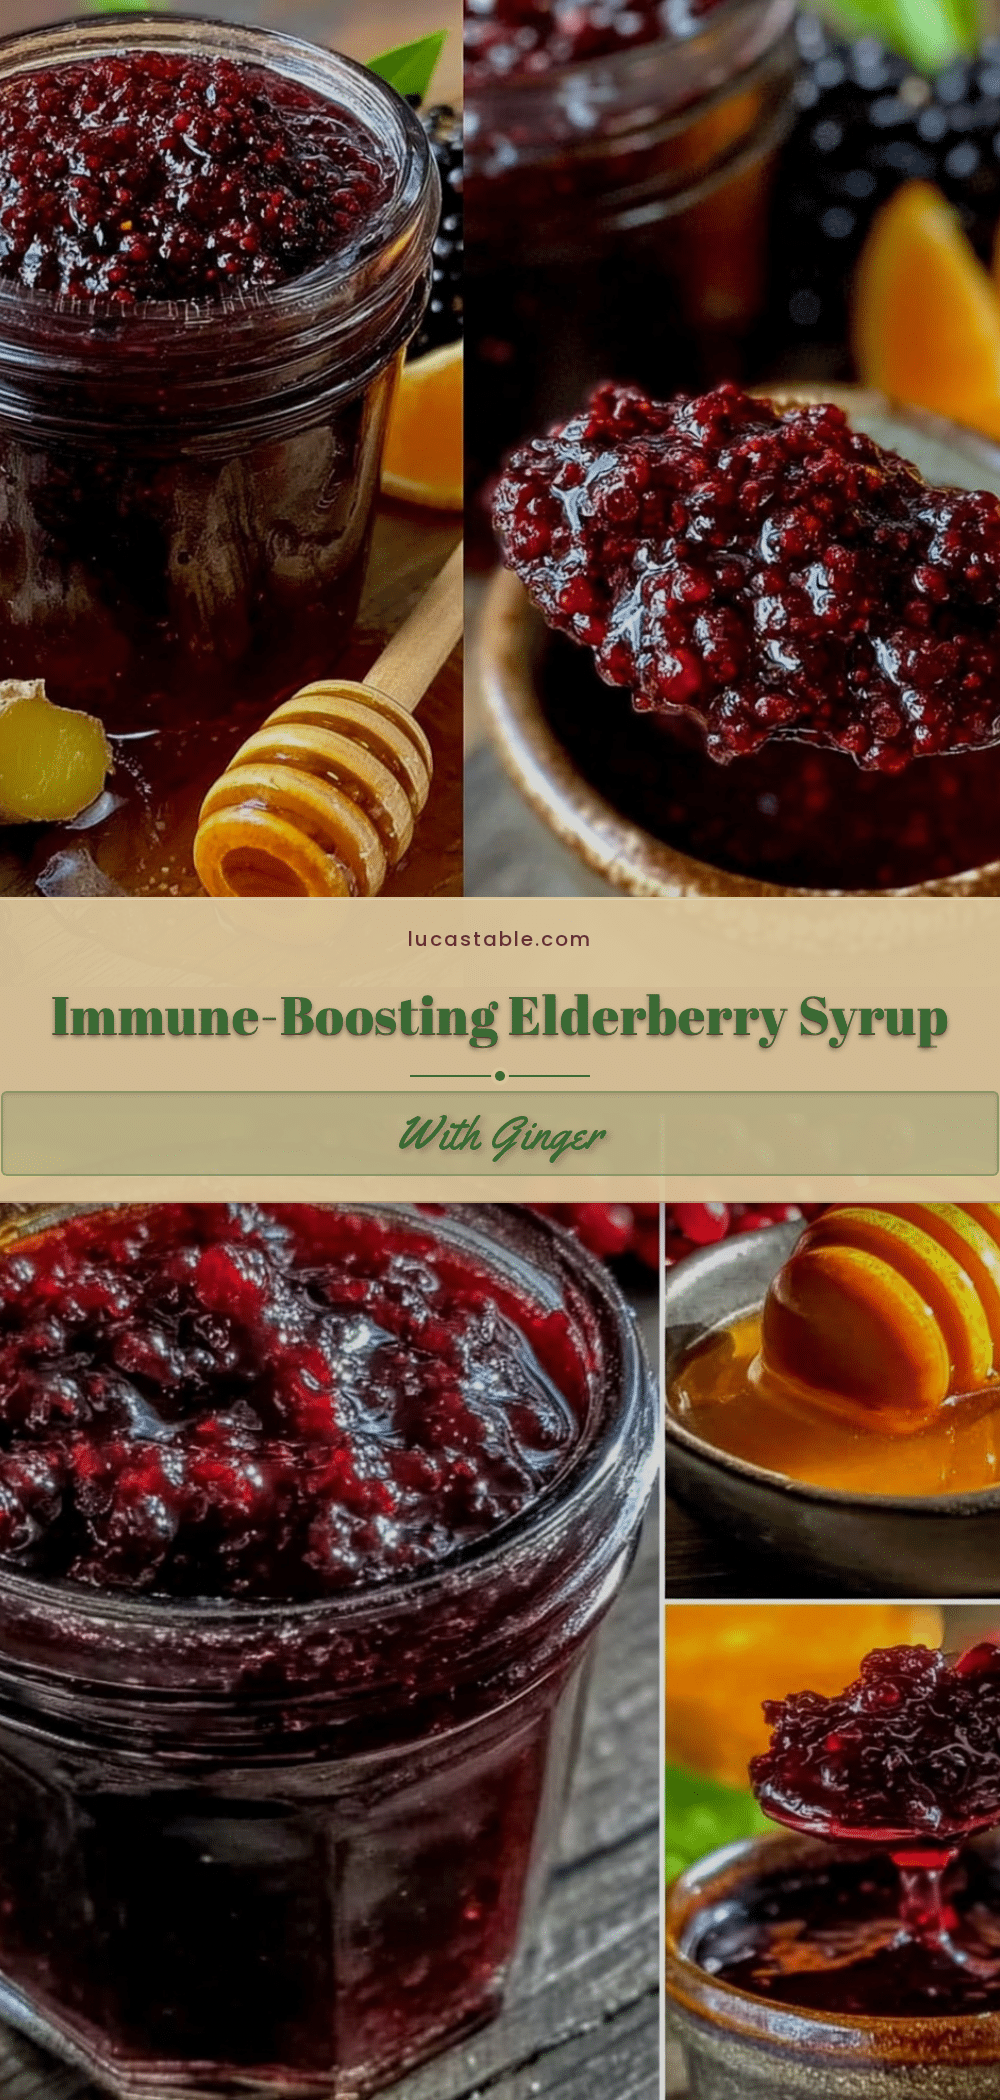
Healthy Homemade Elderberry Syrup Recipe with Ginger and Raw Honey
A simple, natural elderberry syrup infused with fresh ginger and raw honey, perfect for immune support and cold season relief. This syrup is easy to make, delicious, and free from artificial ingredients.
- Prep Time: 5 minutes
- Cook Time: 45 minutes
- Total Time: 50 minutes
- Yield: About 2 cups (16 tablespoons) of syrup 1x
- Category: Health Supplement
- Cuisine: American
Ingredients
- 1 cup dried elderberries (Sambucus nigra recommended)
- 4 cups water (filtered if possible)
- 1 tablespoon fresh ginger, peeled and thinly sliced
- 1 cinnamon stick (optional)
- 3–4 whole cloves
- 1 cup raw honey (raw and unfiltered preferred)
- Juice of 1 lemon
Instructions
- Combine the elderberries, water, ginger, cinnamon stick, and cloves in a medium-sized saucepan. Use 4 cups (950 ml) of water, making sure everything is submerged.
- Bring the mixture to a gentle boil over medium-high heat. Once boiling, reduce the heat to low and let it simmer uncovered for 45 minutes.
- Remove from heat and let it cool slightly for about 10 minutes.
- Strain the mixture through a fine mesh strainer or cheesecloth into a clean bowl, pressing the solids gently to extract all the syrup.
- While the syrup is still warm (not hot), stir in the raw honey and fresh lemon juice.
- Transfer the syrup to a glass jar or bottle and seal tightly. Let it cool completely before storing in the refrigerator.
Notes
Add honey only when syrup is warm to preserve nutrients. For a thicker syrup, reduce water slightly. Store in glass jars to avoid plastic taste. Syrup keeps 2-3 weeks refrigerated. Optional spices like cinnamon and cloves add depth. Vegan option: substitute honey with maple syrup. Can add cayenne pepper for a spicy twist or brandy for adult variation.
Nutrition
- Serving Size: 1 tablespoon (15 ml)
- Calories: 60
- Sugar: 15
- Sodium: 1
- Carbohydrates: 17
- Fiber: 1
Keywords: elderberry syrup, homemade elderberry syrup, elderberry, ginger syrup, raw honey syrup, immune support, cold remedy, natural syrup


